TFL Painting Challenge: Quick Update

As no wargaming chums seem to be available for a game (do they not realise what bank holiday weekends are for?!) it must be time for a quick TFL Painting Challenge update.

Just a few entries this week, but do go to the individual galleries for a bit of painting inspiration:

Garrhul from Darkest Star Games

A quick dip into the lead mountain and a chance to paint the Garrhul 15mm dog-men from Darkest Star Games. I already have Critical Mass’ Protolene Khanate and Khurasan’s Raug, so it was a natural fit for me to add the Garrhul.

This is currently a small range, but very nicely sculpted. I particularly like the way they have done the helmets: not anthromorphic like the Khanate but sensibly shaped helmets for troops with a snout!

The range consists of helmeted or unhelmeted infantry, available in packs of ten. Each pack contains a good variety of poses and a chap carrying a squad support weapon. In command you have a Garrhul merchant Prince plus bodyguards, and a sniper figure is also available. I particularly like the Merchant Prince’s pose: standing looking out at the battlefield with his arms crossed. Finally, and newly released, the Garrhul have some two-seater grav rafts: like Jeeps.

The Garrhul are proper 15mm figures, so match perfectly with the Khanate. They are a size different to the Raug, who are (like a lot of Khurasan’s 15mm figures) more like 20mm miniatures. The heads of the Raug and Garrhul are sculpted very similarly, however, and they carry the same sort of equipment, so it’s easy to believe that they are two branches of the same genome.

All in all, these are great figures, and I look forward to the range expanding in the future.

Garrhul (left) and Raug (right)

Brutal Artillery!

With half the Brute (wasteland mutants from Nuclear Shrimp Games that are 15mm scale but, because of their mutant nature, are more like 25mm tall) infantry now painted, I thought I’d give myself a break and tackle some of their heavy equipment.

First up were the field guns. These come in two variants, all based on the same model. If you use the kit without the extra bit on the barrel, then they become howitzers:

Pop the extra bit in the barrel, however, and they become anti-tank guns or field artillery:

These are huge models that, whilst fitting with the Brute, are going to look a bit odd on a 15mm table…but then perhaps that’s the point. They paint up easily, though, and are unusual enough for a “recommended” from me.

19th C AAR: The Battle of Rigatoni

Time for some 1859 Franco-Austrian War action using Neil Thomas’ Wargaming 19th Century Europe 1815-1878 rules.

It’s what would become northern Italy, and the two small towns of Rigatoni and Bolognese are about to eb the subject of a major clash or arms.

On the left in the picture below are the French. They outnumber the Austrians in infantry and cavalry 6:5 and 4:3 respectively. The French are better commanded troops, a real advantage under these rules, and many of their units are Elite.

The Austrians, coming from the right, suffer from poor quality generals. They do, however, have more artillery (5:3), start the game uphill from the French, and begin the game closer to the two towns.

Both sides began the game by rapidly heading forward, with the Austrians reaching the towns first.

The French delivered three main thrusts: one on each town and one in the gap between them.

First in was the thrust against the Austrian right flank that forced the Austrian infantry out of the town. Good news from the French, but the Austrians rallied outside the town and punished the French with rifle and artillery as they reorganised after their attack.

One French battalion was wiped out as it took a battery of Austrian guns, the other was content to lurk amongst the safety of the buildings…and their accompanying cavalry was about to lap around the Austrian flank.

The French were also now approaching the Austrian left and centre, but the Austrian cavalry (much delayed by its painfully slow commander) had finally arrived:

Back to the left, and the French cavalry attacked the Austrian infantry that had been ejected from the town at such great cost to the French infantry.

The French cavalry charged forward, but were cut down in a hail of fire.

The Austrian left flank was now secure, and the town there could be re-captured…but only if the rest of the battlefield also remained in Austrian hands.

In the centre, the French infantry columns reached their destination and attacked. Again, however, although initially successful, the almost-victorious French infantry either exhausted themselves in an ultimately indecisive charge, or were shot down by the Austrian infantry in the town on the Austrian left flank.

That left only the Austrian left flank to be decided, and that was where the Austrian cavalry were massed.

Both sides hurled their cavalry forward, and a massive, swirling melee broke out. At first the French did well, but Austrian numbers soon began to tell, and eventually the remainder of the French horse were either dispersed or forced to fall back, especially when the Austrian horse-artillery rockets got into the action.

And with the defeat of their cavalry, the French’s chances of victory slipped away, and the pantalons rouge were forced to retire.

A hard fought victory for the Austrians, whose troops managed to absorb the initial charges of the French attack columns before wiping them out with rifle fire: a great game much enjoyed by either side.

Here’s a shot of the battlefield as the game ended.

TFL Painting Challenge: Big Early April Update!

A bountiful harvest of entries for the Painting Challenge this week, including the return of a couple of regulars: Mark Luther and John Haines. Welcome back, chaps!

You can always tell what the latest trends are from the entries into the Challenge: two of the eight entries this week are from the Silver Bayonet range or, as I like to call it, Call of ‘Mr C’ Napoleonics.

Anyway, do make a point of visiting the galleries (you can get to them from the top nav bar), but here’s a taster to encourage you to do so:

TTS AAR: Battles on the Border

Off to friend Bevan’s house for some To The Strongest with some action from the Welsh Borders.

For the first game, I would play the Welsh, with Bevan taking the part of the Feudal English.

Game Two

It was now only fair that we swapped sides and gave things another go. I would take exactly the same Feudal English that I had just beaten, and Bevan would take my victorious Welsh for a spin.

So two great games of To The Strongest and, overall, I edged victory over the two battles. The real pity was that there was no time for a third game as a decider!

A Few More Brute!

Still horribly busy at work in the real world, so posts still thin on the ground.

I have, however, managed to finish off another section of Brute wasteland mutants: 15mm sci-fi models that are actually more like 25mm high.

These are lovely models that paint up really well…even if I do find painting 25’s much more difficult than painting 15’s!

TFL Painting Challenge: Overdue Update!

Apologies for my lack of posts over the past few days: real world in the shape of work got in the way of the important things in life!

Anyhoo, here’s a quick and somewhat overdue update for the Painting Challenge, in which we welcome new contributor Pete Goodrick to the fold. Pete’s first submission includes some lovely looking Italian allies to his 28mm Republican Roman collection.

Do visit the individual galleries, but here’s a taster to persuade you to do so:

Clearing the Lead Mountain

Still on my quest to bring down the Lead Mountain before allowing myself to open any new package…although in this case it is more like the Plastic Mountain.

Many moons ago I invested in a decent size force of 15mm Brute from Nuclear Shrimp. These post-apocalyptic, wasteland mutants are actually more like 25mm in size, so make a formidable enemy for any 15mm figures.

I’d only painted a few command figures and a single stand of infantry to date, but needing to attach the mutant bulls (see previous post) to an army gave me the boost I needed to search the cupboards and paint a few more. This is squad two, and I have another four squads, four guns and some specials to do.

IABSM AAR: September War #24: Ambush in the Beskides

My turn to host a game of I Ain’t Been Shot, Mum, so I chose a scenario from the first September War scenario pack that would allow me to field some of my new motorised infantry vehicles: #24 Ambush in the Beskides.

The game would feature a German attack on a prepared Polish position. The Germans would have the numbers, but had a time limit, and those Poles were very well dug in!

Click on the picture below to see all:

New East European Village Set

I was browsing EBay the other day when I came across a listing for a 15mm east European village set in MDF that I hadn’t seen before. Four houses, some carts and some fencing for only £32.99 including free delivery.

This seemed like good value, and one can always do with a few more village huts, so I ordered a set…which duly arrived within the allotted time.

As with many shiny things, the kits immediately jumped to the front of the painting queue and, within a day, I had built them all:

The buildings went together very easily, even for someone as cack-handed as I am. Only the dascha shown in the first picture, above, caused me any trouble, and I managed to break the chimney meant for the second house as I wasn’t careful enough when extracting the individual parts from the sprue (so my fault is what I mean!). Better modellers than I (i.e. most of you) will have no problems.

The carts were a surprise: six of the them were in my pack. Really good battlefield scatter, and I found that the best way to build them was to do all six at a time, waiting for the PVA glue to dry at each stage before continuing. Don’t try fitting the wheels until the axle is firmly glued in place: you’ll just collapse the whole thing in your hand and have to start again! The fencing was easily put together, and looks reasonable sturdy in terms of how it will sit on the tabletop.

So all in all I’m very happy with the set and would highly recommend a look if you’re interested. With the sad news that 4Ground (where most of my existing huts originate) are closing their doors, these people could be a partial replacement.

You can find the set here.

A Load of Bull!

For some time now I have been trying to follow the rule that if I want to buy more figures then I have to earn the right to do so by clearing something from the existing Lead Mountain.

As I wanted to buy some more Soviet village pieces and a set of 17th Century Swedish command figures (I reckon that if I have them, then I can field my existing ECW troops as early 17th Century Swedes, instantly creating another opponent to friend Bevan’s Poles, saving lots of time and money which can then be spent on something else) I needed to find some already-purchased figures to paint.

A few months ago, one of my favourite sci-fi designers, Loud Ninja Games (available through Alternative Armies) added a range of large (about 25mm tall) mutant bulls to their Wasteland post-apocalypse range.

I didn’t need them, but they were shiny so I bought a set: they would do perfectly as it wouldn’t be too arduous to paint nine 25mm figures…and so it proved:

Nobody moooove!

These paint up very nicely and will join forces with my Brute mutant humans, only one squad of which I have painted so far (candidates for my next purchase-must-paint I think!)

My only criticism, as always, is the lack of variety: just two poses and a command figure. I understand completely why that is so (platoon- or squad-level sci-fi being much more common than the company-level game that I play) but it does mean that I will limit my purchase to just one squad for the moment.

TFL Painting Challenge: Quick March Update

Time for the first update to the Painting Challenge in March. Plenty coming through from the existing challengers, but there’s a few of the regulars yet to open their innings!

Do visit the individual galleries, but here’s a taster of what you’ll find. It’s all very infantry focused this week:

Polish Artillery Limbers

Whilst going through my Poles, I realised that I really needed some more horse-drawn artillery limbers. I looked around the web, but couldn’t find any matches to what I was after. The closest seemed to be the Peter Pig WW1 Russian artillery limber, pictured below:

This looked to be a lovely model, just crewed by chaps from the wrong nationality. No problem: Peter Pig also do an excellent range of spare heads, two of which (one set in Polish infantry helmets, one set in rogatwykas) I could use to convert the Russians into Poles.

The conversion itself is fairly easy. Snip off the existing head with a pair of pointed pliers, use a pin drill to bore a little hole in the now-headless torso, glue new head in place. It can sometimes be a bit fiddly, but you get better with practice and I would recommend having a go if ever you need to.

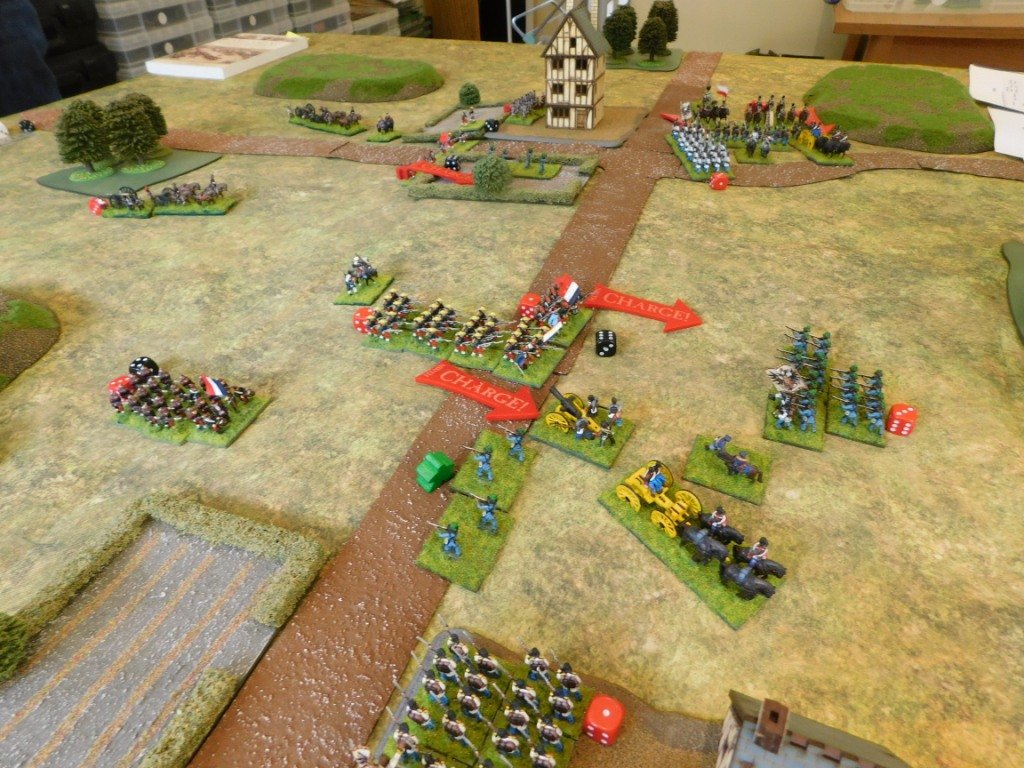
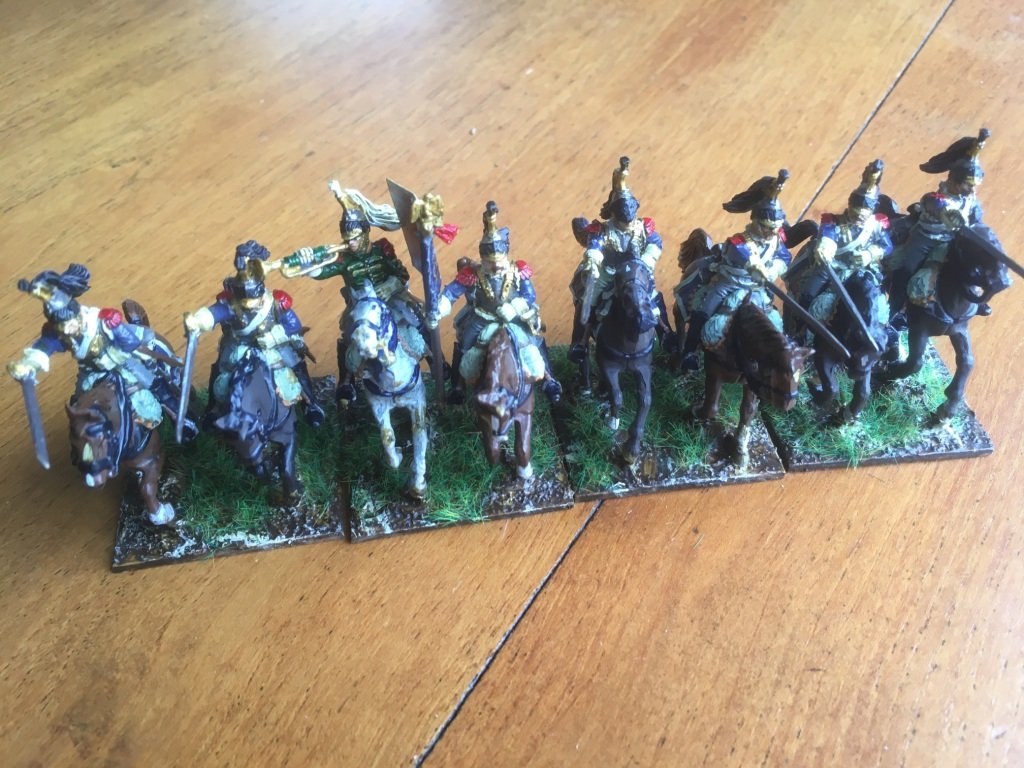
As you’d expect from the image above, the limbers came out very nicely indeed. Rather than my now-usual Contrast Paints, I matched with how I painted the original Poles with black undercoats, acrylics base painted on top, then an Agrax Earthshade wash, and finally some highlighting.

Job done!

IABSM AAR: Beyond Le Plessy

Yesterday’s post featured an After Action report from Des Darkin covering a game he ran for Iain Fuller and Philip Andrews.

Today’s post is the same game, but written up by Iain.

Usually I would combine the two AAR into one massive report, but both are such good AAR that I’ve decided to keep them separate.

Click on the picture below to see Iain’s colossal report on the second Plessy game:

TFL Painting Challenge: End Feb Update

Just a quick update this time around, although we do welcome back stalwart Painting-Challenger, Ralph Plowman, who has submitted three entries in quick succession since the last post.

Ralph has participated in all eight years of the Challenge, with a top score of 838 in 2018, and an average score of 540.

Do visit the individual galleries, but here’s a taster to encourage you to do so: