TFL Painting Challenge: Second May Update

Here’s another Painting Challenge update, with entries Steve Burt, Carole Flint, Mark Luther, Andrew Helliwell, Mervyn Douglas and Sapper.

See their individual galleries for all their work, but here’s a taster to whet your whistle…

TTS AAR: Slim-Line Akkadians Take The Field!

Amongst those of you who read my previous post (last Tuesday) about the changes to the To The Strongest army lists turning my Akkadian double-depth units into normal-depth Spearmen was friend Bevan. He suggested that the best thing to do was to immediately try out the new look “slim-line” Akkadians and proposed a battle.

This we duly arranged, fielding the Akka’s against a Classical Indian army. Figures for both sides came from the Museum Miniatures CAD-designed “Z” ranges, so looked very good indeed.

akkadians (left) versus classical indians (right)

The Akkadians boasted four brigades: a shock brigade of two units of battle carts (good in a straight line!) supported by a unit of lights; two foot brigades each of one “bodyguard” unit of Spearmen with extra bows and two normal Spearmen units; and then a reserve brigade of two raw, militia Spearmen units and two units of light archers.

The Classical Indians, on the other hand, had only three brigades. One consisted of a couple of units of veteran Heavy Chariots supported by a unit of crappy horse. The other two were built around a unit of escorted elephants: one had the veteran Maiden Guard (hard women all!) and two Longbowmen units, the other had three Longbowmen units.

The Game Itself

The two sides set up very differently. The Akkadians concentrated their battle carts on the left, opposite one of the Indian elephant brigades. The Indians concentrated their heavy chariots on the left (i.e. at the opposite end of the battlefield to the Akkadian battle carts) opposite the Akkadian reserves. Both sides deployed their main infantry bodies in the centre.

The game began with both sides moving forwards whilst maintaining their battle lines. On the Akkadian right, the reserve brigade refused the flank, leaving the Indian chariots with no-one to immediately charge.

the advance

The Indian longbowmen opened fire as soon as the Akkadians came into range. A storm of arrows headed their way, but there was something wrong with the Indian bows and the results of two rounds of longbow fire were one disordered Akkadian spear unit. Admittedly this unit then spent the rest of the game skulking in broken ground trying to rally, but the Akkadians had still got off lightly.

On the Indian right, one unit of elephants and the raw longbowmen headed forward, but the longbowmen hung back as the elephants surged towards the enemy…who wasn’t really there any more. Not liking the smell of the pachyderms (you don’t get too many elephants in Akkad) the battle carts had headed into the centre of the battlefield to join the main charge there, leaving some lights to keep the nellie’s occupied. The elephants would spend the rest of the game uselessly chasing the Akkadian skirmishers around that area.

elephants

The Akkadians initiated the main clash of the two battle lines, which rapidly turned into a disaster!

The Maiden Guard destroyed a unit of Spearmen, and either combat or longbow fire accounted for another…which happened to be the veteran unit carrying the Akkadian army standard and lost their accompanying general as well. That was seven coins (out of 13) down in one hit!

Losing generals seemed to be the theme of the game. Out of the seven generals who arrived on the battlefield at the start of the game, five were killed!

Losing to a bunch of ladies!

All was not lost, however, as the Akkadians settled down and got stuck in.

One Akkadian spear unit (the one out front in the first picture in this post) burst through the Indian line, destroying some longbowmen in the process, and managed to take the enemy camp, a significant loss of coins for the Indians.

The Akkadian reserves moved forward and filled the hole caused by the losses suffered so far, preventing the Indian chariots from lapping around the flank.

Other Akkadian units also saw off enemy units, killing generals in the process.

Taking the camp

The reserves are committed to cover the right flank

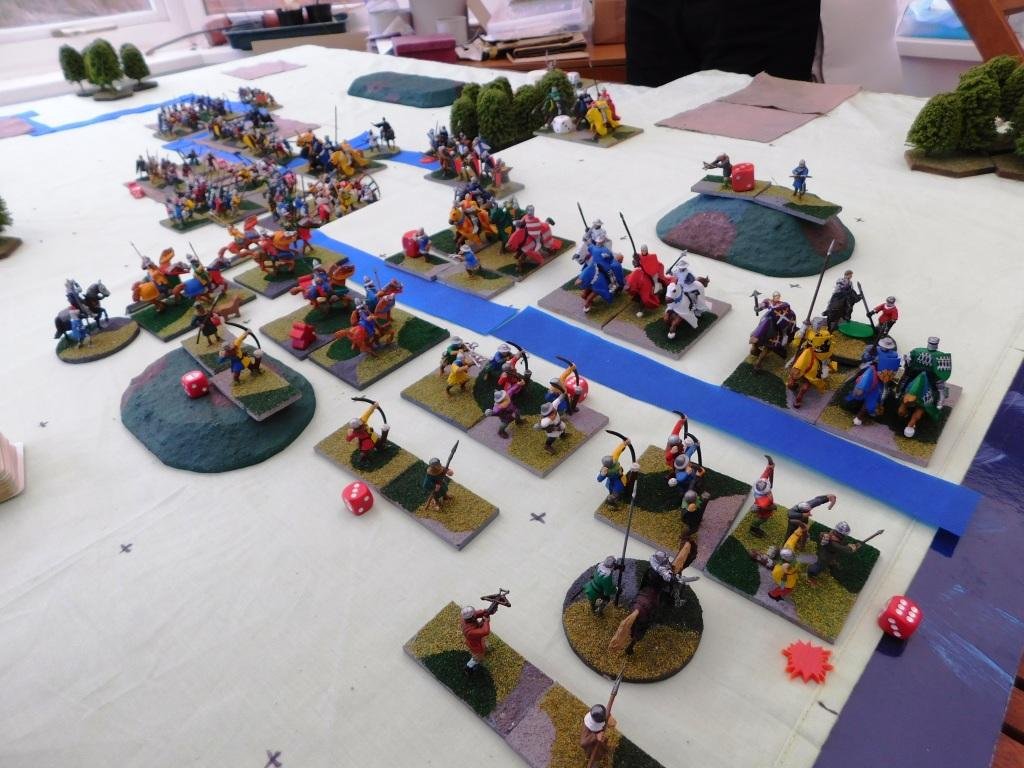
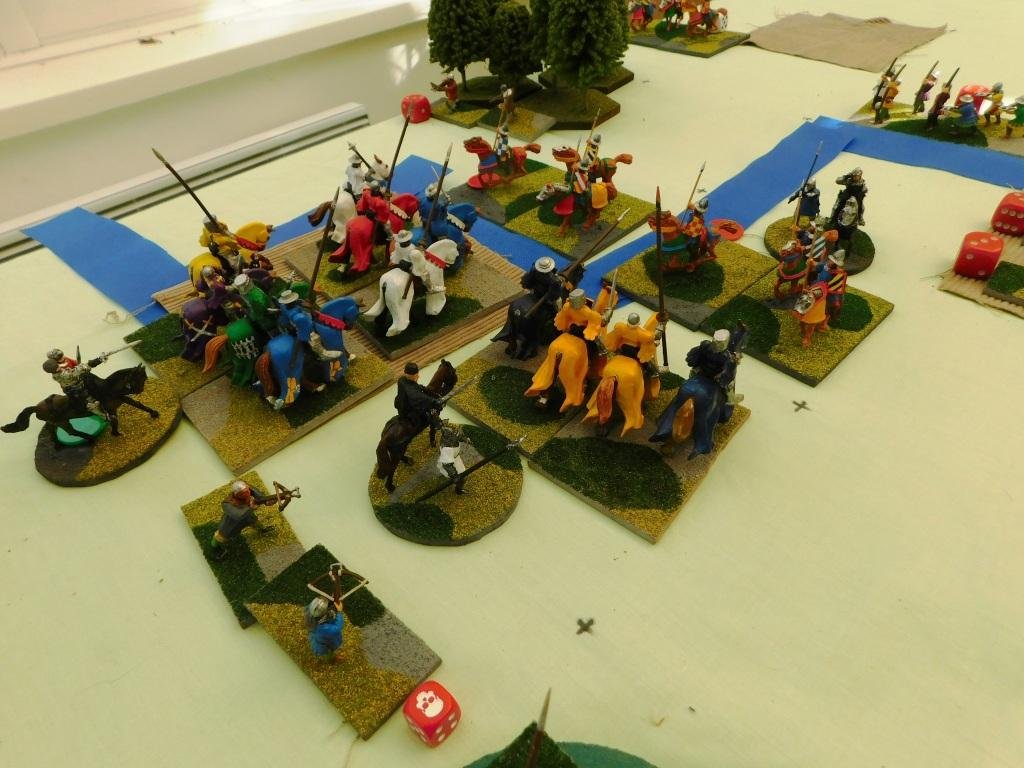
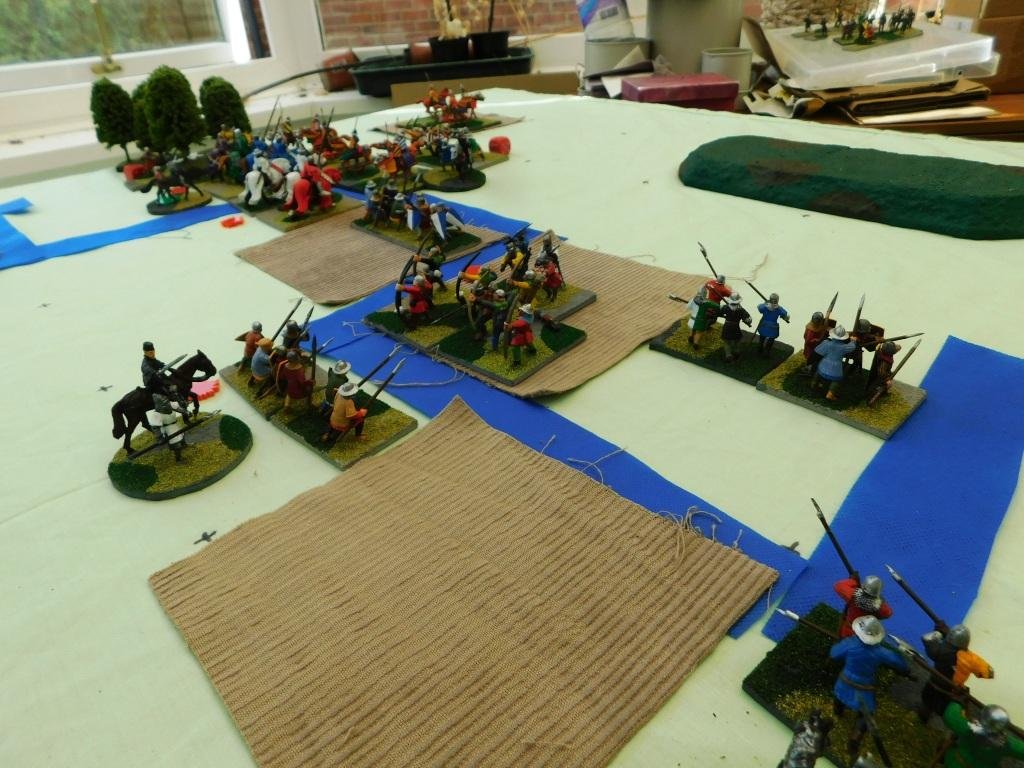
The climax of the battle was now upon us: with each side having just one victory coin left i.e. the next kill would win the game…and with disordered units all round, and lights on the Akkadian side, there were plenty of opportunities for either side to win.

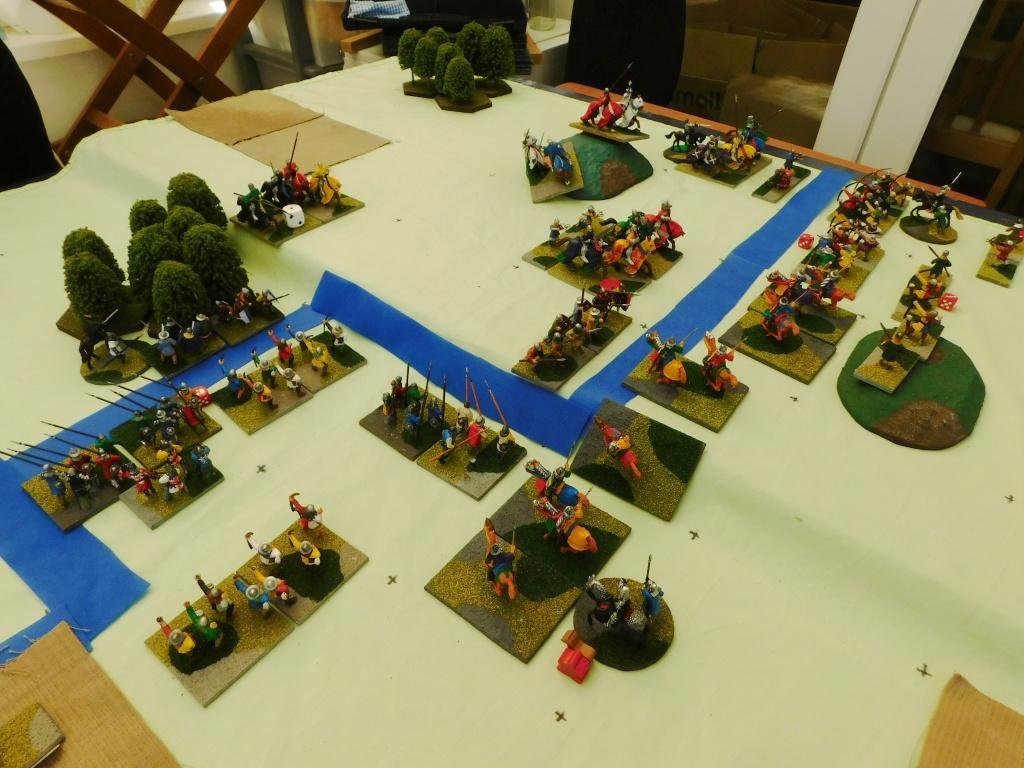
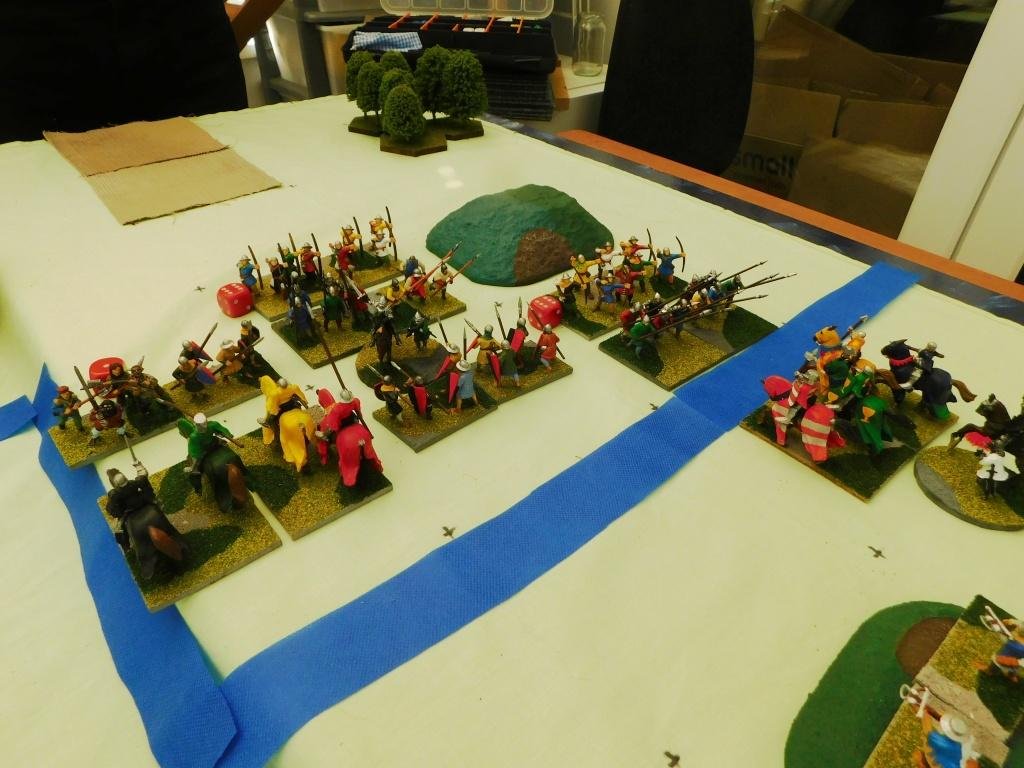
The initiative was with the Akkadians: no kills on their turn!

The Indians tried their best: no kills (phew!) but the Akkadians were wavering. If I didn’t pull off a win in my next turn, there was no way I was surviving another round of Indian attacks.

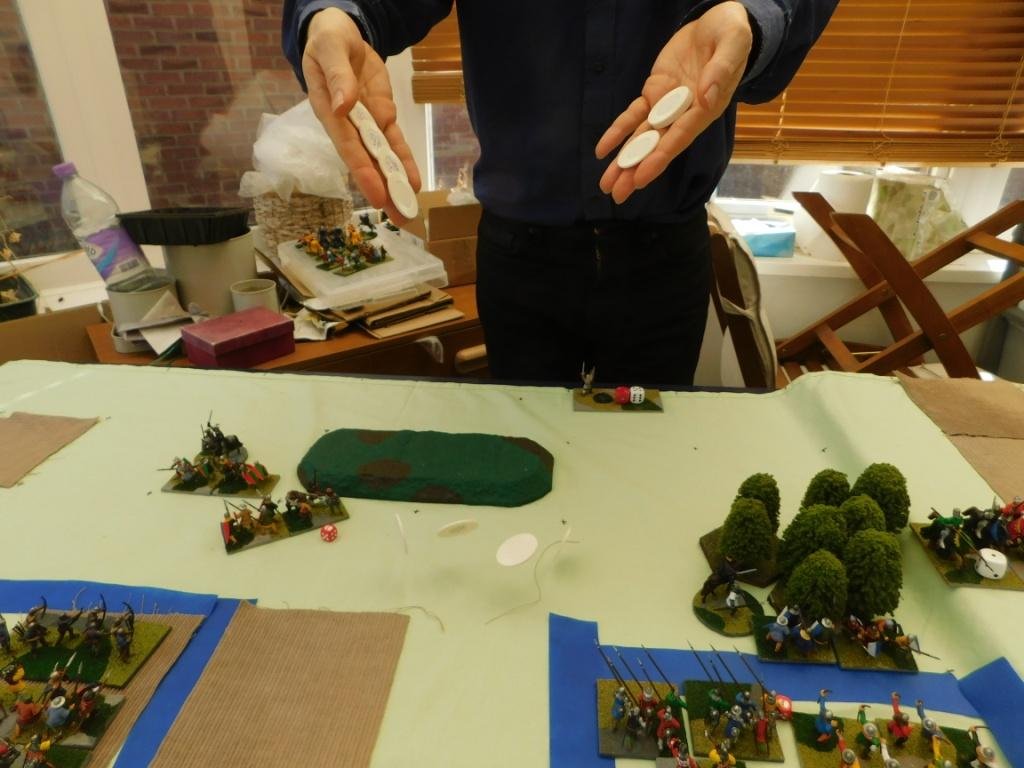
I went through all my obvious kill possibilities (my good morale units versus his disordered units, flank fire on the raw Indian cavalry etc) with no result. Oh dear: this was not looking good.

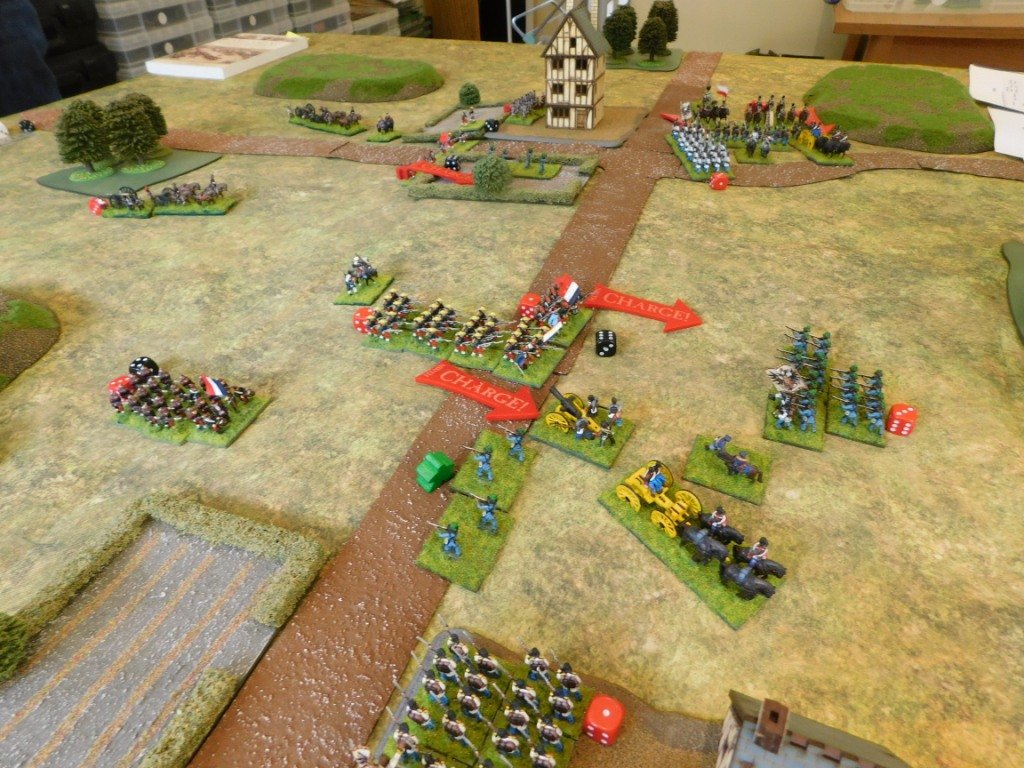
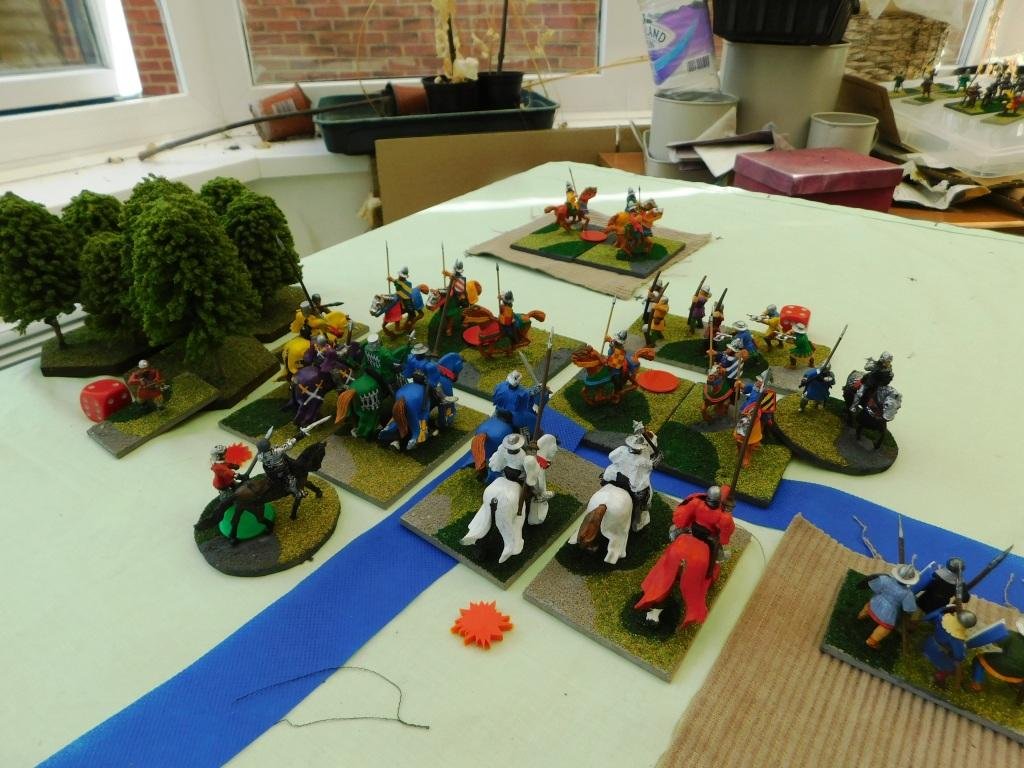
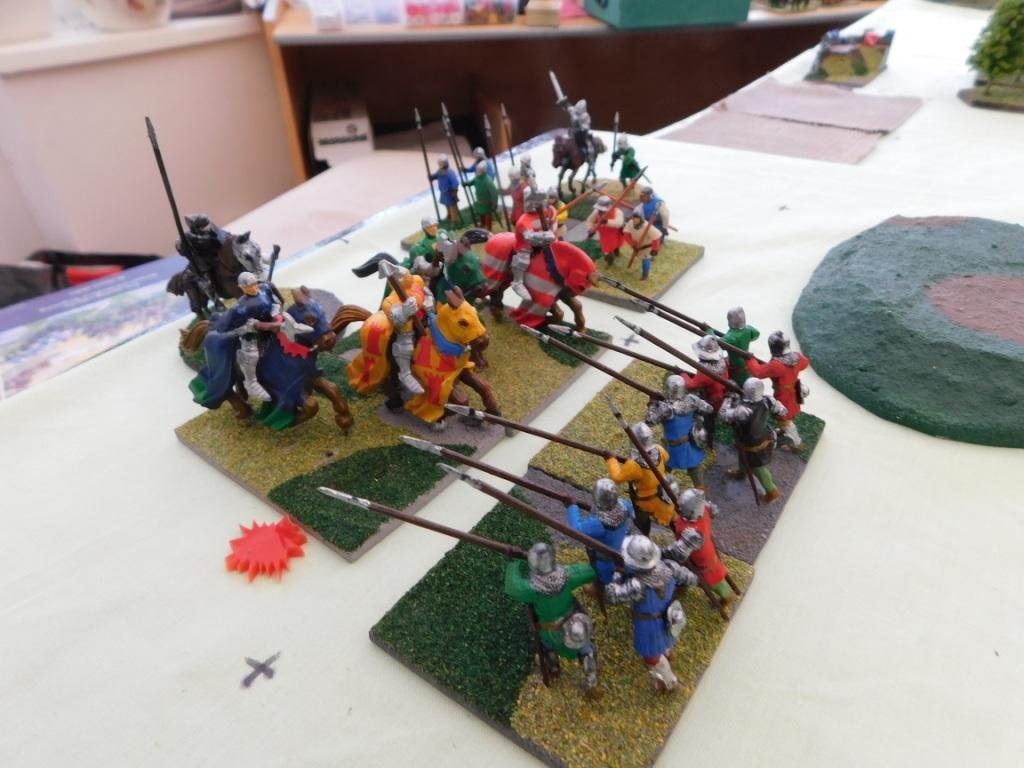
There was, however, one last thing to try. Veteran, but disordered, battle carts charging diagonally at the disordered Indian Maiden Guard.

The battle carts managed to make the difficult move into contact, but failed to hit the Guard. Oh no!

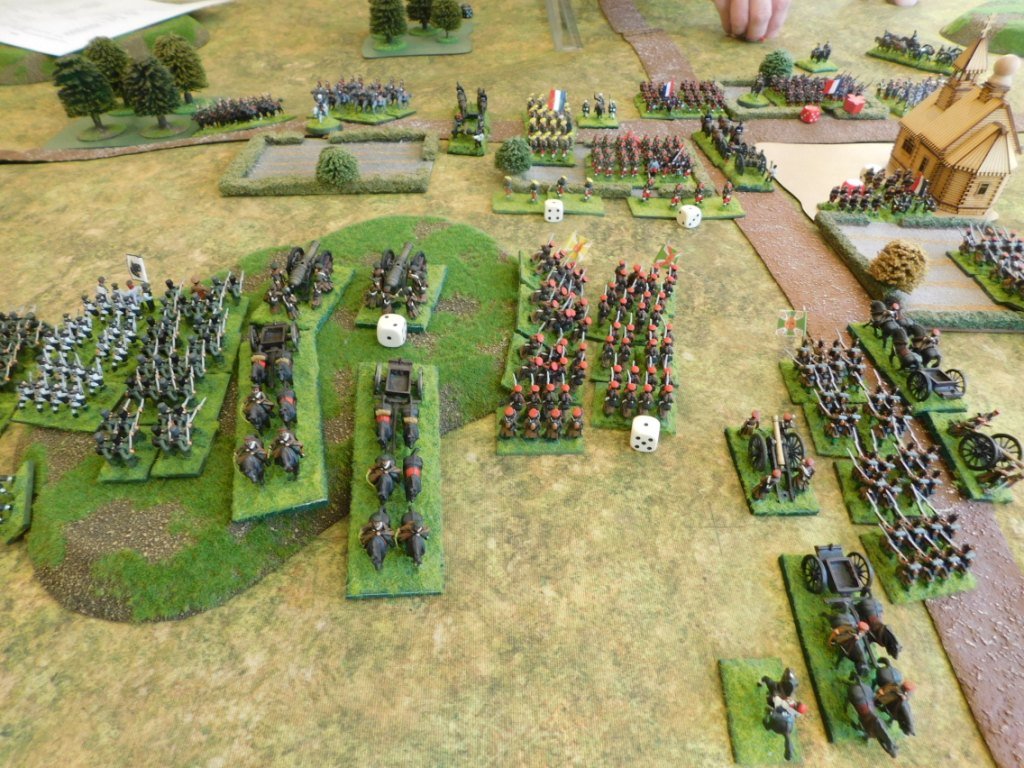
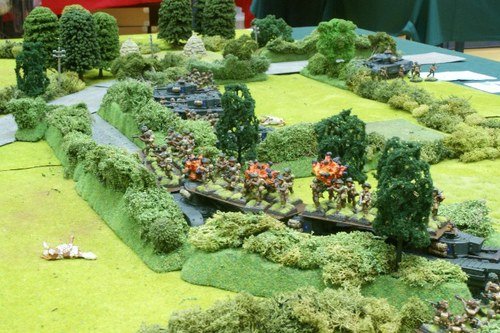
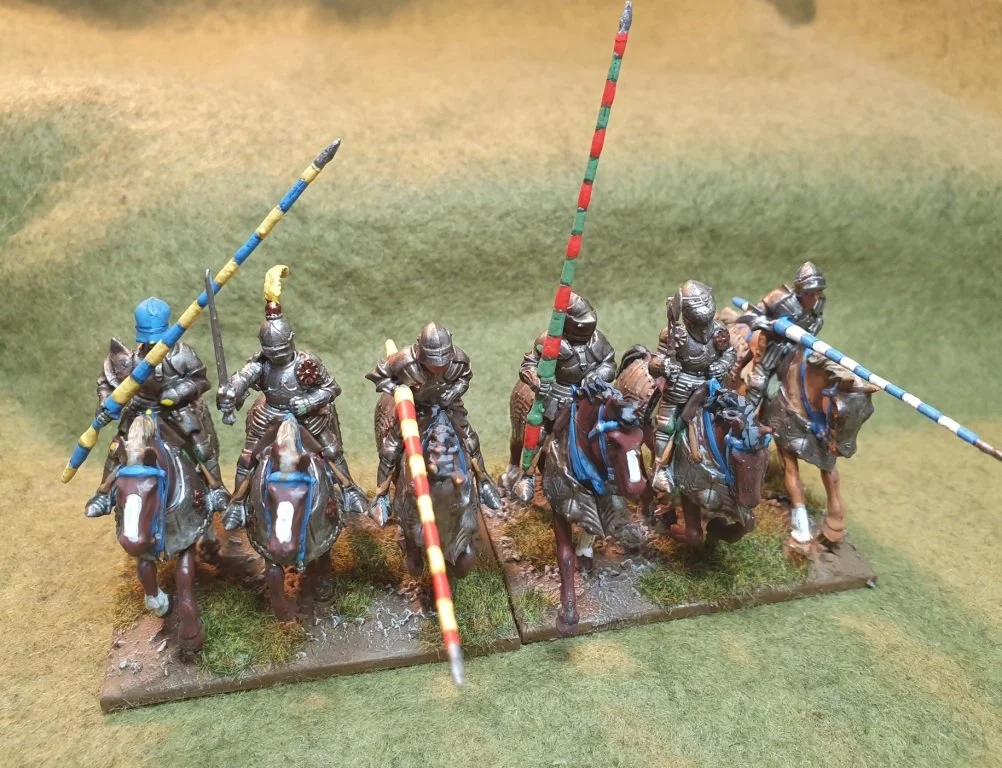
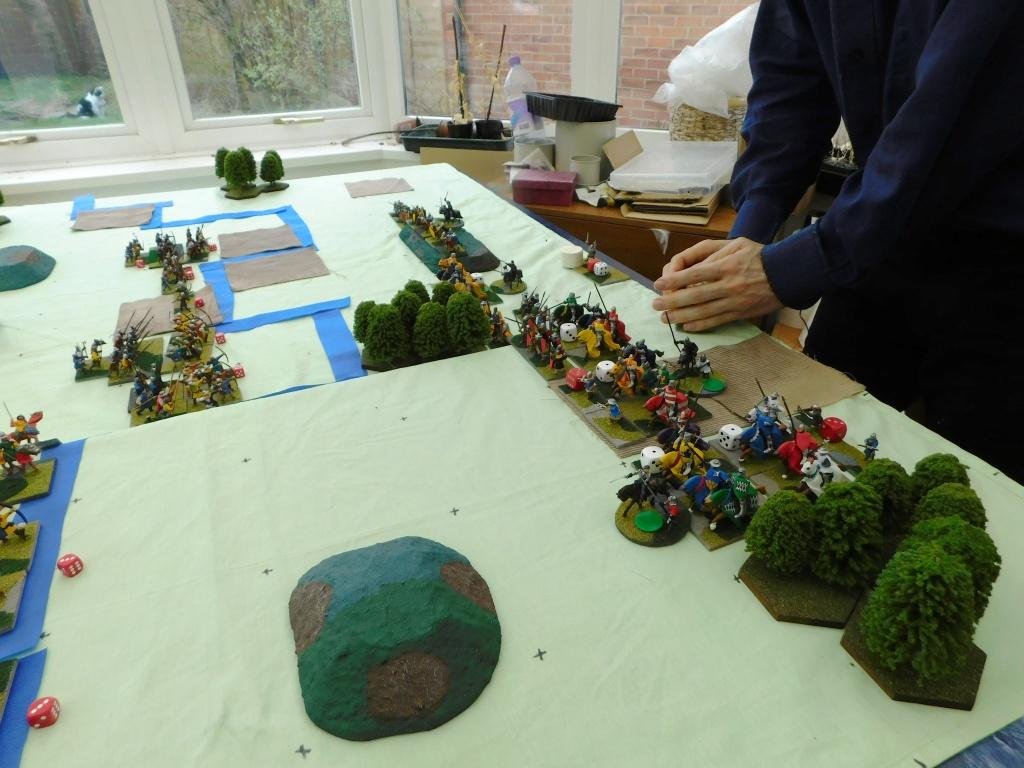
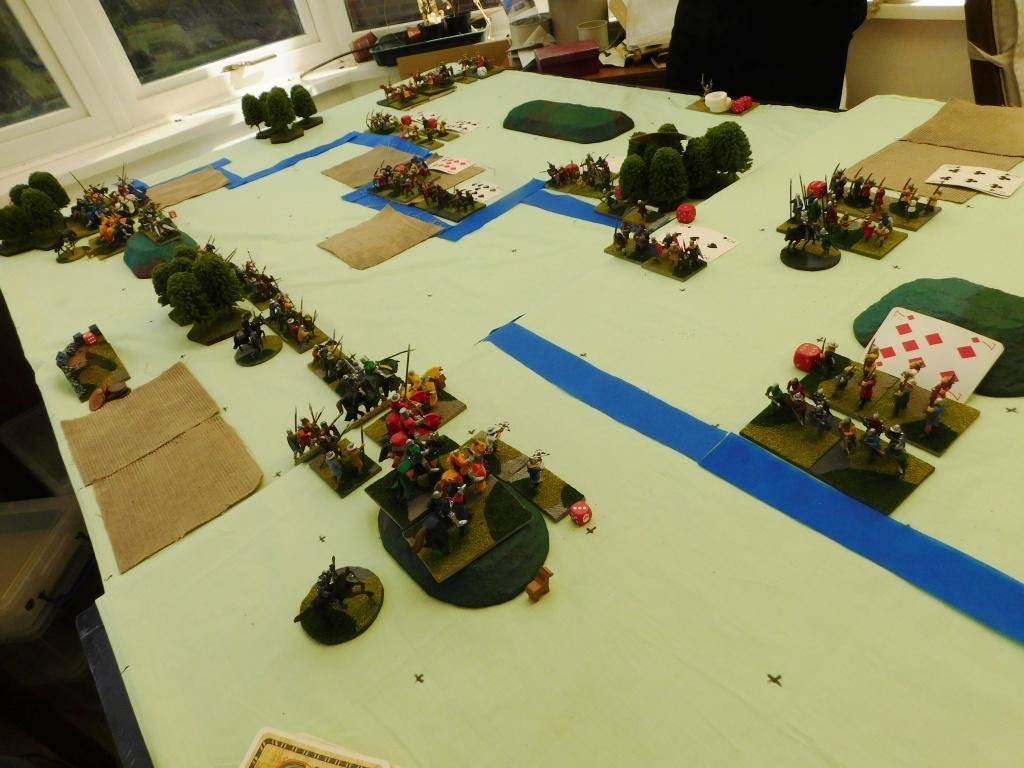
But what was this? Striding forward came an Akkadian hero (the chap under the blue parasol in the picture below) and smote the Maiden Guard with a cracking hit. Bevan and I held our breaths as his save card was turned: a five and therefore a fail. The Guard fled the field and I and the Akkadians had won the day!

As always, a cracking game of To The Strongest and a game that had gone down to the wire. The narrowest of victories for the new slim-line Akkadians!

19C AAR: Crimean War Clash

Having re-based my Crimean Russian army a couple of weeks ago, it was now time to get them onto the tabletop. These figures had last seen action 23 years ago, so it was a real pleasure to wheel them out again and just proves my adage: never sell any figures, never give any away!

The game, using Neil Thomas’ Rules for 19th C Warfare, would therefore feature my Crimean Russians against John playing my Crimean French army in a fight for control of a strategically vital crossroads atop a ridge somewhere near Sebastopol.

Russians to the left, Frenchies to the right. The aim of the game was to take the crossroads in the middle of the table

As we wanted a big game and weren’t too bothered about making things fair, we fielded every figure that I had in the two armies concerned. This left the French pretty outnumbered, but with much better command and troops of generally better quality. The French could also form line for firing, unlike the Russians who were forced to stay in column throughout the game, and were armed with rifled muskets unlike the smoothbores of the Russians. Finally, the French could also field skirmishers (the Legere units) to harass the Russian columns as they advanced.

The Russians fielded four infantry divisions and a cavalry division for a total of ten infantry units, four cavalry units, five batteries of artillery and a couple of dubious looking sotnias of Cossacks.

The French fielded three infantry and one cavalry division for a total of six infantry units, three skirmisher units, four cavalry units and three artillery batteries.

So a hard fought victory for the Russians!

The French retreated in good order having lost all their skirmishers and half their line infantry. They managed to save two batteries of artillery, but lost most of their cavalry.

The Russians advanced to occupy the crossroads, but had lost half their infantry, half their artillery, half their cavalry and most of the Cossacks.

As the Russian commander, I knew my only route to a win was to just grind the French down, and grind them down I did.

John admitted that his infantry got bogged down in the fields and hedges near the town: his infantry mainly stayed static and tried to win by musket fire alone, which was a shame as every time the French attacked they smashed the Russian columns back. More elan needed next time!

The cavalry action on the Russian right was just a distraction: three units of Russians took care of two units of French, but hadn’t the strength to do much more. On the Russian left, the Cossacks were effectively wiped out by the French Guides, and it was again a shame that the French Cuirassiers had to be sacrificed in a vain attempt to stop the three columns of Russian infantry coming forward. At least they dies knowing that they gave the surviving French infantry in the centre time to retreat in good order!

All in all a cracking game!

All Change for the Akkadians

Over the many years that I have been gaming, I have often heard people discussing the negative effects of a change in codex i.e. an official change to a set of rules or army list that renders an army or units that they use effectively useless. The codex change eithers removes that army or unit entirely from the lists available (the best example of this is the demise of the entire Squat/Space Dwarf race from the 40K universe) or severely lessens their fighting effectiveness.

I, personally, have never encountered this…until now!

Regular visitors will know that one of the armies I use to play the To The Strongest Ancients rules is an Akkadian army, representing a force from the city of Akkad dating between 2334 and 2154BCE. Up until now, the core of the army has been deep (i.e. double depth) units of Spearmen that are unwieldy to manoeuvre but have a lot of staying power.

I have duly painted up six units of spearmen, each of 48 figures, i.e. 288 figures in total.

A bit unwieldy, but plenty of staying power

The latest version of the lists, however, accompanied by a new v10 edition of the Even Stronger official amendments, has changed all this.

No longer are the Akkadian spear units deep: they have reverted to being normal depth.

Now I don’t actually have a problem with this - I get more units in my army, my force becomes more flexible tactically, and my army can now have an army standard, something I have always felt lacking in the pre-biblical lists - but that does mean that half of my 288 figures will now be sitting on the sidelines during a game rather than marching to victory with their comrades.

Luckily I have based them so that I can easily represent the change (I’ll just field the front two elements rather than former four, and it’s lucky that the command figures are in the second rank not the third where I’d originally intended to put them) but it still seems a shame that half the core army won’t now see action. Perhaps I’ll just field them as is, but treat them as normal depth!

On the plus side, however, as mentioned above I can now field an army standard so, as I wanted a different standard to my existing Museum Miniatures Z Range Sumerian unit standards, I quickly ordered a standard and some additional figures from Eureka…which leapt to the front of the painting queue as soon as they arrived.

Nice figures that size well with my existing collection. I still prefer the Museum Miniatures figures for their chunkiness (the axes and standard pole are a bit puny on the Eureka figures) but these make a nice change.

As I was already on the Eureka site, I also took the opportunity to buy some light javelinmen for the Akkadians. Even Stronger now allows mounted troops (such as my Akkadian Gish Gigir 4-wheeled battle cars) to be supported by lights in a way that means that I can take a hit meant for the battle cars onto the lights rather than onto the battle cars themselves. As the battle cars are my only mounted troops, so nasty to lose, and I don’t get that many of them, this is a very useful rule change indeed.

The Eureka lights are a bit stiffer in pose than my Museum lot, but do enjoy magnificently flowing locks of, presumably, black hair. I’d better look for a regimental barber figure too!

So it’s all change for the Akkadians, and I look forward to trying out the new, nimbler version of the army as soon as possible!

IABSM AAR: Take the Ztarmerski Bridge!

Lovely looking game of IABSM posted onto the IABSM Facebook Group by Phil Turner.

The Wehrmacht is advancing across the Russian Steppe at speed. It is of vital importance that the Ztarmerski bridge over the river Korbynskia is taken before the Ivan’s have the opportunity to destroy it.

Click on the picture below to see the full AAR:

TFL Painting Challenge: First May Update

Which is happening on the seventh of May!

Some entries from the hard core this week: Stumpy, Sapper, Steve, Andrew Helliwell, and Cooperman.

Check out the individual galleries, but here’s a taster of what they’ve sent in:

IABSM AAR: D-Day Spectacular

Here’s a superb write up of what looked like an absolutely cracking game of I Ain’t Been Shot Mum featuring another of Desmondo’s brilliant Sword Beach D-Day spectaculars.

The report is taken from Iain Fuller’s marvellous Tracks and Threads blog, and with extra pictures from the IABSM Facebook group.

Click on the picture below to see all:

Polish WW2 Howitzers

Even though IABSM is a company-level game, where any artillery heavier than 75mm would be way off-table, I like to have one artillery unit per army painted up and ready to go. There’s the occasional scenario featuring things being so bad that the artillery is firing over open sights, or they can act as objectives or even battlefield scatter.

With the Poles, I’d already painted up all the limbers and tractors I needed: all that was now required was the guns. With Battlefront hit hard by the COVID crisis, I just couldn’t get hold of any set Polish artillery packs so had to try and make up my own.

Luckily the Poles used the ubiquitous Czech Skoda 100mm guns produced under license, which they called the wz. 14/19, so I was able to order four plastic sprues from Battlefront. They look ages to arrive, and at first I thought that I had the wrong model: the wheels didn’t look exactly the same as the image in the Battlefront shop, and it looked as if either the Poles used a shorter barrel for their version or that I had mounted either the shield in too laid back a position or the gun too far forward as the barrels seem to stick out more than they should. Here’s a picture from the Battlefront website to show you what I mean:

This was all very disheartening, but then I did a search on the web and found this picture:

And loads of other variants as well.

It seems the wheels could be correct for some versions, the gun shield didn’t necessarily cover the wheels, and it seems the barrel did stick out - perhaps not quite as far as mine, but closer than the Battlefront picture model. One thing: the barrel seems to have extended past the recoil cylinder. Annoyingly, the wz. 14/19 is one of the few guns not looked at in detail on the the otherwise very comprehensive PIBWL military site.

So a bit up in the air, but my models will definitely do!

The crews are from Peter Pig, who are usually excellent for providing small packs of figures. Here I used two packs of Soviet artillerymen, who are usually a very good substitute for Poles. Unfortunately I must say that I don’t think these are up to the usual Piggy standard. The faces, usually very detailed, are a bit stodgy, and the limbs/poses a bit off too. I had to double check that I hadn’t used early Battlefront models by mistake!

But they are done, and at a range of 3ft they will look perfectly good on the tabletop. It’s just me that will worry all the time that they are not quite right!

Crimean Russians Re-based

Thermopylae, Flanders, the Crimea…it’s the same places that get fought over again and again and again.

Here’s the latest re-basing for my 19th Century collection: the Russian army of the Crimean War, another pointless campaign that achieved far more misery than lasting effect.

I’ve exchanged the existing somewhat esoteric basing scheme for a more ubiquitous version: infantry in units of 32 figures mounted on 40mm wide and 30mm deep bases; cavalry on the same size bases in units of 12 figures.

A right pain in the backside to do, but good for my Painting Challenge score and means that I will get the army onto the tabletop again. Looking at my records, I last used them in anger on 9th March 1999: just over 23 years ago. Ridiculous, but I’m still glad I’ve kept hold of them all this time.

TFL Painting Challenge: Another April Update

It’s a sunny day outside, the washing is done and on the line, everyone else is still asleep…so here’s another quick update to this year’s Challenge.

Today we have entries from Carole, Lloyd, Andrew, Pete, Mervyn and Stumpy. You can see their latest works in their full galleries via the top nav bar, but here’s a taster of what they sent in:

More Battles on the Border

Even though the border was a different one!

It was off to friend Bevan’s house for some more To The Strongest. Our last games had involved Feudal English and Feudal Welsh battling it out on the border: this sessions would involve the Feudal English again, but this time facing the Feudal Scots.

This promised to be an interesting match up. The English had large amounts of Knights supported by equally large amounts of longbowmen, with a load of rabble Raw Spearmen following on behind. The Scots, on the other hand, had only one unit of cavalry (light chaps armed with lances), very few missile-men, but a lot of deep spearmen and warriors.

Game One

For the first game, I would command the Feudal Scots. My plan was to wait for his troops to come to me, largely ignore the longbowmen, tie his Knights up with some spearmen, and use my warrior-types to hack into his raw troops. The loss of all the English raw troops should give me the battle before the rest of my men gave way to his Knights.

The English began the game with Knights advancing on either flank. I responded by bravely doing nothing. I had a bit of luck in that one English command refused to go forward, meaning that the Sassenachs would approach my line piecemeal as opposed to together.

Not advancing on the left meant that the wood there effectively protected my flank. This was good news, as the more the Knights advance was delayed the better. Bevan, realising what was happening, sent one lot of Knights into the woods, delaying their arrival even more.

I still got hammered by the other unit of Knights, but my men dug deep and held on. I had, however, lost a couple of units more than I had killed myself, so things were definitely not in my favour.

Meanwhile things were coming to a climax on the other flank.

I had distracted the other of his Knights units with my light horse, who had kept evading away until they left the table. The Knights then turned round and headed back to the action, whereupon my Lights re-entered the table and charged their rear.

The Knights survived this, but not a flank attack from a unit of Spearmen: with the Knights losing both themselves and the General who was with them. Not only this but the other, already disordered, unit of Knights, seeing their comrades destroyed, also fled the field.

This, combined with the casualties on the other wing and the units my Warriors had destroyed, meant that Bevan was, much to both our surprises, out of Victory Coins. I had won!

The Roles Reversed

With neither of us sure how I had managed a victory, we decided to play again, but this time with the roles reversed i.e. I would take the English, Bevan would take the Scottish.

I had a very clear plan in my head: put all four of my Knights units on the right flank and send them forward as fast as possible. Refuse everything else, and let the Knights lap around the end of his line, turn, and roll the Scots up. Simples!

So that’s what I attempted to do.

The initial advance went well. It would have been better if I had broken one of his units with one of my initial charges, but my aim had always been for most of my Knights to pin the left side of his line whilst the remainder rolled them up.

Incredibly, Bevan made a (very rare) tactical mistake, and let my Knights lap around his flank.

Look at the picture below. The Knights on the far right have turned and are about to hit the enemy’s flank. The rest of my Knights are perfectly in position. I had done it: I had the Scots exactly where I wanted them and it was now just a question of playing out the roll up.

Or not.

For those of you who don’t know what two Aces mean, it means my men won’t be moving that turn.

And on the next turn they didn’t manage to break the Scots either.

In all, it took me three turns to break that one unit when they should have fallen on turn one.

That meant that the meat of the Scottish force had enough time to hit my rabble Raw Spearmen and drive them from the field. I could only watch as my Knights stayed still or bounced off the Spearmen’s flank whilst the rest of the army crumbled.

To say that I was robbed is understatement in the extreme! Even Bevan couldn’t believe that he had survived the onslaught…but all credit to him for recognising what was happening and driving his men forward against my rabble as fast as he possible could.

Aftermath

Another two great games of TTS, and two surprise victories…one of which was a very big surprise.

In fact, all that remained was for me to give the packs of cards I had been using a final shuffle:

IABSM AAR: Break-Through

For those of you who are on Facebook, I recommend joining the I Ain’t Been Shot, Mum group. People there answer questions about the rules, post up pictures of their forces, ideas for scenarios and, of course, after action reports.

Here’s one from James Moulding featuring late war action in a break-through scenario. Click on the picture below to see all.

IABSM AAR: Return to Le Haut-Perrier

I was adding another IABSM battle report to the 500+ already on the site (plenty more room: keep sending them in) when I noticed the links to five reports in particular were broken.

The reports were all from from the extremely talented Sergeant Perry: five different AAR featuring the same scenario from the Welsh Guards scenario pack played at the same convention back in August 2012.

The table set up and games look magnificent so, having repaired the links, I thought it worthwhile to highlight them again. Click on the links below to see all:

Sergeant Perry/01

Sergeant Perry/02

Sergeant Perry/03

Sergeant Perry/04

Sergeant Perry/05

And here are a couple of photos to whet your whistle:

TFL Painting Challenge: Quick Update

As no wargaming chums seem to be available for a game (do they not realise what bank holiday weekends are for?!) it must be time for a quick TFL Painting Challenge update.

Just a few entries this week, but do go to the individual galleries for a bit of painting inspiration:

Garrhul from Darkest Star Games

A quick dip into the lead mountain and a chance to paint the Garrhul 15mm dog-men from Darkest Star Games. I already have Critical Mass’ Protolene Khanate and Khurasan’s Raug, so it was a natural fit for me to add the Garrhul.

This is currently a small range, but very nicely sculpted. I particularly like the way they have done the helmets: not anthromorphic like the Khanate but sensibly shaped helmets for troops with a snout!

The range consists of helmeted or unhelmeted infantry, available in packs of ten. Each pack contains a good variety of poses and a chap carrying a squad support weapon. In command you have a Garrhul merchant Prince plus bodyguards, and a sniper figure is also available. I particularly like the Merchant Prince’s pose: standing looking out at the battlefield with his arms crossed. Finally, and newly released, the Garrhul have some two-seater grav rafts: like Jeeps.

The Garrhul are proper 15mm figures, so match perfectly with the Khanate. They are a size different to the Raug, who are (like a lot of Khurasan’s 15mm figures) more like 20mm miniatures. The heads of the Raug and Garrhul are sculpted very similarly, however, and they carry the same sort of equipment, so it’s easy to believe that they are two branches of the same genome.

All in all, these are great figures, and I look forward to the range expanding in the future.

Garrhul (left) and Raug (right)

Brutal Artillery!

With half the Brute (wasteland mutants from Nuclear Shrimp Games that are 15mm scale but, because of their mutant nature, are more like 25mm tall) infantry now painted, I thought I’d give myself a break and tackle some of their heavy equipment.

First up were the field guns. These come in two variants, all based on the same model. If you use the kit without the extra bit on the barrel, then they become howitzers:

Pop the extra bit in the barrel, however, and they become anti-tank guns or field artillery:

These are huge models that, whilst fitting with the Brute, are going to look a bit odd on a 15mm table…but then perhaps that’s the point. They paint up easily, though, and are unusual enough for a “recommended” from me.

19th C AAR: The Battle of Rigatoni

Time for some 1859 Franco-Austrian War action using Neil Thomas’ Wargaming 19th Century Europe 1815-1878 rules.

It’s what would become northern Italy, and the two small towns of Rigatoni and Bolognese are about to eb the subject of a major clash or arms.

On the left in the picture below are the French. They outnumber the Austrians in infantry and cavalry 6:5 and 4:3 respectively. The French are better commanded troops, a real advantage under these rules, and many of their units are Elite.

The Austrians, coming from the right, suffer from poor quality generals. They do, however, have more artillery (5:3), start the game uphill from the French, and begin the game closer to the two towns.

Both sides began the game by rapidly heading forward, with the Austrians reaching the towns first.

The French delivered three main thrusts: one on each town and one in the gap between them.

First in was the thrust against the Austrian right flank that forced the Austrian infantry out of the town. Good news from the French, but the Austrians rallied outside the town and punished the French with rifle and artillery as they reorganised after their attack.

One French battalion was wiped out as it took a battery of Austrian guns, the other was content to lurk amongst the safety of the buildings…and their accompanying cavalry was about to lap around the Austrian flank.

The French were also now approaching the Austrian left and centre, but the Austrian cavalry (much delayed by its painfully slow commander) had finally arrived:

Back to the left, and the French cavalry attacked the Austrian infantry that had been ejected from the town at such great cost to the French infantry.

The French cavalry charged forward, but were cut down in a hail of fire.

The Austrian left flank was now secure, and the town there could be re-captured…but only if the rest of the battlefield also remained in Austrian hands.

In the centre, the French infantry columns reached their destination and attacked. Again, however, although initially successful, the almost-victorious French infantry either exhausted themselves in an ultimately indecisive charge, or were shot down by the Austrian infantry in the town on the Austrian left flank.

That left only the Austrian left flank to be decided, and that was where the Austrian cavalry were massed.

Both sides hurled their cavalry forward, and a massive, swirling melee broke out. At first the French did well, but Austrian numbers soon began to tell, and eventually the remainder of the French horse were either dispersed or forced to fall back, especially when the Austrian horse-artillery rockets got into the action.

And with the defeat of their cavalry, the French’s chances of victory slipped away, and the pantalons rouge were forced to retire.

A hard fought victory for the Austrians, whose troops managed to absorb the initial charges of the French attack columns before wiping them out with rifle fire: a great game much enjoyed by either side.

Here’s a shot of the battlefield as the game ended.

TFL Painting Challenge: Big Early April Update!

A bountiful harvest of entries for the Painting Challenge this week, including the return of a couple of regulars: Mark Luther and John Haines. Welcome back, chaps!

You can always tell what the latest trends are from the entries into the Challenge: two of the eight entries this week are from the Silver Bayonet range or, as I like to call it, Call of ‘Mr C’ Napoleonics.

Anyway, do make a point of visiting the galleries (you can get to them from the top nav bar), but here’s a taster to encourage you to do so:

TTS AAR: Battles on the Border

Off to friend Bevan’s house for some To The Strongest with some action from the Welsh Borders.

For the first game, I would play the Welsh, with Bevan taking the part of the Feudal English.

Game Two

It was now only fair that we swapped sides and gave things another go. I would take exactly the same Feudal English that I had just beaten, and Bevan would take my victorious Welsh for a spin.

So two great games of To The Strongest and, overall, I edged victory over the two battles. The real pity was that there was no time for a third game as a decider!