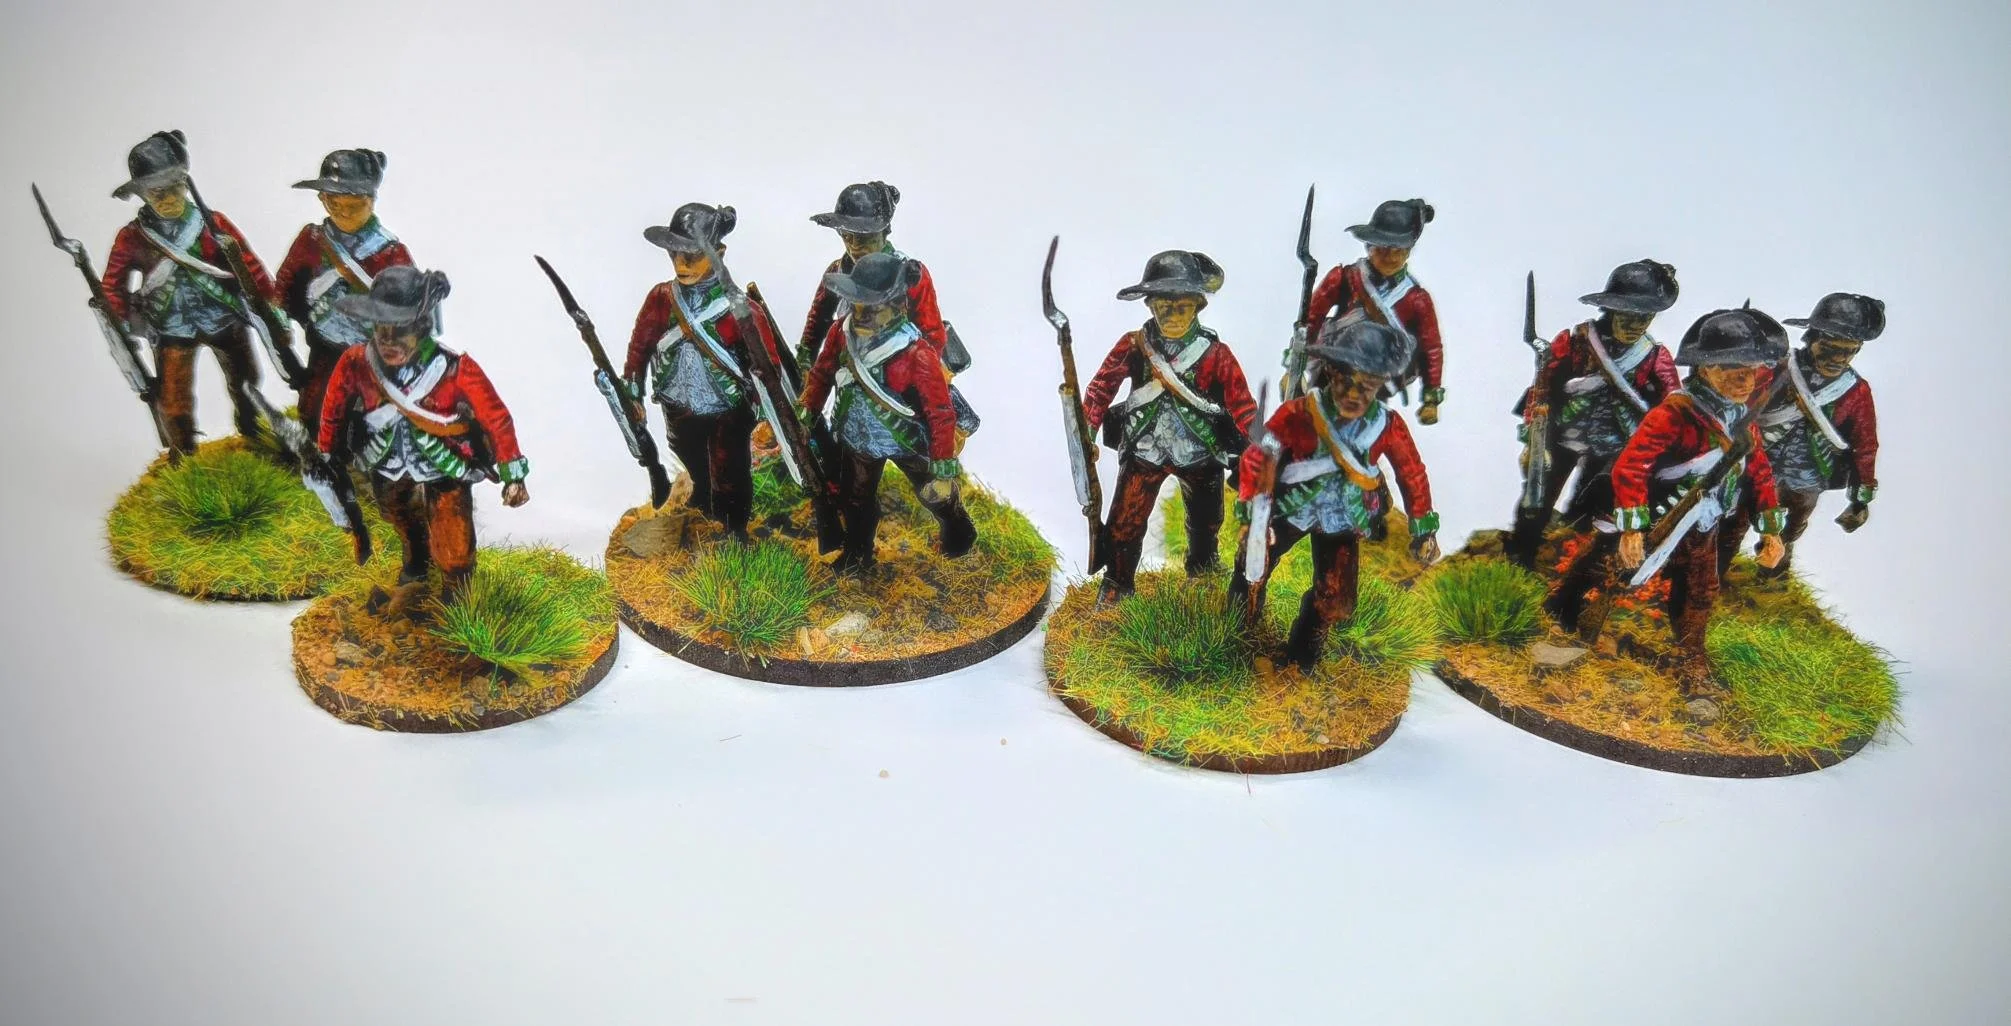
TFL Painting Challenge: Mid-November Update
/A quick update to keep on top of things as we come to the last six weeks or so of this year’s Challenge.
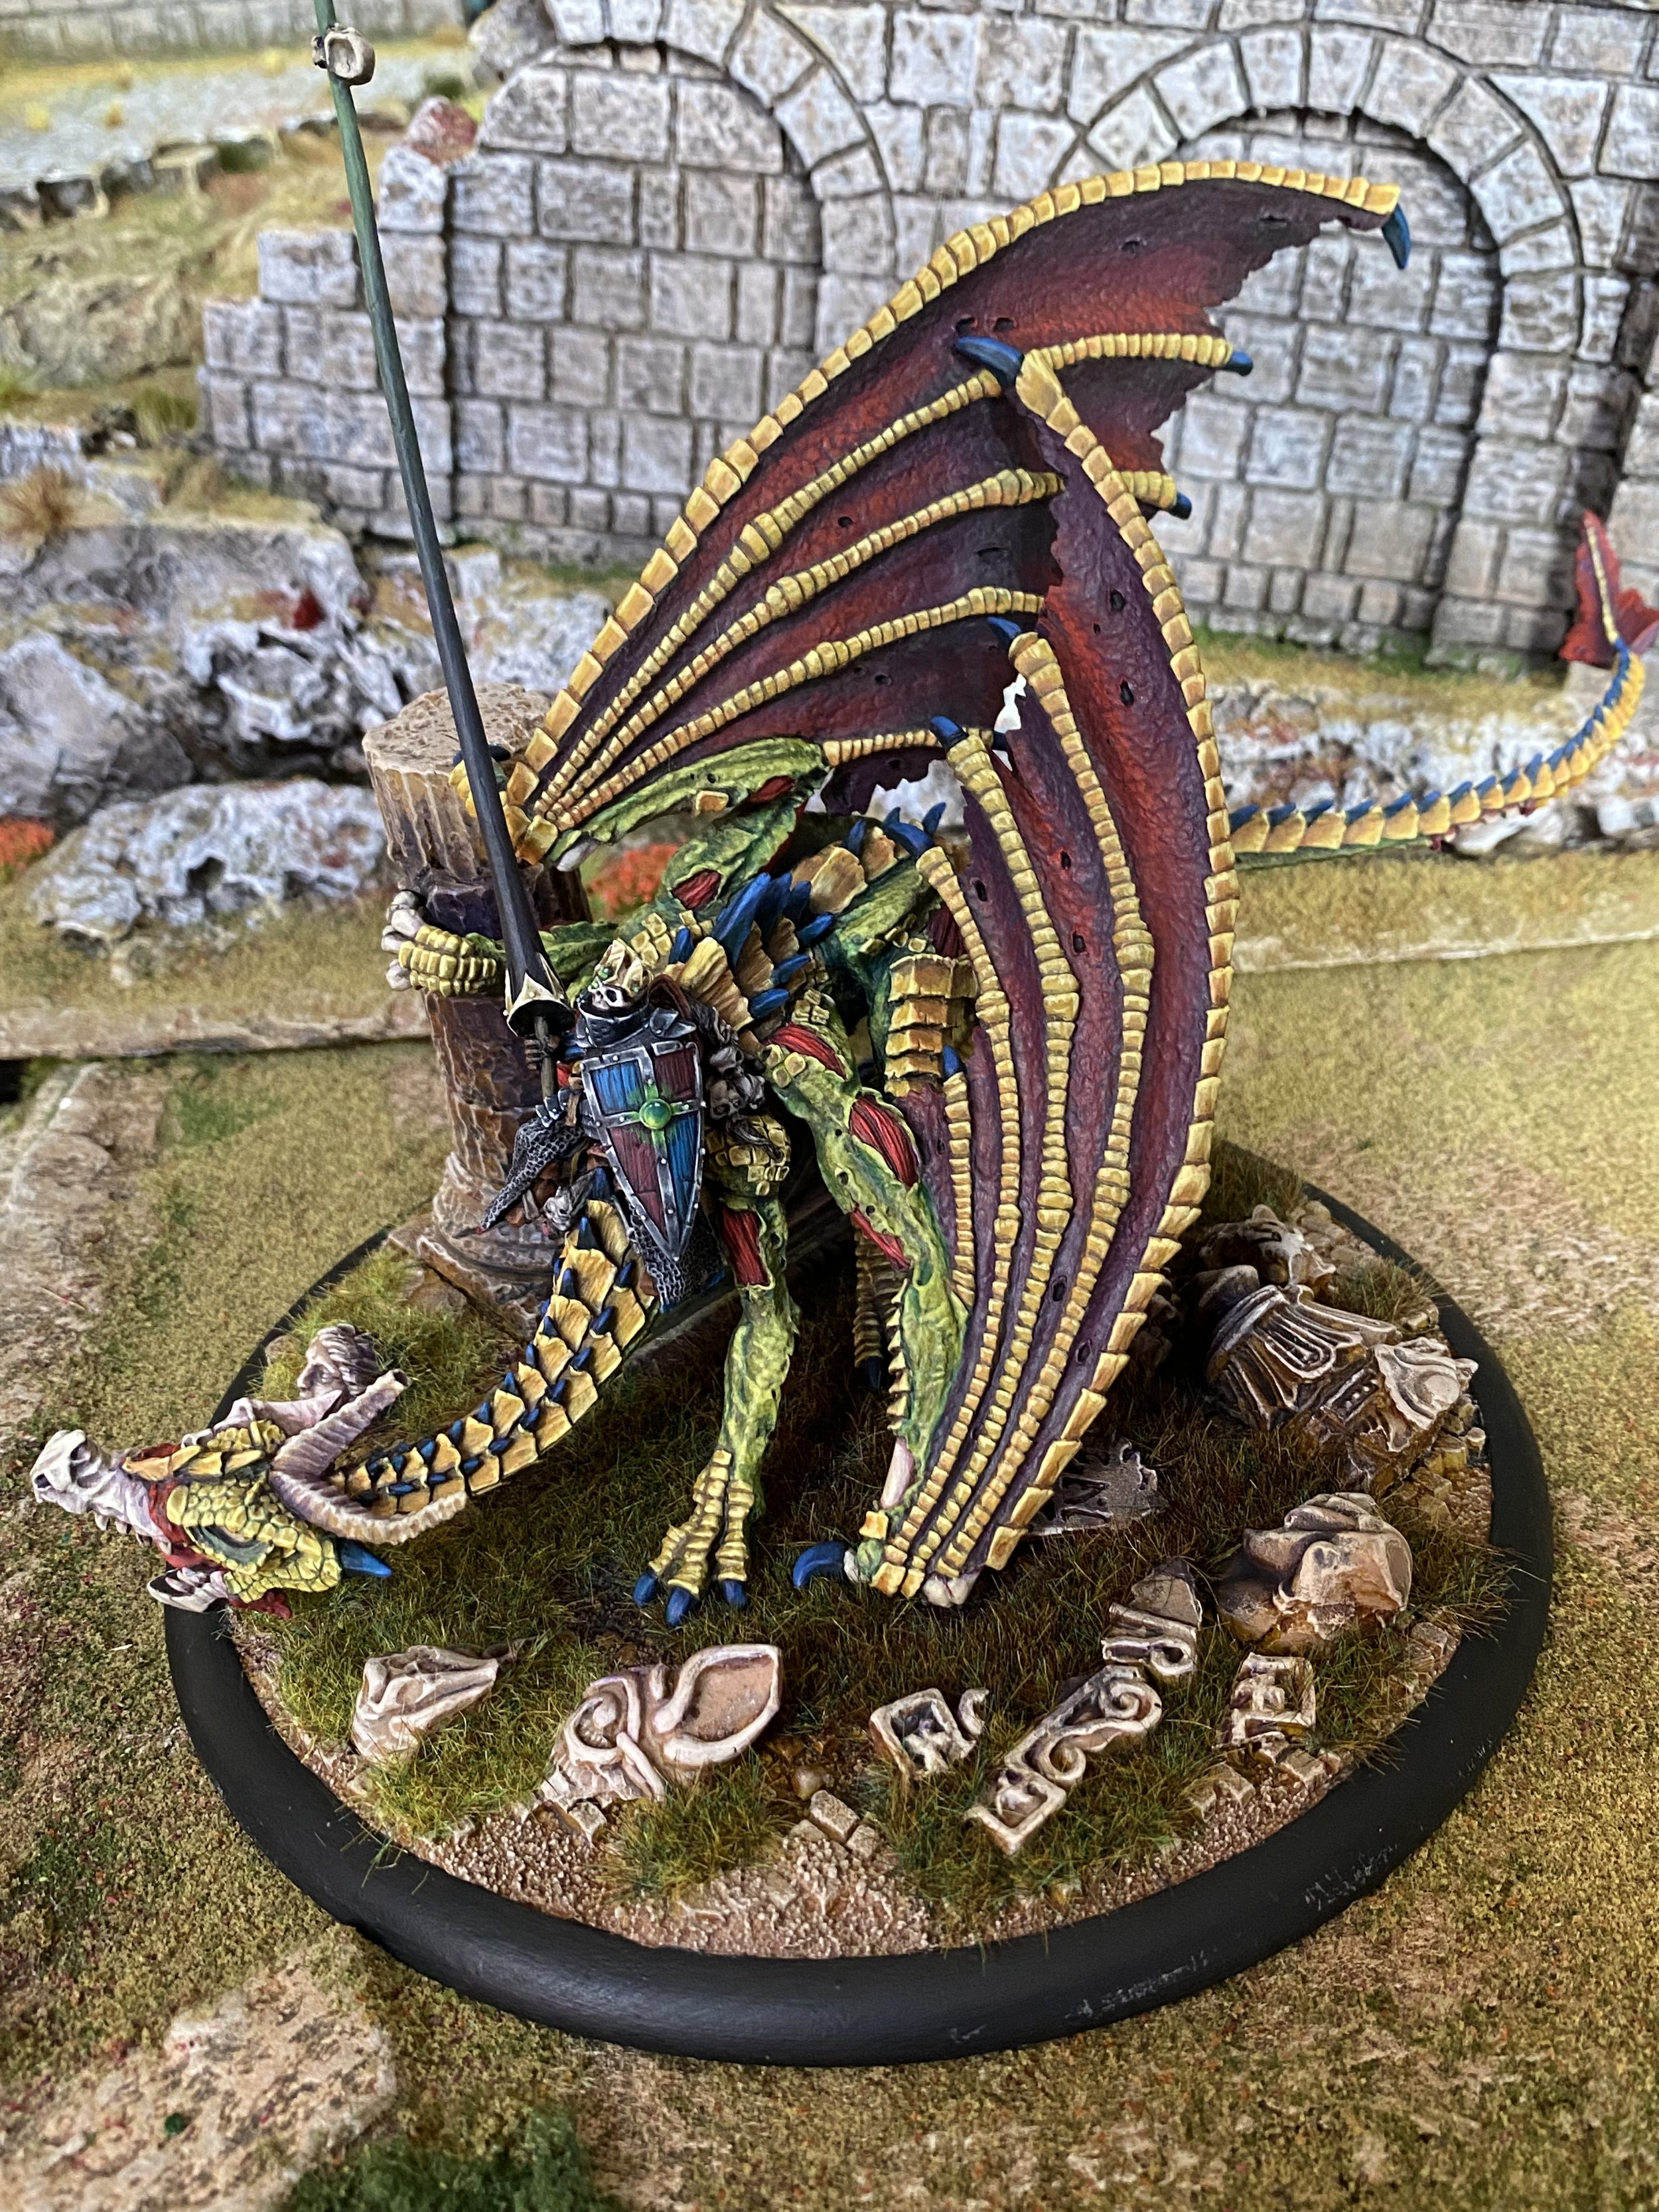
Do visit the individual galleries, but here’s a taster…

A quick update to keep on top of things as we come to the last six weeks or so of this year’s Challenge.
Do visit the individual galleries, but here’s a taster…


With real life being so busy at the moment, I have started augmenting my own painting by buying already-painted miniatures, either second-hand or painted to order.
One of the stands, therefore, that I always try to visit at wargames shows is that of Instant Armies & Veteran Miniatures. They stock literally thousands of second-hand figures across a wide range of periods. They don’t usually have a sign or branding, but they are the chaps who have the 28mm figures on display on top of the wooden draws containing the 15mm figures.
I restrict myself to buying figures at least as good as what I can paint myself, and the good thing about IAAVM is that a lot of their offering, unlike many second-hand figures platforms, is of a very good quality indeed, and at prices that won’t necessarily break the bank.
They were at Warfare on Sunday, allowing me to pick up a very nice unit of 15mm winged hussars for my nascent 17th Century Polish/Lithuanian army. A night in a tray with just the bases under water and they were all ready for re-basing.
Cost-wise, they worked out at around £2.50 a figure, which is a great price considering that the base lead would cost you about £1.40 a figure with a £3-£4 painting cost on top of that.
So thnak you to IAAVM: my Polish/Lithuanians are now one unit closer to completion!
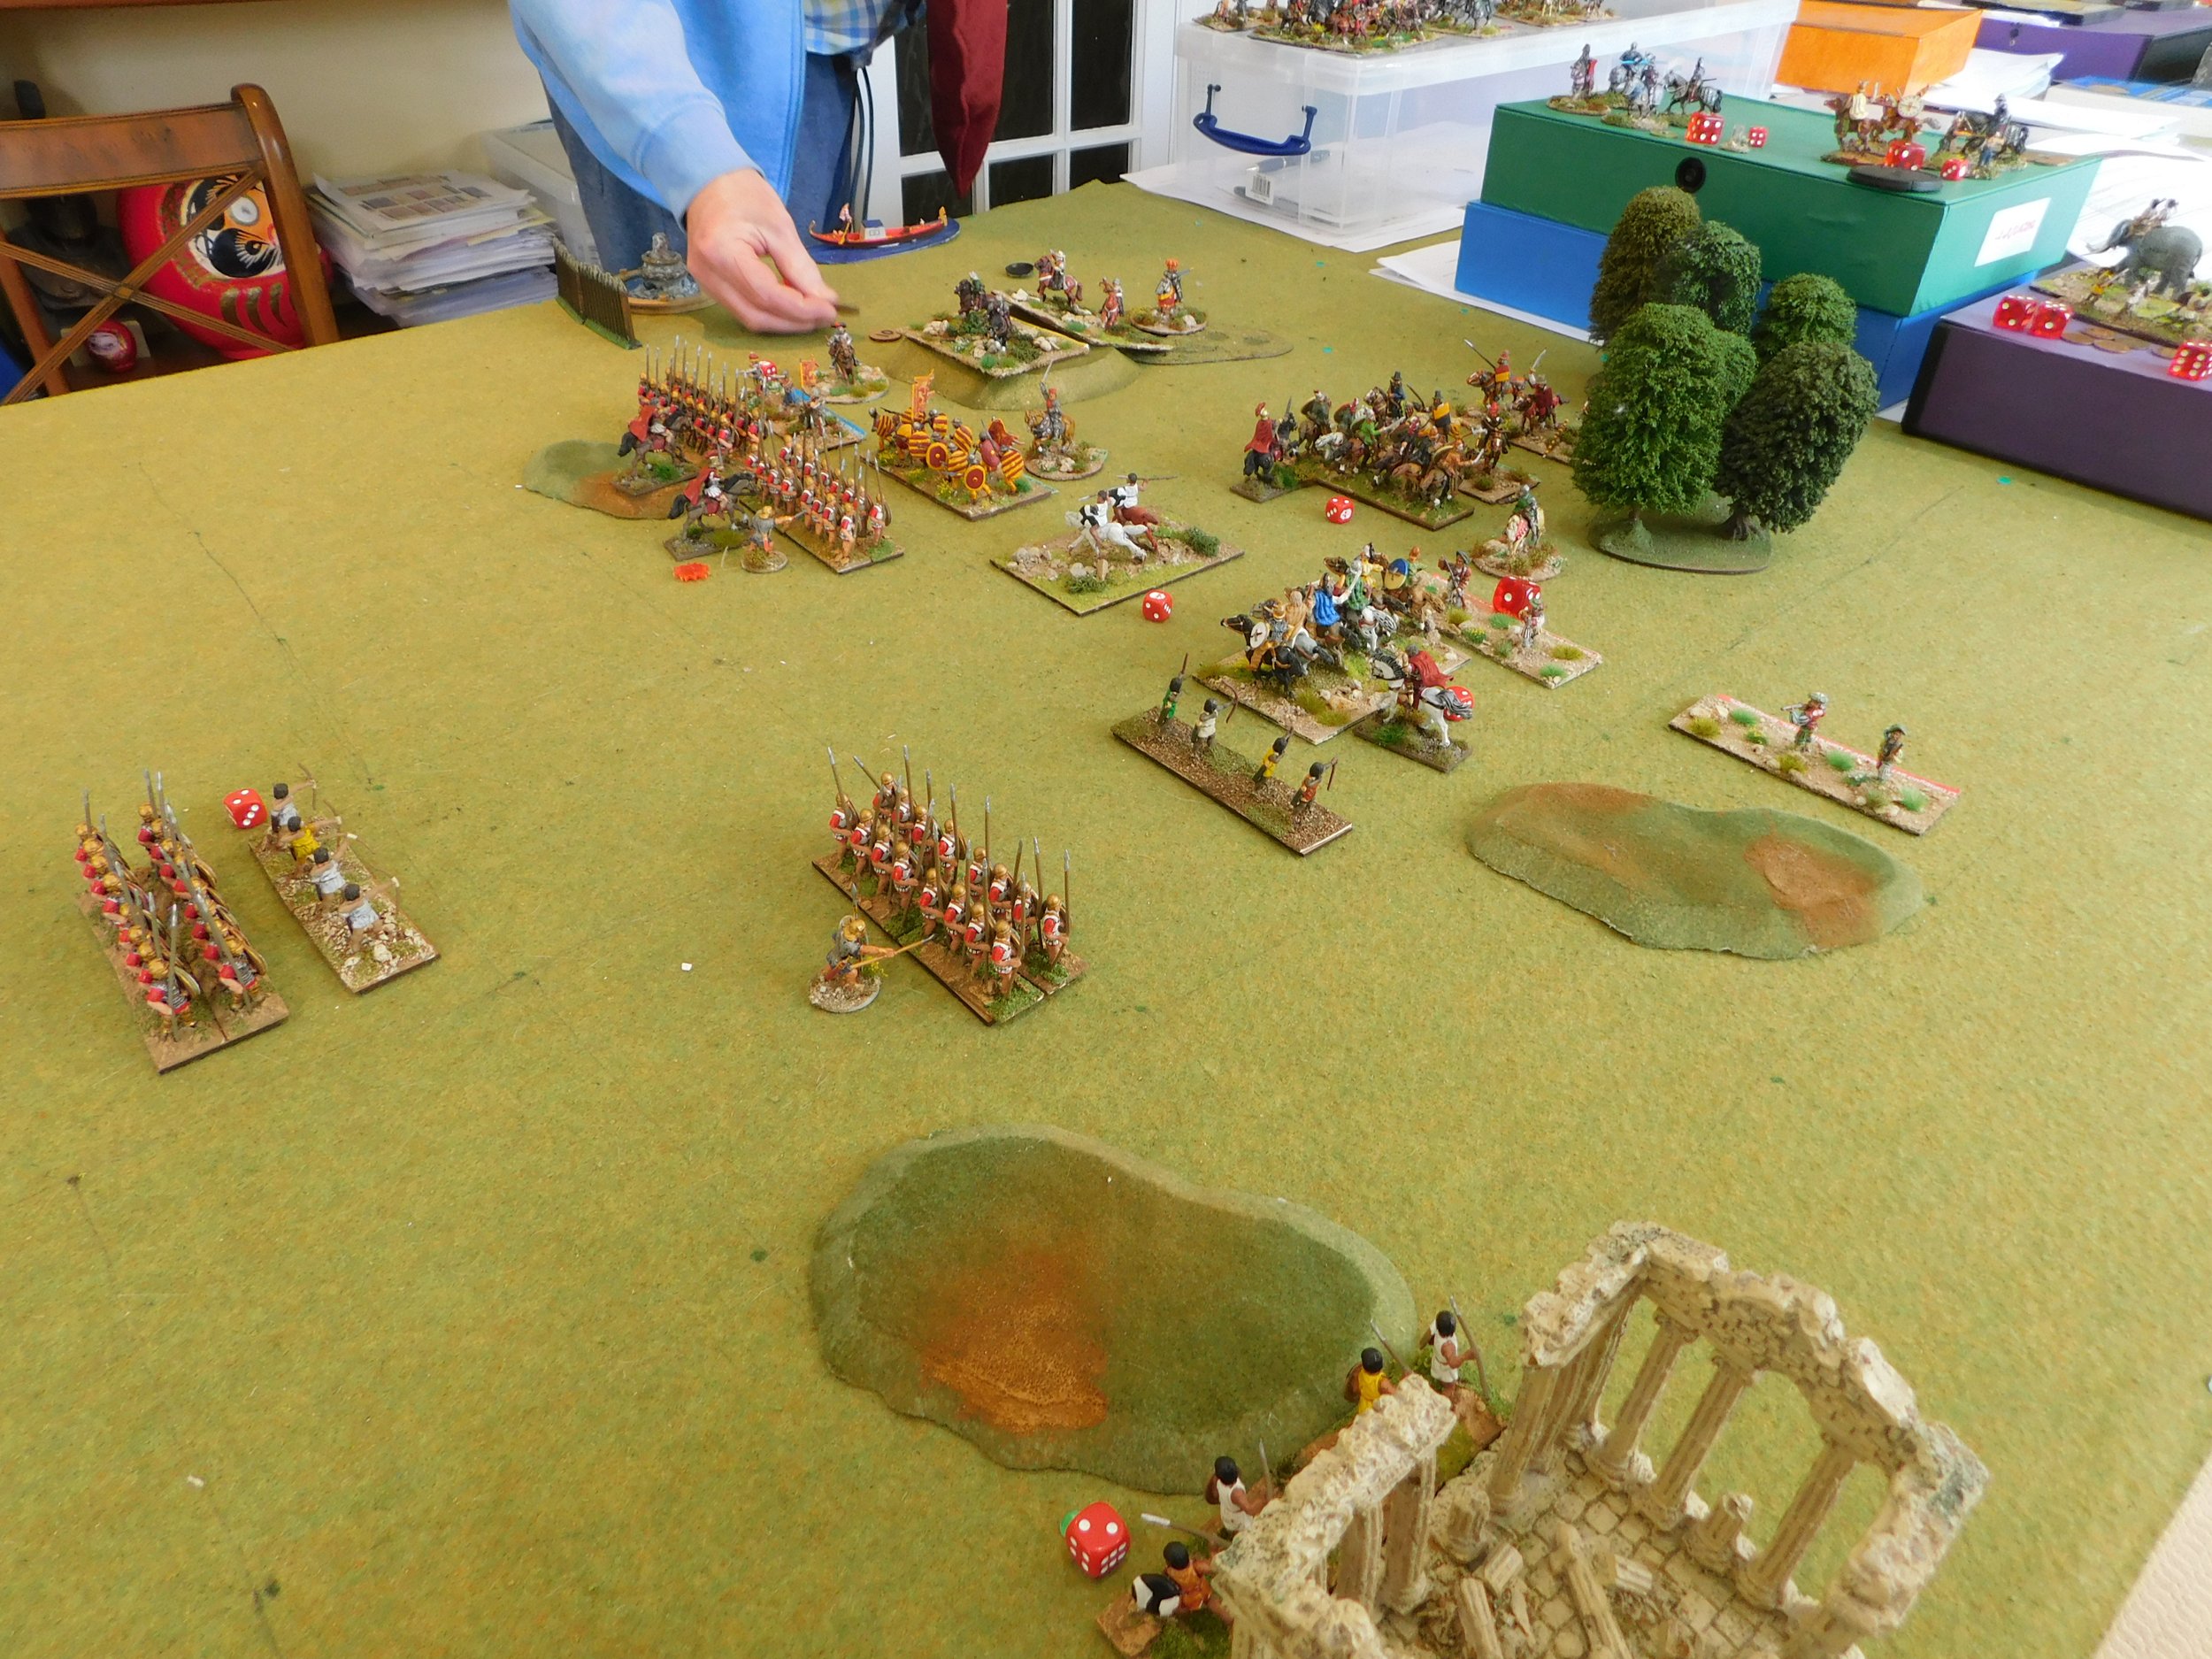
Just back from Warfare 2022: a show I have been to many times before but whose home, this year, was the Farnborough Exhibition Centre.
So what did I think?
Well, it was £10 to get in: hardly a bank-breaker, but more expensive than any other show I have attended this year.
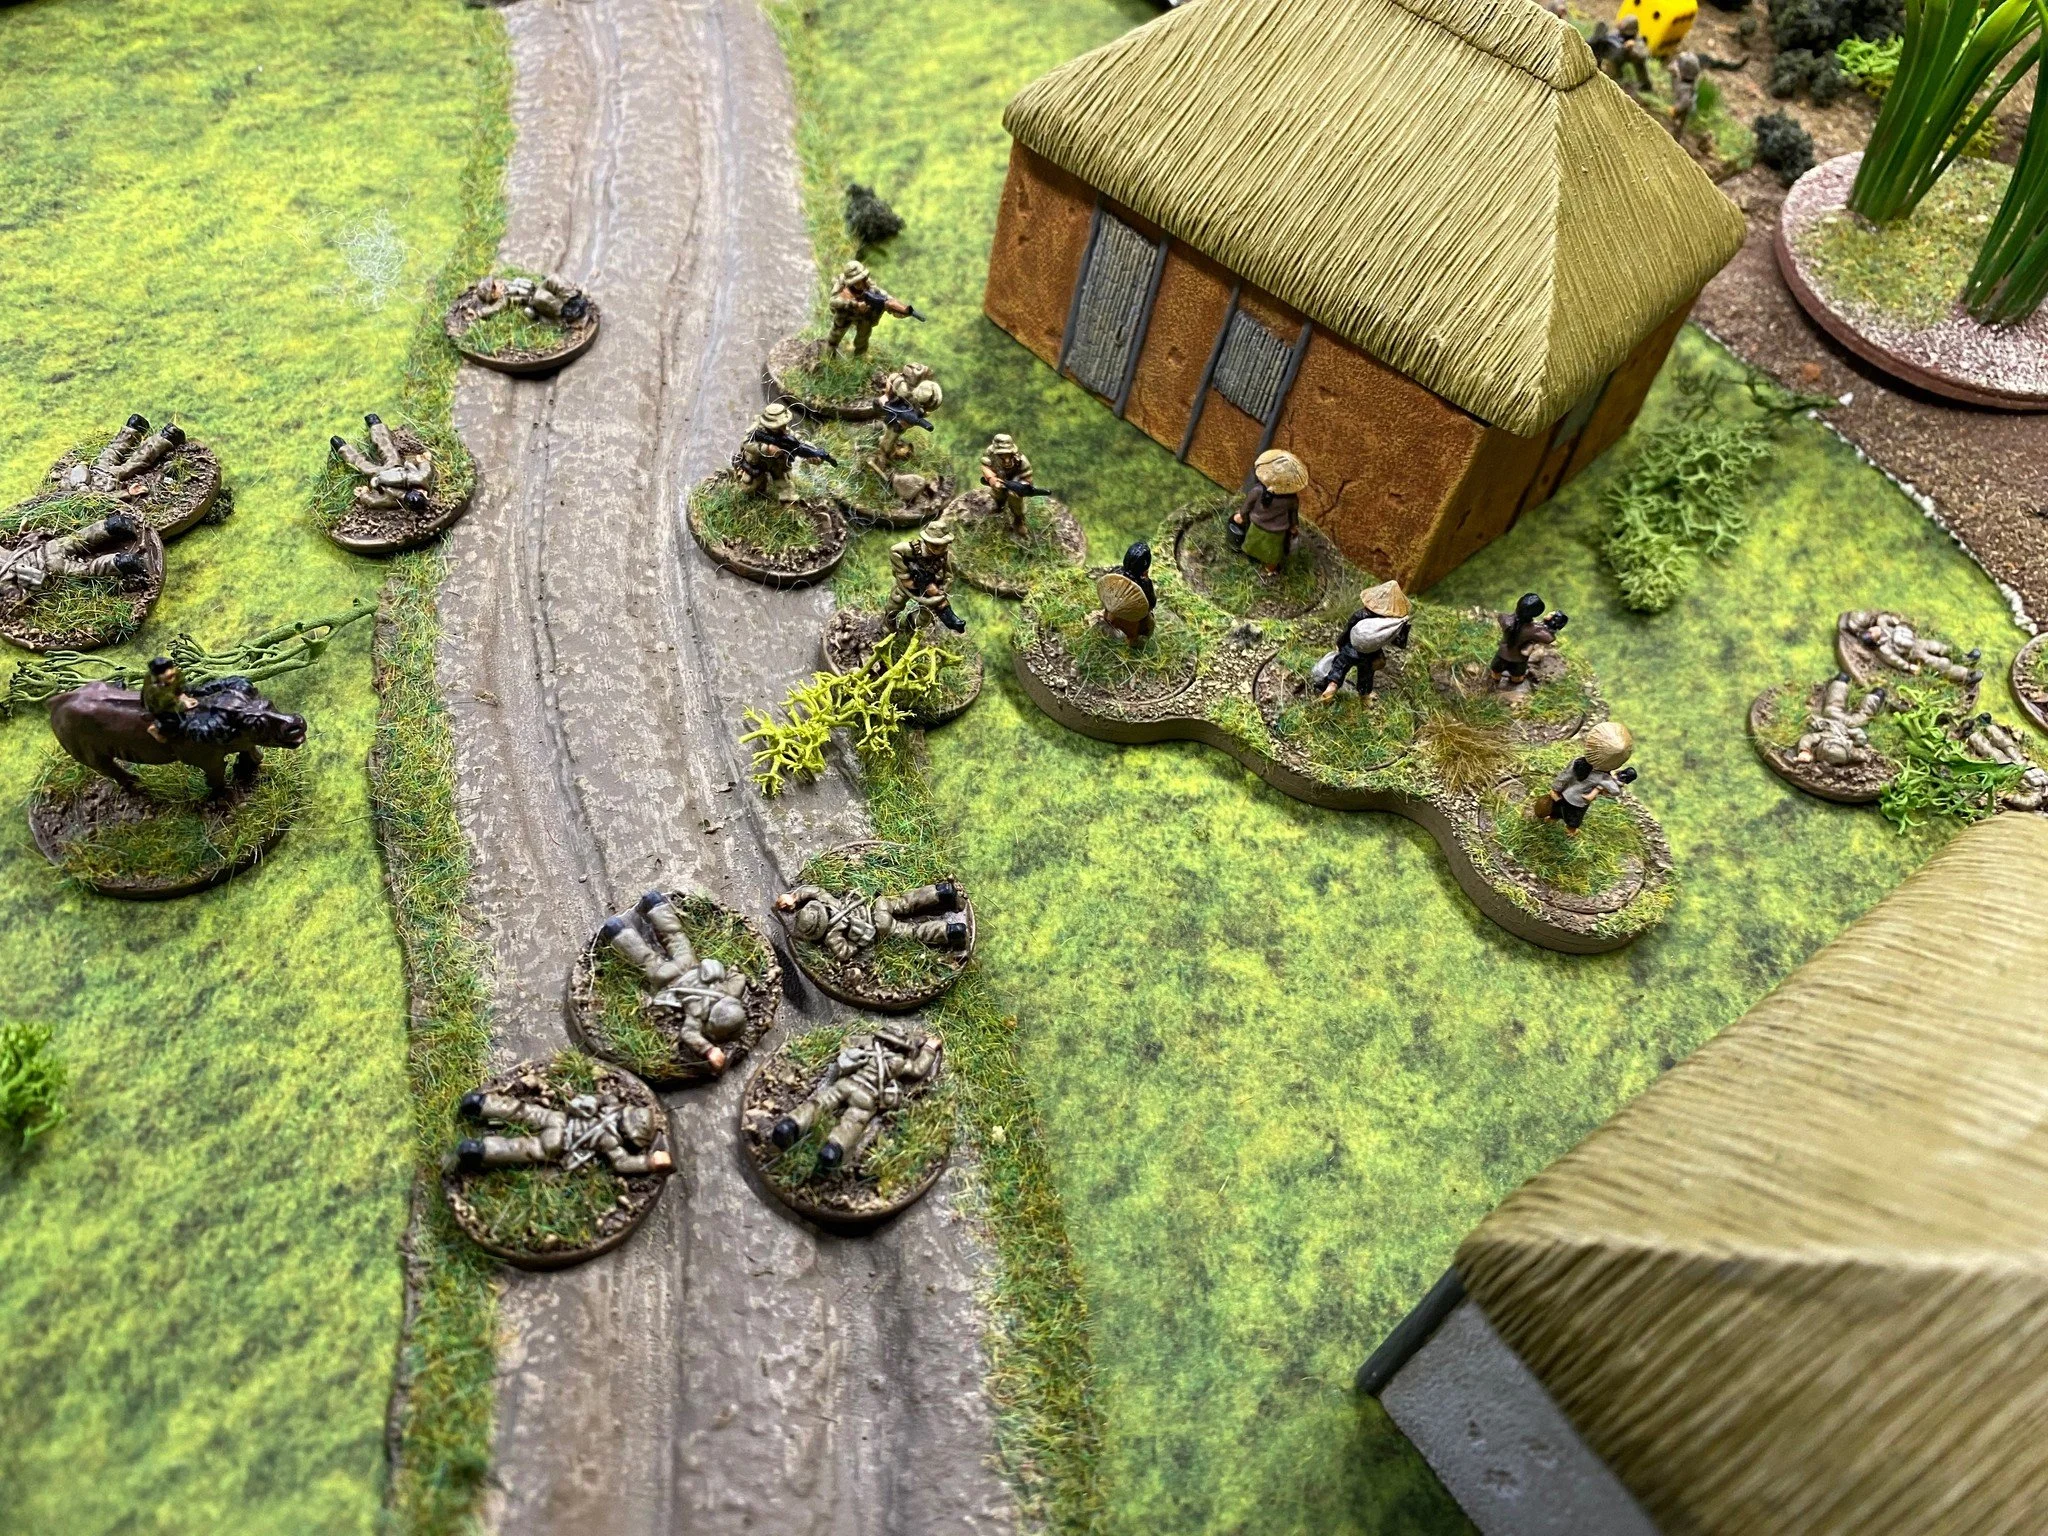
A ‘Nam game that looked like a recreation of the famous scene from Apocalypse Now
The venue itself was half exhibition centre and half aircraft hanger. I found it a bit dark in the hanger: but I imagine it’s set up that way because they anticipate that participants in whatever’s on show will bring their own lighting. Catering was okay (bring back Ascot as a venue!): the queues looked much, much worse than they actually were; and prices were fine.
German engineers make their way to Luxembourg
There were a decent number of traders, but not as many as I would have expected to see, and they were all crammed into two areas with very narrow aisles between stands. It was quite claustrophobic even though we were effectively in an aircraft hanger! It left little room for browsing, so it was really a question of only going for what you needed.
Vive la France!
Besides the bring and buy, which was the usual sweaty melee, there did seem to be much more painted figures, presumably second hand, for sale. Apparently this has been the topic of some discussion on various fora recently: how the first of the gamers who enjoy the “golden age of wargaming” are dying off, leaving behind them hundreds or even thousands of beautifully painted figures available at comparatively bargain prices. I may have come away with a complete, lovely, fully-painted Burgundian Ordnance army for To The Strongest for considerably less than it would have cost me to buy the lead and get my figure painter to paint it but, if my better half is reading this, that would definitely be a scurrilous rumour with no basis in fact. Honest.
Some kind of attack on an Italian aerodrome!
There were a lot of exhibition games, and of an incredibly high quality. I have dotted this post with examples: they were very inspirational and, as usual, surrounded by people happy to talk about the battle, the game, the rules, the figures etc.
A bit blurry, but another spectacular WW2 game
The largest part of the show, however, were the competition games…and there seemed more than ever of them. It was good to walk around, weaving your way through the labyrinth of tables, looking at all the beautiful figures on display. It was amusing to see the difference between the look of the tables and the different rule sets used…but I will refrain from any bad-mouthing of rules other than those that I play.
So all in all, worth going to, but I won’t go again tomorrow: it’s an hour’s journey for me either way and it wasn’t that good. I will go next year, provided it is on and not too far away: the exhibition games alone, if they repeat this year’s quality, would be worth it.


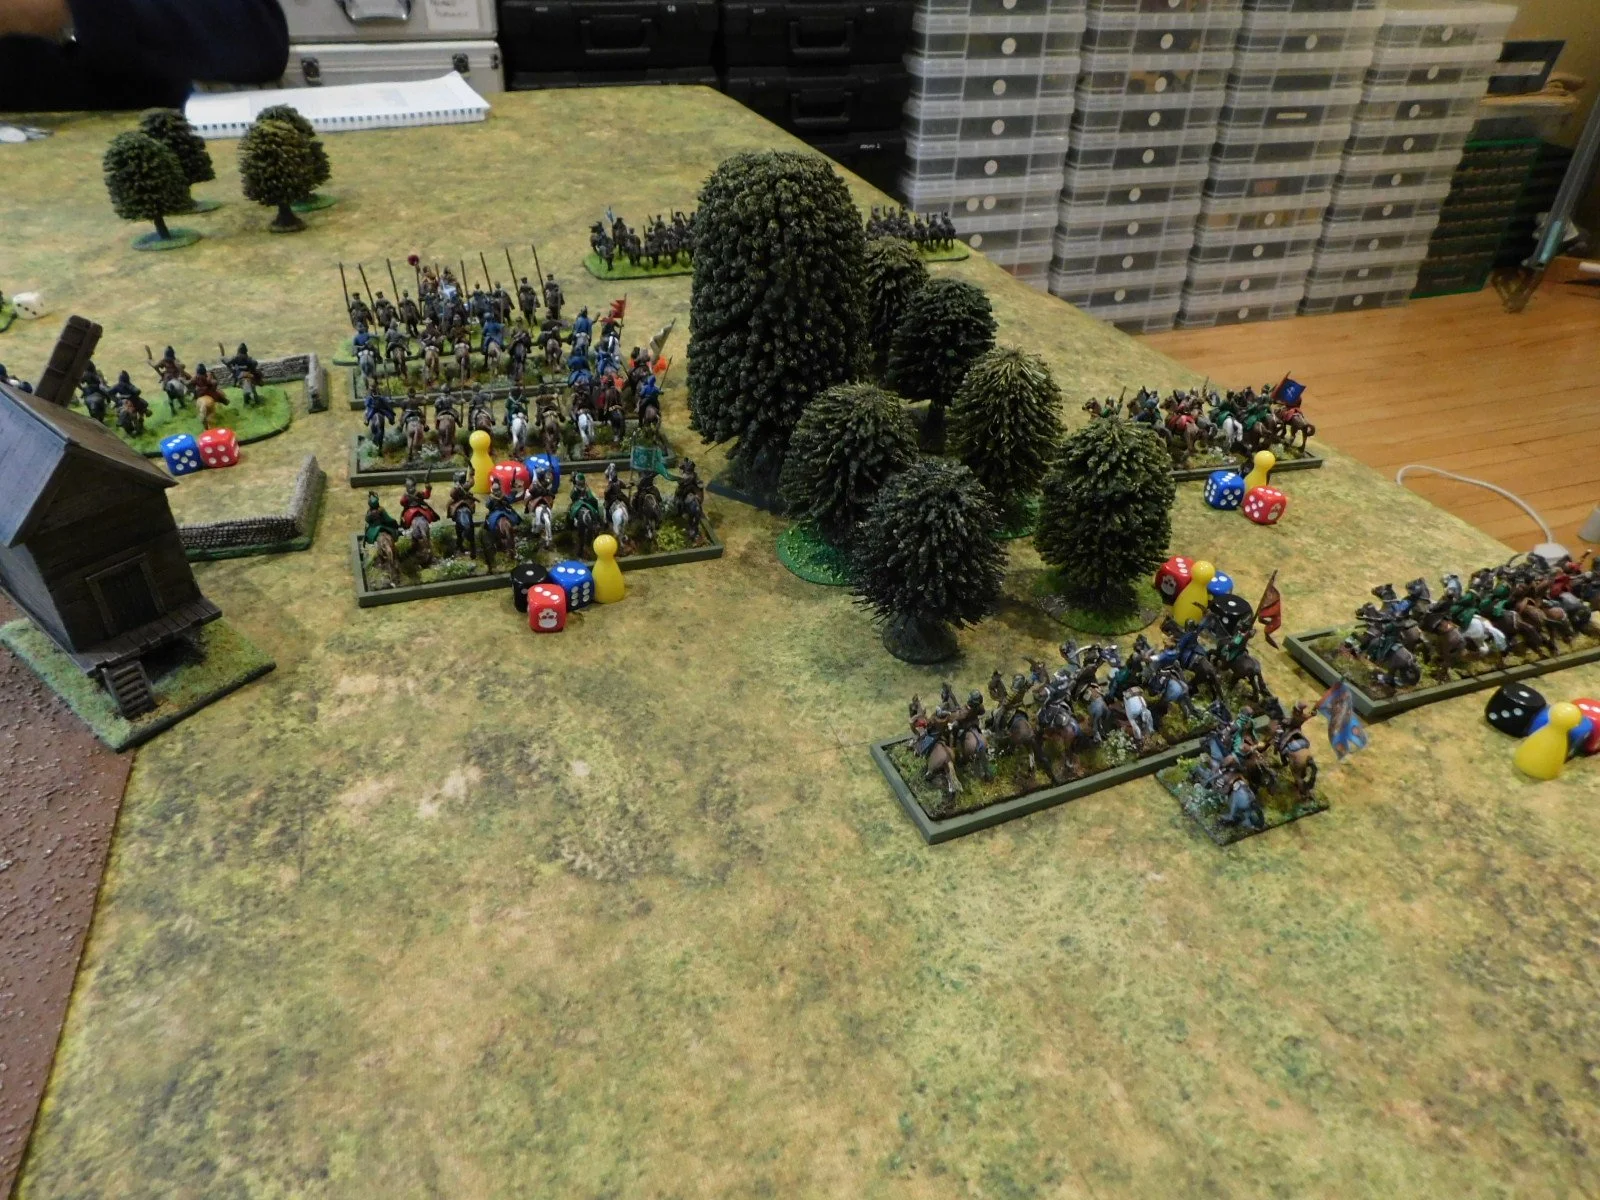
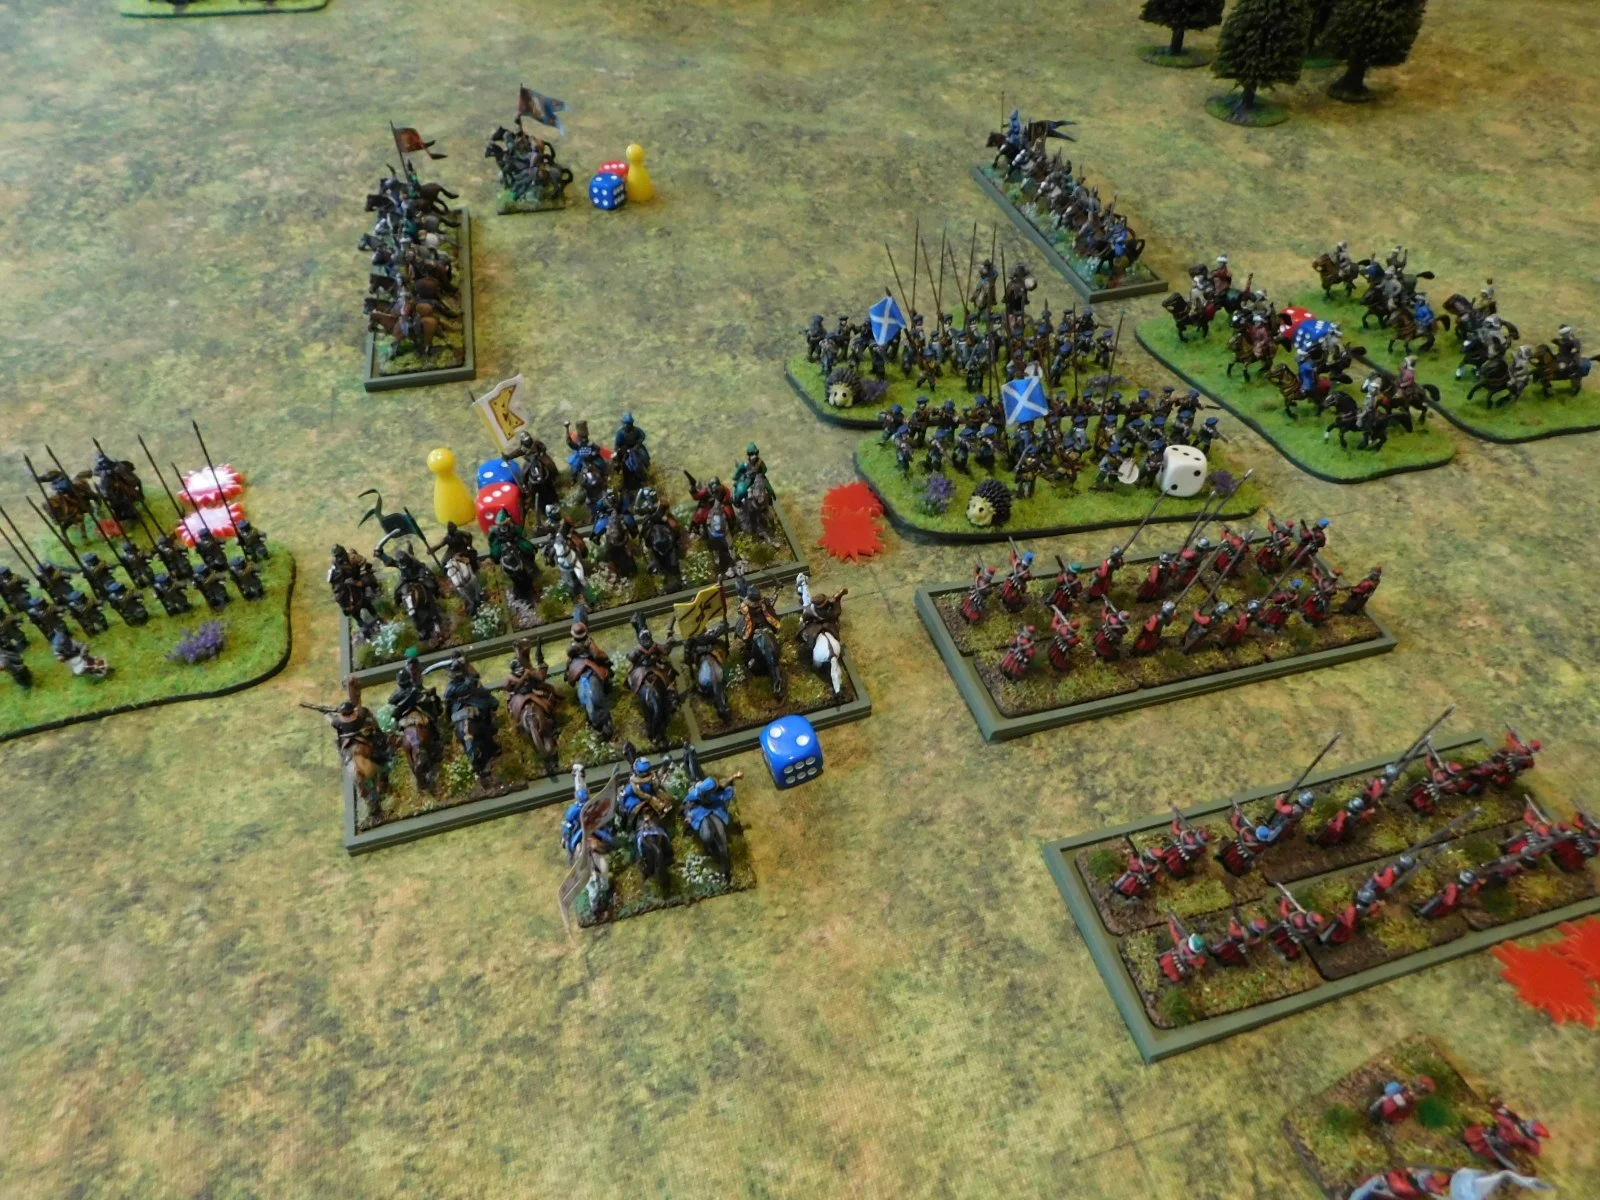
John and I fancied a game of For King & Parliament, but I didn’t fancy using straight ECW armies. Eastern front was a possibility, but I didn’t fancy using the Cossacks, which meant my only complete army was the Muscovites, but who to fight against them? Step forward the Scots and we were good to go, albeit for a rather odd if contemporary mash up!
I would play the Muscovites and, incredibly considering the amount of horse I had, immediately lost the initiative and had to start deploying first. My plan was to put most of my cavalry on the right and win there whilst my infantry held the centre and left, then swing my victorious cavalry into the rear of his infantry once they were fully engaged with mine.
Only potential problem was that I didn’t have much infantry, so had to use a brigade of Reiters (heavy horsemen) in the middle to fill a gap.
The Scots read my cavalry deployment superbly, and placed their large cavalry brigade opposite them, meaning that not only were my Tatar light cavalry immediately wrongfooted (I wanted to sneak them round the flank but their way there now led through some Scots Pistoliers) but my National Cavalry were squashed up behind a windmill! C- could do better for deployment!
Lots of lovely Muscovite horse, but they’re not quite in the right place
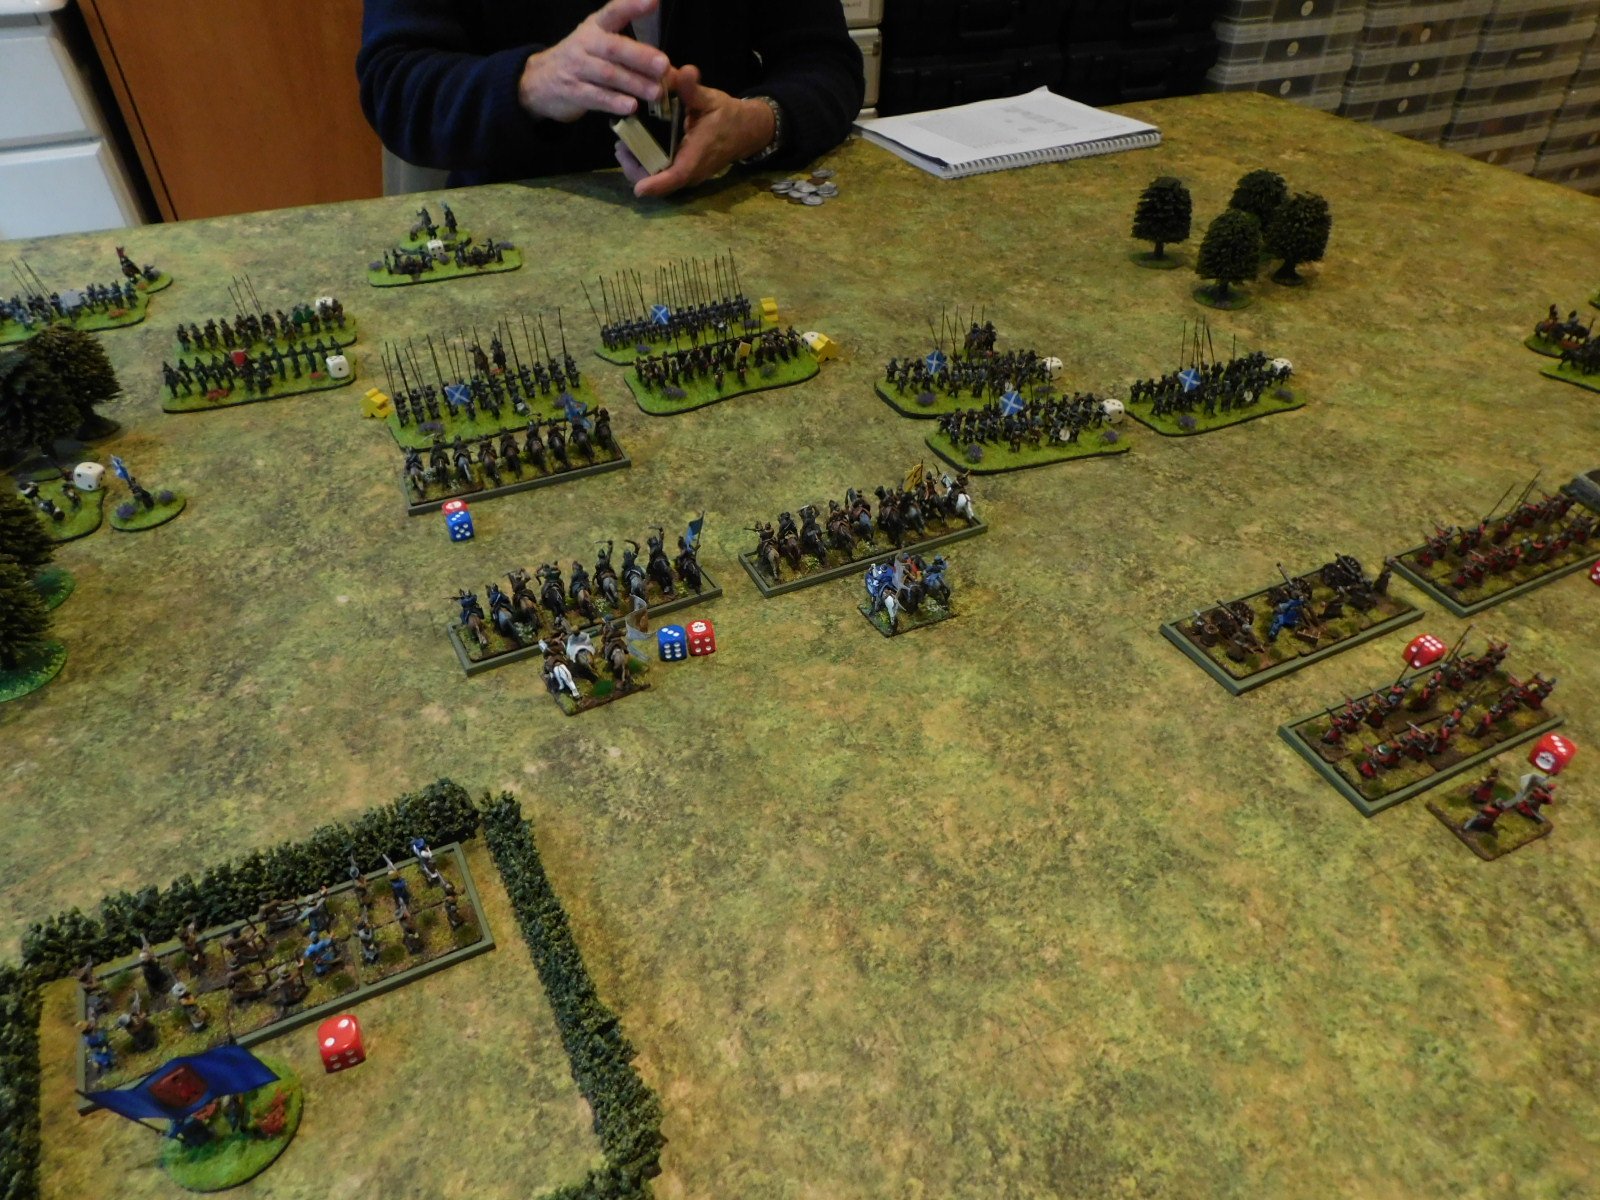
As battle commenced, the Scots hung back: advancing only their Highlanders on my left and their cavalry on my right. I quickly led my entire army forward except for the Servant Cossacks and Border Dragoons on my far left: I didn’t fancy mixing it with some mad Clansmen!
I also attempted to sort out the mess on my right flank by getting one of the brigades of National Cavalry to swap places with the Tatars: what a mess!
The aforementioned mad clansmen
Swapping two brigades of cavalry over is not easy
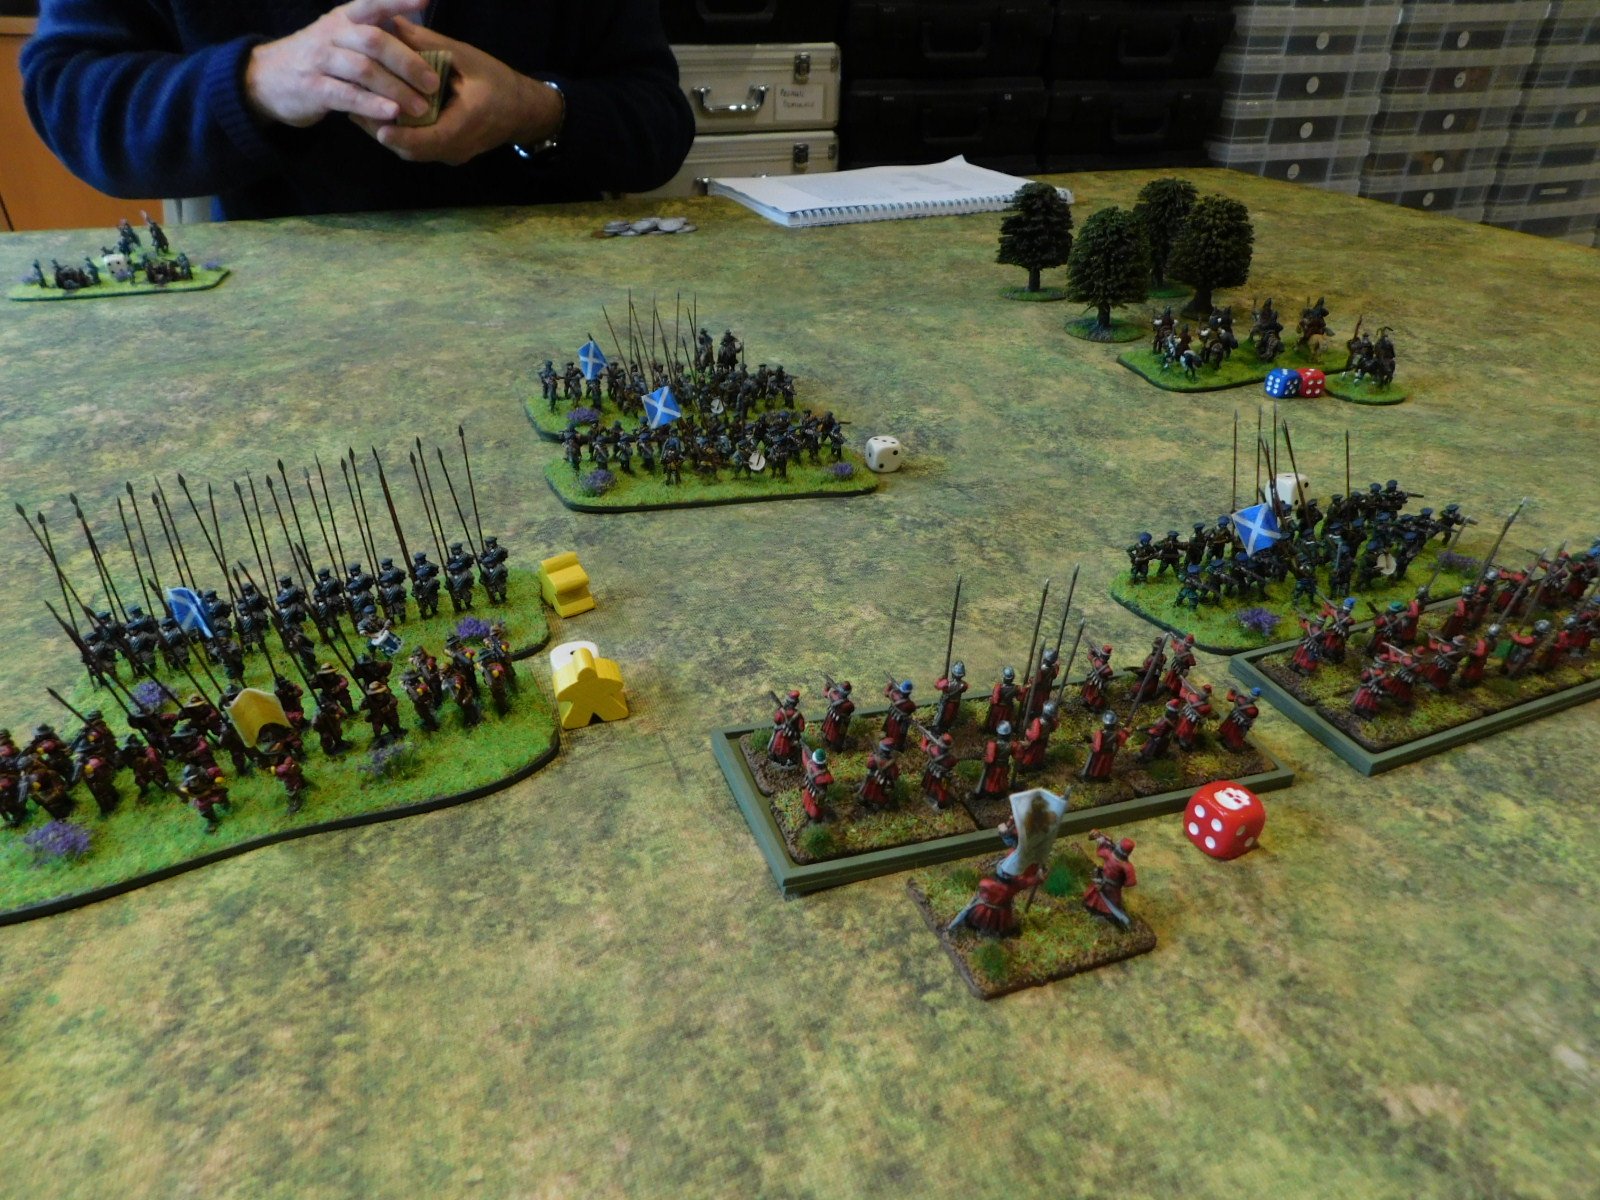
Fortunately John’s Scots had a fit of the slows, and I was able to get my horse sorted out and push forward to start the engagement that should sweep the Scots cavalry from the field and thus fulfil stage one of my cunning plan.
Meanwhile in the centre, the main body of Scots infantry had finally started moving forward. My Reiters headed out to meet them, but as I didn’t fancy charging well-ordered pike blocks, my cavalry turned around and retreated before any significant action took place.
The enemy were now effectively advancing in echelon towards me, which suited me fine as it gave my National cavalry more time to win on the right. The only trouble was that the Scots horse were proving hardier than expected!
The cavalry melee on the right went on and on, and I just couldn’t seem to break the Scots donkey-wallopers!
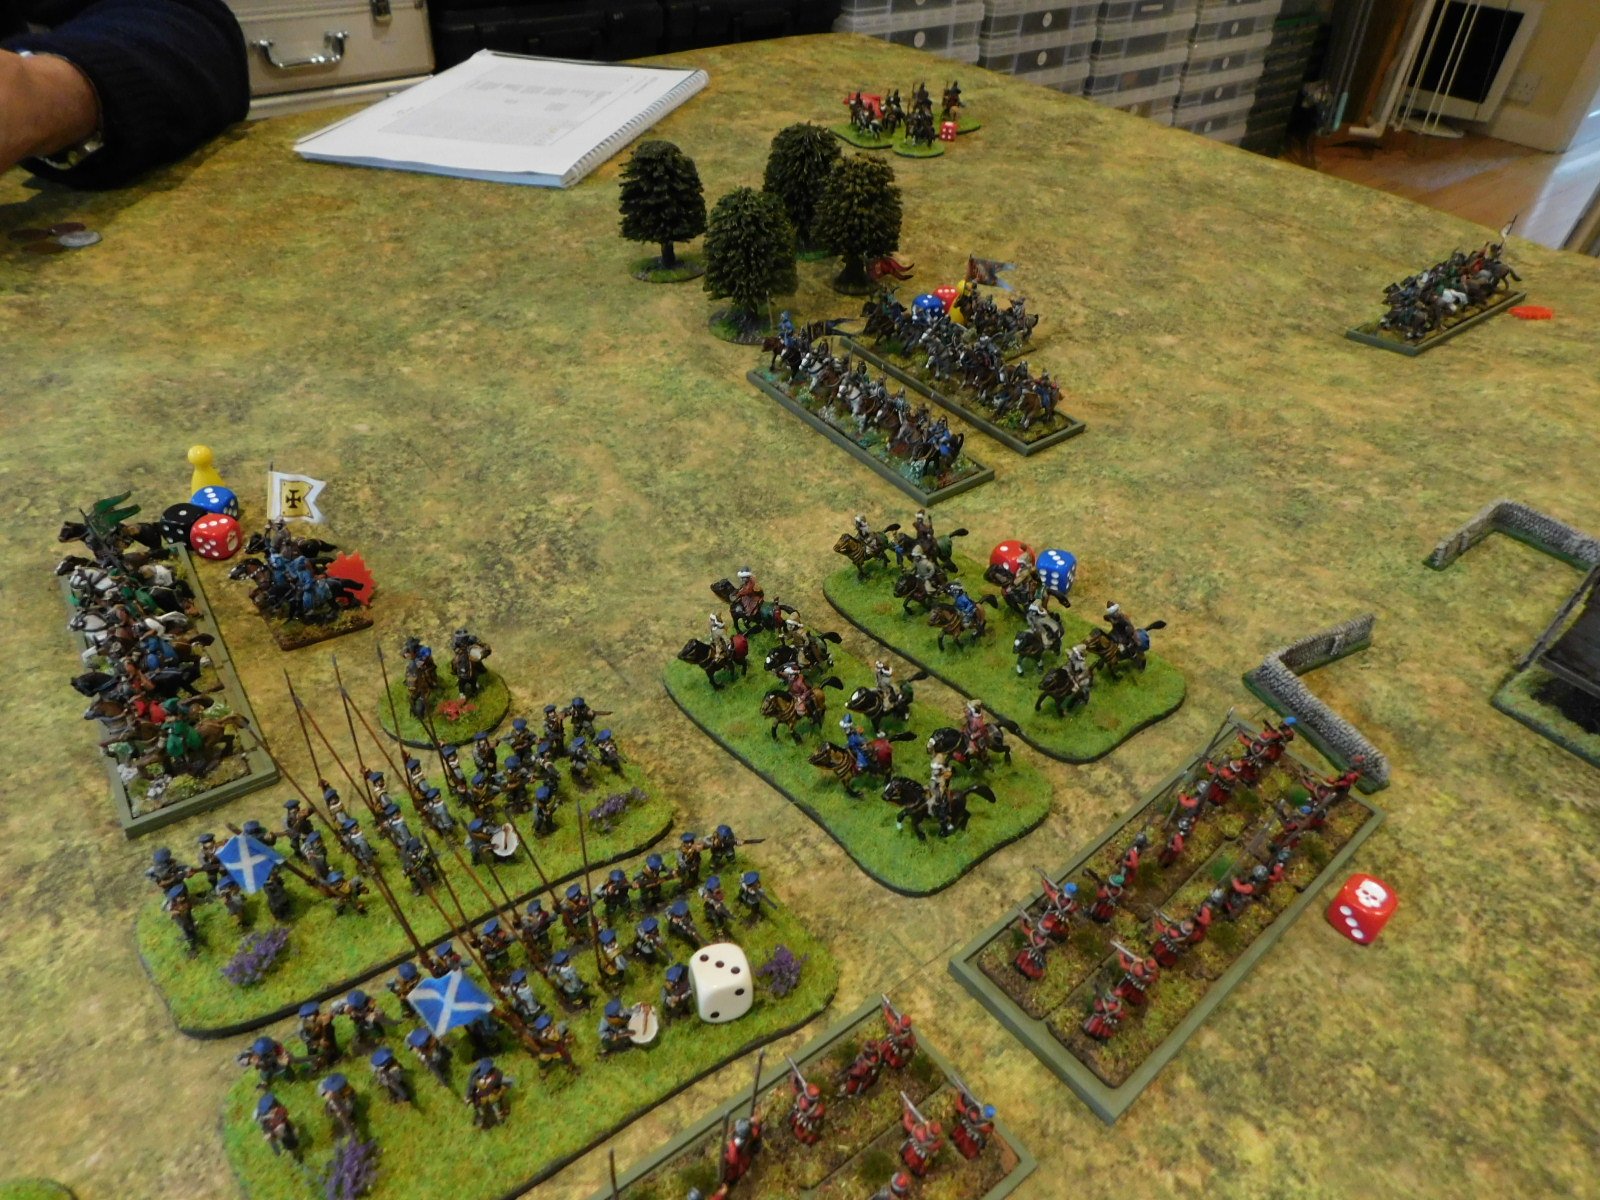
This meant that the Scots infantry were able to advance on my line and a series of sporadic firefights and melees broke out. My Reiters were still able to outpace the advancing Scots, but my Soldats and Border Dragoons were not so fortunate. A good thing, however, was that my Tatars had now managed to slip through the enemy line, going over the crest of the hill through the grounds of the windmill.
Finally, however, the Scots horse broke, and my cavalry were able to turn and head to the left. The Tatars led the way, forcing the nearest Scots pikemen into hedgehog. My heavier horse cantered past the spikey beasts and then curled round and slammed into the rear of the units next to them. At the same time my Reiters now charged forward meaning the Scots were caught front and rear.
Once the surviving Muscovite heavy horse got into a position on the flanks and rear of the enemy line, the battle was really all over for the Scots. I won’t describe every moment of the roll up: suffice to say that it got very bloody very quickly, and once one or two of their pike blocks had broken, the domino effect soon had all their troops fleeing for the safety of the Glens!
It hadn’t quite been a text book victory: too much had gone wrong with my initial deployment, meaning that my left and centre had only just held out for long enough to let my right wing do what they did. Had the Scots been even a little quicker off the mark on their left and centre, then I would have lost the battle there before my National Cavalry had even dealt with the Scottish horse.
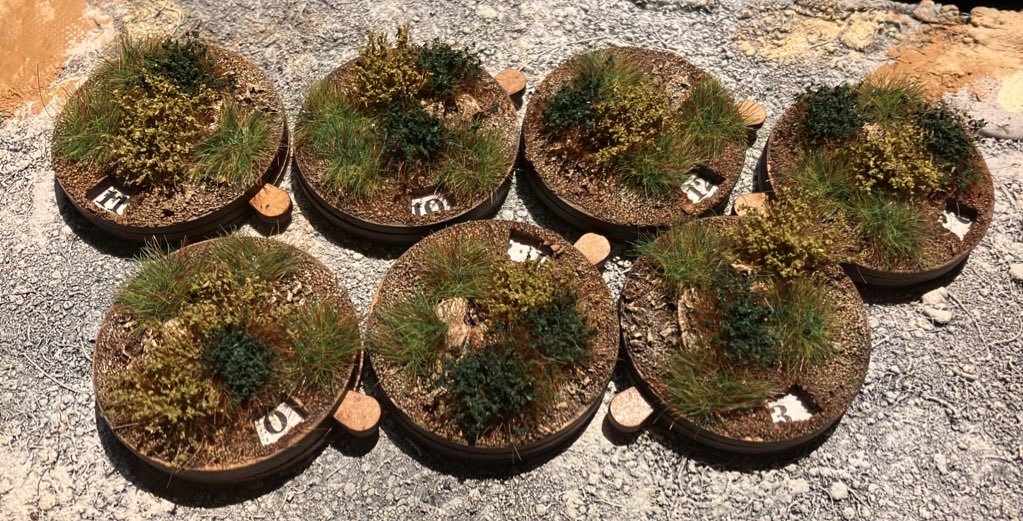
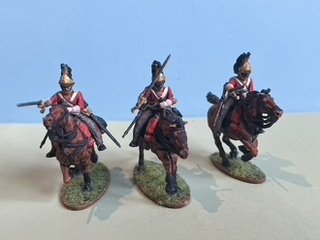
Two months to go in this year’s Painting Challenge, and the entries are flooding in.
Take a look at the individual galleries (navigation through the navbar, above) but here are some piccies to wet your whistle!


Also on show at the Lardy Games Day A Writtle Bit of Lard was a great looking game of Charlie Don’t Surf put on by Nick Bellamy.
Here are some pics, also from Ian Roberts, but this time from the CDS Facebook Group:
And as Preparation Prevents Piss-Poor Performance, here are some shots of the playtest that Nick ran a few weeks before:
I couldn’t make this year’s Lardy event in Writtle, A Writtle Bit of Lard, but, looking at the photographs up on various Facebook groups, I wish I had.
Legendary game runners Phil and Jenny put on a superb looking I Ain’t Been Shot Mum: here are a few photos from the day posted by Ian Roberts on the IABSM Facebook Group.
Earlier this year, I bought the Kasserine boxed set at a show, and having already completed the Panzers for the Germans, it was time to have a crack at the Americans.
In the box, you get enough plastic sprues for five M3 Stuarts, four M3 Lees, and three M4 Shermans. To these I added not two French hens and a partridge in a pear tree but some Battlefront special edition Sherman base I’d had lying around for ages. Let’s take them each in turn.
First up were the five Stuarts. The build did not get off to a great start when the first thing I did was to snap the gun barrel in half on the first Stuart I was building. I’ve often said that clipping the gun barrels from the sprue is often a risky business, and so it had proved again.
This was a real pain in the backside, but I solved it by using a decapitated pin instead. It’s the barrel on the command tank (the one with the chap sticking out the turret) in the picture above.
Otherwise, the build wasn’t too difficult, although getting the upper hull to sit flush on the main body proved almost impossible. That means that there’s a gap on both sides of most of the models, but I stuck the stowage on the side where it was worst and the paint job conceals the other.
As a point to note, these kits have no tolerance for badly clipped parts: you have to make sure there are absolutely no bumps or it just won’t fit together.
The same notes about gun barrels and no tolerance applies to these kits as well. Also, you need to make sure that you get the 75mm gun the right way up: get it right and you can fix it in place without glue so that it swivels.
Otherwise, these kits go together well, especially the mudguards: they were actually strangely satisfying to fit!
This is where the fun began…but “fun” entirely of my own doing!
It was quite an overcast day when I sprayed these in the garage and, as is my custom, I took the trays with all thirteen tanks out of my spraying area and put them on the front step just outside the front door of the house. It’s a place that’s in the sun and, once dry, I wouldn’t have to go through the rigmarole of walking to the garage (all of twelve steps!), opening the garage door, getting the models, closing the garage door etc.
I then went into the house and started watching a bit of TV, eventually dozing off as I’d had an early start.
The thunder and lightning of an enormous storm woke me, and for a while I sat watching the lightning fork down and the wind sweep the rain horizontally across the front garden.
Then I remembered my models: still outside “drying in the sun”!
By the time I rescued them, the trays with the Stuarts and Lees were half an inch deep in water, and the tray with the Shermans was nowhere to be seen! I eventually spotted it blown down the drive some twenty metres away!
Rushing out into the teeth of the storm, I managed to rescue the Stuarts and Lees without too much difficulty, and then went back out into the darkness to find the Shermans. We leave no-one behind!
I found all three Sherman hulls, but only one turret, so the models below have been built using the spare turrets from some Plastic Soldier Company Shermans that I’d built some time ago: like many plastic models, there’s one PSC sprue for a Sherman that allows you to build all the variants i.e. it has the parts for various shaped turrets on it dependent on which variant of Sherman you are building.
Okay, so the turrets don’t turn, and have no .50 cal…but that’s better than throwing the incomplete models away and they seem to have turned out okay.
Fortunately, the Battlefront special I was also painting was made of metal and resin, so was a pretty solid affair that hadn’t been blown away in the wind.
So that’s another foothill of the lead mountain dealt with.
The Battlefront Kasserine box set is good value (especially the discounted price I paid for it) and the kits aren’t really too hard to put together. Take a bit more care than I do and none of them should be a problem.
One thing: no decals are included in the set. I’d have rather paid a bit more and had the right decals than have to specially buy a pack or two of yellow stars for the US tanks, and I couldn’t find anyone who does 15mm yellow strips to go either side of the stars like on the pictures of the models on the box. I could have tried to paint them myself, but experience has shown me how difficult that is, so I didn’t bother to even try!
Looking back at my post about building and painting the Panzers (click here) I see that I gave the German side of the box set a Recommended. I can’t give the US side of things the same rating, mainly because of the build on the Stuarts and the overall lack of specialist decals: it gets a solid Average for being convenient and good value, but that’s all.
This was the return match of Rob and I’s clash of Elizabethan English and Spanish forces in a fictional encounter in the equally fictitious county of Barsetshire.
In our first game, I had played the Spanish and achieved a decent win, so now it was time to see if I could do the same thing playing the English.
The Spanish Tercio: veterans all!
I was a bit nervous about the Spanish Tercio, so determined to avoid it for as long as possible. I therefore placed my Militia on my left flank, opposite the Tercio, determined to use the walled enclosures as a fortress from which to fight from. That left my Hunting Party longbowmen and commanded shot in the centre; and the contingent from the Royal army on the right.
As mentioned above, my plan was to hold the Militia back and push the Royal Army forward as fast and hard as possible, hopefully winning on the right flank before turning to roll up the Spanish once I’d done so.
As the battle opened, I therefore pushed forward my right, but the Spanish facing the Royal Army didn’t come forward. In fact they moved slightly sideways into the centre of the field, leaving my best troops hanging facing no-one to fight!
Meanwhile, on the left, the Tercio moved forward ponderously, but it was in the centre that we would first see action as the Spaniards’ Irish contingent, led by some Kerns, rushed forward towards the Hunting Party troops.
As the Kerns came forward, the English longbowmen did their thing, and the wild Irish were soon sent packing. This left the Irish pike, commanded shot and swordsmen to contest the centre: a fight that would continue for some time without clear resolution.
Meanwhile the Tercio were still ponderously heading for my refused left flank:
But it was on the right flank that things became very intense very quickly.
As mentioned above, my Royal Army contingent had marched forward as quickly as possible, determined to win the battle before the Spanish Tercio could get stuck in. They were facing the left hand edge of the Irish brigade and a brigade known as the Volunteers consisting of swordsmen and mounted arquebusiers. My veteran troops should have carved their way through them nicely but actually ended up effectively losing the individual melees that followed!
Besides costing me my best troops and about half my victory medals, this let a unit of Spanish mounted arquebusiers slip through my line to threaten the Royal Artillery.
Now those of you who play For King and Parliament will know that artillery is usually not very useful in open battle. Rarely do you have the equivalent of a Grand Battery to blow huge swathes out of the enemy line: the standard is to have one or maybe two slow-firing pieces that are as useful as battlefield dressing. As the arquebusiers charged in, therefore, I resigned myself to losing another unit and another victory medal!
I had obviously underestimated the Royal gunners, as rather than being run down like rabbits, they sent the arquebusiers routing off the field!
A nice success, but now the Spanish Tercio arrived.
Choosing to drift into the centre of the field, the enemy pike and shot launched an attack on the two walled enclosures defended by the Militia and the remnants of Sir Fitzgerald Percy’s Hunting Party.
Although my troops survived this first wave of attacks, it was a costly business. Admittedly the Militia were relatively unscathed, but they were under severe threat from the front and flank; and my centre had taken a hammering and was still faced by an unbroken line of enemy pike and shot.
I was also now down to only two victory medals (meaning the loss of one more unit would cost me the battle as my men lost their morale and fled) and although my opponent was in the same situation, his units were mostly much healthier than mine and, as you can see in the pics above, in a far better tactical position.
I had the initiative, but if I didn’t win the battle this turn, then that would most likely be it as the relatively fresh Spanish troops hit my tired and disordered troops in the flank.
You remember how I said that artillery was mostly useless in open battle? Well the Royal Artillery were about to prove me wrong again.
Up ahead of their position, a unit of Spanish swordsmen threatened the flank of some already-disordered English pike. Unbelievably, the Royal Guns managed to not only fire three times in the same turn but, with their last round of ammunition, they also managed to score three hits on the Spaniards…sending them from the field and costing Rob his last two victory medals just before he could finish me off!
I really did feel that I had managed to snatch the narrowest of victories from the gaping jaws of defeat!
It had been a great game that showed how flexible the FK&P engine is: able to cope with the peccadilloes of the Elizabethan era as well as it does the English Civil War and Eastern Front.
One final picture, if only to showcase Rob’s beautifully painted troops and terrain. Here is the Spanish Forlorn Hope: the crew of the Sao Martinho happily taking no part in the battle as they loot a nearby farm!
Those who follow this blog will know that I have relatively recently re-based my 19th Century Austrians, Prussians, Russians and French in order to use Neil Thomas’ rules for the period.
The last of my Crimean armies to re-base was therefore the British…but this one would be slightly more complicated than the others.
The last set of rules that I used had the British as so elite that you didn’t really need many of them, so I only had a few infantry units, and cavalry units that were smaller than those of other nations. That meant that although I could easily re-base one unit of line infantry and one unit of Guards, I was a bit stuffed after that!
I had three units of cavalry that were ten figurers strong and I need them all to be twelve figures strong. Worse, I hadn’t actually painted these myself, so would have to match someone else’s painting style.
This was doubly interesting as I would also need to revert to my old style of painting as well: single colours over a black undercoat rather than the Contrast Paints system I use now. In fact, this was two steps back, as immediately before Contrast Paints I was using a base colour, wash plus shading over an undercoat!
As you’ll see from the following two units, the tactic I decided to adopt was to add two figures to the command stand. Here are the light and heavy dragoons. Can you tell which are the two extras?
Okay, so they are a little bit obvious in “catalogue” style pics like the above, but on the tabletop they just look like an exaggerated command stand, so I’m happy.
I also had to re-base the lancers in the same way, but these actually worked out better than the above, as I was able to use figures that almost exactly mimicked the ones I had. This time I really am asking if you can spot the two newbies!
Well perhaps still fairly obvious but, again, doesn’t show up at tabletop distances.
That left me needing to paint up half an infantry unit to match the half that I already had painted. By this time I’d also taken the trouble to work out that I had used Rank & File Miniatures (available through Timecast) and that it was worth buying a whole packet of infantry as the substitution would only leave me eight spare - it had seemed a bit much to buy three packets of cavalry to use just six figures!
The figures arrived very speedily, so kudos to Timecast for that, and I set about painting them. I think I’m a bit out of practice with this style of painting, as my finished versions didn’t look as good as the ones I already had. See what you think:
I suppose they are not too bad and, at wargames distance, they don’t appear that mixed: they just look like a slightly scruffy unit of line infantry…hardly surprising considering the conditions in the Crimea.
So that’s about half the army done now. One more cavalry unit to go (the 11th Hussars), the artillery, and I’ve bought a couple of extra infantry units so that I end up with six in all. Looks like I’m going to get a bit more practice at the obsolete style of painting after all!
James Mantos played in a D-Day scenario put on by Brian Hall: Strongpoint Hillman. Not a full report but duplicating the pictures he posted to the I Ain’t Been Shot Mum Facebook Group:
On a beautiful October Saturday, when I should have been doing some gardening, I instead drove with Weirdy-Beardy to deepest, darkest, downtown Hamilton for a Lardy themed game day. A change in route thanks to recommendations from a Hot Lead friend made the drive there and home much less fraught with peril, unlike my last three trips to play in Hamilton. Victory for old fashioned map reading! Take that Google Maps and GPS!
I got a spot in friend Brian's 6mm I Ain't Been Shot, Mum game refighting the 1/Suffolk Regiment's 2nd assault on Strongpoint Hillman during the afternoon of D-Day. See also a Youtube video here.
Brian is a fantastic game master who always brings his depth of knowledge about the battle being played to the game to help the players understand what is going on and facilitate any rules interpretation required. His terrain is also very well made and thought through.
This scenario was one of the players fighting the GM/table since the Germans were pretty static and didn't have much to do except react. Looking at the situation I quipped to my team mates: "Two up, one back, bags of smoke?" One of them replied, "Yeah, sounds good."
Fortunately our supporting 25 pdr batteries got on the job quickly and the first missions were on target so we had the most dangerous German MG emplacements blinded for the critical break in phase while the Engineers widened the gap in the minefield to let the tanks in.


Brian introduced me to using Force Morale for IABSM, which is a great idea that I'll use from now on instead of troops fighting to the bitter, ragged end.
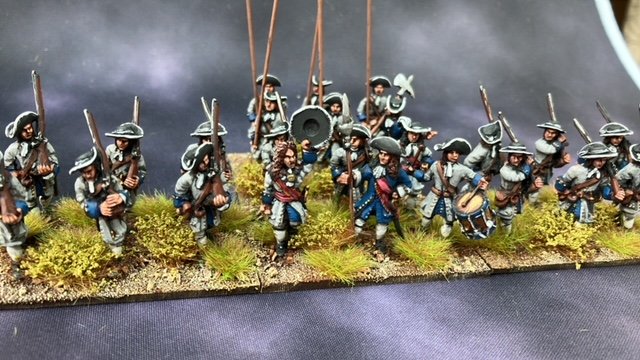
The entries are coming thick and fast, so I thought I’d better do another update just to keep up.
Please do look at the individual galleries, but here’s samples of what’s been sent in this week:
Great to get my early war French back onto the table again as Bevan and I played a scenario based on one element of the battle of Hannut: the assault on Crehen.
Click on the picture below to see all:

Friend Rob came round today and brought with him his collection of Elizabethan era English and Spanish for a 16th Century dust up of some kind.
Difficult to decide which rules to use, as we wanted to employ the TTS engine but the Elizabethan era sits neatly between the end of To The Strongest and the beginning of For King & Parliament.
In the end we plumped for FK&P, but with a few minor variations very much like the Eastern Front variant that we use for 17thC warfare in eastern Europe.
Rob had worked out a simple scenario involving some Spaniards “left over” from the Armada launching an invasion of England from a base in Ireland…
When the Armada was driven north into the teeth of storm and gale, England believed she was saved. You, Captain General Velazquez will prove the heathen English and their she-devil Queen wrong.
Fortuitously as you limped south through the Irish Sea, you came upon the remains of the Squadron of Portugal also making their way slowly back to Spain and safety. Inspiring your fellow officers and the commandantes of the much-reduced fleet, you came up with a cunning plan. Landing with what force you had remaining on the coast of Ireland, you recruited a brigade of good Irish Catholics to your cause, rallied by the patriotic songs of a passing group of folk singers who conveniently agreed to lead the Irish forces.
Spanish Pike & Shot with Captain General Velazquez
Making a dash for the western coast of England, the Lord has finally blessed your endeavours, your landing was unopposed and, with what forces you have left, you have marched inland, hoping to rouse the English Catholics to your banner and still snatch victory from the jaws of disaster. So far, they have been less than forthcoming. One real victory, though, should inspire a rising across southern England.
You have made good time and have reached the county of Barsetshire, a hive of Protestant scum and villainy. As you ready to advance on a small farm just to the south of Uffley, you sight a ragged band of English soldiers: this is finally your chance to claim revenge for all the wrongs the English have done to Spain and God’s true cause.
The Irish Brigade
With you, you have the “volunteers” from the fleet, being a mixture of ships’ crews and what cavalry you have been able to raise using horses liberated on your march east. The least motivated, at least they will distract the English! Your core troops are your four battalia of Spanish infantry, the terror of Europe and veterans all. Finally, you have a brigade of Irish volunteers: untried, but ready for plunder and true to the faith.
Seize the farm, rout the English, and the road will be clear to Barchester itself!
The Godless Spanish don’t know when they’re beaten…but it’s time to show them once and for all that they are.
You are Lord William Harding, the Duke of Barsetshire. It’s a proud name, and you are determined to honour it. Unfortunately you missed the battles at sea, and thought all the glory would got to privateers like Drake, but God has given you the chance to feast upon one small part of the Spanish pie!
Sir Mark Proudie’s Pike from the Royal Army
Word of a Spanish landing in the west reached London and at first none believed it: the Spanish had been defeated weeks ago! As, however, reports of Spaniards marching inland grew, the Queen has dispatched you and a (concerningly small) force to deal with what are surely just some remnant Spanish brigands who’ve been blown ashore.
As you neared your home county, however, you became aware that what faced you was not a band of weakened, dispirited sailors but the core of a Spanish army, supported by Irish rebels. So be it: whatever the odds, God is on your side!
Sir Bernard Crosbie, a venerable old gent, has not been inactive either, and the West Barsetshire Militia have been raised, accompanied by some welcome artillery and the Reverend Crawley, rumoured to be in line for a Bishopric and certain to inspire the men. Most of your troops are lightly armed and untried, but you have strong cavalry, and every stout yeoman of England is worth at least two Papist wretches!
You intend to make a stand to the south of Uffley, not least because you own farmland there and would rather it stayed that way! Defend the road, save Barchester, and show the Spaniards once again that God is an Englishman!
The Silverbridge Gunsmiths Guild artillery: part of the West Barsetshire Militia
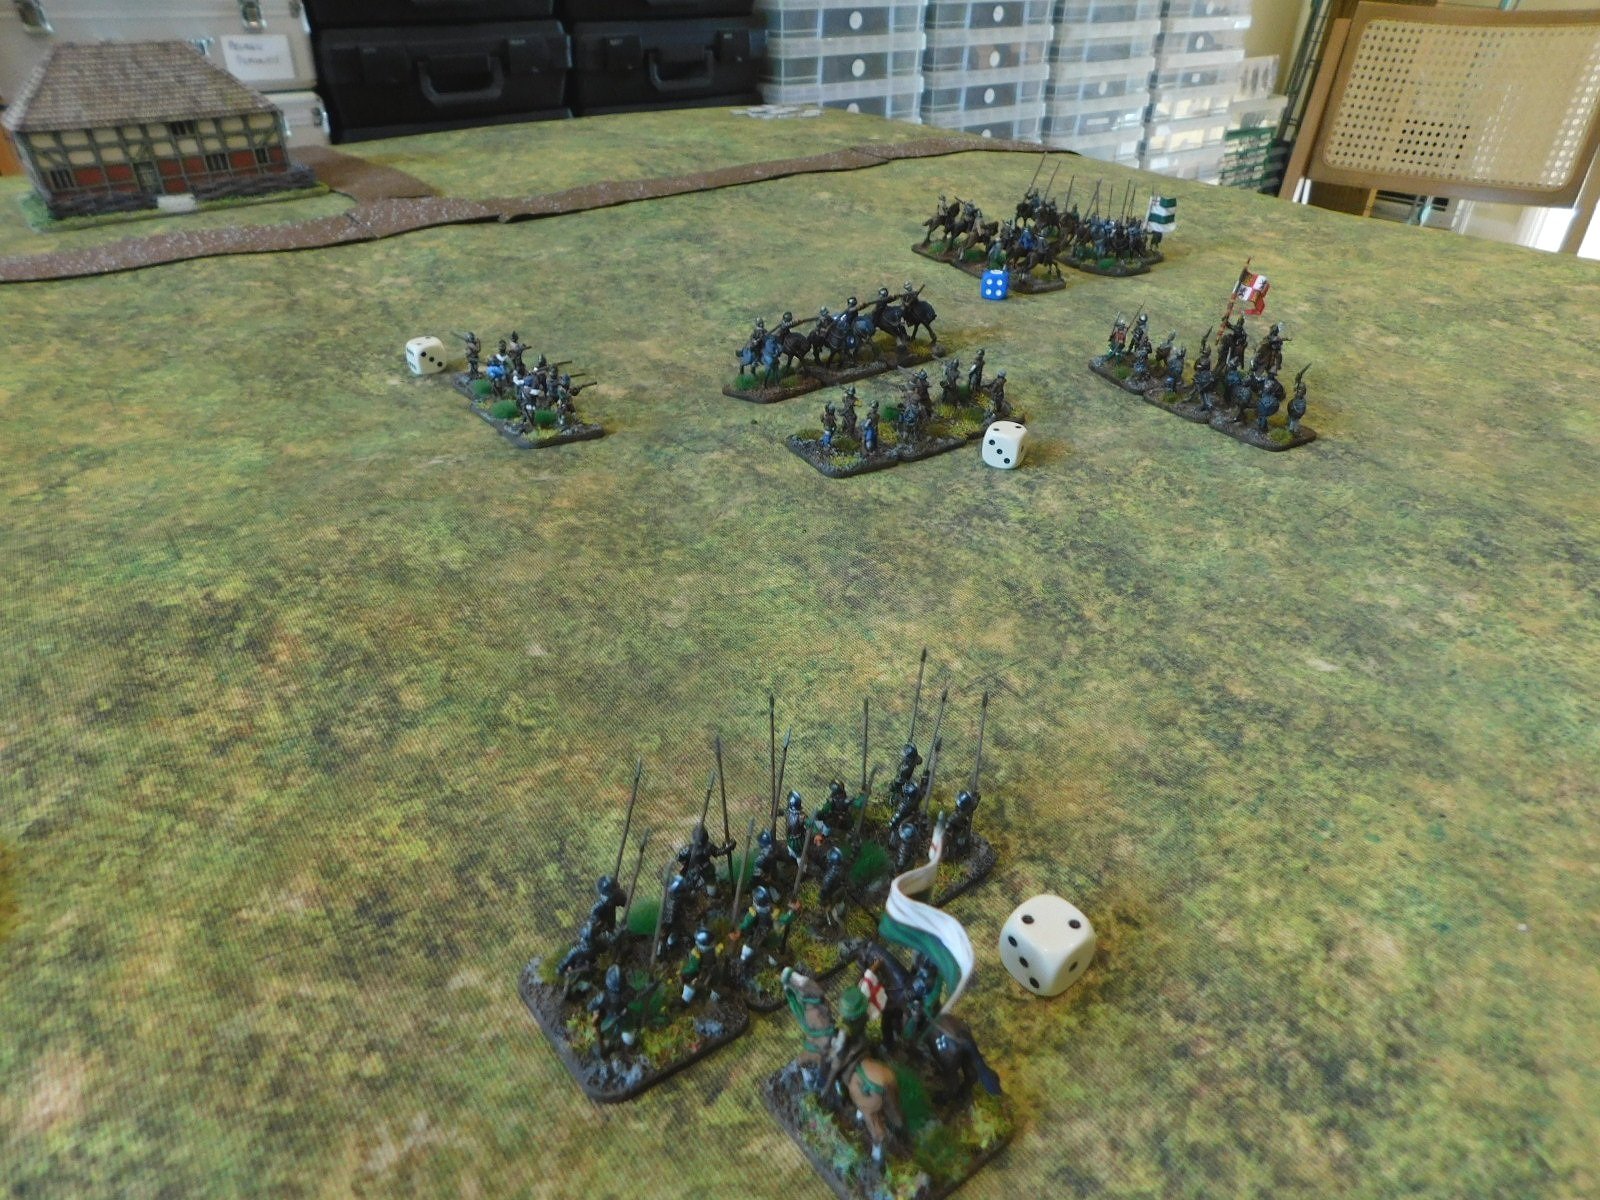
I would play the Spanish, Rob would play the English. The Spanish set up with the Irish on their right, the Tercio (their best troops) in the centre, and the somewhat dodgy “Volunteers” on the left. The English had the Militia of their left (i.e. opposite the Irish), the Royal army in the centre, and a locally raised mixture of musketeers and longbowmen, with a bit of light cavalry, on the right.
My plan was simple: advance my flanks forward as fast as possible then bring up the Tercio in the centre to finish off anything that was left!
The Battle Begins
View from Behind the English lines
English light horse advance to their doom
On the Spanish left, the two units of Mounted Arquebusiers faced off against a unit of English light horse and soon, with a combination of shot and a quick charge, sent them fleeing from the field. Despite instructions to the contrary, the arquebusiers who had actually charged home (Los Dopicos Horse) then pursued the fleeing cavalry: rapidly disappearing into the distance!
On the right, the Irish brigade moved forward as fast as possible towards the English Militia in their walled enclosure.
A unit of English light cavalry with lances and pistols hit the untried McKenna’s Kern and dispersed them, but they in turn were blown away by musketry from the right hand unit of the Tercio coming up from behind. This left the rest of the Irish free to assault the Militia in what turned out to be a series of hard fought melees with bill-armed troops but, as the battle ended, the Irish definitely had the advantage.
Meanwhile, in the centre, the Tercio had been steadily advancing towards the English Royal Army. Both sides were veteran infantry: the Spanish consisted of three pike and shot battalia and a unit of commanded shot; the English one pike and shot battalia, two commanded shot, and the Royal Gallowglass.
My Tercio managed to shrug off the fire coming from the enemy arquebusiers and get stuck in with their pikes, and the English centre began to give way. This allowed Juanitos’ Pike, led by General Tapioca, to burst through the line and then head off to the left flank to help out Volunteers.
Before we come to the climax of the battle, a quick interlude.
The English Demilancers, Robart’s Horse, had punched their way through the Spanish line earlier in the game, but also pursued their fleeing enemy right the way to the other end of the table. Eventually rallying and forming up again, they actually found themselves next to a farmhouse in which the crew of the Spanish galleon, the Sao Martinho, were sheltering: the crew counting as a Forlorn Hope, presumably because there was only a forlorn hope of getting them into action!
English Demilancers and the crew of the Sao Martinho line up next to each other!
The sailors fired off all the ammunition they had at the English horsemen…who utterly ignored them and trotted off, untouched, to see if they could get back to the main battle in time to influence its outcome.
Right, back to the main action.
The Spanish were definitely winning, but still needed to deliver the coup de grace to the English and, as anyone who plays FK&P knows, the fortunes of war can turn in an instant. A good example of this was about to happen.
The other unit of mounted arquebusiers, the Nuevo Rico Horse, charged into the flank of some enemy commanded shot. This should have led to a glorious victory but, instead, the Englishmen took the charge, turned and blew the Spaniards away with fire.
not, as many predicted, the End of some commanded shot!
This left the enemy commanded shot and two units of longbowmen holed up near or in a walled enclosure: not a suitable charge target for the remaining Spanish mounted arquebusiers even if the archers were all out of arrows.
Fortunately General Tapioca and Juanitos’ Pike were on hand and, still fresh after chomping through the English in the center, went in over the walls to skewer the longbowmen on their pike.
Over the walls the pikemen go!
The lonbowmen crumbled and fled the field and this proved too much for English morale to withstand. With their Militia on their left about to lose to the Irish, the Royal army in the centre under extreme pressure, and the loss of their right, they decided that discretion was the better part of valour and fled for safety. Victory to the Spanish!
Although the Spanish had gained the advantage early on in the battle, it had been a great and hard fought game. The rule modifications we used worked well, although we had needed to clarify a few bits and bobs as the game progressed: can Kerns use their javelins as part of the charge sequence, for example.
The figures (all from Khurasan) had looked very good indeed and all that now remained was to have a quick bite to eat before setting up for the return game where I would play the English…but that’s another post!
Yesterday, Milton Hundred Wargames Club demoed a game of Charlie Don’t Surf at SELWG.
They had a load of interest, plenty of people stopping and asking after the rules…who later went over to the TFL stand! A big shout out to Full Metal Miniatures for printing the sampans as a test. They’ll be on his web store soon!
Here are some pictures of the game, posted onto the CDS Facebook Group by Steve Thomas.
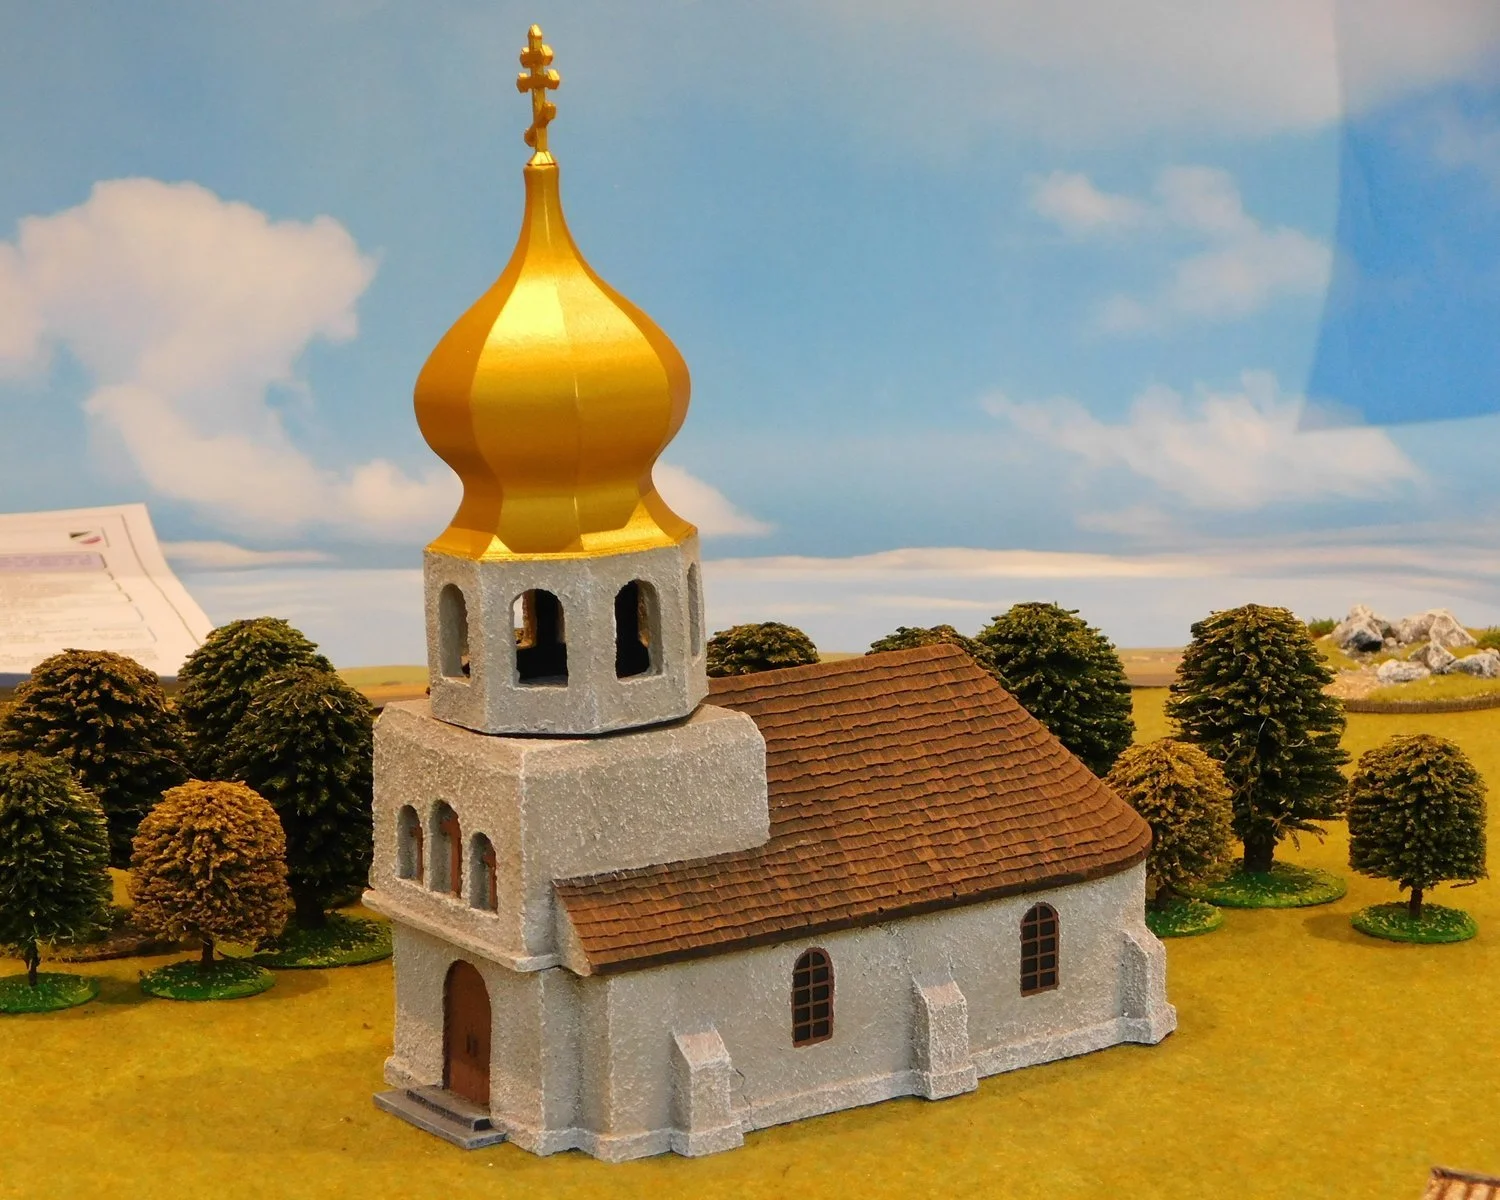
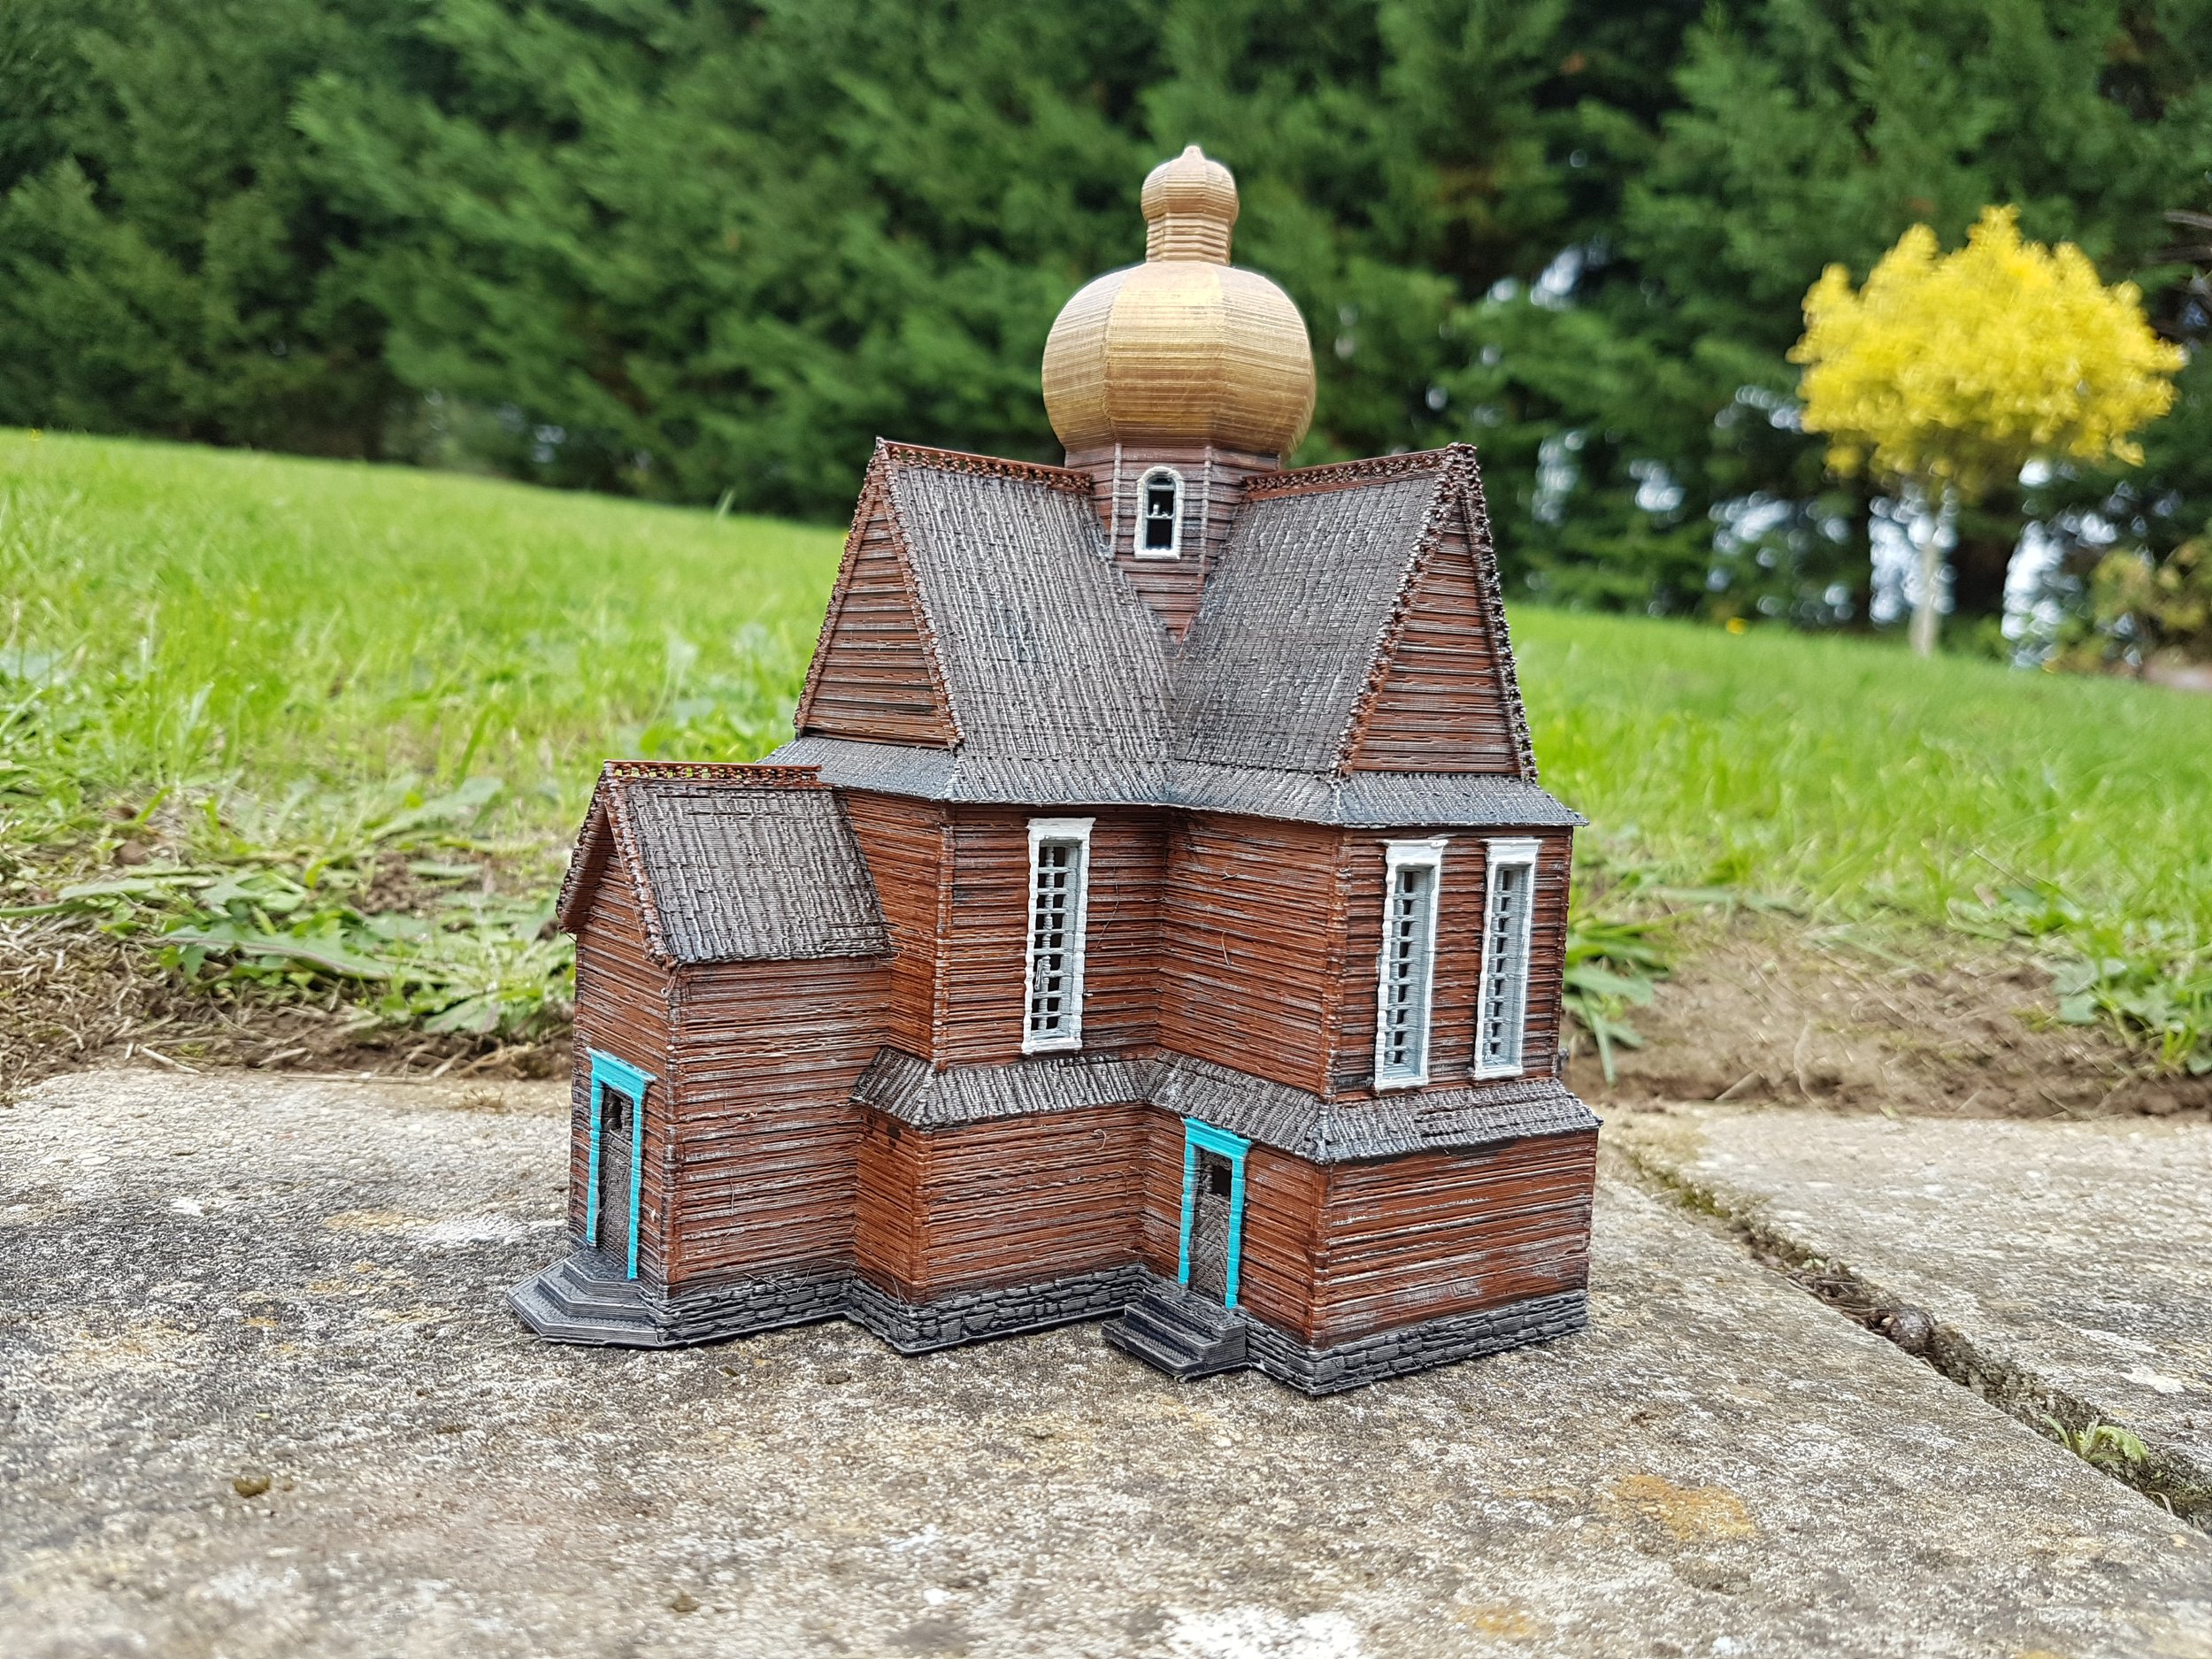
Not one I built, but another for the collection.
This church comes from E-Bay seller babyphez and is described as a “Fully Painted 15mm East European style Wooden Church for Napoleonics - WW1/WW2” and will cost you about £30 once P&P is added.

It arrived in five parts which glue together easily if you prefer your buildings as one solid object and does “exactly what it says on the tin”. I’ve actually painted the two mini cupolas with bronze paint but otherwise needed to do nothing in order to pop it onto the tabletop.
It’s an unusual shape, so makes a change from all the other 15mm eastern-style churches I have. I rather like it, so it gets a “recommended” from me.
Russell Smith posted some great pictures from a recent game of Charlie Don’t Surf onto the CDS Facebook group.
Check them out below:
You can find lots more CDS AARs here.
A huge update to the Painting Challenge today: a total of 1,283 points from eight entrants i.e. an average of 160 points each!
All the high-scoring regulars are there, and it’s nice to see a couple of the more occasional participants contributing as well. We also finally have Ashley’s latest entry, despite the fact that my Inbox seems to dislike her e-mail address immensely!
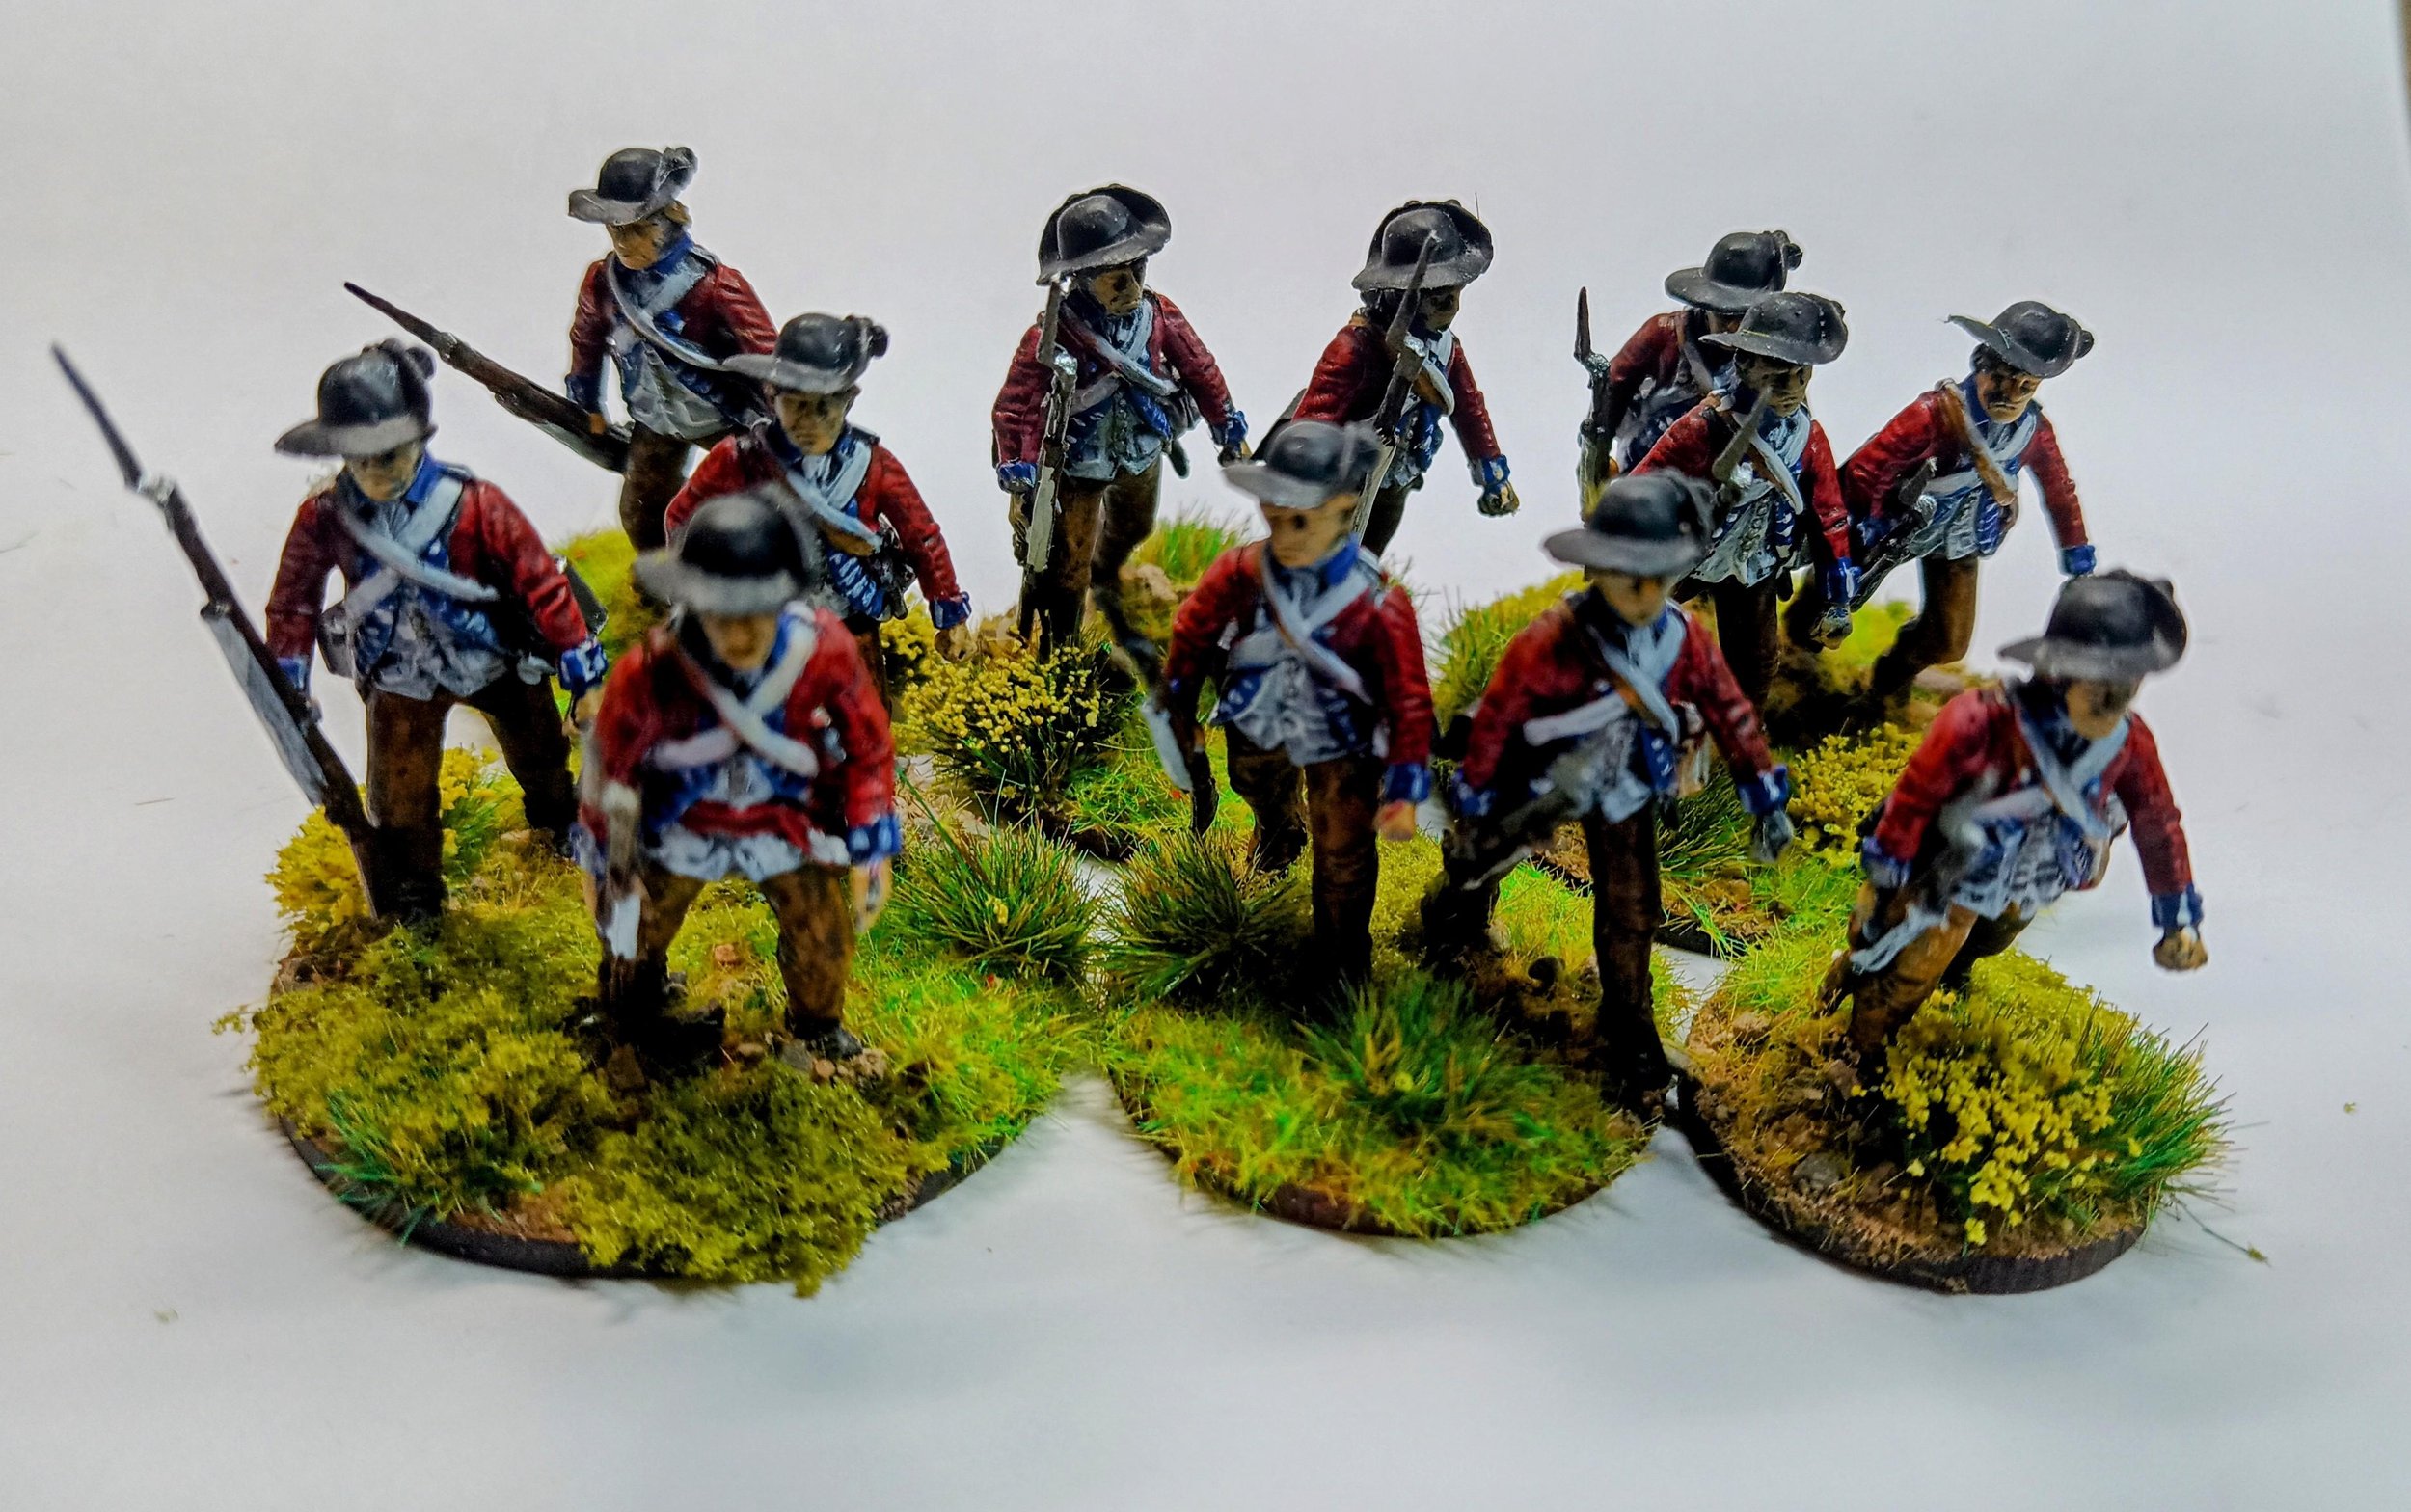
Do visit the individual galleries, but here’s a taster:


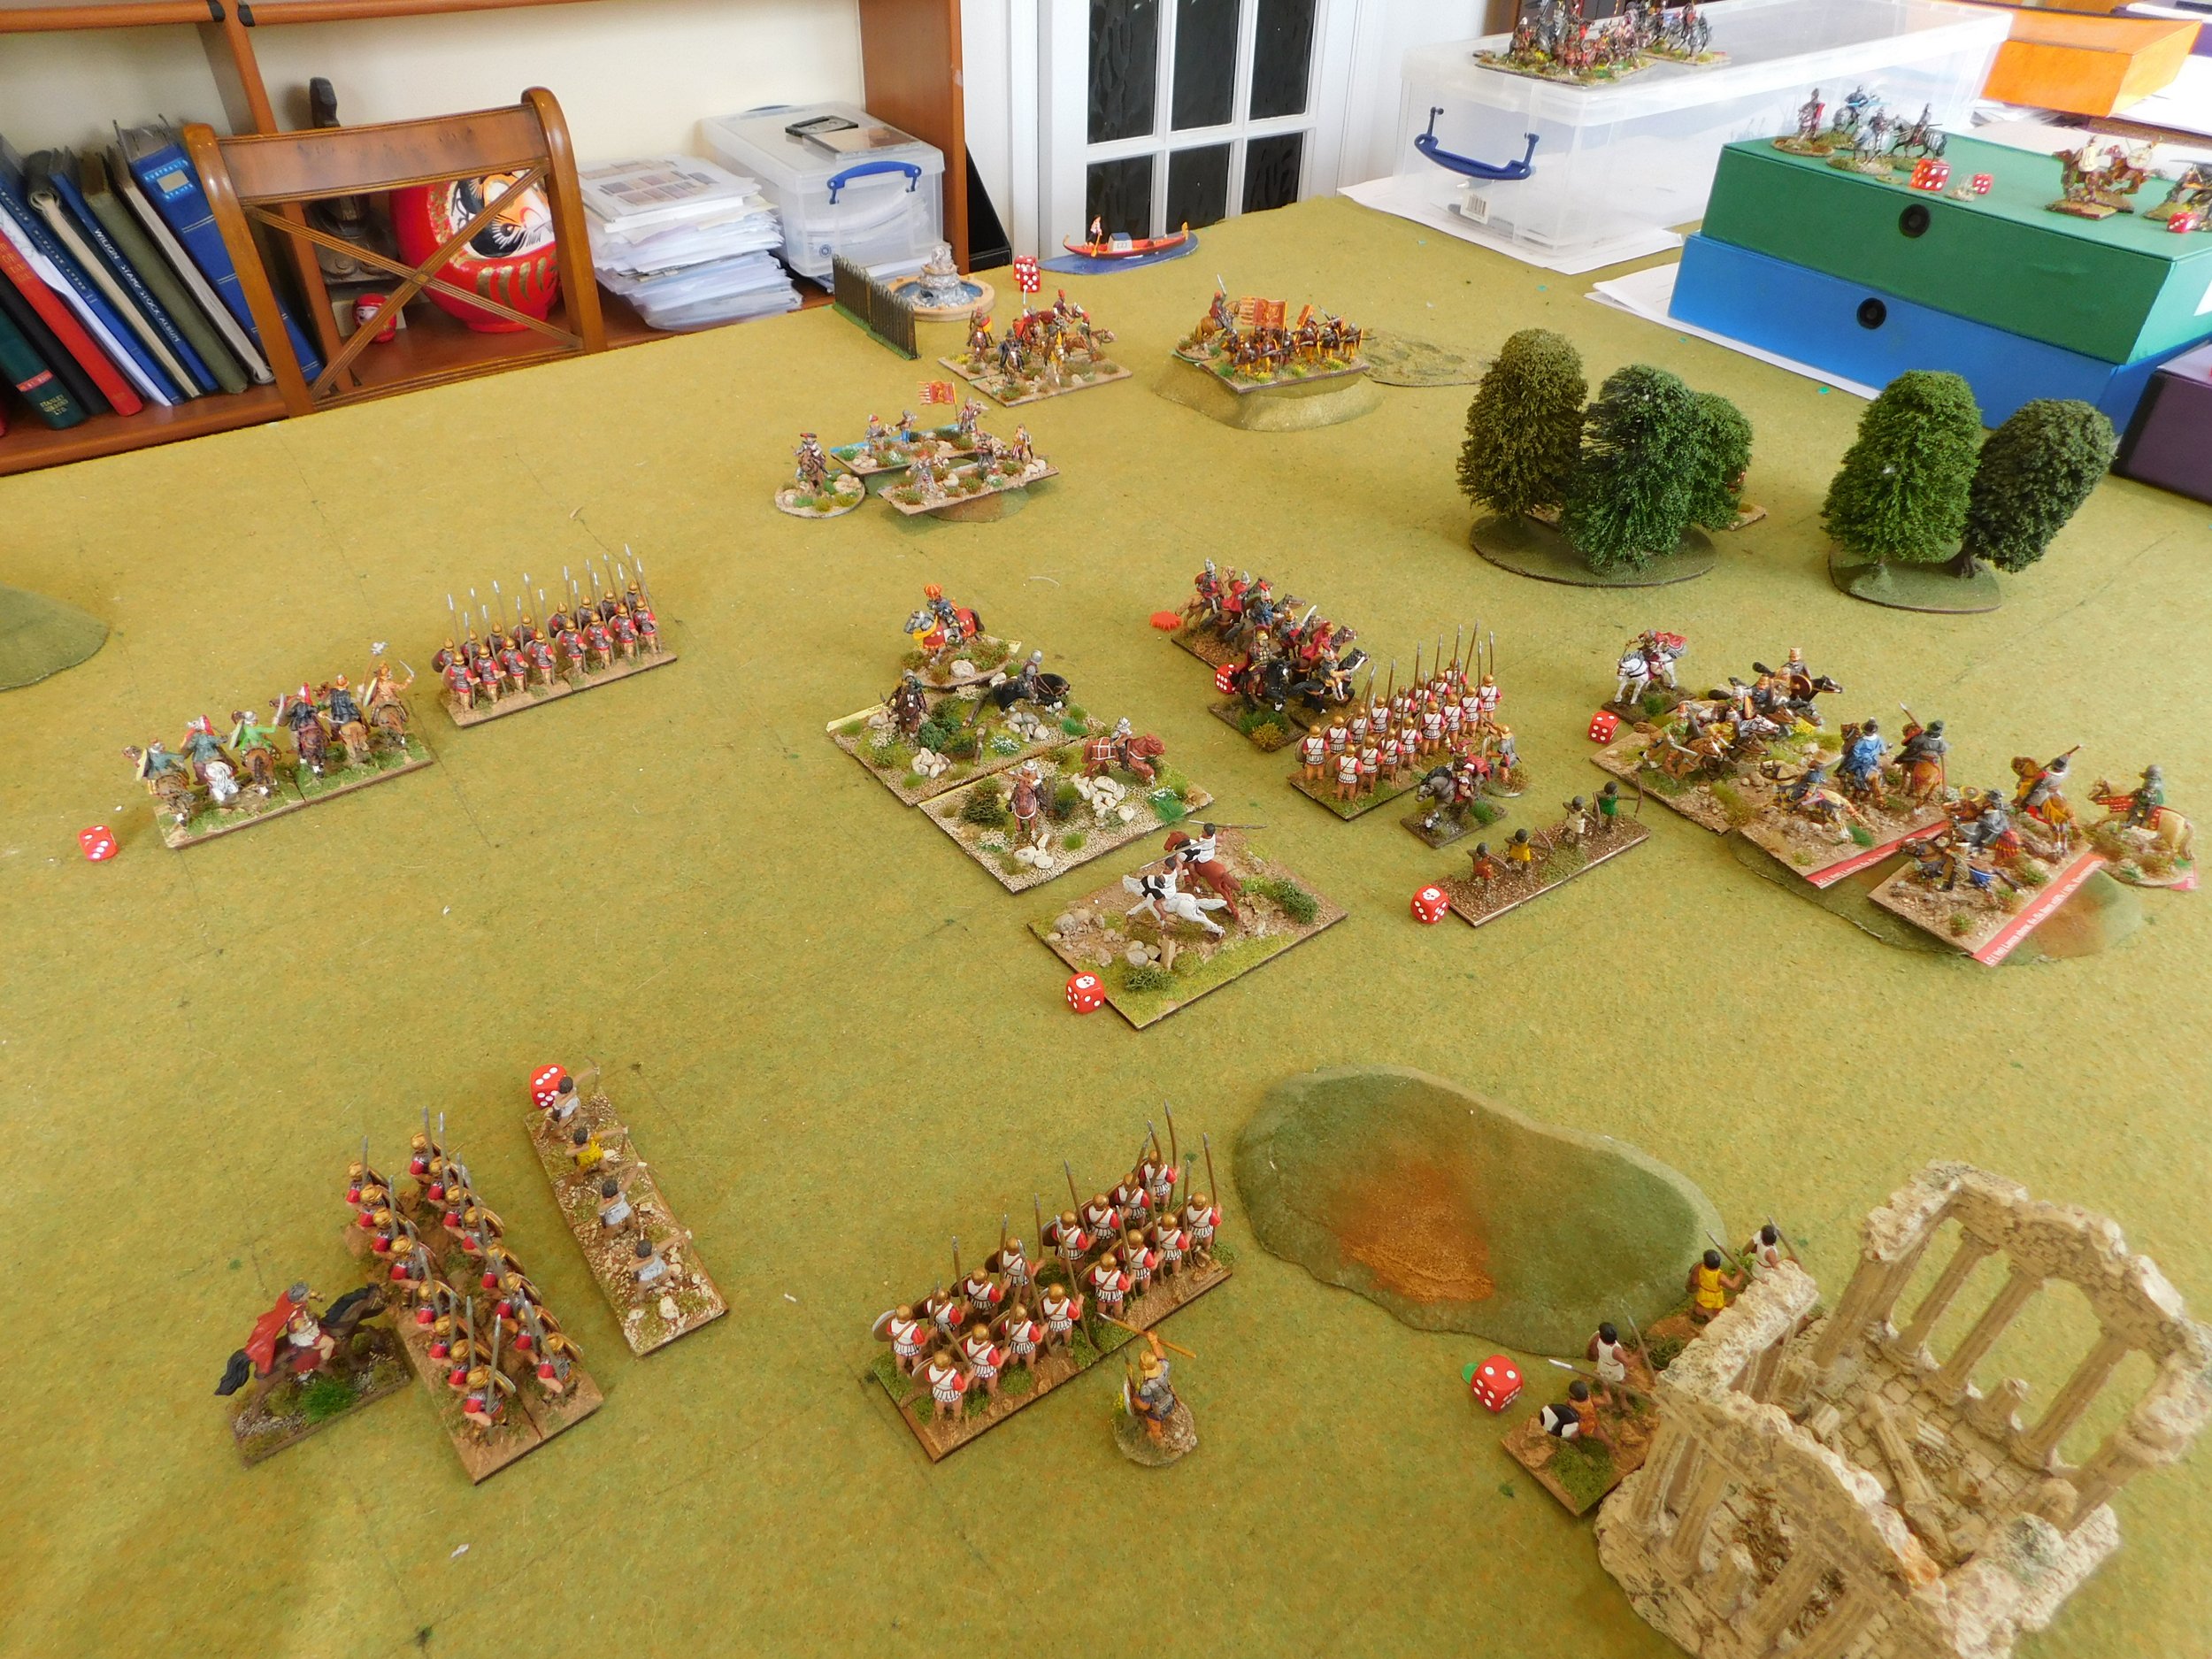
Back in April this year, friend Peter asked me if I would have a game of To The Strongest with him as a test for one of the armies he was considering taking to the Chalgrove World Championships. Why has it taken me so long to deliver the After Action Report? Well, Peter didn’t want any hint of which armies he might be using to leak to possible opponents, so had slapped a D-Notice on me. Now, however, that he is basking in another victory, he has graciously given permission for the secret files covering our game to be released!
Peter’s test-army was the Venetians, and he had asked if I would use a Later Carthaginian army against them. This would be a real test for the canal-dwellers: a cavalry army against Hannibal’s spear-armed infantry supported by elephants…and on a board with at least some trees on it.
The Venetians: Knights & Lights!
Hannibal’s Brave Boys
Of course, part of the problem with writing an AAR six months after the event is that I can’t actually remember much of how the game played out!
What I do know is that Peter completely wrong-footed me at the start by gaining the initiative and deploying all on the (from my point of view) right side of the table versus my more evenly spread line. This would mean that he could concentrate his army on only a portion of mine, gaining victory there before then turning to polish off the rest. Cunning stuff!
As it happens, however, this didn’t work as, somehow, I managed to get my heavy spearmen moving and across the field to support my by now beleaguered right flank.
My Celtic warriors also refused to give way despite being hit by veteran knights with a general from the front and two units of knights from the rear, joined by two lights, for several turns. Their Celtic cavalry comrades were equally resilient: normal Celtic cavalry convincingly winning a melee against veteran lance-armed later knights supported by lance-wielding mass lights: they killed the knights and drive the lights back without suffering a single hit!
The game developed into a huge melee in the centre of the table, with the action swirling backwards and forwards. Despite my successes, above, my army was starting to look a bit ragged and I could see that a collapse was fairly imminent: there were just too many light units hitting or threatening to hit my flanks.
It was time for a Hail Mary. I had one unit of Celtic horse still undamaged. I could see the Venetian camp (complete with fountain and gondola) in a straight line in front of them, with only some more of those massed lights blocking their way. The Celts charged forward and, with a great run of cards, smashed the light horse out of the way and then thundered into the enemy camp. Three victory medals to the good, the victory was mine!
It had been a cracking game that I had won through good luck and by the very thinnest of margins. As Peter said afterwards, “if it wasn’t for your extended gallop into my camp I would have won in my turn”. My only reply is, obviously, and with apologies to the Spartans: "If..."!
Here’s the full pictorial story of the battle:
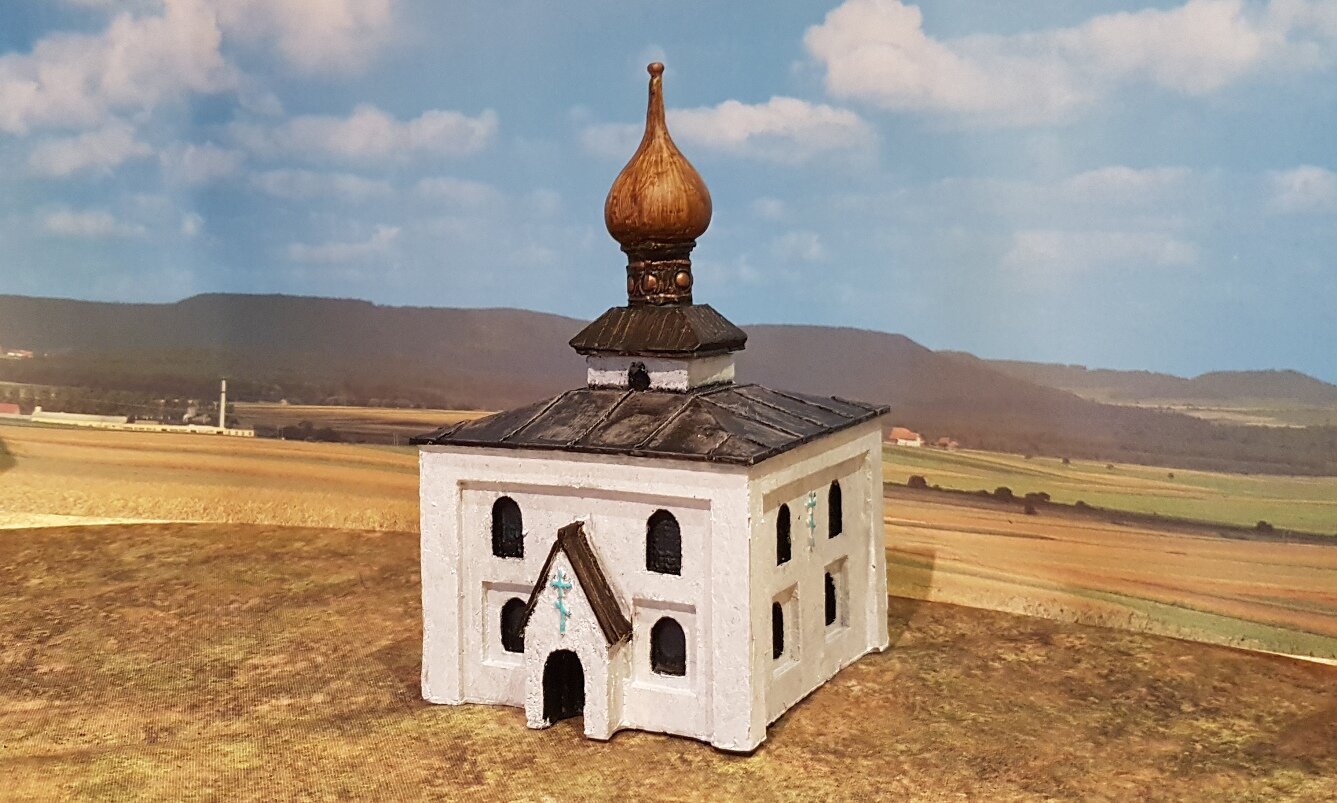
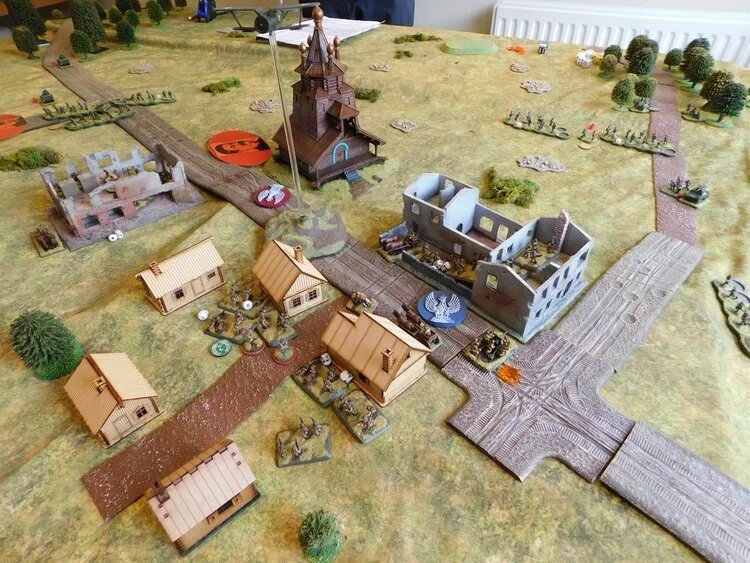
Whilst finishing off eastern orthodox church number twelve, I was again pondering why I was collecting them, so I thought I’d better look back over the many After Action Reports posted on this site and see how many of them had actually seen the tabletop.
An interesting exercise:
All I’ve done is find one picture of the church in question in action, so some of the above that have seen action have seen action multiple times. And two of the above are so new that I haven’t had a chance to get them into action yet.
So, in summary, five out of the twelve haven’t yet seen the tabletop, and I’m now wondering how that compares to my collection in general.
And how does it compare to yours?
How many units or terrain pieces have you spent your precious money, time and effort getting ready for battle only to see them languishing gathering dust somewhere in your storage area? My churches are a bit of an extreme, niche example, but I’ve got quite a few WW2 AFV platoons (especially tank hunters) that have never seen the tabletop…
Vis Lardica is a website devoted to wargaming and military history, with a special emphasis on the company-sized rulesets produced by the TooFatLardies: I Ain't Been Shot Mum (WW2); Charlie Don't Surf (Vietnam); and Quadrant 13 (science fiction)

Welcome to Vis Lardica, a not-for-profit website mostly dedicated to the company-sized wargaming rules produced by the TooFatLardies, but encompassing my other gaming interests as well.


If you need to contact me, you can do so at:
vislardica@gmail.com
If you have enjoyed visiting this site, please add a link to it on your own wargaming blog: www.vislardica.com.