15mm "Heroic Scale" Pilgrims from Khurasan
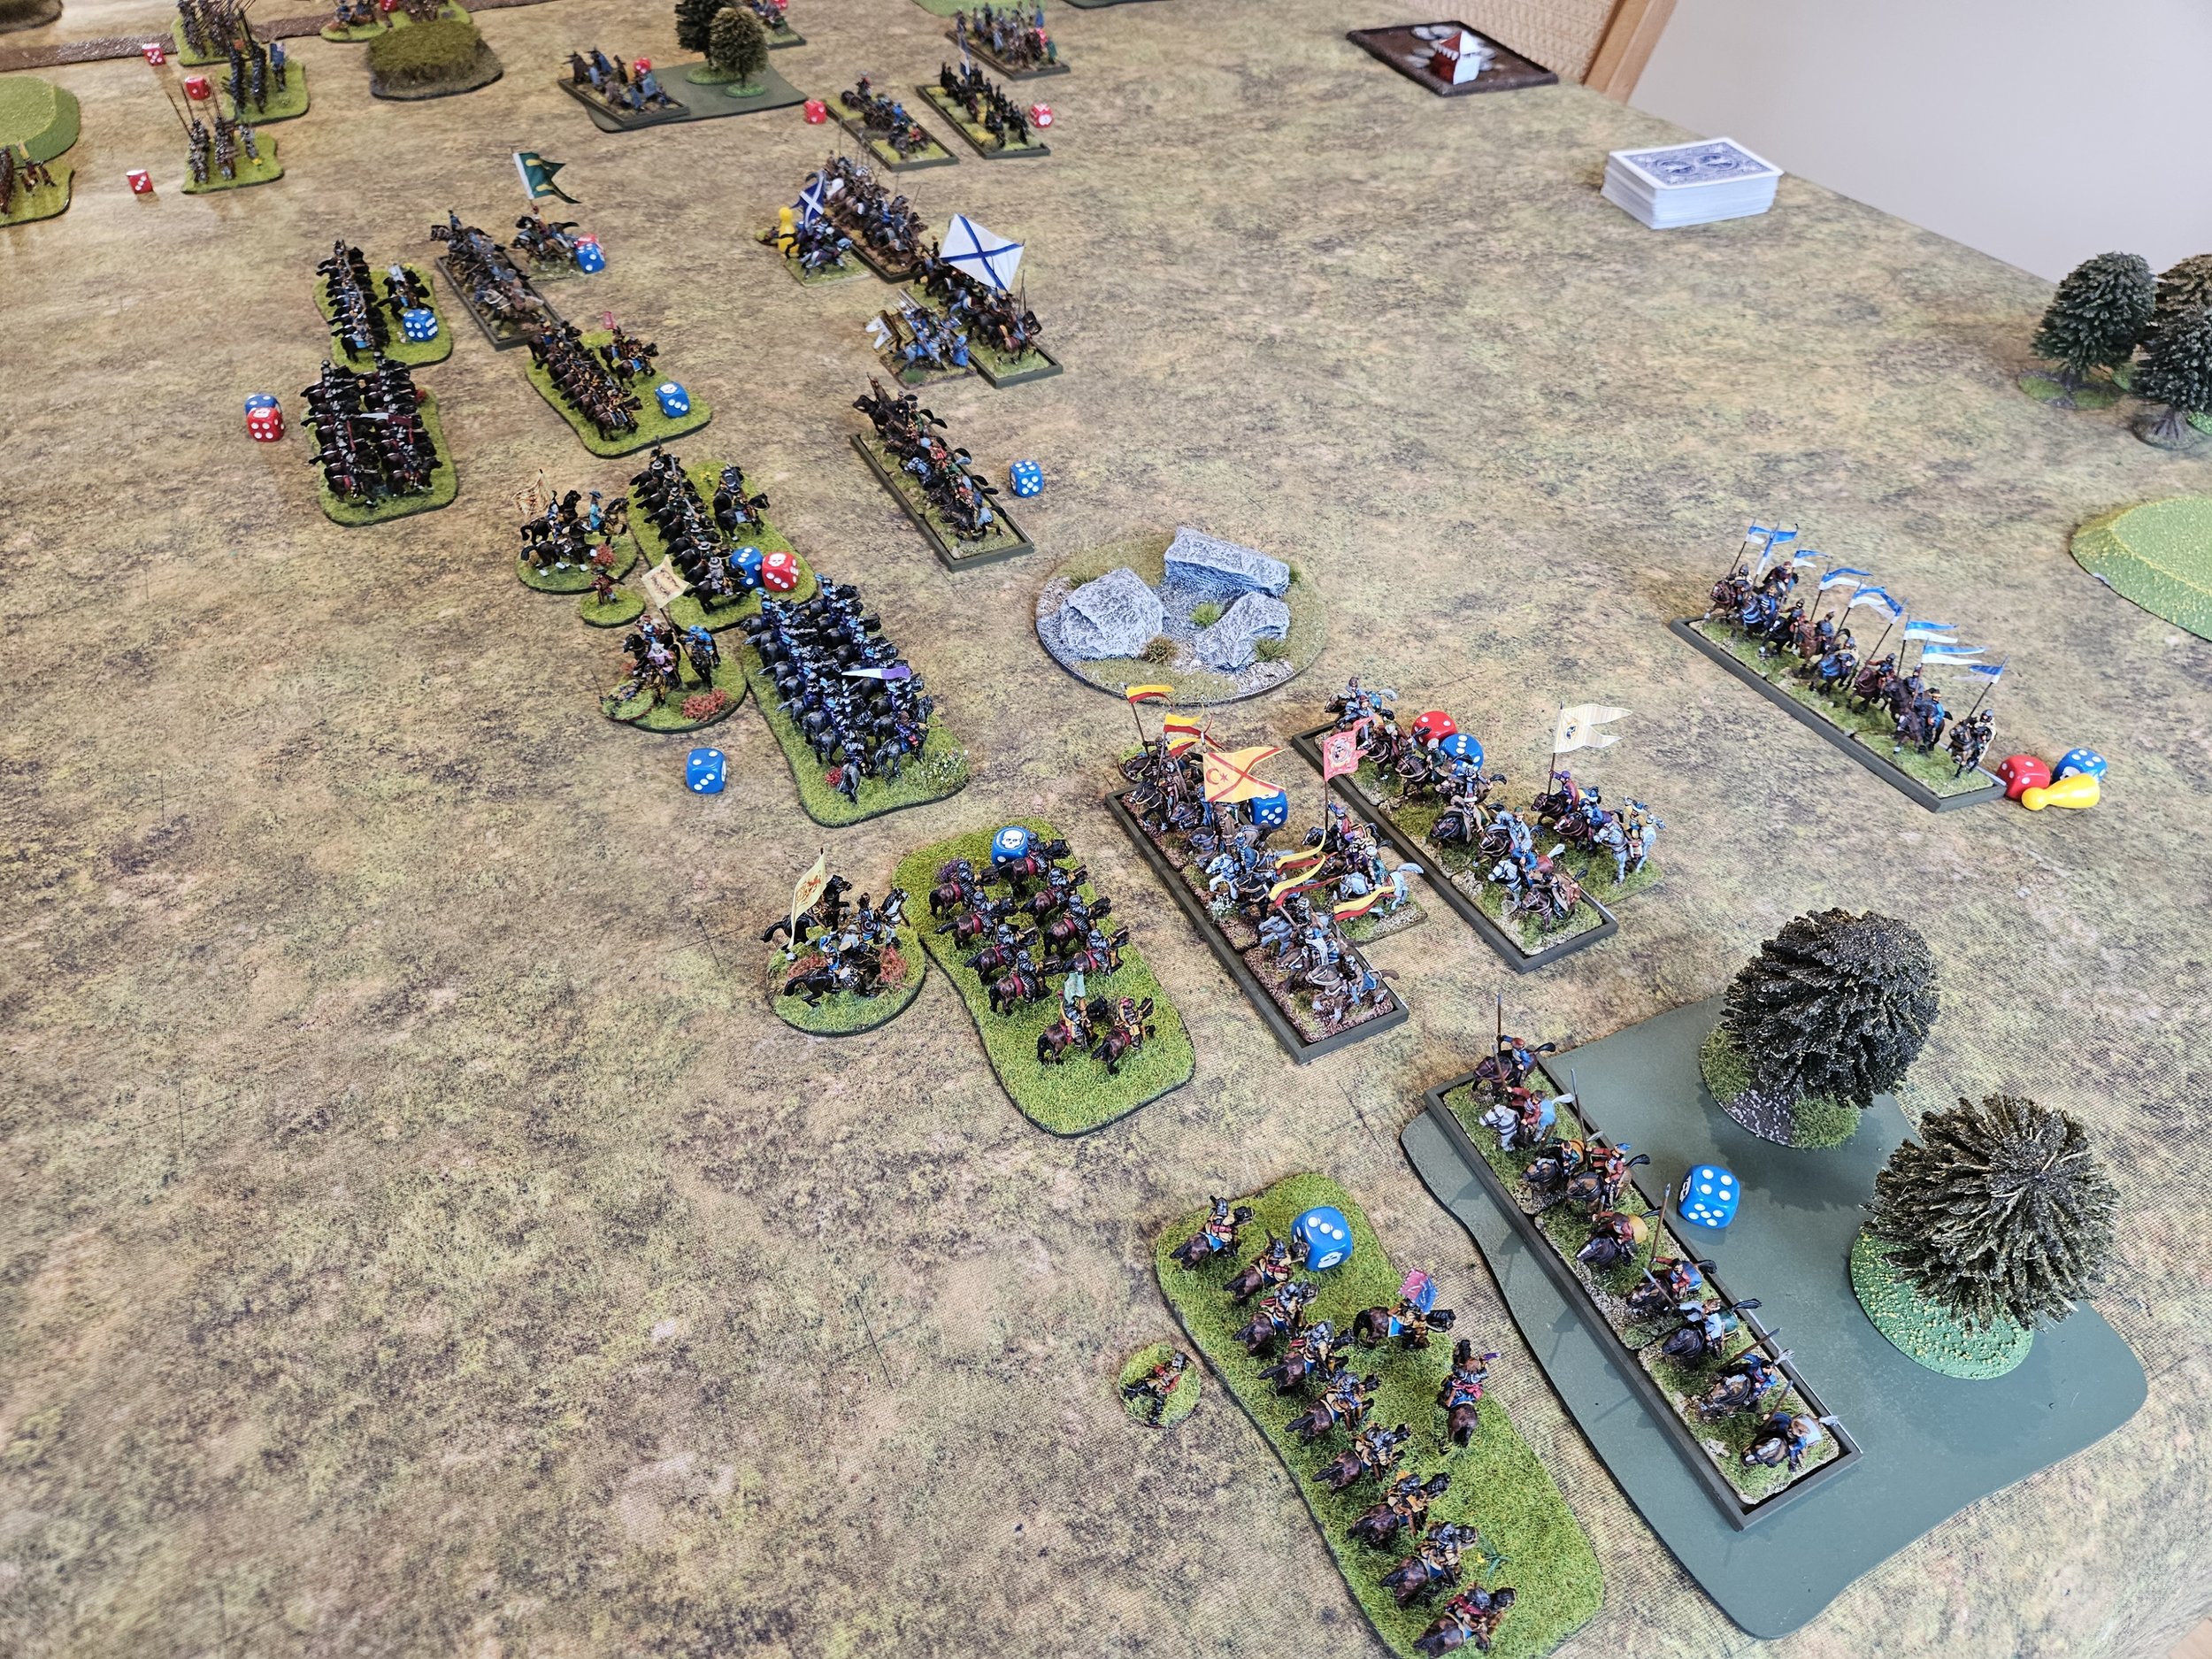
As I’d also like to be able to field my Normans as Early Crusaders, I decided to add a couple of units of pilgrims to the mix.

The best I could see on offer were those from Khurasan. They do a pack of ten ‘standard’ pilgrims along with another pack of three unique extras: a monk with crucifix held high, a woman brandishing a frying pan, and an urchin throwing a rock.

I needed sixteen figures for each “mobs” base, so a pack of each plus half a pack of unarmoured Norman infantry nicely fitted the bill.

Plus points first: great figures with loads of character that paint up easily.

The only negative is that they are heroic scale i.e. a little larger than even a large 15mm figure.

So how noticeable is the difference?

Well, it’s a little noticeable: in that if you are looking for it, it’s obviously there, but under game conditions I don’t think it will be noticeable at all. Here’s a couple of comparison phots with some Museum Miniatures’ Norman foot infantry from their CAD-designed Z range of Normans:

You’ll have to make your own minds up, but I’m not sure the difference is significant enough to matter.

It would matter less, of course, if your whole Norman army was taken from Khuarsan’s Heroic 15mm MILLENNIUM -- 1000AD to 1150AD range…something I might have done if I hadn’t already got Museum’s Normans: they are both lovely ranges of figures.

FK&P AAR: Transylvanians vs Swedes - The Re-Match

As we still had plenty of time left after our last game (Transylvanians vs Swedish, a narrow victory for me) Si and I decided to play again.

I offered a change of sides, but Si said that now that he’d taken the Swedes for a test run, he’d like to use them again “for real” this time. That was fine by me, so we re-set the table and both re-deployed.

Both sides placed their infantry facing the small village on the far side of the picture, above. I faced my Elite National Cavalry off against the Swedish Cuirassiers and cavalry in the centre, with my light horse on the left wing hopefully enough to slow down or stop more Swedish cavalry facing them.

An advance by both sides rapidly saw the two battle lines come together in the centre and on my left in a series of cavalry melees that swung backwards and forwards in terms of advantage for both sides.

Although I managed to hold the left flank, my center had to give ground and soon all I could see was my own horse thundering back towards me!

Fortunately I had troops available on my left to bring into the centre as reinforcements, and the battle broke up into a series of individual melees as units that had disposed of one enemy looked for another opponent to engage. In the confusion, one of my light horse units also managed to sneak through and take the Swedish camp, a much needed boost to my fortunes at that point!

Meanwhile the two infantry lines had slowly advanced towards each other and begun exchanging long range fire, with the Transylvanian militia troops getting the worst of the deal.

At this point I stopped taking photographs as it was neck and neck as to who would run out of victory medals first. In the event, it was me: giving Si and the Swedish a narrow victory.

A cracking couple of games decided by very narrow margins.

FK&P AAR: Transylvanians vs Swedes

Friend Si coming round for a gaming session provided the perfect excuse to get my new 17th century Cuirassiers onto the table.

Si would field the Swedes (with said Cuirassiers) and I would play the Transylvanians:

The Swedes

The Transylvanians

My plan was to hold his superior infantry on my right whilst my better cavalry rolled over his centre and his right.

Originally I had planned to sweep my light cavalry around the left, but realising that he could block that move with his horse, my first action was to try and reposition my lights so that I could use them either as general reinforcements or to bolster up my right. You can see them moving across the rear of the battlefield in the pictures above, and here’s an even better shot:

Grand tactics!

The two main battle lines then came together with a crash, with the Transylvanians definitely getting the advantage as their elite cavalry went in. The Swedes reeled backwards, apart from one unit of Cuirassiers that stubbornly refused to give way, and a period of jostling backwards and forwards ensued.

This continued until the relentless pressure from the Transylvanian horse finally proved too much for the Swedes to bear, and their centre began to crumple (their right had given way much earlier).

Meanwhile, there had not been a lot of activity on my right flank: my infantry had indeed advanced forward and then stopped to hold the ground, but the Swedes had been too busy elsewhere to worry about them.

Just as the Swedes thought they might have to do something on their left, their centre finally gave way and the game was mine.

My New Secret Weapon for Competitions

Those of you who were in the To The Strongest competition at Warfare this year will have heard me loudly decrying the number of Aces I was pulling: not for melee or shooting but for activation.

Time and time again my master strategies were defeated as my troops just refused to move at all as a result of an Ace (or usually Aces!) appearing as the first card drawn in a command’s turn.

I thought about changing my packs of cards (especially the red pack: you b*st*rds are due on the bonfire soon, I tell you!) but have realised that such a petty attempt to change my luck probably won’t work: I mean, probability is probability and play a lot of games and the monkey’s typing up Shakespeare are bound to appear sooner or later. I needed a more radical approach…

Yes, I have joined the shuffling machine club!

First encountered at the World Championships earlier this year, I have been enviously observing my fellow players who own them effortlessly producing perfectly shuffled decks without the need to do more than load up the wings and press the button. Now I, too, can avoid any of the bad luck that characterised my Warfare performance…and all for only about £10. Bargain!

This will also neatly prevent a certain friend of mine from banana-ring my decks of cards with his (admittedly nicely executed) riffle shuffles. He will doubtless be interested to hear that, according to Wikipedia: The Gilbert–Shannon–Reeds model provides a mathematical model of the random outcomes of riffling that has been shown experimentally to be a good fit to human shuffling and that forms the basis for a recommendation that card decks be riffled seven times in order to randomize them thoroughly. Later, mathematicians Lloyd M. Trefethen and Lloyd N. Trefethen authored a paper using a tweaked version of the Gilbert–Shannon–Reeds model showing that the minimum number of riffles for total randomization could also be six, if the method of defining randomness is changed.

I’m not sure when my new shuffling machine will have it’s debut, but be warned that I am already clearing shelf space for all the trophies that I an now going to win as, according to me at any rate, all that has been holding me back is my appalling luck and nothing to do with the fact that I am facing very skilled opponents who have actually taken the trouble to learn the rules!

For those interested:

ZONJIE Automatic Card Shuffler Machine 2 Deck, Electronic Casino Poker Card Shuffling, Battery Operated -One/Two Deck Card Shuffle Sorter, Cards Playing Tool Accessories


FK&P AAR: Muscovites vs Transylvanians

With my Transylvanians having lost the first game by only one Victory Medal, it was time to swap sides for a re-match: this time I would take the Muscovites, with Bevan playing the Transylvanians.

As you can see in the picture, above, both sides have deployed very traditionally: infantry in the centre, cavalry on each wing. You’ll also see that my horse on my left flank considerably outnumber their mounted opponents, so my plan was very much to punch through there and then roll the Transylvanian line up.

With that in mind, I opened the game by advancing forward on the left as hard and fast as I could.

As you can see in the bottom two pictures above, on the far left, left of the woods, I didn’t manage to punch through the enemy lights quite how I had hoped, but did manage to open up a bit of space just to the right of the woods. The question now became whether I could exploit this advantage!

Meanwhile, elsewhere on the field, the two battle lines had generally come together, with a series of fierce melees taking place:

Now was the time for my troops on the left to curl inwards and roll up the Transylvanian line: something I really needed them to do as they represented a good proportion of my fighting strength, and my lesser-quality centre wouldn’t hold for ever!

Above you can see a couple of pictures showing how I was trying to get my horse back into the action: but they do seem to have an awful lot of ground to cover!

And all that ground proved my downfall, with my centre and right flank giving way before I could get the cavalry back into the game.

Regular readers will know that I lost the first game in this two-battle series by one Victory Medal…and so it was again in this game! If I had survived one more turn in the centre/on the right then my cavalry would have made it back into the action in time to win the game for me, but victory evaded me by the smallest of margins as one unit too many fled the field.

So that was four games with Bevan in two days…and four defeats. Ouch! But, as Michael Jordan once said:

“I’ve failed over and over and over again in my life and that is why I succeed.”

Good to know that I’m secretly a success at this wargaming thing!

Very secretly!


If you've enjoyed this post, please do consider "buying me a coffee" : you can be sure that all proceeds will be channelled back into wargaming, leading to even more content for you to enjoy!

TFL Painting Challenge: Mid-November Update

Only a smidge over six weeks to go in this year’s Challenge, and the entries are coming in fast.

Do please visit the individual galleries, accessible via the black navbar above, but here’s a taster of the entries so far this month:

Congratulations to Matt who has surpassed his previous record score of 5,522 (set in 2015) to now be on 5,591. Surely the magic 6,000 beckons…and painting loads of Ottoman cavalry really well would really help hit that target!

Andrew is also on a new record score of 4,636, beating his previous high of 3,908 set last year. I think we need 5,000 out of you this year please.

Finally Sapper is also on a new high: 3,030 versus the 2,638 set last year: perhaps 3,250 or even 3,500 to come?

There’s still plenty of time to get your entries in - I’m often adding the last few early on New Year’s Day - so let’s make a final push to get those scores up.

I’ll also take mass submissions of work completed over the last 11 months or so, so don’t worry about not having submitted something so far. If I could just ask that everything is clearly labelled, as although I can usually tell a Jaeger from a Janissary, counting the number of 6mm figures you’ve submitted in a mass-army photo is not much fun!

My New "Real Life" Roman Baggage Train!

I’m doing a lot of To The Strongest competitions at the moment, using an almost wholly metal 28mm Early Imperial Roman army that weighs a ton! Carrying it from the student digs at Britcon to the venue practically killed me, and the SELWG ramp wasn’t much fun either!

Now, however, I have the solution: a rather nifty folding camping trolley from Finnhomy bought from Amazon:

This neatly fits the entire army plus a box of terrain, lunchbox, waterbottle etc (in fact we had two armies plus paraphernalia in it on the journey out of the venue) making it super easy to transport from car to table, and then acting as a side table as well. I wish I’d bought it sooner!

As the description suggests, it also neatly folds up into the boot of the car and is honestly the best thing since sliced bread!

Details are here:

Finnhomy Folding Trolley on Wheels with Brake, Festival Trolley, Collapsible Beach Trolley with Removable Wheels, Camping Trolley 100KGs Capacity, Garden Trolley Wagon with Drink Holders

Warfare 2023

I had a mixed day at Warfare last Saturday: the show was great, but I didn’t do very well in the To The Strongest competition I had entered and, as icing on the cherry on my cake, I got home to find that I had left my jacket on the back of the chair I’d been using for my last game!

But this post isn’t about that, nor about the competition games: they will follow individually in due course, once the Vis Lardica Ministry of Truth has had time to put a positive spin on an execrable performance! No, this post is about Warfare, the show.

And what a good show it is!

Now at the Farnborough International Exhibition & Conference Centre, Warfare is only about an hour for me, and is a trip well worth making.

I got there nice and early! This is the competition area: it was big!

The venue has grown on me since my first visit last year. Free parking right next to the hall helps, and it didn’t seem as dark and gloomy as before.

I, as I said, was there for a competition, along with 420 other people, which immediately gave the show an extremely busy and bustling feel. It was also great to walk about amongst the other games’ tables and see what was what. Some impressive armies and terrain on show, and there was plenty of room as well: some other competitions I have been to are too cramped to make spectating even possible let alone enjoyable.

There were also plenty of traders and a significant Bring & Buy. I didn’t actually purchase anything, having spent all my money on a new “real life” Roman baggage train (see post later in the week) but could have done so had an imminent tax bill from last year not been weighing on my mind, but there were plenty of products to put on the list for the future.

I won’t be buying either of these (well, not soon!) but thought they were rather fun:

Finally, there were a large number of excellent demonstration games that I made sure to find time to look at during the competition lunch break. I didn’t really have time to note down who had done what, but here’s a quick gallery of some of the one’s that I saw:

So Warfare is recommended for a visit next year, even if you aren’t competing.

Oh, and if you do go, and you see my jacket, pick it up for me will you…

FK&P AAR: Transylvanians vs Muscovites

Time for another game of the eastern Europe variant of For King & Parliament: my Transylvanians would take on Bevan’s Muscovites.

Transylvanians

Muscovites

This was a cracking game where the action swayed backwards and forwards across the field.

In summary, the Transylvanian elite National Cavalry (the chaps with the yellow and red lance pennants) charged forwards right of centre of the field and swept all before them: smashing enemy units from the field with ease!

On my left flank, however, the mass of Transylvanian light horse were comprehensively butchered by Muscovite heavy cavalry, who steam-roller-ed over them with barely any effort at all.

In the centre, the two sides came together as the actions above were taking place and, unfortunately, my troops got the worst of it and slowly began to give ground.

Honours were even, with both sides hemorrhaging victory medals, until the very last moments of the game, with the Muscovites just taking the win 16:15!

As I said above: a cracking game…with the charge of the Transylvanian elite National Horse being one of those moments that will go down in gaming history!

Here the battle in pictures:


If you've enjoyed this post, please do consider "buying me a coffee" : you can be sure that all proceeds will be channelled back into wargaming, leading to even more content for you to enjoy!

ECW Infantry Battalia

Regular visitors will know that I recently bought the new ECW casualty figures from Alternative Army’s Furioso range (and very nice they were too).

Never one to miss an opportunity to buy stuff, at the same time I also ordered enough figures to make up a standard ECW infantry battalia in the way that I configure them for For King & Parliament. Seemed rude not to really!

I hadn’t bought any of the Furioso range before (mainly using Peter Pig and Hallmark via Magister Militum for my ECW collection) so was curious to see how these would fit in.

The first thing to mention is the excellent way in which they were delivered, especially the pikemen. I don’t usually like figures with integral pikes - the pikes always seem to get bent out of shape in transit and then never go back to how they should be - preferring to add my own using rigid wire spears, but these arrived absolutely and beautifully straight, taped to a piece of cardboard to make sure they remained so. Well done to AA!

Secondly, the figures paint up very well indeed. The detail is crisp, and takes Contrast paints very nicely indeed. The pikemen come in breastplate and helm, and it’s nicely sized breastplate that is easy to (after the undercoat) re-paint in black and then highlight with a dull steel colour. Likewise the musketeers: the detail (the apostles, the feathers on some of their hats) highlight clearly and easily. Great stuff.

Finally, their sizing is comparable to the rest of my collection. Yes, the pikes are considerably more solid than the wire spears I’ve used elsewhere, but this is a minor gripe: height-wise they work very well.

So, all in all, I am very impressed with the Furioso pike and shot from Alternative and will doubtless find myself browsing the rest of the range in the very near future! Highly recommended.


If you've enjoyed this post, please do consider "buying me a coffee" : you can be sure that all proceeds will be channelled back into wargaming, leading to even more content for you to enjoy!

TTS AAR: Sicilio- Normans: The Return Match

With plenty of time remaining and the table and figures all set up, Bevan and I decided to swap sides and play again: I would take the Papal Italians (proxied by a Burgundian Ordnance army) and Bevan would play the Sicilio-Normans.

Now if I thought my luck was bad in the last game, in this game it really fell off a cliff!

On the right flank I lost a unit of Knights to some scummy Sicilian light cavalry, leaving a huge hole in my line that enemy Knights immediately exploited. I did manage to get a breakthrough of my own going, but it took longer than it should and the battle ended elsewhere before I could take full advantage.

On the left, I got into the perfect position to do some damage, but the cards weren’t with me, and my glorious flank charges fizzled out unsuccessful!

Meanwhile, the Sicilio-Norman infantry ground forward in the centre and, with what I had lost already and the fall of my camp to the enemy Knights that had broken through, I was soon out of victory medals.

A frustrating game: as Bevan said afterwards, I didn’t do anything tactically wrong…it’s just the cards didn’t fall my way. To misquote the great Les Dawson: I had all the cards I needed, just in the wrong order!

No matter, these things happen. At least I could get my revenge in quickly, as we were due a couple of games of For King & Parliament, Eastern Front Variant in 24 hours time, with my Transylvanians facing the Muscovites. But more on that later…

ECW Casualties

Those who have gamed with me know that I do love a good marker: be it an ammo marker, a pin, shock, wounds…whatever system, I love a good marker!

They’re dead, Jim: you can tell by the SBOBCP’s

Up to recently, however, I’ve shied away from using “dead” or “wounded” casualty figures to mark things such as disorder, believing that it was far better to concentrate my figure production on actual units rather than waste time and money on something that can easily be replaced by a small bit of brightly coloured plastic.

My recent foray into competition gaming has, however, made me think the opposite. I originally went into competitions using my small bits of brightly coloured plastic, but soon realised that these looked out of place opposite the more subtle casualty markers used by my opponents. I looked like a newbie, for God’s sake!

The situation was remedied for my 28mm Romans in my games of To The Strongest, when friend Peter gave me a set of Roman shields mounted on flocked 2p pieces, but my 15mm English Civil War figures for For King & Parliament still suffered from the SBOBCP syndrome.

The Romans are more subtly dead now, jim!

Until now!

I haven’t really used Alternative Armies’ Furioso range for any of my 17th Century collection, preferring to stick to the usual suspects of Peter Pig, Hallmark via Magister Militum, By Fire & Sword (for Eastern Front) and the occasional Essex. No particular reason for this (I buy sci-fi figures from Loud Ninja via their site) just generally not being familiar with the range and choosing to stick with what I know.

I did, however, see an advertisement for some new casualty markers from Alternative, so thought this might be a good time to dip my toe in the Furioso waters. I duly ordered (taking advantage of a 20% off sale and the situation to buy another battalia of ECW infantry as well…but more on them another day) and received a smart little package in return.

Apologies for the quality of the picture (the setting sun on a Grey Seer’d painting tray) but these are rather nice. They come small enough to mount on a 1p piece, as I have done above, and are very easy to paint up: just the right amount of detail to make them pop. There are six different types (three face up and three face down) but, as you can see, you can easily make a variety pack through different painting schemes.

They also do some standing up wounded if that’s your preference.

These get a highly recommended from me, and I can’t wait to get them onto the table.

TTS AAR: Sicilio-Normans take to the field

Now that I had painted up the Italo-Norman militia, it was time to get them into action. I wanted them to face a contemporaneous army, so friend Bevan would field my Burgundian Ordnance collection masquerading as Papal Italians!

Okay, so things weren’t entirely apt, as I was actually fielding Sicilio-Normans instead of pure Italo-Normans, but as the country of Italy wasn’t actually formed until 1870, I decided that stretching things slightly too far south wouldn’t matter too much.

As you can sort of see in the picture, above, both sides had concentrated their cavalry on one flank (my right, Bevan’s left) so the stage was set for a fairly mighty clash early on in the game…and that’s exactly what happened.

Meanwhile, the each side’s infantry contingent slogged forward towards the enemy, with an unusual run of cards meaning that my troops advanced forward in echelon.

Unfortunately for me, the Pope had obviously secured some divine intervention to support his forces, as my unusual run of cards continued with me drawing appalling cards for the cavalry combat, with what should have been a fight in my favour (four heavy units vs three heavy units, two light units vs one light unit) ending up with my cavalry just about wiped out (one light unit remaining) whilst leaving two of his heavy cavalry units still very much in action.

Meanwhile, the infantry lines had, in a ragged way, closed and gone to melee. Things looked a bit better for me here, and I had started to get back into the game a bit.

Even better, going completely against convention, my newly-painted unit of Italo-Norman militia had burst through the enemy line and had got to within striking distance of the enemy camp…and as Bevan only had four Victory Medals left at this stage, if I could just hold on for another turn, there was a fair chance I could nab the camp, pick up another Medal from somewhere else on the field, and win the game.

Unfortunately, the consequences of losing the cavalry battle on my right wing then came back to haunt me with a vengeance, as the two enemy units of Knights arrived back into the action: flank charging some poor Sicilio-Norman spearmen with devastating effect.

Already Disordered, the Sicilians crumbled and fled, and the game was Bevan’s!

A cracking encounter that, despite my earlier bad luck, got down to the wire, with both sides being in a position where the next casualty would have lost them the game. Sportingly, Bevan did agree that I had had universally bad luck throughout the game, but you have to play the cards you’re dealt so no complaints!

Cuirassiers Ahoy!

With my foray into the 17th Century European wars continuing, I decided I needed to armour-up and get a couple of full-blown cuirassier units.

You don’t really need them for the English Civil War - a full suit of armour being a bit too expensive for most people so a rarity on the ECW battlefield - but I think I can probably justify having them available to early 17th Century European armies.

As most of my ECW collection is Peter Pig, I decided to stick with them for the cuirassiers. At this stage of the 17th Century, heavy cavalry like this would have fought in the “Dutch” or “trotter” style: trotting up into pistol range and letting loose a volley or two before advancing steadily into contact.

Usually I would use Contrast paints on the horses, but as I wanted to drybrush the armour on the riders I undercoated in Matt Black and then painted their steeds with basecoat-highlight-wash as I used to do before speed paints came along.

On reflection, it was probably the wrong choice. I should have undercoated in Grey Seer as usual, painted the horses with Contrast paints, then painted the riders with a second matt black undercoat before drybrushing.

The way I used was certainly expedient - I completed the two units in two days - but I’m not very happy with the horses. The truth is that Contrast paints have their weaknesses, but they are really good for painting 15mm horses.

Anyway, they are done now: two units of cuirassier cavalry to trample over the fields of 17th Century Europe!

TTS AAR: British Open Game 4: Early Imperial Romans vs Chin Chinese

My final game at this year’s British Open To The Strongest tournament, held at SELWG, was against Dene’s Chin Chinese.

Nasty opponents: massed crossbow fire hammering in from distance and then dagger-axemen, spearmen and heavy chariots to fight in melee!

To be absolutely honest, I don’t remember a huge amount about what actually happened during the game! I know that it began with my troops advancing steadily towards the enemy, undergoing the expected hail of crossbow bolts. On the right, I used a unit of Legionaries to hold some cavalry and lights in place. On the left, my equites alares/cohortales effectively cancelled out the rest of his cavalry. In the centre, the two lines clashed with both sides losing some units. Honours even so far.

Things continued to be neck and neck until we both both down to one victory medal: it was going to be sudden death for the next person to lose a unit. I was, however, in a better position tactically, with my troops in a slightly better state than Dene’s. If I could survive his turn, I should be able to win in mine.

Unfortunately, Fortuna deserted me: Dene drew three 10’s in five cards (well, three chits marked ‘10’ in five chits as he was using TTS chits not cards) and KO’d a Legionary unit, meaning that I lost the game 12-13! Talk about close!

So what did that mean for the tournament as a whole?

Tim and his Galatians that I had beaten in Game 3, Dene and his Chin Chinese and I and the Early Imperial Romans all had three wins and one loss…which meant that points wise Tim won the tournament on 613 points, I came second on 596 points, with Dene in third place on 520 points. I was pipped at the post again!

Whatever the result, it had been a great tournament, with four very enjoyable games against very gentlemanly opponents.

As I have said before, I highly recommend taking part in those tournaments that you can manage if only to meet other people from the TTS community.

Finally today, here are some more shots of the final game:

TFL Painting Challenge: End October Update

More entries to this year’s Challenge have come in steadily over the month, and it looks as if a couple of people will hit record scores for themselves.

Please do look at the individual galleries - accessed through the NavBar, above - but here’s a taster of what’s been sent in recently:

More Italo-Norman Spearmen

Here’s the second batch of Italo-Norman Spearmen for my Sicilio-Normans.

These are mostly Baueda 15mm, with a smattering of Museum Miniatures and, I think, Khurasan as well.

The trick of using different shades of blue on the tunics to represent a militia unit (uniformed but not uniform!) has worked very well here. I actually think that they look better from the back rather than the front!

IABSM AAR: Storming the Citadel IV

Will Depusoy and friends have been playing through the PSC Storming the Citadel campaign set during the battle of Kursk , 1943, and posted this After Action Report on the IABSM Facebook group.

Here, the Soviet 67th Guards tries to hold the village of Butovo against German Grossdeutschland divison.

Click on the picture below to see all:

TTS AAR: British Open Game 3: Early Imperial Romans versus Galatians

My third game at this year British Open at SELWG was against Tim and his Galatians.

Galatians are a unique army: like Gauls or Ancient Britons, but nearly all deep fanatical warrior units with loads of heroes. It was going to be tough to chew my way through them!

Neither Tim nor I were in the mood for any shilly-shallying around or tactics or anything like that: both battle lines headed for the other determined to get stuck in as soon as possible:

Annoyingly, one of Tim’s units burst through the Auxilia and made it into an undefended part of my camp.

Honours were even on my right: whilst most of my cavalry were forced to retreat, the Contariorum smashed an enemy unit off the table, and threatened to wreak havoc in the Galatian rear (ooh-er, madam!) despite the threat of scythed chariots.

On my left, I was cautious about his cavalry swinging wide around the wood and coming in from the flank. I therefore held back a unit of Legionaries against that threat: something that I was very glad I had done when suddenly a couple of chariot units appeared from off-table on that side - good use of the stratagem card that I thus neutralised by accident!

So, as ever, it was up to the main body of Legionaries to do the job…and they did. Pushing forward relentlessly, the Praetorians and other veteran units smashed three enemy units from the field, giving me a pretty narrow 13-9 victory.

So not much finesse, but a win. A warning to those intending to fight Galatians: those warrior units are tough! Three hits to kill them, they rally easily, and ignore wounds until they are dead. A battle I was glad to get through!

Militiae Spearmen for the Italo-Normans

One of the last things I needed for my Italo-Normans was at least one unit of Militiae: militia spearmen that would need to be distinct from the Sicilian Spearmen and Mercenary Spearmen I already have.

I used mostly Baueda figures for these: they are simpler to paint than the excellent Museum Miniatures Z range that forms the greater part of my Norman collection…something important when you have to paint 54 of them!

I used the Museum command figures and, as Magister Militum hadn’t managed to get me all the Baueda models I needed, leavened the mass with a couple of spare Museum Normans: you can see them in the centre of the front rank, and the crossbowman far left.

Unlike the Sicilians and other Norman Spearmen, I wanted these chaps to look like a militia which, to me, means some kind of uniform. At the same time, I didn’t want them exactly uniform either: these are militia not the guards!

My solution was to paint the mass of the spear in three different shades of one colour: in this case, green. Now they look like they all come from the same unit, but that different tunics have been ordered and issued at different times. I have another unit to paint: they will be various shades of blue.

I’m happy with these chaps: now to paint the blue ones!