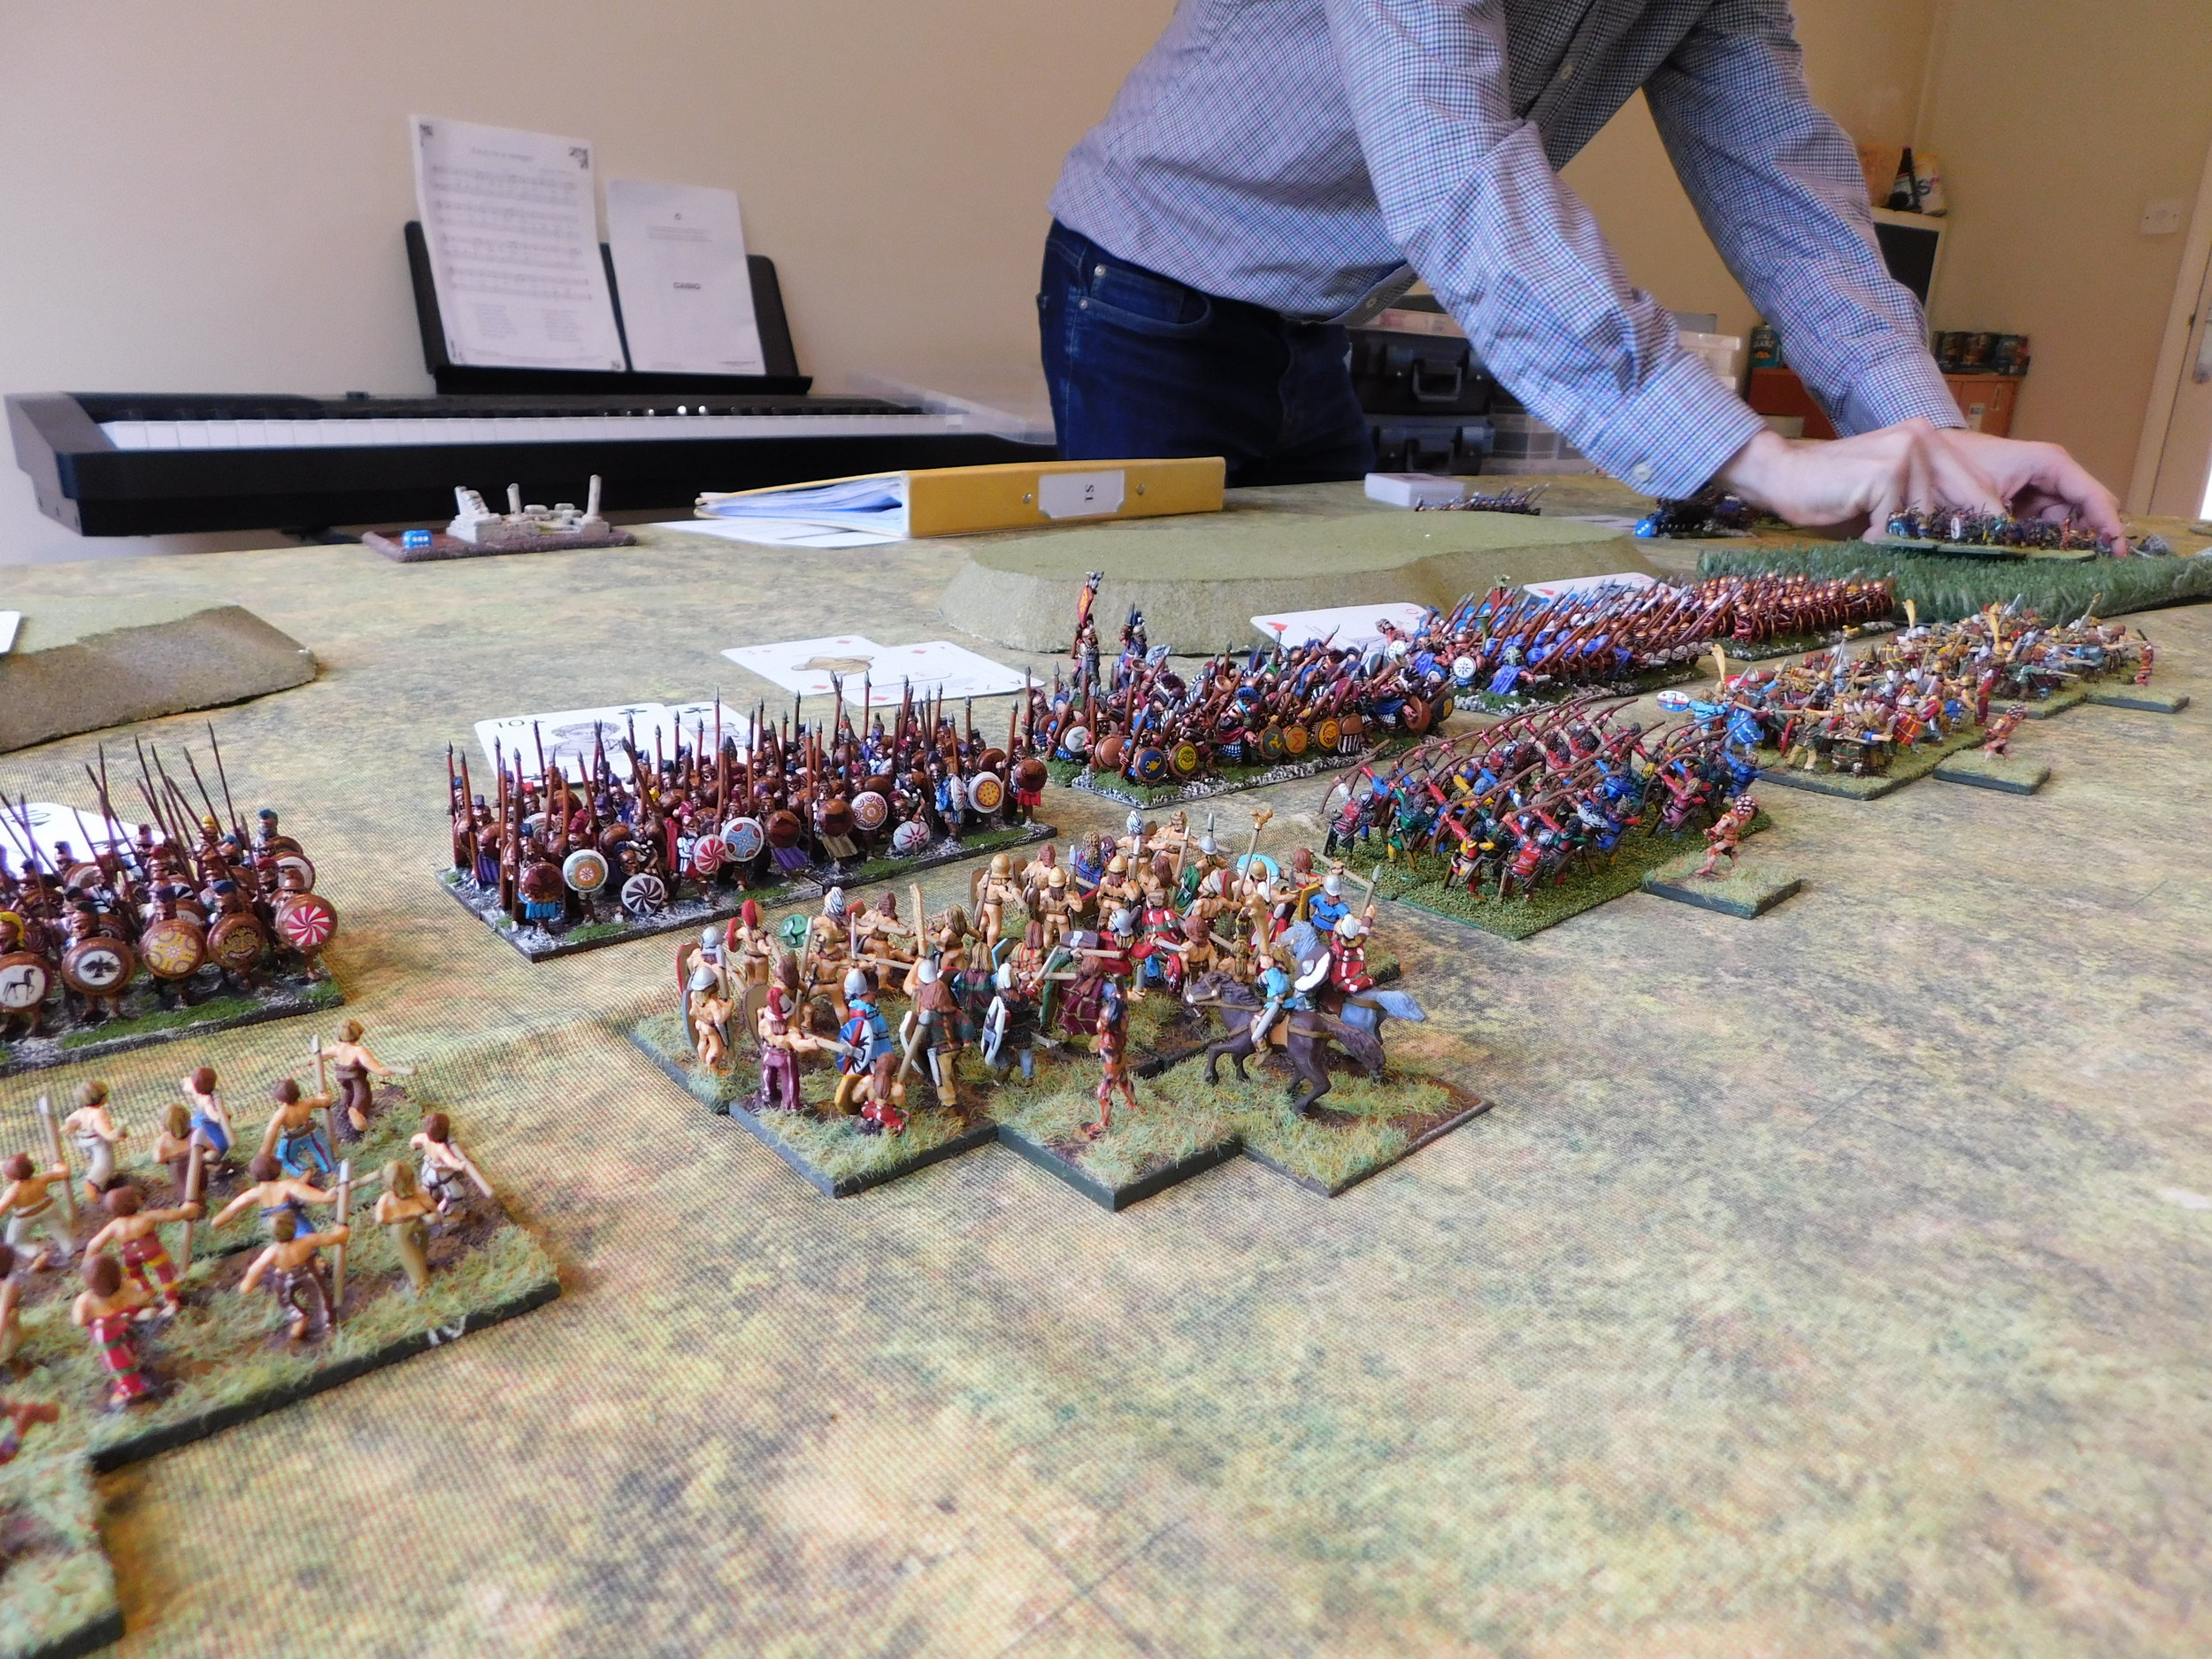
Q13 AAR: I Did See A Putty Cat!

Regular visitors will know that at this year’s Salute I purchased a bargain pack of mdf sci-fi terrain from TT Combat and have spent the last couple of months building it. It was now time to get some figures onto the table and actually use the damn thing!

The scenario was to be a simple attacker/defender game, with the Hauk (sci-fi birdmen from Khurasan) defending the industrial complex against an assault from the Felids (sci-fi lionmen, also from Khurasan). I would play the Hauk, friend Neal would play the Felids, and in order to make things interesting, there was a time limit for the Felids to take the complex.

Click on the picture below to see what happened:

IABSM AAR: The September War #60: Szack

Great battle report from Tim Whitworth and the Like A Stone Wall wargames group, this time featuring a recent game taken from the September War II scenario pack.

Here’s the background:

Soviet troops consisting of the 112th Infantry Regiment, some 13.000 soldiers supported by fifteen T-26 tanks and fifteen guns, arrived at the village of Szack on September 28th.

The Polish force near the village numbered 4.000 men of the Border Protection Corp, including General Wilhelm Orlik- Rückermann, and sixteen anti-tank guns.

Having taken the village, the Soviets then charged the Polish positions with infantry supported by the T-26 tanks. The Poles waited until the Soviets were right on top of them before opening fire with their antitank guns, destroying eight tanks.

The Polish troops now launched an all-out counterattack: covered by their artillery, the soldiers of the Border Protection Corps charged at their enemies with bayonets fixed. By the afternoon the village was back in Polish hands.

The game played last Friday takes up the story from that point on. Charged with the task of retaking the village, the Soviets again attacked in force. Click on the picture below to see all…

[I still can’t believe that, using Anton’s materials as a starting point, I wrote 60 scenarios for Poland 1939!]

AAR OML7 Game 2: IABSM: Recce vs Recce

My second game at this year’s Operation Market Larden (the Evesham Lardy day) was a rather exciting game of I Ain’t Been Shot, Mum. The scenario, written and umpired by Mike Whitaker, involved a clash between British and German reconnaissance forces somewhere in Italy in around 1943.

Click on the picture below to see all:

IABSM AAR: Sealion #06: The Road Inland

Tim Whitworth and friends recently played scenario #06 from the Operation Sealion scenario pack: The Raod Inland.

It is day S2 of the German invasion and the reconnaissance battalion of the Wehrmacht 26 Infantry Division is heading towards the sleepy village of Herstmonceaux. The reconnaissance unit is light in vehicles and most of the troops are mounted on bicycles ‘liberated’ from a sports shop in Pevensey.

So far British resistance has been patchy comprising of pockets of home guard and the occasional unit of regulars but the British are now frantically attempting to form a solid defensive line to the north of the landing beaches.

What will this day hold in store for Hauptmann Ralph Sturmer and his company? Click on the picture below to see all…

AAR OML7 Game 1: Chain of Command in Malaya

The first game that I played at this year’s Operation Market Larden was a game of Chain of Command set in Malaya 1941 put on in 28mm by Mark Backhouse.

The British, played by Matt Slade and I, were represented by a platoon of Argyll and Sutherland Highlanders. We were defending: our mission was to prevent any Japanese troops exiting the table on our side: Mark, in the picture above, is standing behind the British baseline. A sub-plot also involved us getting a senior officer to the knocked out ambulance to rescue certain vital supplies.

As mentioned, we had a full platoon of Scottish infantry at our disposal: three sections, a light mortar team and a Boys anti-tank rifle team led by lots of officers. In support, we chose a Lanchester armoured car (mainly because this theatre is about the only place you can use one) and a roadblock, which we used to prevent the Japanese bringing any tanks on from the side road on our right flank.

The Japs, played by Jeff Davis and Ian Gilbraith, had the opposite idea. Their aim was to capture two thirds of the table (horizontally) allowing them to exit troops off the British baseline. They also had a secondary mission: explore the two huts in search of rice supplies.

The Japanese also had a full platoon to field, but their sections were enormous: fourteen strong IIRC. In addition to their three regular rifle sections, they also had a grenade launcher squad with three Mk89 teams. In support, they had a Chi Ha tank: something we were not looking forward to facing.

Patrol Phase

The Patrol Phase happened quickly, with the Japanese ending up with their Jump Off Points largely on their left side of the table. We had two of our JOPs on that side of the table too, but as we’d had to protect out entire front instead of being able to schwerepunkt along one road, we had another behind the hut on our left hand side of the table.

The Main Game Begins

The dice really fell for the Japanese in the early stages of the game. I’m not quite sure of the mechanic, but something about them rolling lots of 6’s on their Command Dice twice in a row meant that they shot up the battlefield until there was a section in the jungle to our right, the grenade launchers behind the hut just in front of our positions, and another section right in front of us in front of the hut.

The Japanese opened fire, promising huge amounts of devastation on our lead section. Fortunately (me rolling lots and lots of very low dice) the potential for large numbers of deaths was never realised. In fact, our only casualty was a junior officer knocked down…who promptly got back up again. This did, however, cost us two Force Morale points: the officer was obviously deeply unpopular!

Now the dice swung our way, and we had the chance to pour fire into the Japanese squad out in the open: which we did, knocking their strength down by half. At the same time, our Lanchester appeared, and promptly shot up the Japanese squad to the right.

It was all going so well…then this happened:
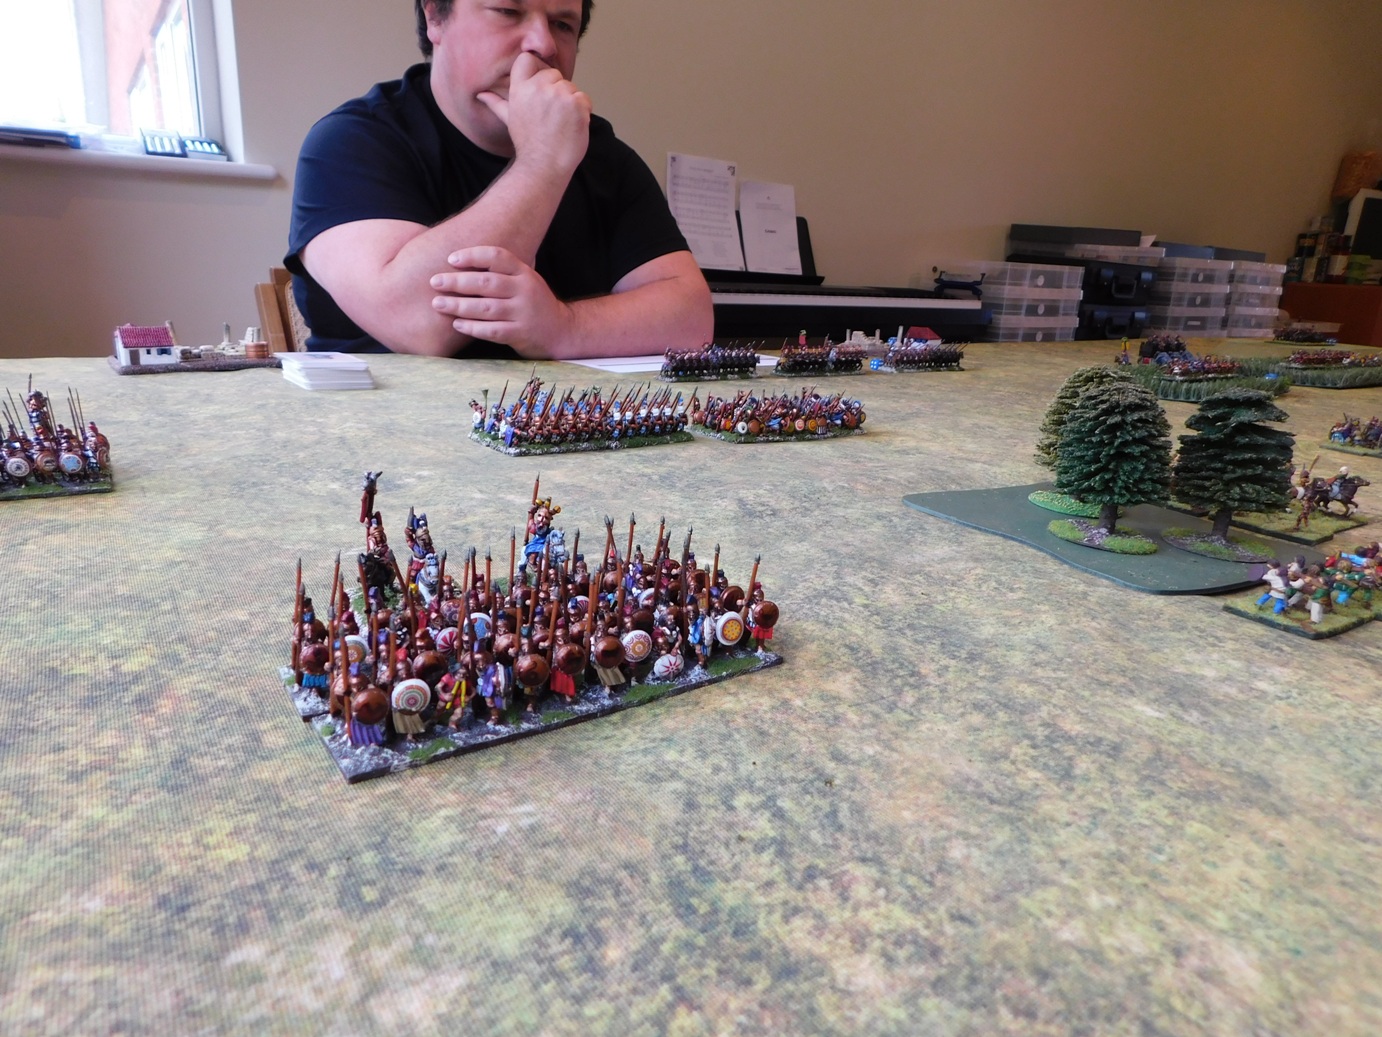
The Chi Ha took a shot at the Lanchester, hit it, and almost knocked it right back off the table. One more of them and we’d have no Lanchester left, and a dwindling number of Force Morale points.

Our light mortar popped some smoke down on the road between the Chi Ha and our armoured car, which gave us a little time to breathe…but what to do? There were still lots of Japs on the table, albeit half of them were pretty bashed up, but we needed to do something quickly and decisively if we weren’t going to spend the next four years building railways!

There was nothing for it: we would have to go forward and take the fight to the Japanese!

Bursting from the undergrowth, one of our sections rushed across the road to the right shouting strange Scottish epithets as they closed with the enemy. There were more Japanese there than we expected (the figures were hiding in the scenery!) and we lost the first round of close combat. This boded ill, but then Mark reminded us that as we were Scottish, we could ignore a loss by a mere one man, and carry on fighting until we were properly wiped out!

Back in went the Argylls, and in another two rounds of fighting (the Japs weren’t giving up the ghost easily either) we killed every enemy solider except one senior leader, who fled the field not to be seen again until 1966, when he finally emerged from the jungle not knowing the war had ended in ‘45!

The loss of so many of their men was too much for the already battered Japanese to survive. With a Force Morale of zero, they melted away back the way they’d come. Another successful Argyll ambush: time to fall back and do it all again tomorrow!

Aftermath

A cracking game of CoC, and one after which I am actually starting to remember the rules. I don’t think I’m switching from gaming companies in 15mm (IABSM, CDS, Q13) but I shall definitely play CoC again when I can.

Thanks to mark, Matt, Jeff and Ian for making it such a great game. Here are a few more piccies:

IABSM AAR: Pegasus Bridge Playtest

This year is the 75th anniversary of the successful assault on Pegasus Bridge by glider infantry of the 2nd Battalion, the Oxfordshire and Buckinghamshire Light Infantry, British 6th Airborne Division, commanded by Major John Howard. The successful taking of the bridges played an important role in limiting the effectiveness of a German counter-attack in the days and weeks following the Normandy invasion.

The Soldiers of Oxfordshire Museum (SOFO) is putting on an exhibition to celebrate the anniversary, and it looks as if a few of us might be able to run a demo game of IABSM one weekend at the museum to help bring the event to life for the general public.

All the running for this is being done by friend Dave, so all I had to do recently was to take part in a playtest of the game to be run. Click on the picture below to see all…

IABSM AAR: Sochaczew

Always nice to see people using my support material to play their games, so here’s an after action report from Tim Whitworth and the Like a Stonewall wargamers using the Sochaczew scenario that I wrote for the TwoFatLardies Summer Special 2017.

Set in 1939, Polish troops are desperately defending the town as the German infantry and Panzers sweep in. Click on the picture below to see what happened…

TTS AAR: The Sasanids Ride Out!

The final game in my recent set with Neil was my Sasanid Persians versus, again, the Pyrrhics.

This promised to be quite interesting: an army composed of extra heavy cavalry and horse archers against a mostly spear and pike-armed force.

In the event, however, it turned out to be quite a mundane battle. My horse archers quickly got around his flanks and started shooing anything that moved. In the centre, I held back until his heavy foot advanced past a line of hills running down the centre of the battlefield, leaving only one unit each side to guard their flanks.

As the two main lines came together, the single unit of heavy clibanari that I had put with each horse-archer command was just coming into play, pinning his flank units in place as the lighter cavalry shot at and charged their flanks.

With his flanks crumbling, his main line getting nowhere, and horse-archer nipping at his Hoplites’ heels, Pyrrhus decided that discretion was the better part of valour and surrendered!

A workmanlike victory for the Sasanids.

Even More To The Strongest

More pictures from a recent day of To The Strongest gaming.

First game was a replay of the last: me and my Ancient Britons vs Neil and the Pyrrhics.

Unfortunately, this time he protected his flanks well, and kept his battle line very closely together. I tried the same tactics as before: warbands in the middle, outflank with the chariots, but this time just couldn’t get through.

On my left flank, he advanced as quickly as possible and used his cavalry to drive my chariots back until they were forced off table. His cavalry were then free to take one of my camps and then turn back towards the rear of my line. meanwhile, the elephants and lights on his left flank were doing exactly the same thing: drive my lights back with charges that might not actually connect, but do force my lights to evade and evade until they are no longer relevant to the main action.

In the centre, my infantry were held by his Hoplites and pikemen until his cavalry appeared in my rear…and that, as they say, was that!

A loss to the Ancient Britons.

Robert Avery

More To The Strongest

Just to leaven the flow of I Ain’t Been Shot, Mum! battle reports that have been flowing through this site, here are some pictures of another day spent playing the Ancients ruleset To The Strongest.

One of the great things about the game is how fast it plays, so an afternoon’s gaming can often involve three games of TTS…and so it was the last time that friend Neil came around to play.

The action began with Neil playing a Pyrrhic army against my Ancient Britons. Not exactly contemporary or contemporaneous, but not spectacularly unbalanced either.

I placed my warbands in the middle of the field, and my massed chariots on either flank. Neil lined up his Hoplite and pikemen on his right flank, his cavalry in the middle, and his elephants and light infantry on his left wing.

Unfortunately for Neil, his Hoplites took too long to advance forward, which allowed me to engage and pin his centre whilst I sent a mass of chariots around behind his left flank. This led to me rapidly capturing his camps, and then threaten the rear of his main line: a victory to me.

Here are some more pictures of the game:

IABSM AAR: Return to St Aubin (again, again)

Another superb AAR from Desmondo Darkin based on his D-Day St. Aubin scenario.

This time, he and the South London Warlords are using a bigger piece of coast and a sandy beach instead of shingle. For rules, they used I Ain’t Been Shot, Mum! with Desmondo’s Chain of Command-modified activation system.

Click on the picture below to see all:

IABSM AAR: Winter Attack!

Fellow Lardy Desmondo Darkin and gang have played their first game using their new winter terrain.

They had just over three hours to play a German attack on a Soviet held village in 1944, and used I Ain’t Been Shot, Mum! with Desmondo’s Chain of Command-modified activation system.

Both sides had a core Infantry Company and each side then picked support options using a Support list which is basically the Chain of Command list but sized up to IABSM-sized games.

Click on the picture below to see loads of pictures of Desmondo’s superb terrain and some shots of the game itself:

IABSM AAR: Bashnya or Bust! #2A: Osen

Another great battle report from Captain Cliche this time featuring action from the second scenario from the Bashnya or Bust! scenario pack.

After a Soviet victory in the first battle of the campaign, this clash takes place around the small town of Osen. The Germans are holding out whilst their engineers set charges on the last remaining bridge , before withdrawing their remaining troops over the river and blowing the bridge to bits. They are outnumbered and face a swift Soviet attack that features plenty of T34s and SMG-armed tank-riders. The Russians need to drive through and capture the bridge.

Click on the picture below to see if the Soviets took the bridge.

TTS Battle Day Game 3

Onto the third battle of the three that took place as part of a TTS battle day with friend Bevan. Regular visitors will know that by this time I was down two-nil, so rather keen to finish the day with a victory! The sides would be Pyrrhic (played by Bevan) and Ancient British (played by me).

The Ancient Brits are a favourite of mine: in fact, they were the army I used to use when I played WRG 6th competitions in 28mm some thirty years ago…when your chariots were known as the Ancient British Panzer Division.

Under TTS, the Ancient British have an even greater proportion of their army as light chariots than under WRG 6th, so I decided to keep things very simple and employ that well known AncBrit tactic known as “the horns of the Highland Cow”!

This actually worked surprisingly well. My light troops on either flank overwhelmed his light troops through sheer weight of numbers and, most pleasingly, before his Hoplites could start trying to chew through my warbands.

As my chariots curled around onto his rear, the Pyrrhics realised that this was not going to be a Pyrrhic victory so much as a Pyrrhic disaster, and surrendered.

End of the day score: Bevan - 2, Me - 1 .

A great days gaming with what is a delightful little rule set!