IABSM AAR: On the Northern Shoulder of Kursk, Fight 4: Karpunevka

Here is another stupendous After Action Report from Just Jack, taken (with permission) from his excellent BlackHawkHet blog.

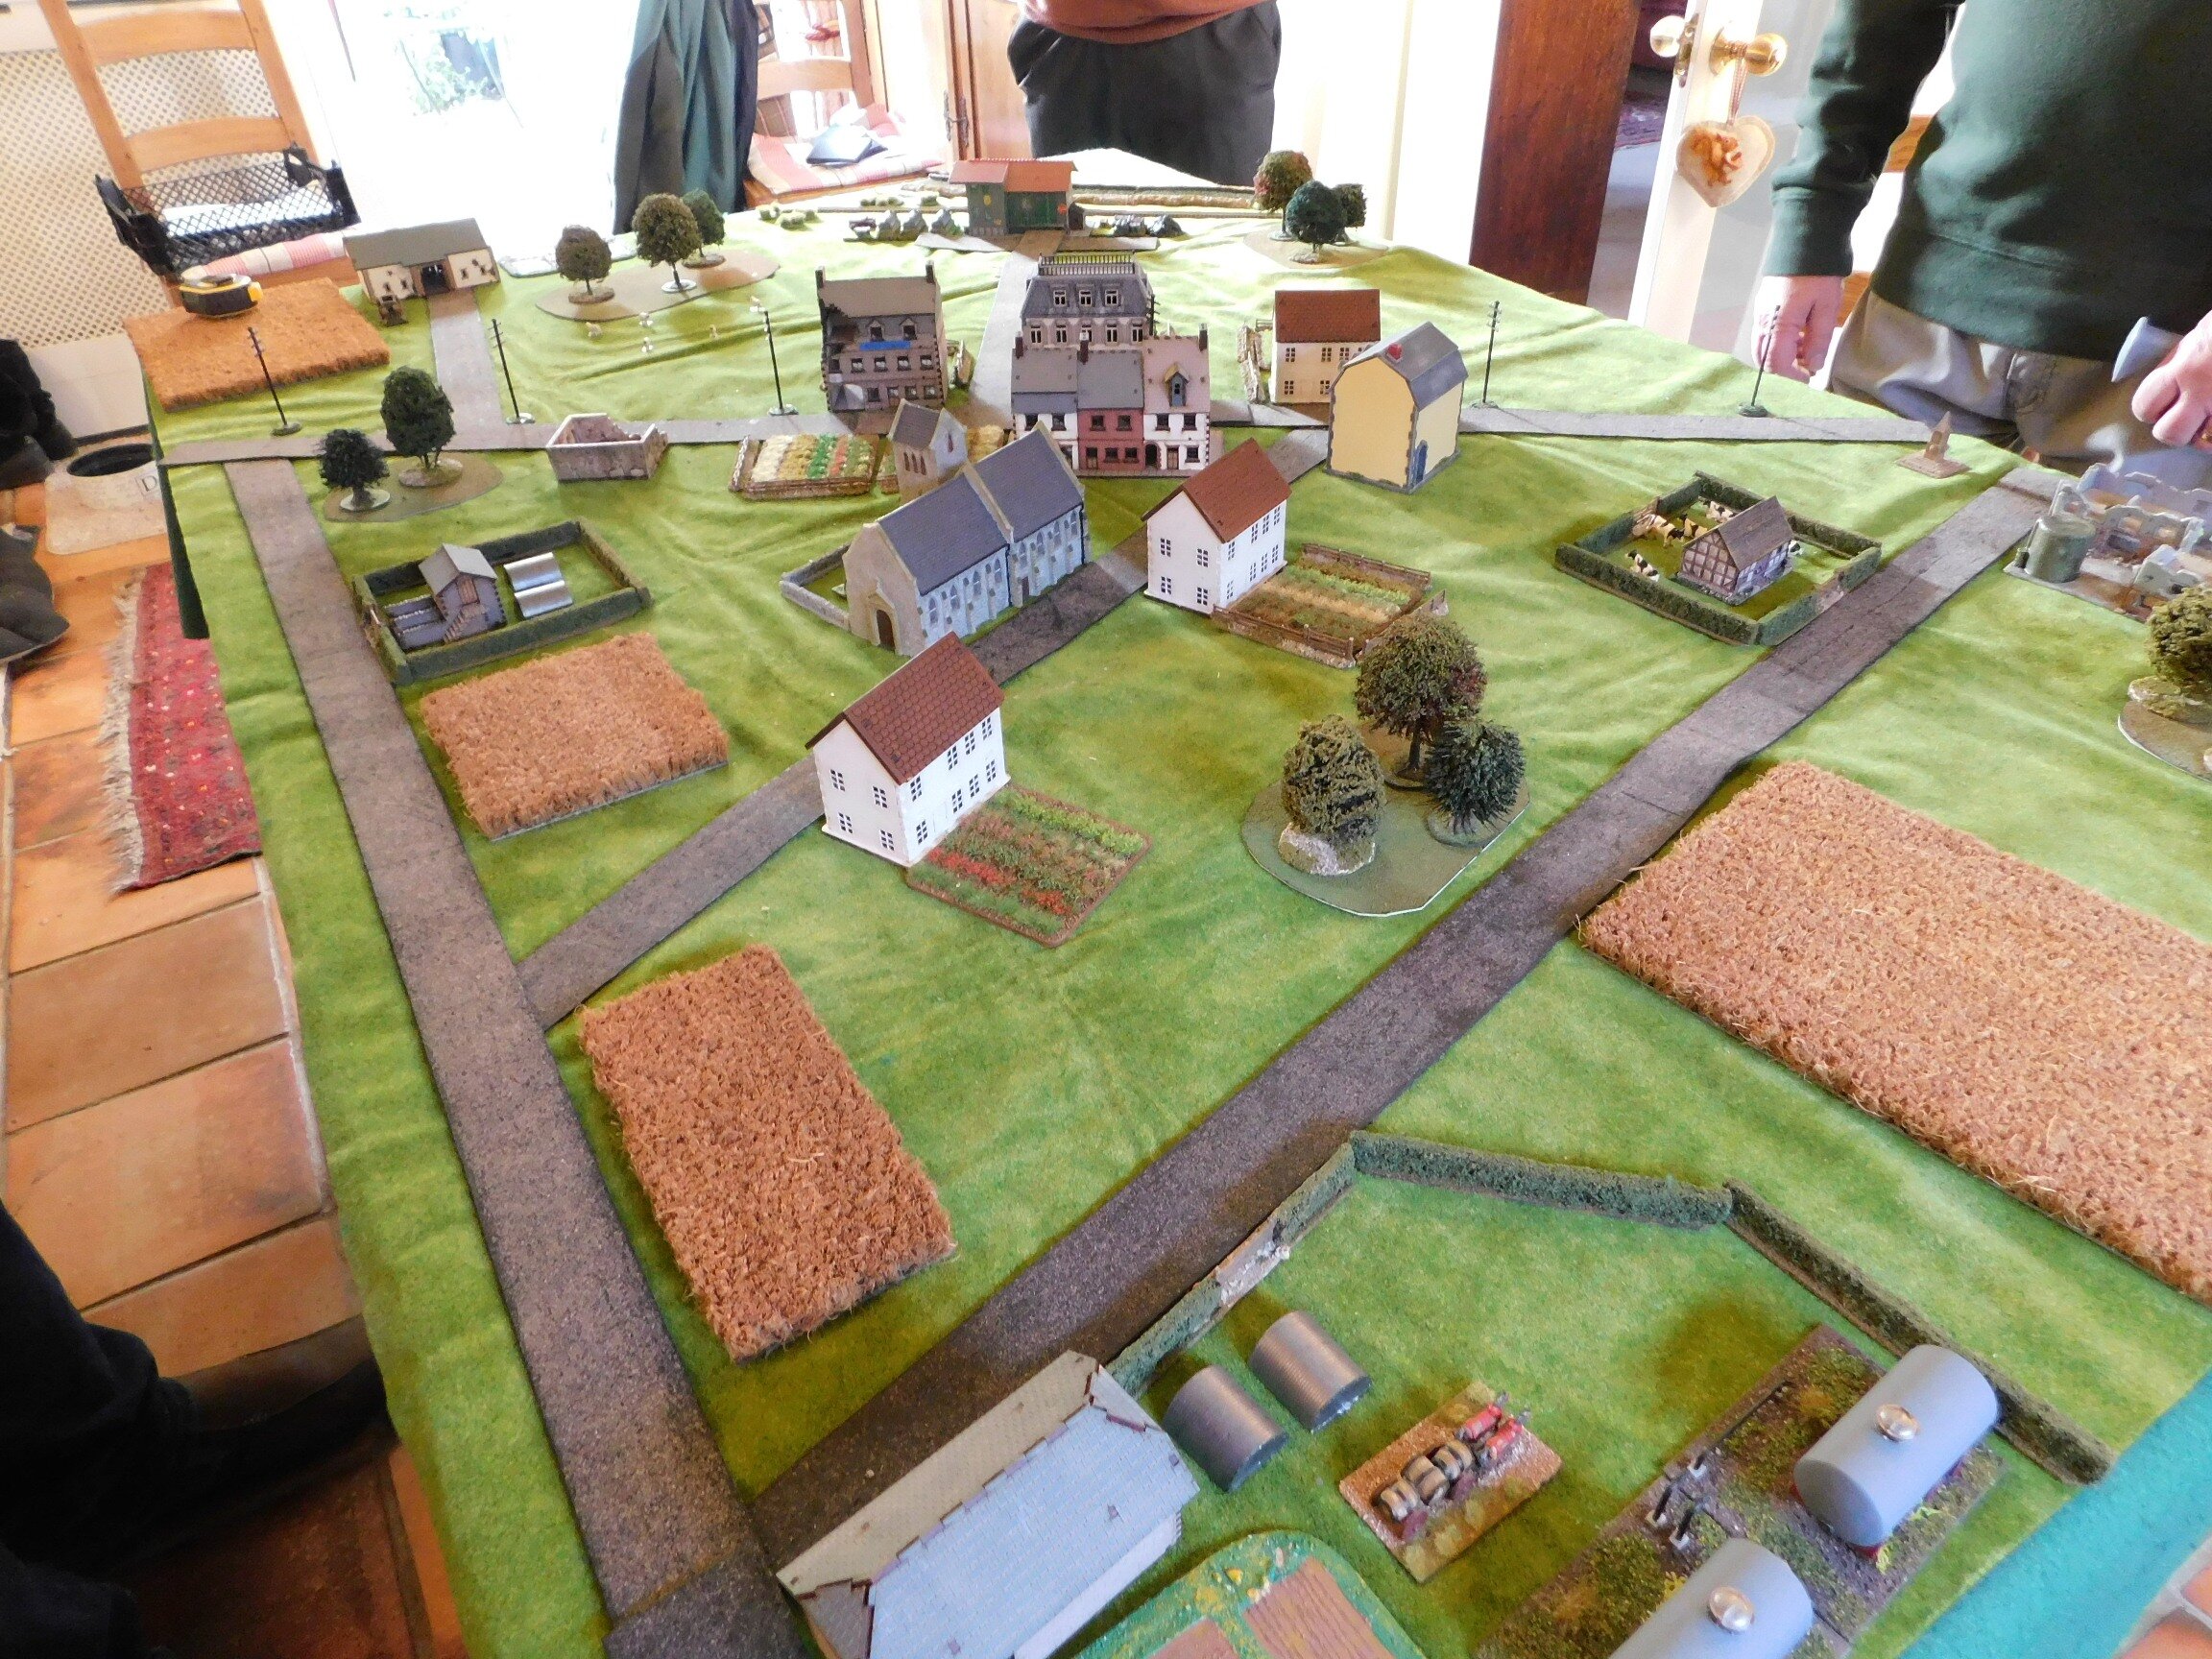
I say “stupendous” because not only is it a really good read, but it’s huge as well: 144 photos, all individually captioned with an account of the action that’s shown. It’s so huge that it actually broke my attempt to get a post every day in November: I managed one every day right up to Monday 25th and then ran into this monster!

It also didn’t help that Squarespace was playing up: I had to type out about one caption in every five as the cut-and-paste just wasn’t working. Thanks for the bleeding finger tips, Squarespace!

Anyhow, enough of my moaning. It’s a great read: click on the picture below to do so…

IABSM AAR: Bloody Omaha Re-Visited

Those of you who have been on this year’s wargame show and Lardy Day circuit this year may well have seen Mike Whitaker’s excellent demonstration game Bloody Omaha. This is a fantastic set up representing The Big Red One’s assault of the eastern end of Omaha beach (Colleville-Sur-Mer).

Those of you who know Mike will know that he is a man of mighty generous spirit, as is proved here as he lays on the game for a couple of fellow Lardy’s who hadn’t had a chance to take part in any of the show sessions.

Click on the picture below to see a magnificent battle report taken from the Roll A One blog and Mike’s own blog Trouble At T’Mill.

IABSM AAR: Objective - The Crossroads

Another quick after action report from Burt Minarot’s excellent Spanish-language blog Las Partidas de Burt.

Here, British troops are trying to slow down a German force advancing towards a vital crossroads designated as the next jump-off point for the Allied advance.

Click on the picture below to see all:

IABSM AAR: Chasseur 3: La Ville

Friend Dave and company have been playing a mini I Ain’t Been Shot, Mum campaign, Chasseur, and invited me to take part in game three. The campaign is set during the invasion of France in May/June 1940, and I would play a column of German Panzers as it motors towards the Seine.

The AAR contains all you need to play the scenario for yourselves, so click on the pic below to see what happens:

IABSM AAR: On the Northern Shoulder of Kursk, Fight 3

Yet another stupendously huge IABSM AAR from Just Jack: the third in his series of fighting on the northern shoulder of Kursk.

This time, the Soviets are counter-attacking towards Kastenwold, and seem to be doing a good job of it too!

This is another huge AAR: 162 photos if I recall correctly. So click on the pic below to see all…

IABSM AAR: Operation Martlet, Day 2

Great little AAR by Desmondo Darkin, taken from the IABSM Facebook Group.

The scenario was based on Day 2 of Operation Martlet, 25th June. 1944: the British attack on the German line at St Nicholas Farm and the Grand Farm.

Desmondo and friends used the Oh What a Total Bummer dice-driven version of IABSM. Click on the pic below to see what happened:

IABSM AAR: On the Shoulder of Kursk, Fight 2

Another stupendous After Action Report from Just Jack, currently fighting a mini-campaign On the Northern Shoulder of Kursk.

This is fight two, so make sure you are sitting comfortably as we launch into another epic tale: even if this report contains only 144 photos this time!

Just Jack runs as excellent blog, Blackhawknet, that can be found by clicking here.

Click on the pic below to see all:

IABSM AAR: The Road to Gravelines

Tim Whitworth and friends are working their way through the Defence of Calais scenario pack. Here’s a quick AAR from Scenario #04: The Road to Gravelines.

The unenviable task facing the British was to get a massive truck borne supply consignment of rations from Calais to Dunkirk along the road via Gravelines. Early in morning the convoy left the Calais Gate and travelled the route until it reached the village of Le Beau Marais where 1 Panzer Division forward elements had set up a substantial roadblock on the village crossroads and billeted up for the night.

The game begins with the British reaching the roadblock and the Germans being alerted to their presence.

Click on the picture below to see what happened:

IABSM AAR: On the Northern Shoulder of Kursk

A stupendous AAR from Just Jack from his excellent blog BlackHawkNet covering a game of IABSM set on the northern shoulder of the great battle of Kursk in July 1943.

This is well worth a read although, just to warn you, there are 175 captioned photos of the action!

So get yourself a cup of tea, settle down, and click on the picture below…

Blitzkrieg in the Far East Part One: Japan now available!

Published today, and available to buy from the TooFatLardies shop, Blitzkrieg in the Far East 1: Japan is the sixth in the series of early war handbooks for I Ain’t Been Shot, Mum. The handbook is 116 pages long and covers the Japanese army during the first phase of the War in the Pacific, December 1941 to June 1942, when its battle-hardened armies inflicted defeat after defeat on the Allies. 

Unlike the other titles so far in the series, the nature of Japan’s campaign of expansion means that the booklet is not divided into sections defined by the different types of division that fought, but into sections defined by the different geographical mini-campaigns: Malaya and Singapore, Burma, the Philippines, The Dutch East Indies and the South Seas. In effect, it is several theatre booklets rolled into one.  

There are a total of forty-eight different lists split as follows: 

  • Malaya & Singapore: 7 lists from 25th Army 

  • Thailand & Burma: 5 lists from 15th Army 

  • The Philippines: 16 lists from 14th Army 

  • Hong Kong: 1 list from 38th Division 

  • Borneo:  2 lists from 35th Brigade 

  • The Dutch East Indies: 15 lists from 16th Army 

  • The South Seas: 2 lists from the South Seas Detachment 

Finally, we have the usual ratings and armoury sections, and a note on air support. 

Although designed for IABSM, Blitzkrieg in the Far East: Japan contains a vast amount of information useful to gamers of other systems, and is really a must-buy for anyone interested in the early war period. 

Buy it here, now!