The Wojtek Memorial, Edinburgh
/I was wandering around Princes Street Gardens, under the shadow of Edinburgh Castle, the other day when I came across a memorial that I hadn’t previously been aware of: the Wojtek the Soldier Bear memorial.
From Wikipedia:
In the spring of 1942 the newly formed Anders' Army left the Soviet Union for Iran, accompanied by thousands of Polish civilians who had been deported to the Soviet Union following the 1939 Soviet invasion of eastern Poland.
At a railroad station in Hamadan, Iran, on 8 April 1942, Polish soldiers encountered a young Iranian boy who had found a bear cub whose mother had been shot by hunters. One of the civilian refugees in their midst, eighteen-year-old Irena (Inka) Bokiewicz, the great-niece of General Bolesław Wieniawa-Długoszowski, was very taken with the cub. She prompted Lieutenant Anatol Tarnowiecki to buy the young bear, which spent the next three months in a Polish refugee camp established near Tehran, principally under Irena's care.
In August, the bear was donated to the 2nd Transport Company, which later became the 22nd Artillery Supply Company, and he was named Wojtek by the soldiers. The name Wojtek is the nickname, diminutive form, or hypocorism of "Wojciech" (Happy Warrior), an old Slavic name still common in Poland.
Wojtek initially had problems swallowing and was fed condensed milk from an old vodka bottle. He was subsequently given fruit, marmalade, honey, and syrup, and was often rewarded with beer, which became his favourite drink. He later also enjoyed smoking (or eating) cigarettes, as well as drinking coffee in the mornings. He also would sleep with the other soldiers if they were ever cold in the night.

He enjoyed wrestling with the soldiers and was taught to salute when greeted. He became an attraction for soldiers and civilians alike, and soon became an unofficial mascot to all the units stationed nearby. With the 22nd Company, he moved to Iraq, and then through Syria, Palestine, and Egypt.
Wojtek copied the other soldiers, drinking beer, smoking and even marching alongside them on his hind legs because he saw them do so. Wojtek had his own caregiver, assigned to look after him. The cub grew up while on campaign, and by the time of the Battle of Monte Cassino he weighed 200 pounds (14 st; 91 kg).
From Egypt, the Polish II Corps was reassigned to fight alongside the British Eighth Army in the Italian campaign. Regulations for the British transport ship, which was to carry them to Italy, forbade mascot and pet animals. To get around this restriction, Wojtek was officially drafted into the Polish Army as a private and listed among the soldiers of the 22nd Artillery Supply Company. Henryk Zacharewicz and Dymitr Szawlugo were assigned as his caretakers.
As an enlisted soldier with his own paybook, rank, and serial number, he lived with the other men in tents or in a special wooden crate, which was transported by truck. During the Battle of Monte Cassino, Wojtek helped his unit to convey ammunition by carrying 100-pound (45 kg) crates of 25-pound artillery shells, never dropping any of them.

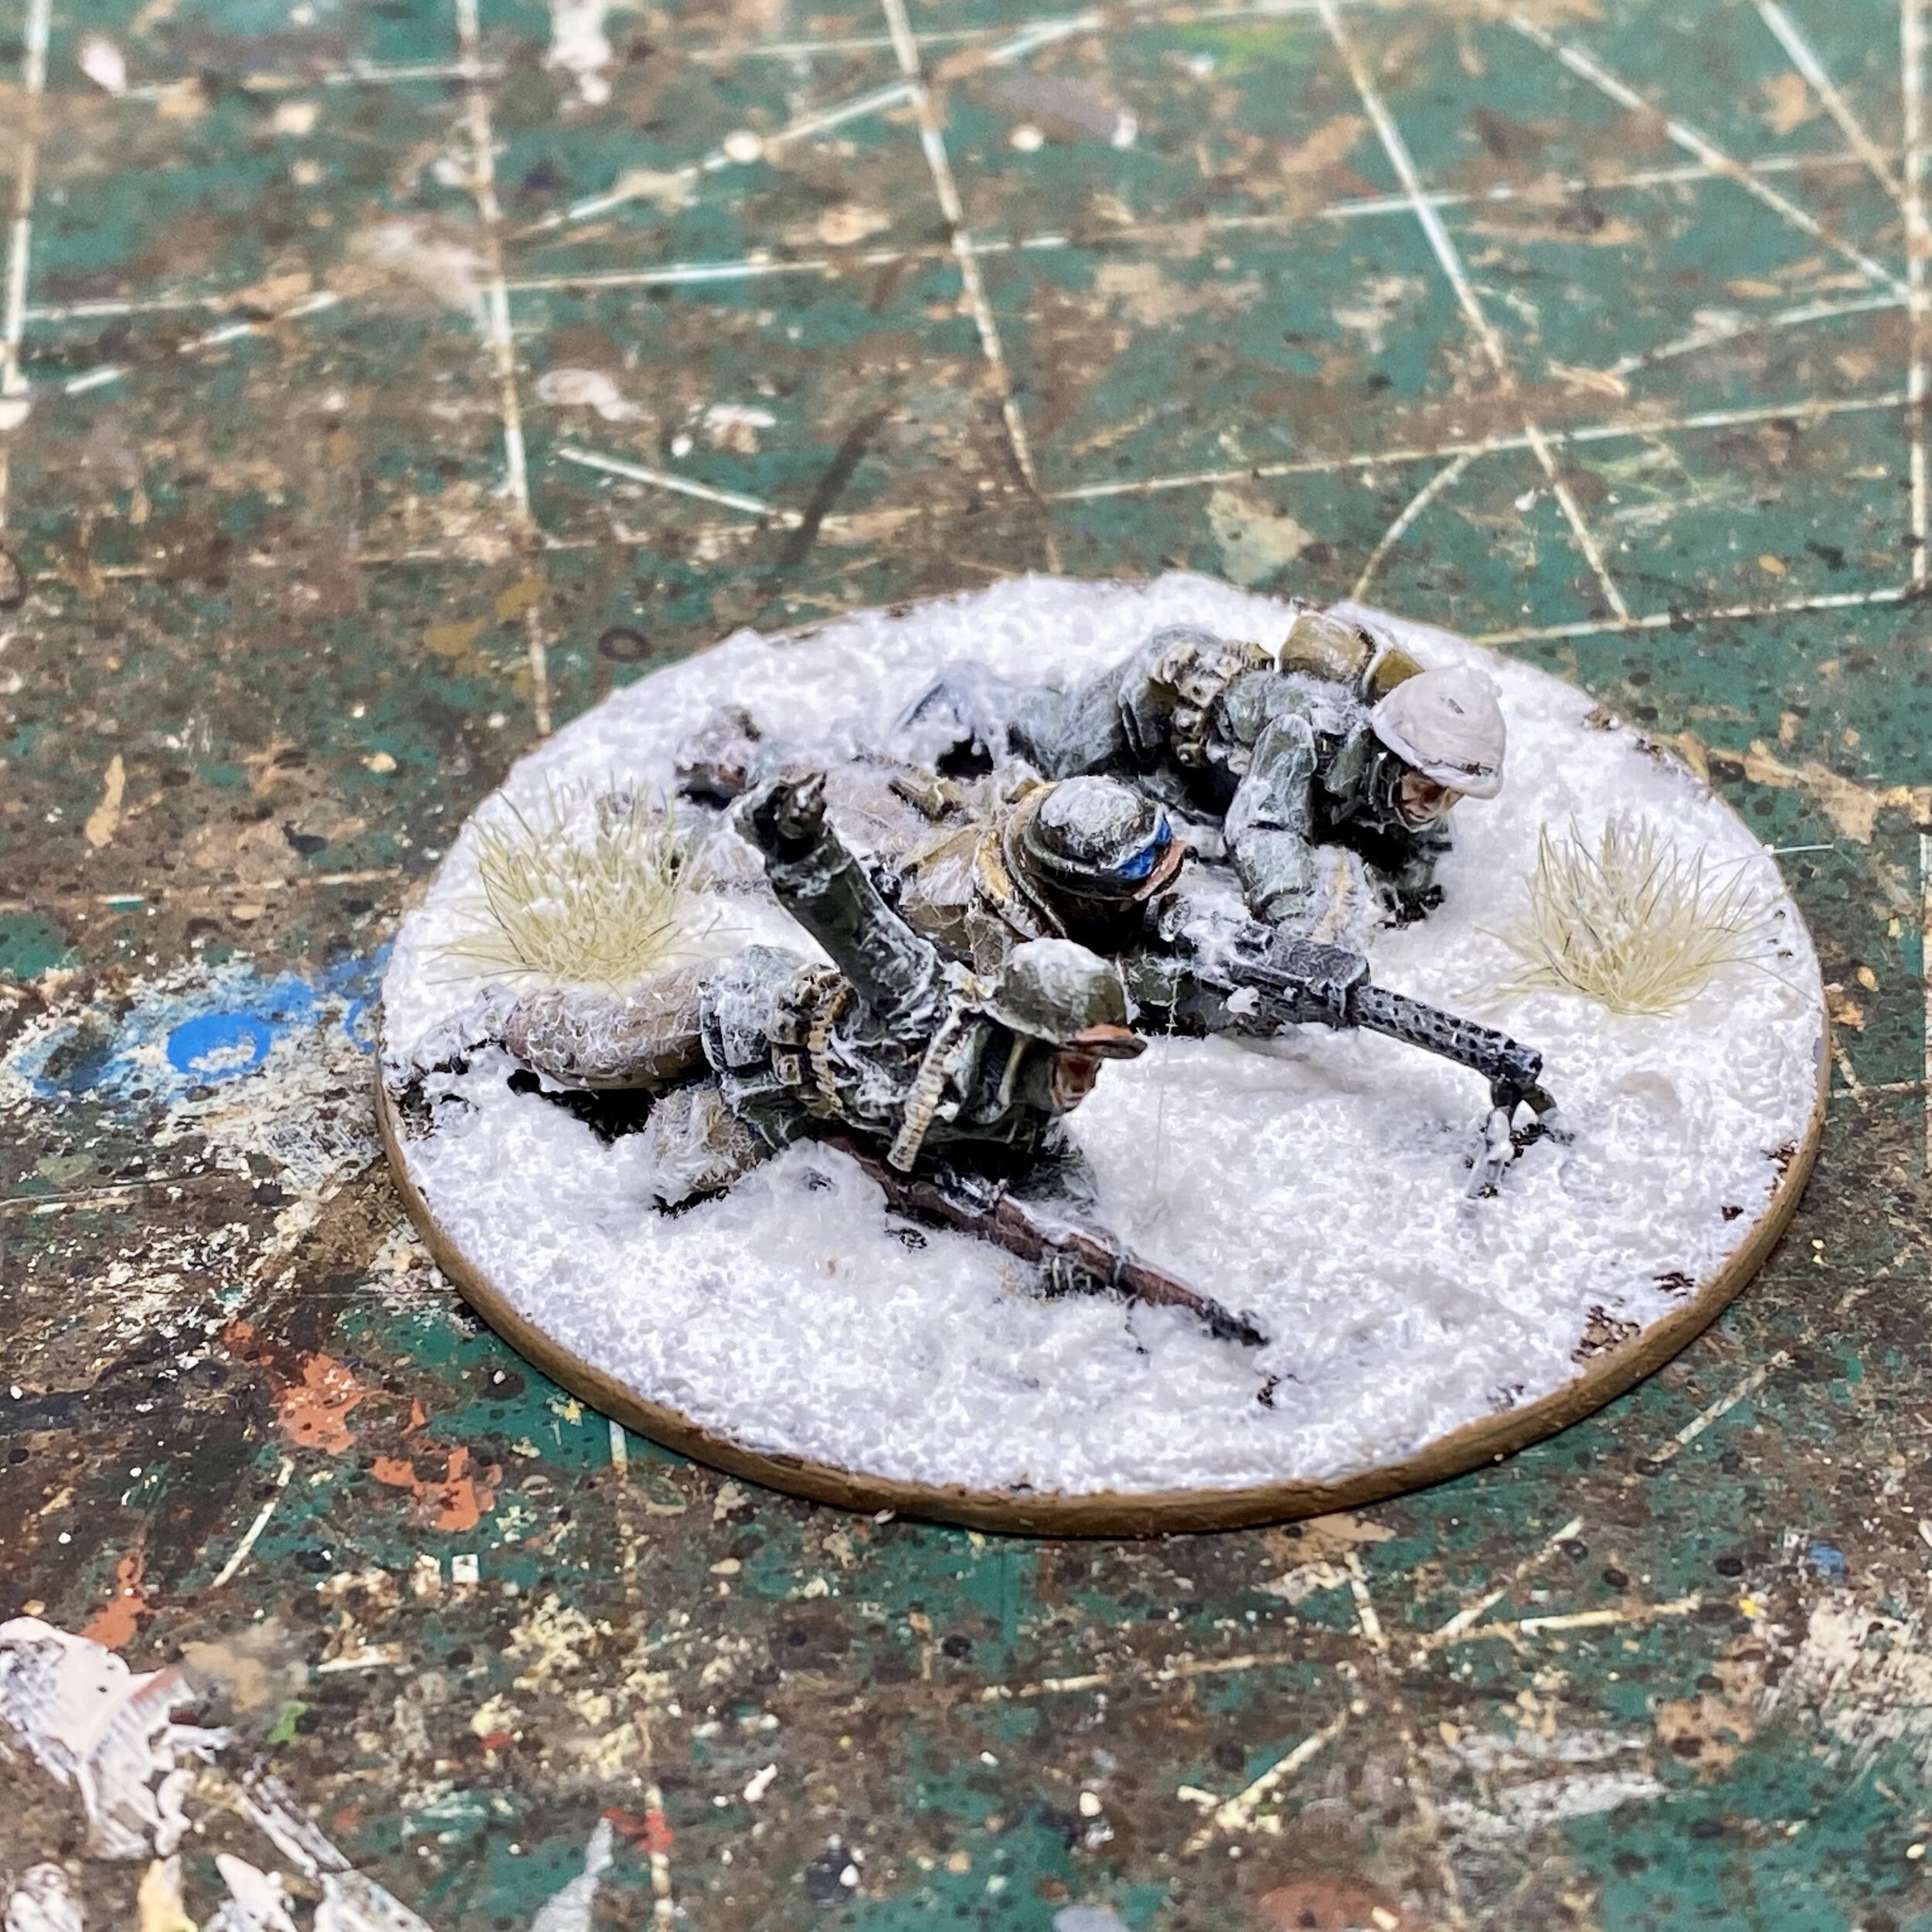
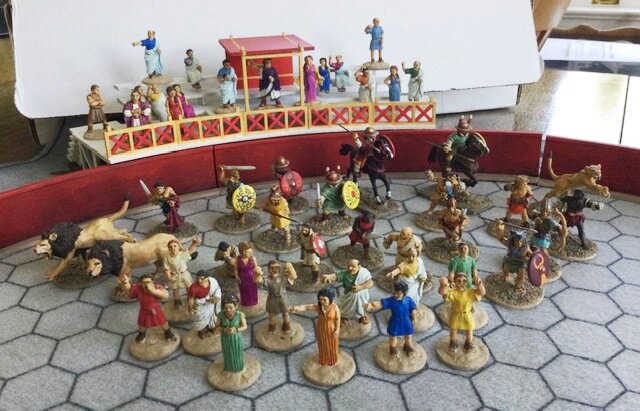
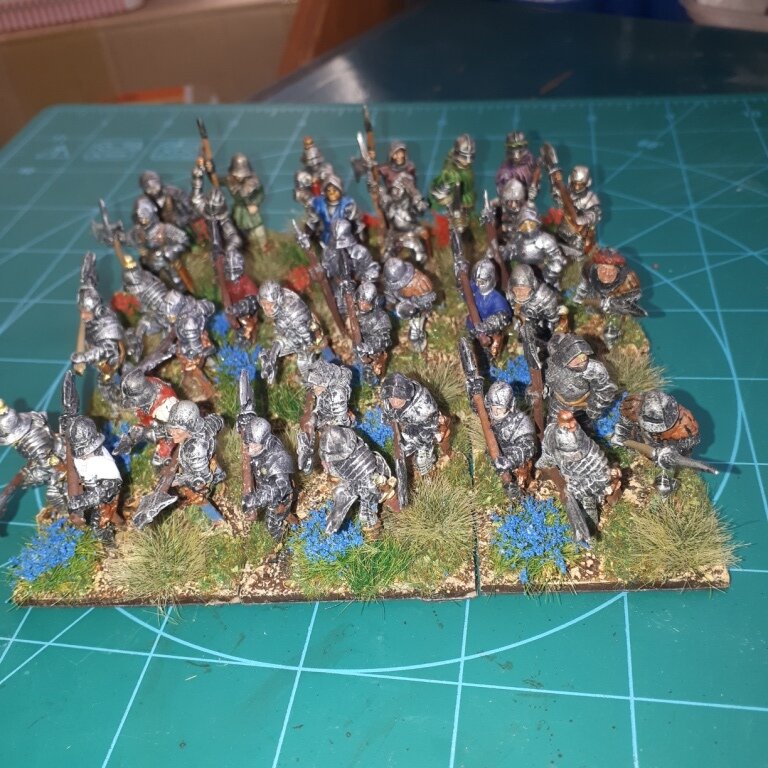
From my 1939 September War Polish army: presumably a Wojtek predecessor!
While this story generated controversy over its accuracy, at least one account exists of a British soldier recalling seeing a bear carrying crates of ammo. The bear mimicked the soldiers: when he saw the men lifting crates, he copied them. Wojtek carried boxes that normally required 4 men, which he would stack onto a truck or other ammunition boxes. This service at Monte Cassino earned him promotion to the rank of corporal. In recognition of Wojtek's popularity, a depiction of a bear carrying an artillery shell was adopted as the official emblem of the 22nd Company.
Post War
After the end of World War II in 1945, Wojtek was transported to Berwickshire, Scotland, with the rest of the 22nd Company. They were stationed at Winfield Airfield on Sunwick Farm, near the village of Hutton, Scottish Borders. Wojtek soon became popular among local civilians and the press, and the Polish-Scottish Association made him an honorary member.
Following demobilisation on 15 November 1947, Wojtek was given to Edinburgh Zoo, where he spent the rest of his life, often visited by journalists and former Polish soldiers, some of whom tossed cigarettes for him to eat, as he did during his time in the army. Media attention contributed to Wojtek's popularity. He was a frequent guest on BBC television's Blue Peter programme for children.[
Wojtek died in December 1963, at the age of 21, weighing nearly 500 kilograms (1,100 lb), and was over 1.8 metres (5.9 ft) tall.
The Wojtek Memorial
The statue was commissioned by the Wojtek Memorial Trust: a Scottish Charity established in 2009 to celebrate the life of Wojtek, "the Soldier Bear", the lives of those who knew him, and their stories during and after the Second World War. The Trust also aims to promote wider understanding of the many historic and current links between the peoples of Poland and Scotland.
The memorial is a life and a quarter bronze statue of a Polish soldier with Wojtek, and a 4m low relief pictorial panel set on a granite platform. It was sculpted by Alan Beattie Herriot and the cast in Edinburgh by Powderhall Bronze. Its setting was designed by Raymond Muszynski of Morris & Steedman Associates.