IABSM AAR: Somewhere in Flanders

Another superb looking game of I Ain’t Been Shot Mum! from Alan Curtis and friends.

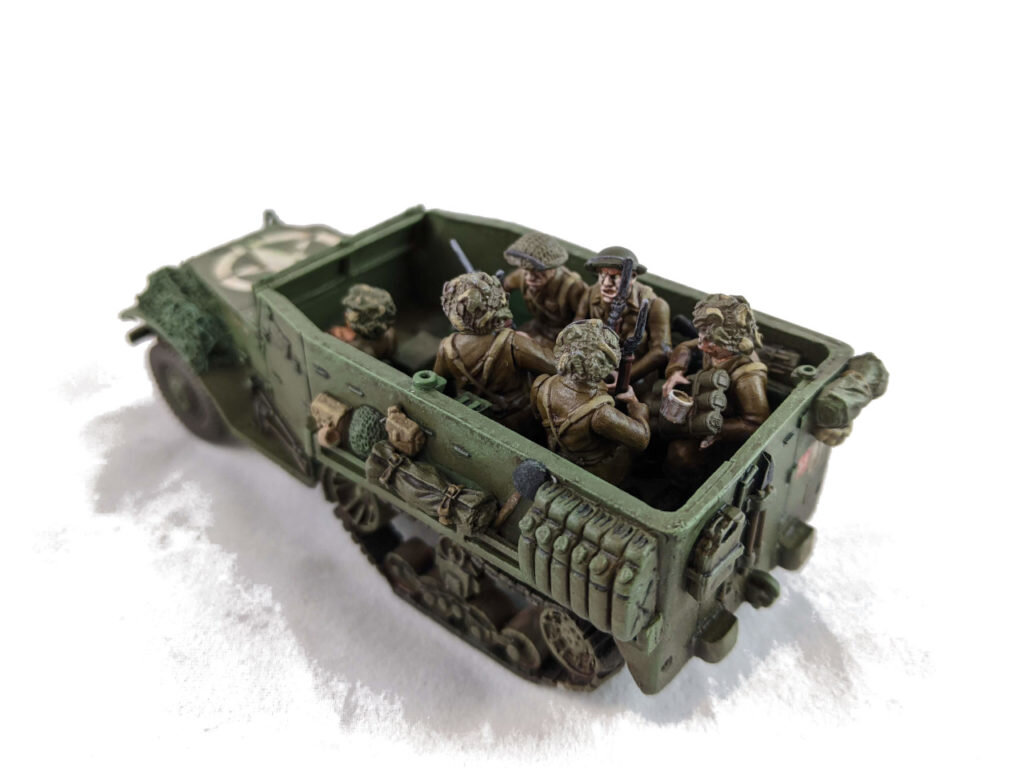
Lead units of 7th Panzer supported by elements of Tottenkopf Division bump into a BEF company with attached anti-tank guns deployed to contest a river crossing somewhere in Flanders.

An amazing set-up that is well worth a browse. Click on the picture below to see all:

FK&P AAR: Munces Wood Again

As it hadn’t taken Bevan very long to beat me in the last game we played, we swapped sides and gave battle again.

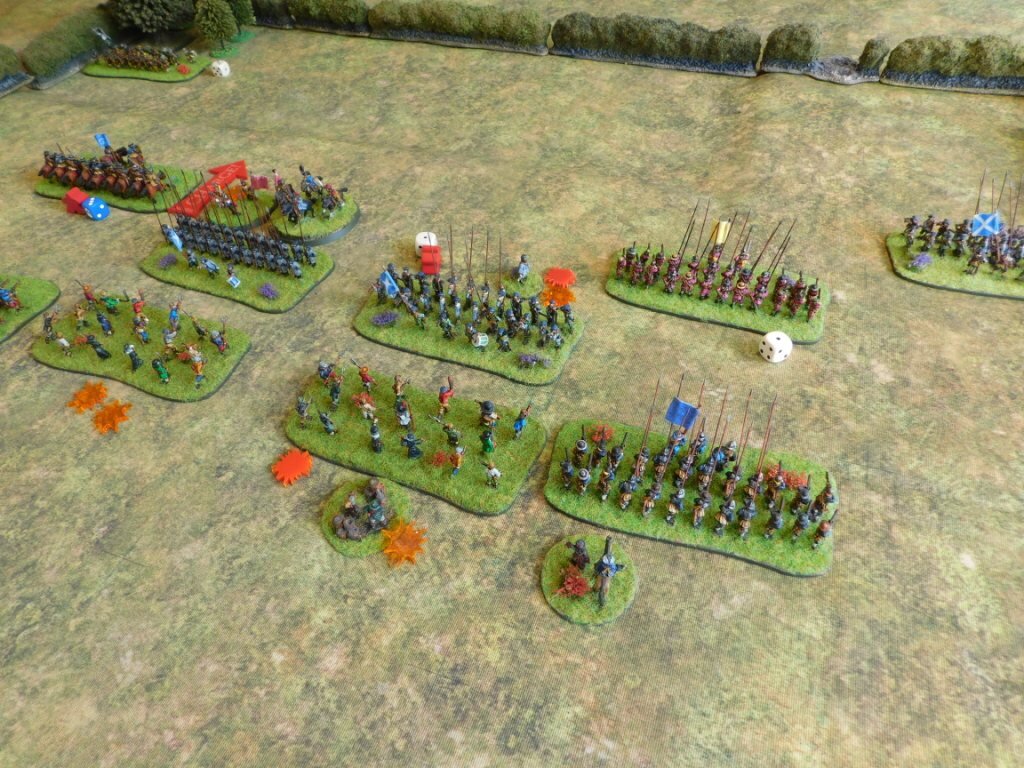
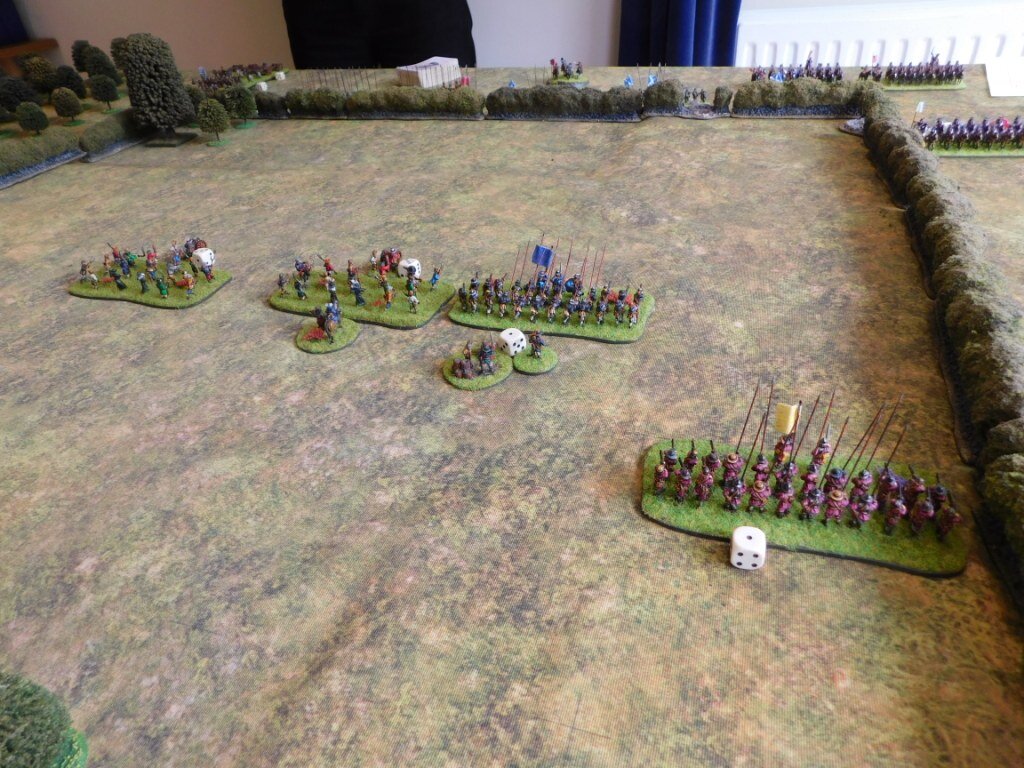
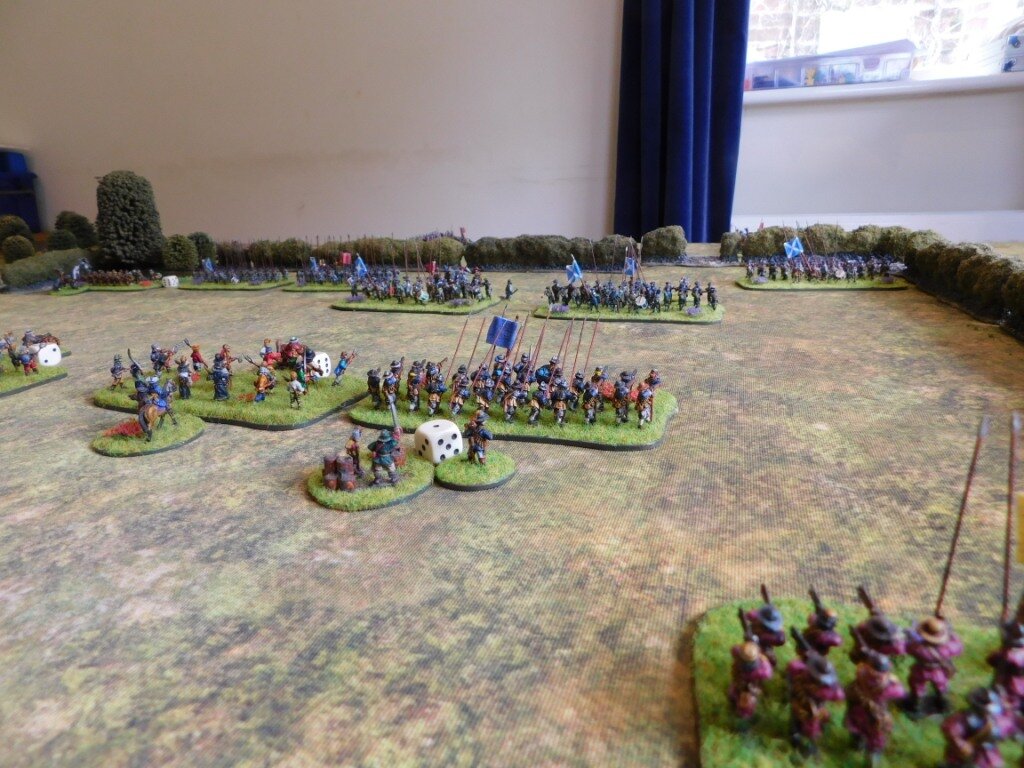
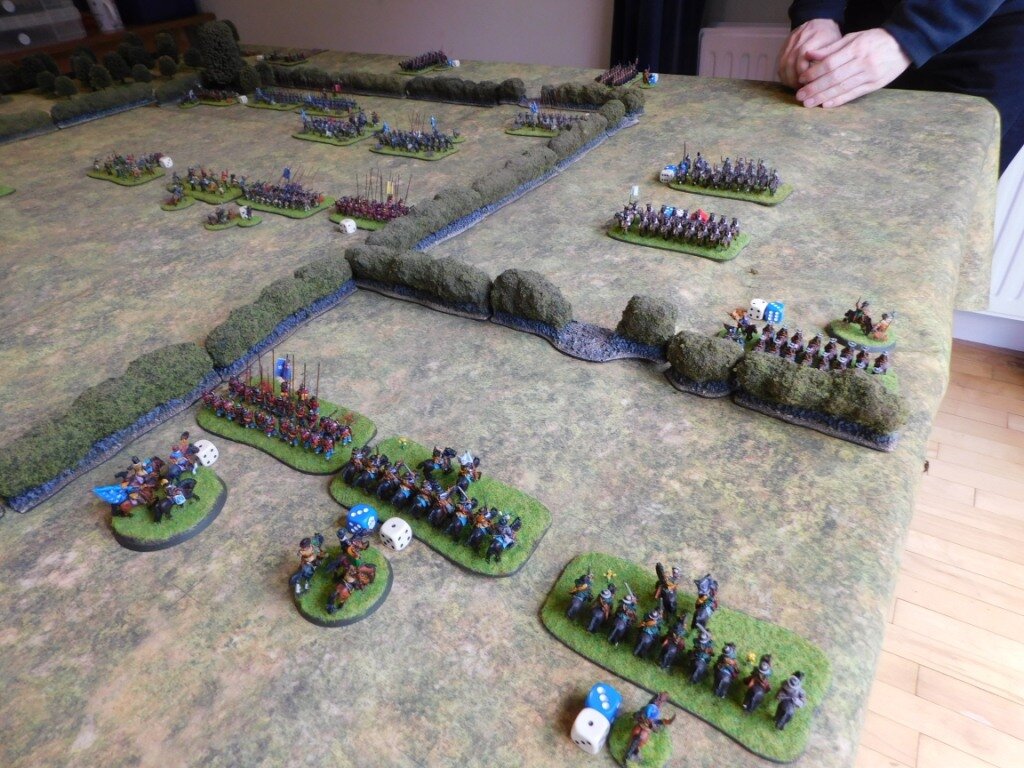
In the last play-through, Bevan had withdrawn his Clubmen and given up the centre of the table. I decided to do the opposite and support them, moving my infantry forward to form a line half way towards the enemy edge.

On the left flank, my Swedish horse moved forward cautiously: I was waiting to see what the enemy Dutch horse (that you can see moving across the table towards me from left to right in the left hand picture, above) would do before committing them.

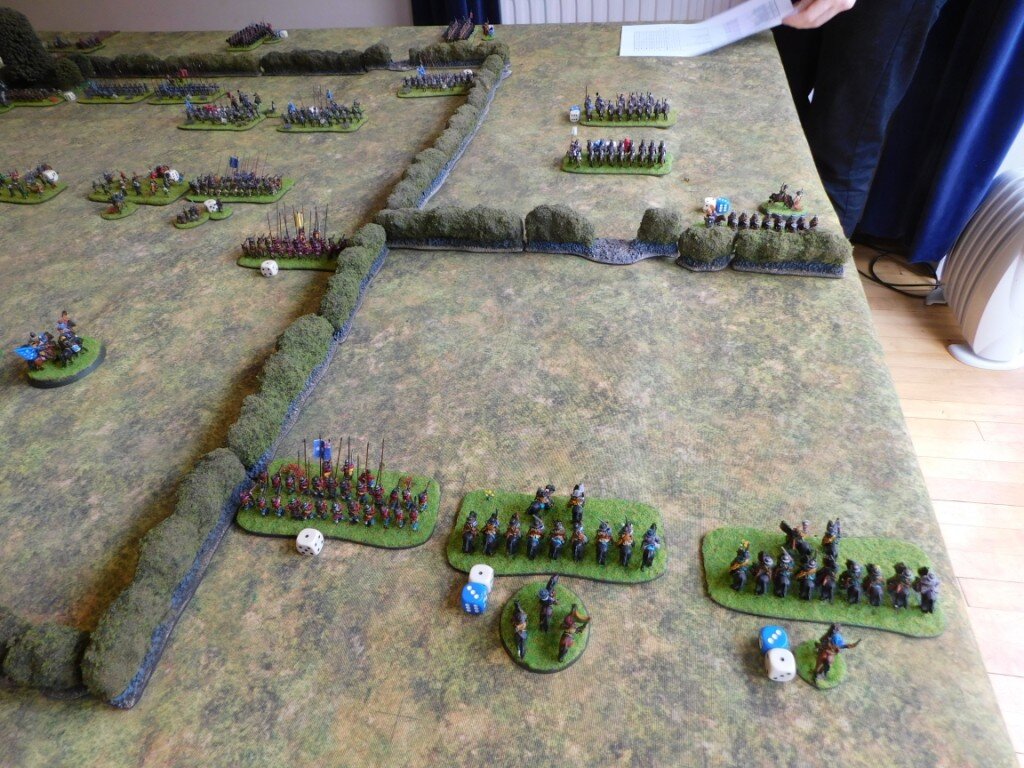
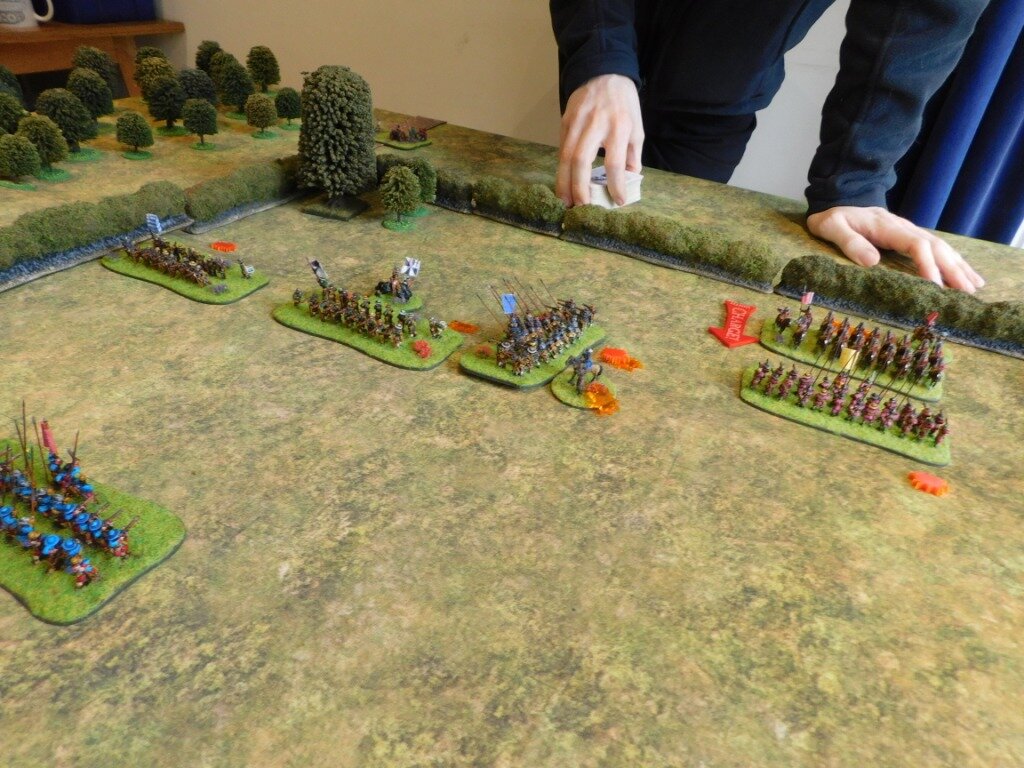
On the right flank I used two squadrons of horse and a battalia of foot (Shaw’s Horse Brigade supported by the Westferry foot) to hold off a brigade of enemy horse. Points-wise, a stalemate here would be in my favour.

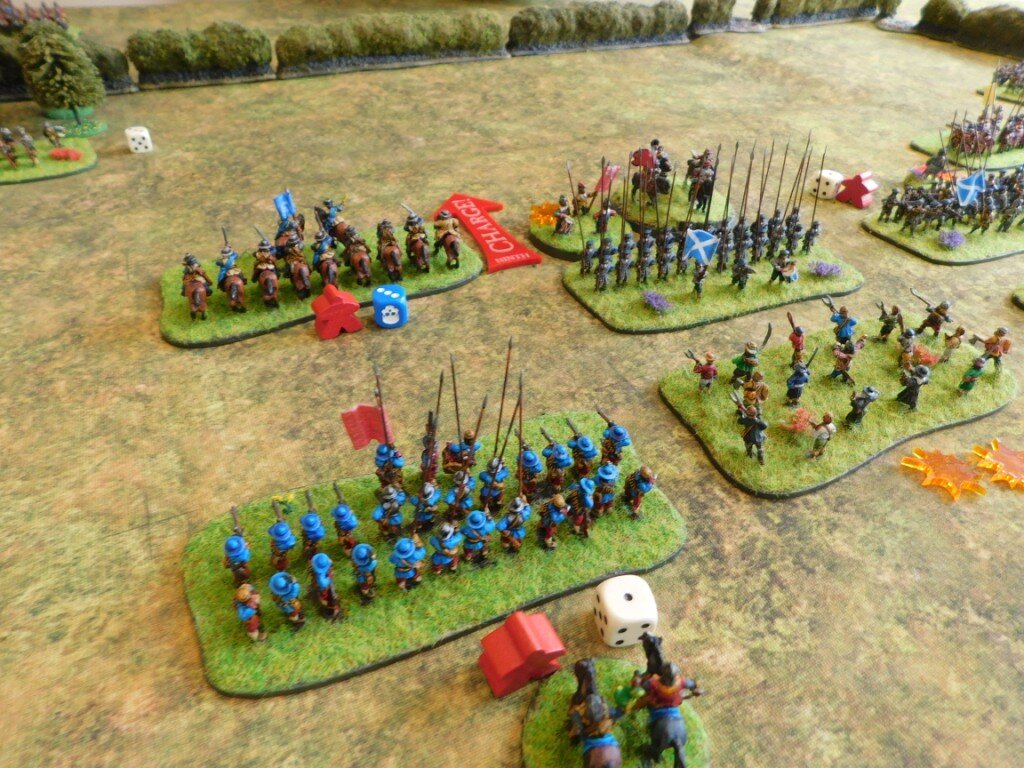
A general melee broke out in the centre of the field. Incredibly, given my luck in recent games, I quickly gained an advantage, with a squadron of horse and a battalia of foot (the ones in dark pink: the Wickborough foot) breaking through the enemy troops in front of them!

Then I made a mistake.: a stupid schoolboy error that would haunt me for the rest of the game!

Bevan had sent a unit of commanded shot (a smallish group of musketeers) forward through the wood (Munces Wood, in fact) towards my cautiously-advancing squadrons of Swedish horse. I failed to resist the temptation and charged the blighters as they came up to the edge of the trees.

Yes, that’s right: I charged musket-armed infantry in woods with close formation horsemen!

My foolish horsemen (the Cranston horse) were soon eliminated, leaving that flank open for the Musketeers to threaten my victorious infantry in the centre and for Bevan’s “spare” squadron of Dutch horse (the Stand-Fast-On-High Puritan horse) to advance up that flank as well…and adjusting to counter those threats prevented my infantry in delivering what should have been the coup de grace!

With some brilliant tactical play, Bevan then used the breathing space I had given him to regroup his centre. I still had the advantage, but now would need to break him again.

My pursuing cavalry (the ones that had broken through the line earlier: the Staplehurst horse IIRC) went off the table and then came back on to hit a squadron of enemy horse. I should have broken them, but didn’t, leaving them free to rejoin Bevan’s troops in the centre of the field (what we had started calling “the arena” due to the way the hedges were laid out) and again forcing me to deploy to face them.

Meanwhile, a melee had finally broken out on the right flank as Bevan could see that he had no choice but to try and win there before his centre finally collapsed. This didn’t work for him, however, and I was soon able to punch through on that flank.

The battle was now all but mine. I just need to destroy one more unit of Bevan’s and the rest of his men would lose heart and flee the field. Okay, so it was true that I would lose the game if I lost one of my foot battalia or two squadrons of horse, but all my remaining units were still pretty robust versus Bevan’s shaky-looking troops!

Bevan, however, had one final card to play.

If you remember, my folly of attacking infantry in a wood with horse meant that I had had to defend my left flank against a squadron of Dutch horse. I had succeeded in keeping them from getting over the hedge, using a battalia of infantry to do so. Now Bevan would have one last go at breaking through here. Failure would allow me to deliver the final blow that I needed to win the day.

His horse were double-disordered, my foot were disordered…so he had to get over the hedge to get me and then do two hits with me saving neither.

You guessed it: the cards fell his way and, with a roar of triumph, the Performe-Thy-Vows Horse swept over the foliage and dashed my pike-and-shot battalia from the field!

And that, as they say, was that!

Aftermath

Well that will teach me not to charge infantry in a wood!

All my hard work in the initial stages in the centre destroyed by a need to watch my left flank: a flank that I had effectively exposed myself. Much kudos to Bevan for staying cool and conducting an excellent fighting reorganisation of his collapsing centre, and then for taking full advantage of my mistake and holding his nerve until the end.

Another great game of For King & Parliament that came down to the last moment!

Here’s a complete gallery of the game.

TFL Painting Challenge: Quick Update

Things have slowed down a bit on the Painting Challenge front, with only six entries in the last week or so. Must be a combination of the summer weather and coming out of lockdown.

No matter, those who have submitted have been uploaded. Check out the individual galleries, but here’s a taster:

FK&P AAR: Munces Wood

Time for another game of For King & Parliament: a fictional encounter battle near Munces Wood.

I would play the Parliamentarians, with a force consisting of a strong contingent of mostly Dutch horse, three decent foot battalia, two pike-only foot battalia, and a couple of units of commanded shot escorting some guns.

Up against me were some Royalist rabble (the units out in front of the main Cavalier line), lots of Swedish horse, and six battalia, half of which were pike-heavy.

Neither side started the game happy with their deployment, and the arena-like nature of the terrain would make things interesting as well.

Horrible picture: apologies for the over exposure!

The battle quickly divided into three segments. On the left, the cavalry clashed, with my Dutch horse unable to get over the hedge and into contact with the opposition. Not so for his men, who succeeded in clearing the foliage and headed for my poorly-mounted Pistoliers.

In the centre, the Royalist Clubmen retreated back to the hedgerow behind them, with his more battalia then coming forward to face mine.

On the right, some of his horsemen charged forward ferociously, routed one of my units of commanded shot, then ended up under the guns of the other and were blown away in turn.

I had expected to win the cavalry action on the left and then bring my horsemen around into his flank and rear, but that hedge stymied all my plans. The main cavalry clash would grind on without a clear result for the whole battle.

Both sides reinforced their centres with some cavalry but a run of bad luck as the two lines first came into musket range dogged me for the rest of the game. Although honours were even in terms of units lost, my remaining troops were all disordered or double-disordered, and that pooping Royalist Rabble then made a reappearance!

The game, however, was ultimately decided on the right flank, where my commanded shot and guns faced another cavalry assault.

My commanded shot were not able to stop the enemy horse from running them down, the guns acted as effectively against charges as usual (!) and my right flank evaporated.

With his horsemen curling around my right flank, and my cavalry still engaged in the grinding melee on my left, my centre gradually and unspectacularly collapsed.

Victory to the Royalists!

A challenging scenario which my opponent coped with much better than I did. If I had committed just enough horse to bottle up his men on the left, then I could have properly reinforced my centre and won the battle there before my right was defeated. I was a bit unlucky on my right, as I never had the chance to get my commanded shot into the trees, but plaudits to the Royalists for coming forward so speedily.

A great game, and one that only took about 90 minutes to complete. So we set it up again and played it the other way round but that, as they say, is another story…

First Shot-Heavy Battalia

I’m still working on filling in any gaps I might have in my ECW forces, so here’s a first battalia of shot-heavy foot:

The chaps with the muskets and the two officers are from Peter Pig, the pikemen and drummer boy are from Hallmark via Magister Militum.

On reflection, I should have mixed up the poses a bit, or at least had the back rank re-loading or similar, but one unit with the figures all giving fire isn’t a tragedy.

The figures are painted with GW Contrast Paints and mounted on a vehicle base from Warbases.

TFL Painting Challenge: Into the Second Half of 2021

Not quite sure how this happened but we’re now into the second half of 2021 and therefore into the second half of the year’s TFL Painting Challenge.

It would have been quite a slow couple of weeks since the last update except for a truly colossal catch-up from Doug Melville, with his first entry of the year hitting over 2,300 points in one go! There’s some lovely work on display from him, so do make sure you visit his gallery.

There’s also a first entry of the year from Chris Stoesen, and entries from Ashley, Sapper, Travis, Mervyn, Carole, and Coop.

As above, do make sure you visit the individual galleries, but here’s a selection to whet your collective whistles:

Keep them coming!

FK&P AAR: Tounton Bridge

Friend Bevan wanted to play some more ECW battles, and as we had exhausted all the scenarios I had written for the Marlowe to Maidenhythe scenario pack, it was time to get the quill out and write a new one.

The background is simple: the Royalists are withdrawing into a walled town but need to cross a bridge to do so. Sir Henry Carlyle therefore volunteers to hold the Roundheads off from the bridge whilst his comrades make their retreat. His opponent is Sir Edward Dexter, leading a force of men from the Borders supported by a brigade of Puritan horse (commanded by Colonel Kill-Sin Rhapsody) and some rather uncouth Reivers.

View from behind the Parliamentarian column. The bridge is just behind the village.

This turned out to be one of the best games of For King & Parliament we have ever played, with the luck being evenly split all game and the result in the balance right to the last moment.

The Royalist Forlorn Hope opened the game by deciding that their position was not just forlorn but actually untenable. They were also blocking the fire of the Royalist artillery. They therefore retreated behind a nearby hedgerow to await developments.

The Roundheads took their time to shake out from column into line, with the Puritan Horse performing various convoluted evolutions to end up heading across the battlefield on the far left Roundhead flank. The Royalists watched all these developments with interest from behind their hedgerows, but eventually decided that something needed to be done about the Puritans, so dispatched Col Shaw’s Swedish horse to deal with them.

Parliamentarians shake out their line

There are an awful lot of Puritans!

As the Parliamentarian pike in the centre of the field approached the Untried Royalist “Just-Raised” brigade, the Cavaliers opened fire at long range and promptly disordered themselves due, presumably, with their surprise at how loud their guns were! This was a right pain, and would dog me for the rest of the game as I never had a spare moment in which to try and rally them.

Meanwhile, however, one of Shaw’s horse units had sprung forward and smashed a squadron of Puritans straight off the field: the first time we could remember a 3-hit Dutch horse unit succumbing to a 5-card attack in one go. The other unit didn’t do quite so well though, ending up even-stevens on one disorder apiece.

The Royalist centre-right scares itself silly!

Some initial success for Shaw’s horse

As all this was going on, some nag-mounted Parliamentary Pistoliers from the Border regions rode forward, survived the long-range fire from some of my Commanded Shot, and then promptly charged them and dashed them from the field. Not good, especially as this left a big hole in my line right in front of my guns. Worse, those very same Pistoliers survived flank fire from one of my veteran Battalia. Surely my guns were now toast!

Gulp!

Most unusually, however, the guns actually worked for a change, and blew the Pistoliers away. Crisis averted.

Meanwhile, the main melees rolled on:

Here’s a look at the whole battlefield. Note how I’m desperately trying to get a horse unit over from my left hand side to help shore up my centre and right!

Things now started happening in rapid succession (too fast for many pictures).

My two units of Swedish horse on the right finally succumbed to the four units of Dutch horse they faced, but they had down a good job in holding them off for so long. One unit of enemy horse came forward and threatened to turn and hit my infantry line from behind, but those reinforcements I’d moved across blocked them.

Then, in the main melee, one of my Untried units gave way, but this allowed me to turn the Battalia directly under command of Sir Edward onto their flank and destroy them. That gave me access to the flank of the main Parliamentarian line, and I took full advantage and destroyed another enemy Battalia.

The battle reached its climax

This left both Bevan and I on three coins each i.e. the first person to lose another unit would lose the game. There were also two combats underway: my reinforcements versus the enemy horse, my triumphant Battalia against some enemy Commanded Shot.

I chickened out of sending my Swedish horse in against his Dutch boys (the photo above left is actually from slightly earlier so my horse had become blown by now, which meant two cards versus two cards with death to whoever lost) thinking that I would charge his Commanded Shot from the field but, as you will see from the photo above right, I drew an Ace which meant my lads wouldn’t charge home.

Bevan then turned his Commanded Shot towards me and opened fire: two Nines, no Saves from me, Battalia and game lost!

Aftermath

An absolutely terrific game of FK&P: tactical challenges, extreme but even luck on both sides, and a succession of notable events: Swedish horse bashing Dutch horse from the field; three Untried Battalia disordering themselves; the guns surviving a frontal charge by blowing their enemy away; a succession of flank charges; reinforcements rushed from one side of the field to the other just in time to charge an outflanking enemy units; and, of course, everything coming down to the last combat.

Epic stuff, and I’m now inspired to write Scenario #02!

Robert Avery

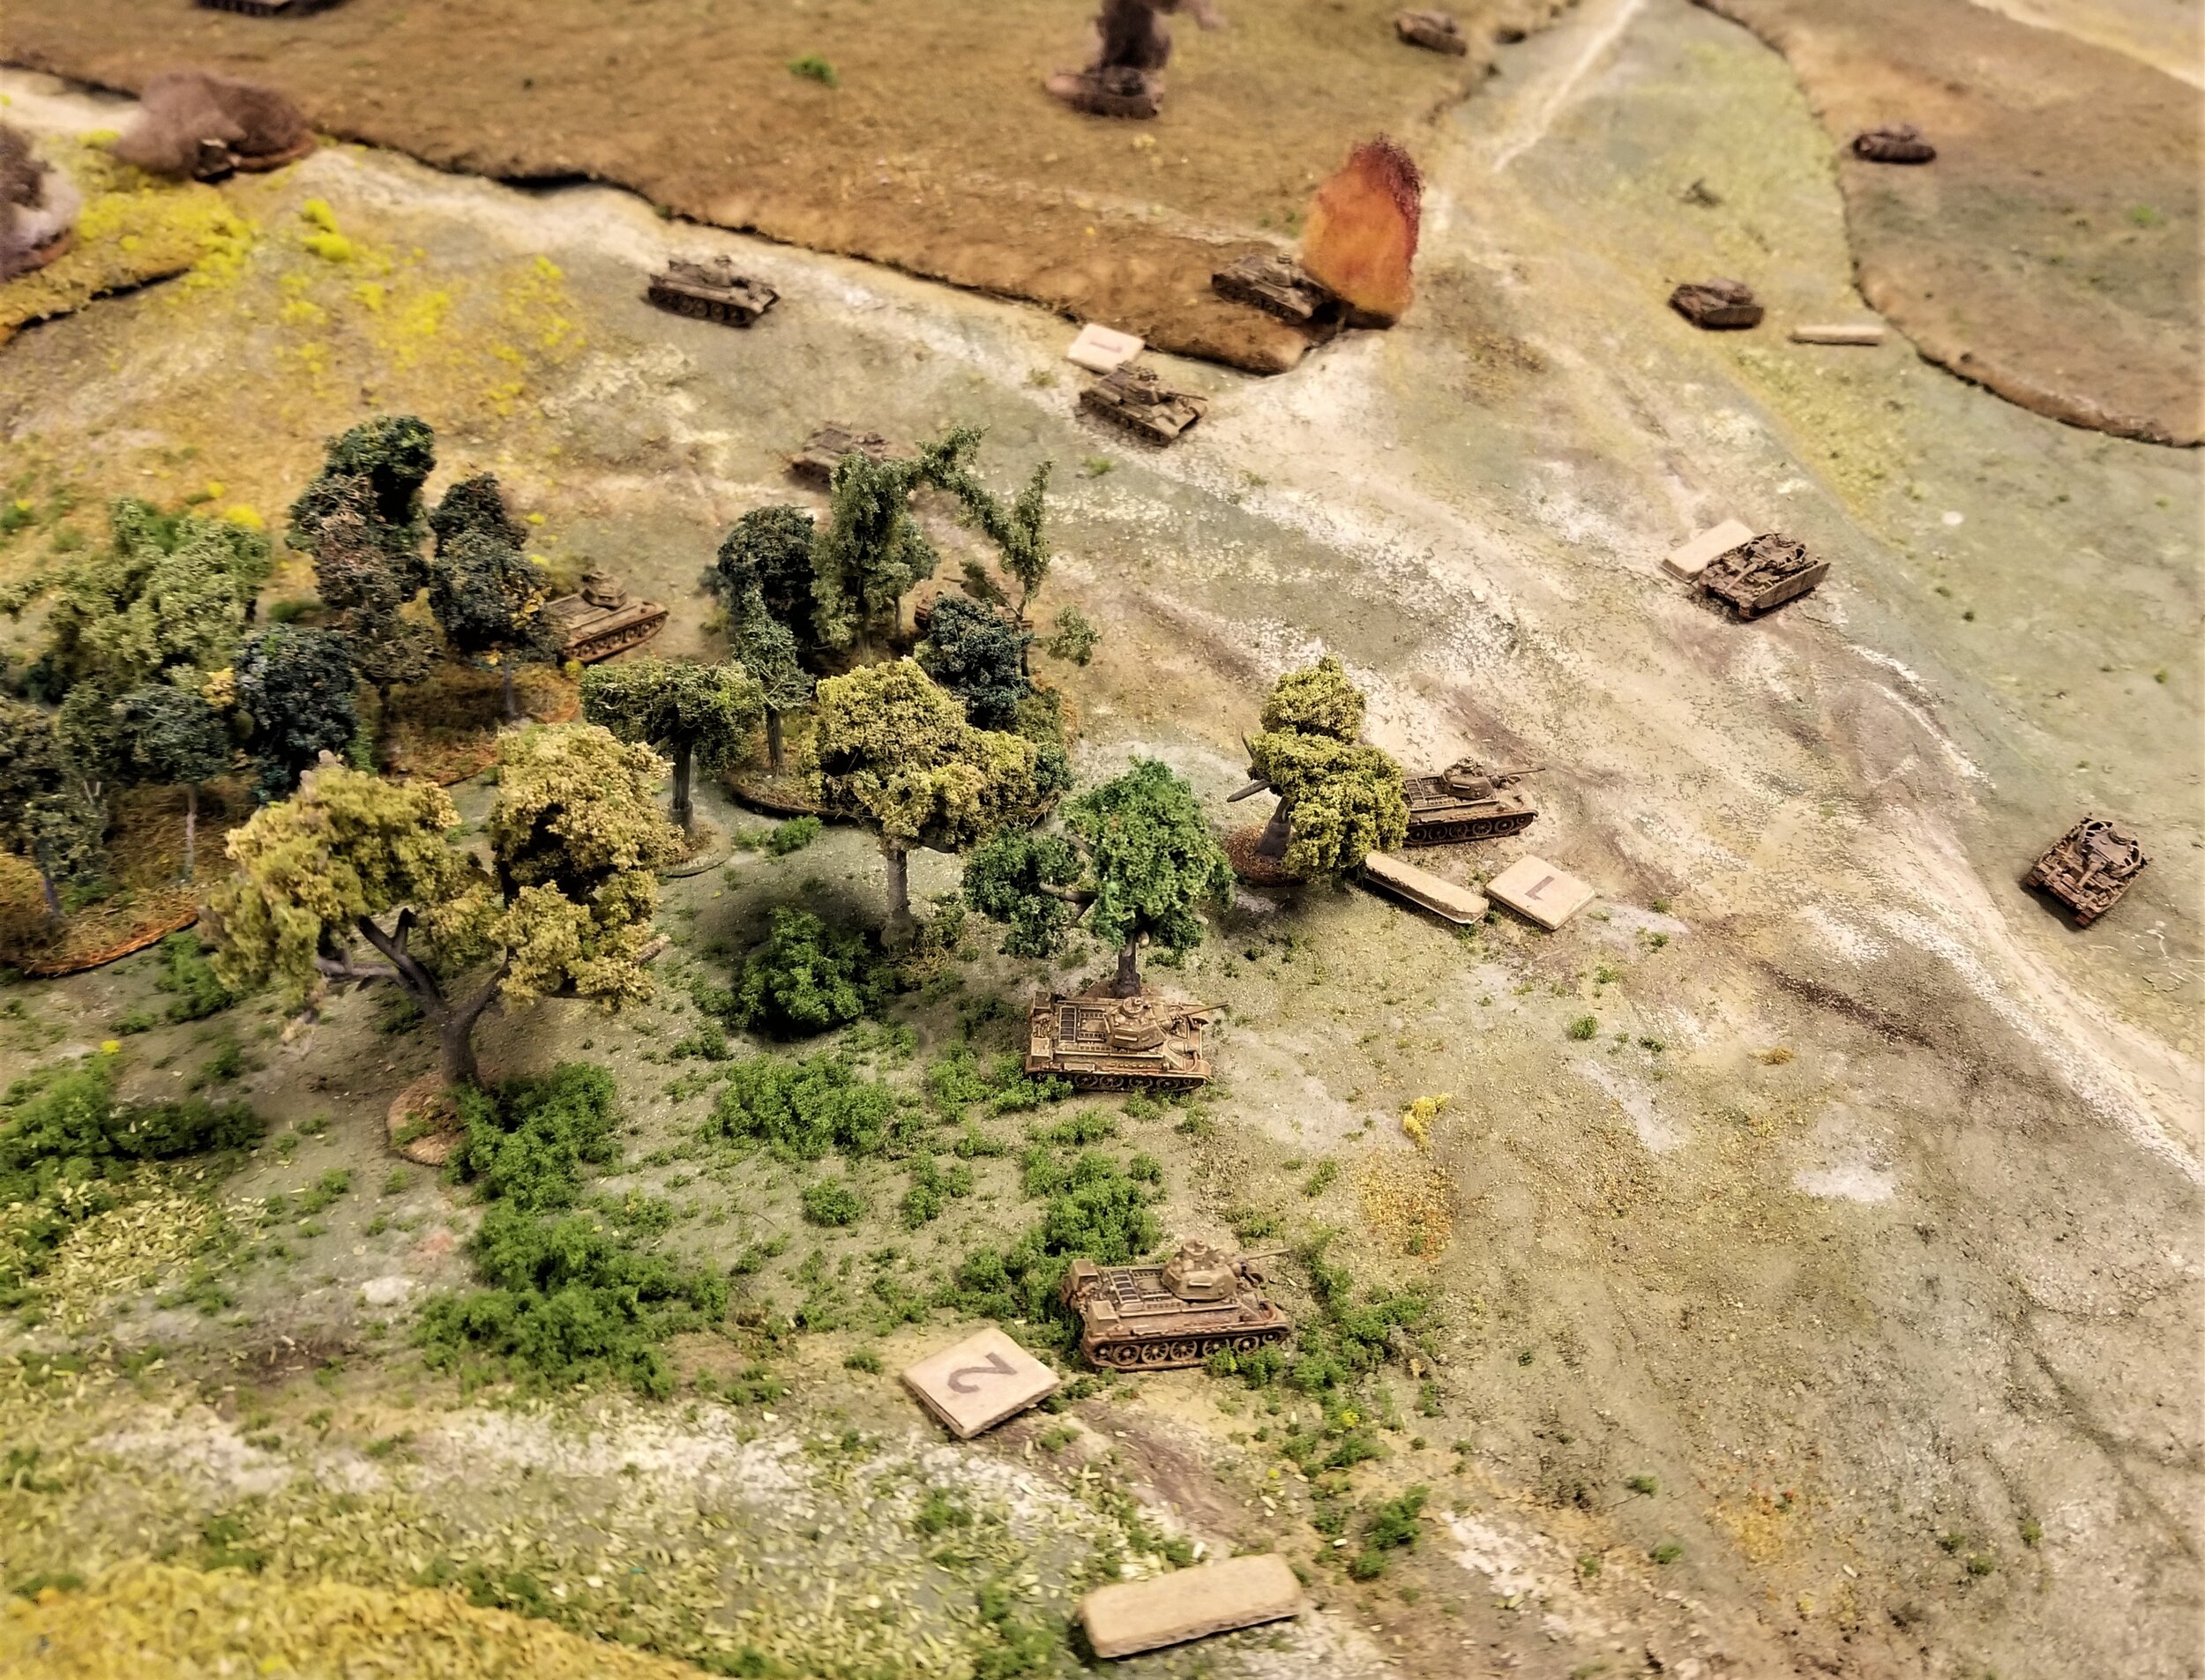
IABSM AAR: Prokhorovka

Off to Dave’s for my first face to face game of I Ain’t Been Shot, Mum since before lockdown!

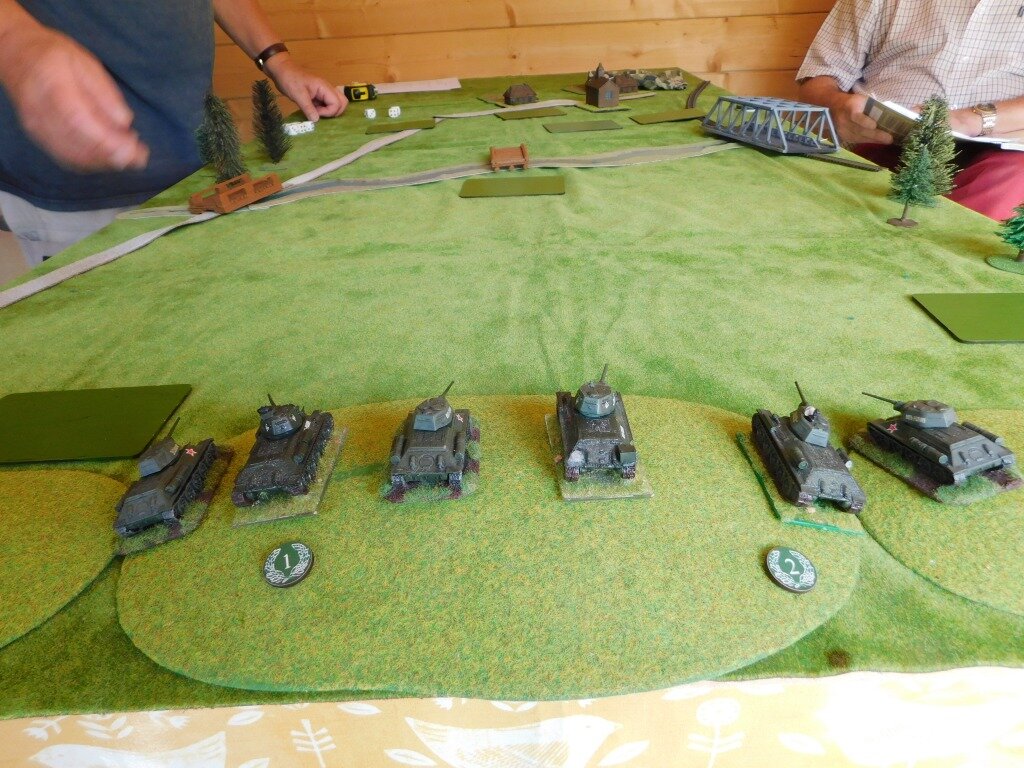
The scenario was set on the Eastern Front in 1943, and based on an historical encounter. Elements of the Soviet 5th Guards Tank Army (played by me) had to advance onto the table and take a village, Prokhorovka, defended by German armour. Yes, unusually for IABSM, this was to be an armour versus armour game with no infantry present.

I had what looked like an overwhelming force: a first wave of an HQ element, two platoons of three t-34s each, and a third platoon of three BT-17s. Following that, I had six more platoons of armour split into two more waves for a total of six more T-34s, three venerable KV-1s, three SU-76s, two SU-76is and, the piece de resistance, two SU-152 big beast tank killers.

If that’s what I had, I was a little nervous about what I was going to face. I’d been told to watch out for the new German Tiger tank: presumably I’d be facing about 20 of them!

Click on the picture below to see what happened:

TFL Painting Challenge: Probably the Last June Update

A fairly quiet week this week, with just a steady trickle of entries coming in.

Please do visit the individual galleries, but here’s a selection of what people have submitted:

I’ll update the Scorecard when I have a moment!

More Bits and Pieces

Whilst I’m still waiting to find inspiration for my next major project, I thought I’d finish up a few bits and pieces from the lead mountain.

First up are a couple of Gallant Gentlemen for my Scots Covenantor ECW army:

Wallace-sized. The real one, not the shorty Gibson effort.

These are 18mm figures from Blue Moon’s new Scottish ECW range, and lovely figures they are too.

I bought these as a test to see how well they fitted in with my existing collection as I still can’t get the hang of whether 18mm figures are actually large 15’s, small 20’s or a scale all of their own!

With these, however, there is no doubt: they are too big to fit in with the Hallmark (via Magister Militum), Peter Pig and Khurasan models that form the main part of my 15mm ECW forces.

That said, a couple of comparative giants as Gallant Gentlemen fit right in with the concept of the GG, so I am very happy to have these two fearsome warriors on board!

As I said: lovely figures, but 18mm, so highly recommended if you want to field an 18mm ECW Covenantor army, but not if you want to field one in 15mm.

Next up was another general for my Classical Indians:

May the Fourth be with you!

These are more figures from Museum Miniatures excellent CAD-designed “Z” range of Classical Indians.

I’m always being told that I should field four generals when playing To The Strongest at 130 points. Now, with these, I can…and I actually needed a more cavalry-orientated commander for the later Indian armies anyway: by the time you get into the ADs, chariot-mounted generals are so yesterday!

Finally, I’ve had these undercoated on my painting table for, like, forever (as Daughter #2 would say).

Thundercats are go!

These are more of Khurasan’s excellent Felids mounted on jetbikes. I already have a couple of squads worth, so can now field a platoon.

These new versions are painted with GW Contrast Paints, and it’s interesting to contrast them (did you see what I did there?) with how I painted their predecessors:

Both look really good, but the old-platoon were painted with the base coat/wash/highlight method (i.e. each figures was picked up three times per colour) whereas the new ones, with the Contrast Paints, are only one coat per colour i.e. each figures was picked up only once per colour.

You can decide which is better!

Marlowe to Maidenhythe Gets Physical!

Exciting news. My Marlowe to Maidenhythe scenario pack for For King & Parliament has been printed in physical form i.e. is now not just available as a pdf but also as a wire-bound book.

This is the first time one of my books has been available ready-printed since the heady days of Vis Bellica.

I’m sure that you have all bought M2M in digital format already (and if not, why not!) but here’s the link to the hard copy.

As a reminder, here’s the marketing blurb:

The 66 page Marlowe to Maidenhythe scenario Book, written by Robert Avery, is a physical print book, designed for the TtS! For King and Parliament English Civil War rules but useful with other rule systems too. It is printed on 130 GSM paper and is wire-O-bound so that it will lie flat on the table.

The book contains twelve free-standing fictional scenarios set around in the counties of Buckinghamshire and Berkshire during and shortly after the English Civil War. They tell the story of a series of clashes between Sir John Boulters (for the King) and Sir Christopher Grey (for Parliament). Each scenario contains a background briefing, separate briefings for each of the players, a deployment plan and orders of battle. The scenarios can be played individually or in sequence, as a campaign. Many of the characters and units recur throughout the campaign.

And finally, here’s a couple of pics of the Cookham Moor scenario just starting, one from a game I played over Zoom recently and one taken from the FB 6mm Miniatures & Wargaming group.

TTS AAR: No Revenge for the Indians

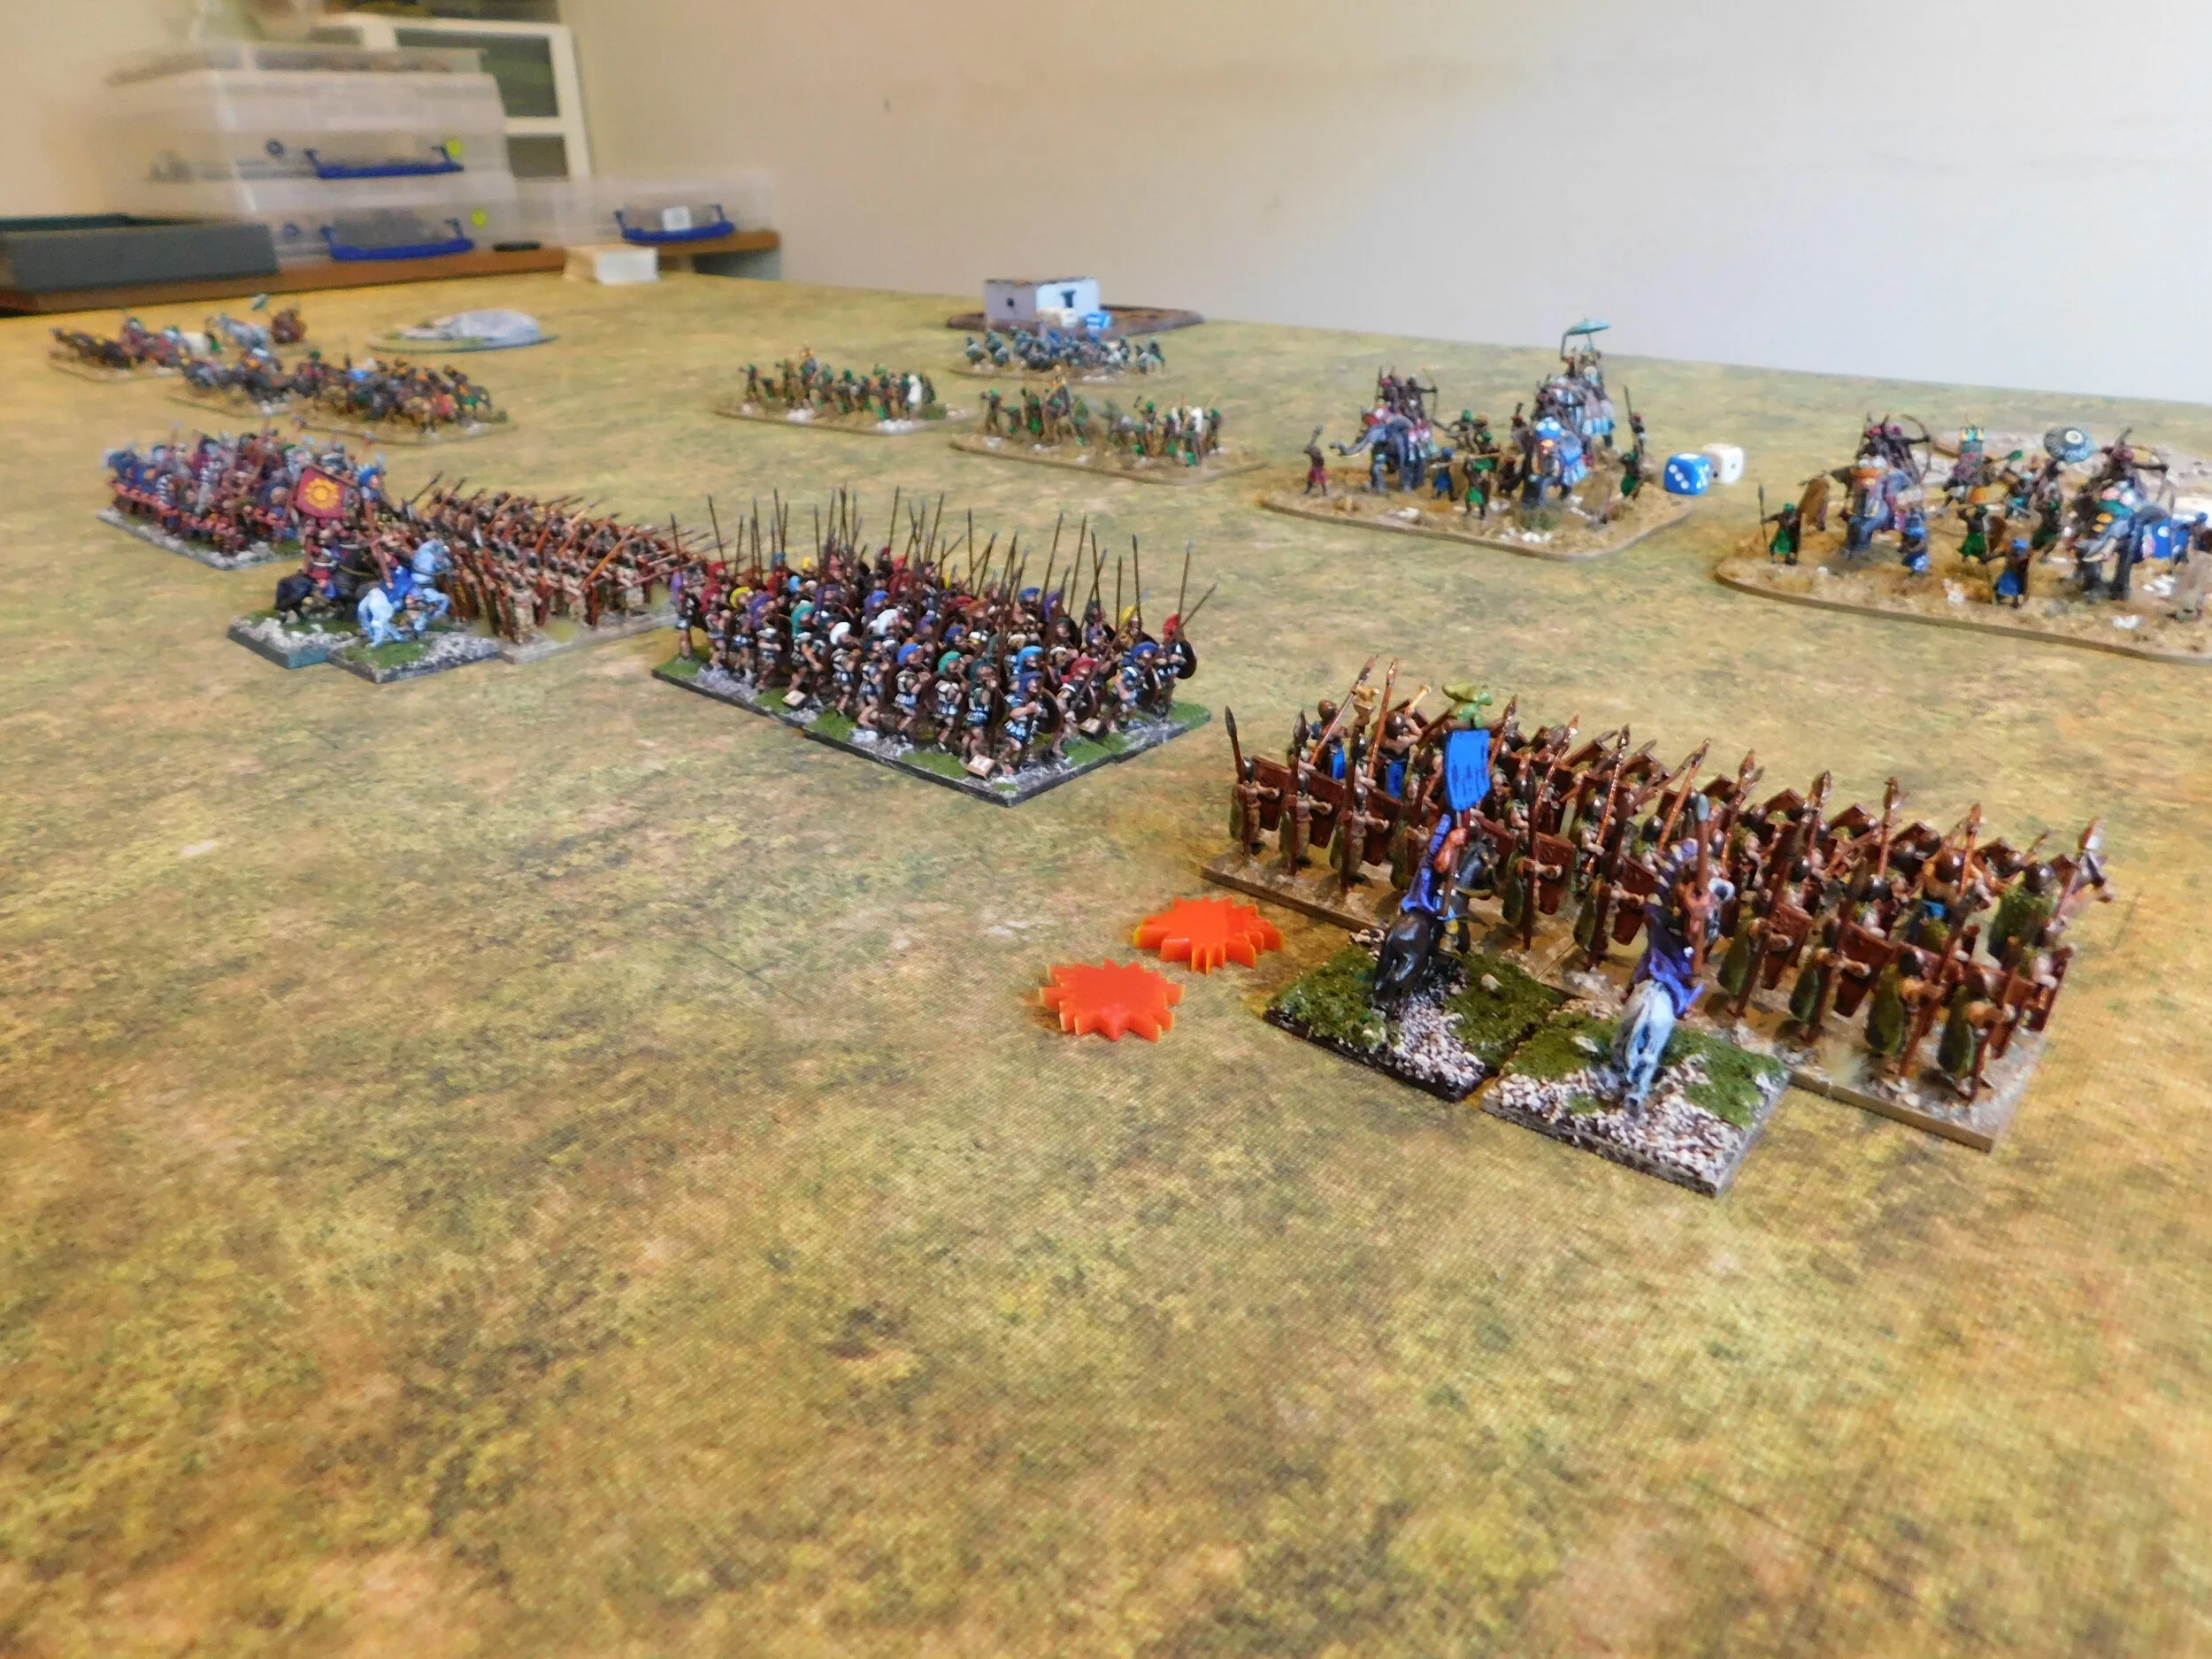
Regular visitors will know that a couple of week’s ago, my Classical Indians were defeated by an 11-phalanx strong Hoplite Greek army played by friend Bevan. Now it was time to get my revenge with a re-fight of the same battle.

Opening stages: so far everything is going to plan!

Well that was the plan!

Unfortunately things didn’t go at all to plan, and I ended up getting beaten more comprehensively than at our last encounter. Once again my massed longbow fire just failed to break his deep units, often getting to the stage of double-disordering but then not managing the extra hit needed to break them, but this time my impact troops suffered from terrible cards just at the point of impact, when it mattered most.

Just before the two battle lines came together

Although the game, as always with To The Strongest, was great fun, my troops were then gradually ground down by the remorseless space invaders from Greece!

Here’s a few more pictures of the game:

TFL Painting Challenge: First June Update

The Painting Challenge has been quite quiet of late. I’m hoping that’s because you’re all out either playing face-to-face games now that COVID restrictions have been partially lifted or out in the sun getting some Vitamin D!

Whatever the case for the rest of you, this week’s entrants have done their usual sterling jobs. I’d recommend a visit to the individual galleries, but here’s a taster:

The Scorecard is also now properly updated i.e. includes the scores from the last set of entries as well as today’s.

Keep up the good work everyone: we’re coming up to the half-way point in the year!