FK&P AAR: Munces Wood Again
/As it hadn’t taken Bevan very long to beat me in the last game we played, we swapped sides and gave battle again.
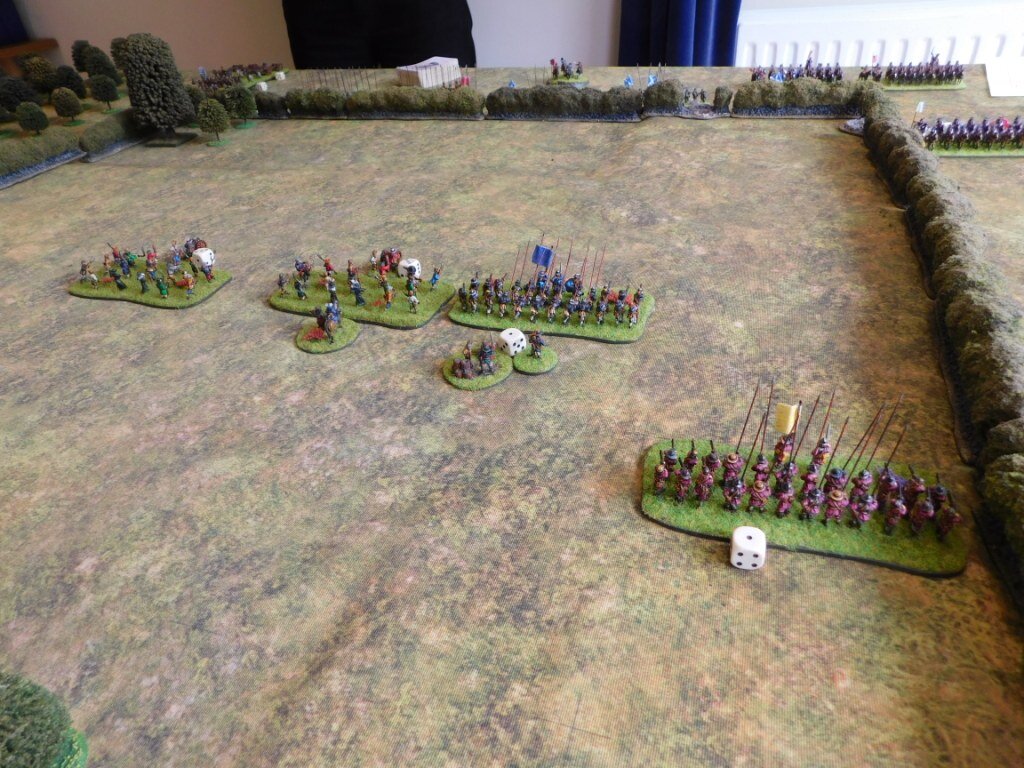
In the last play-through, Bevan had withdrawn his Clubmen and given up the centre of the table. I decided to do the opposite and support them, moving my infantry forward to form a line half way towards the enemy edge.
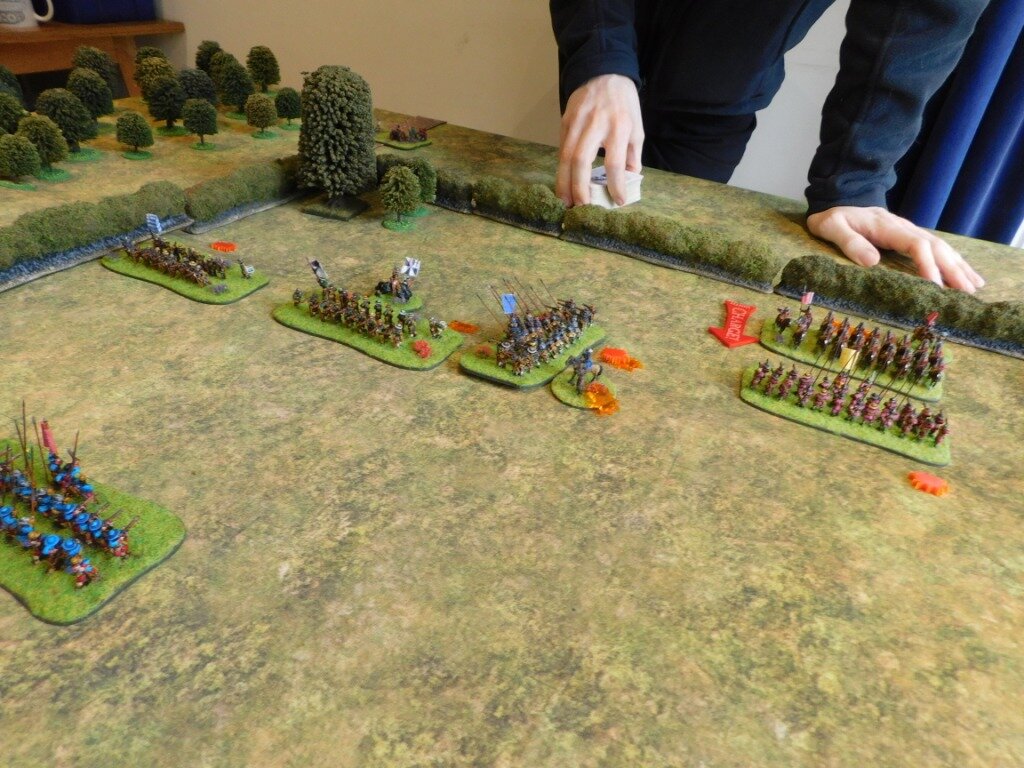
On the left flank, my Swedish horse moved forward cautiously: I was waiting to see what the enemy Dutch horse (that you can see moving across the table towards me from left to right in the left hand picture, above) would do before committing them.
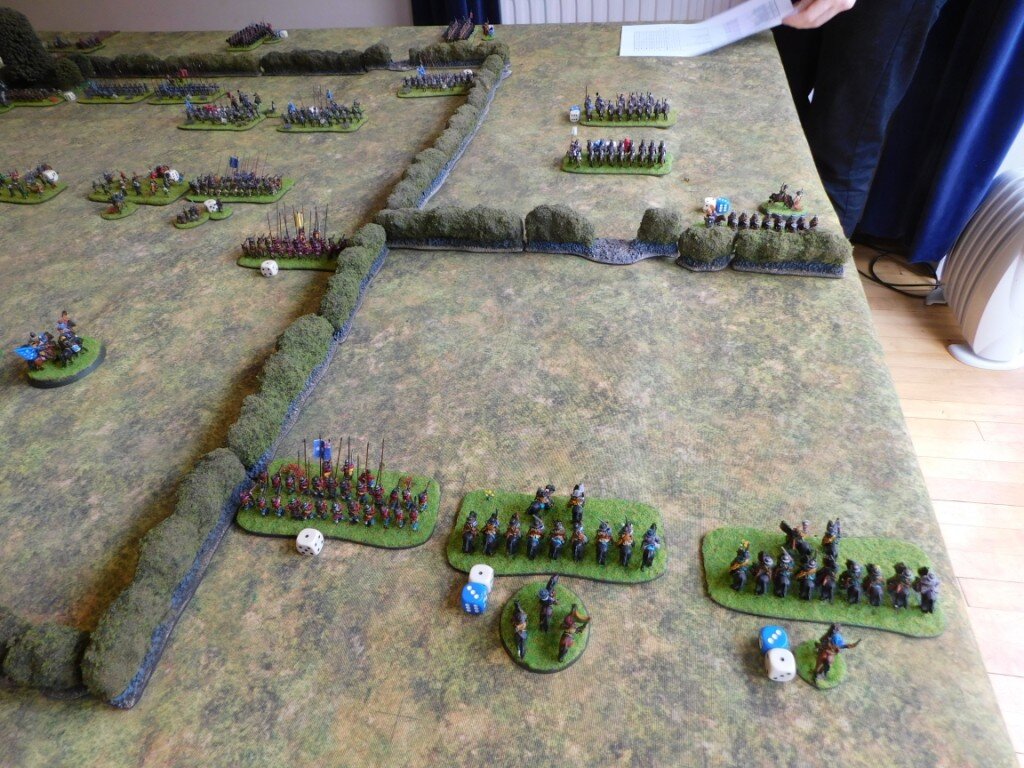
On the right flank I used two squadrons of horse and a battalia of foot (Shaw’s Horse Brigade supported by the Westferry foot) to hold off a brigade of enemy horse. Points-wise, a stalemate here would be in my favour.
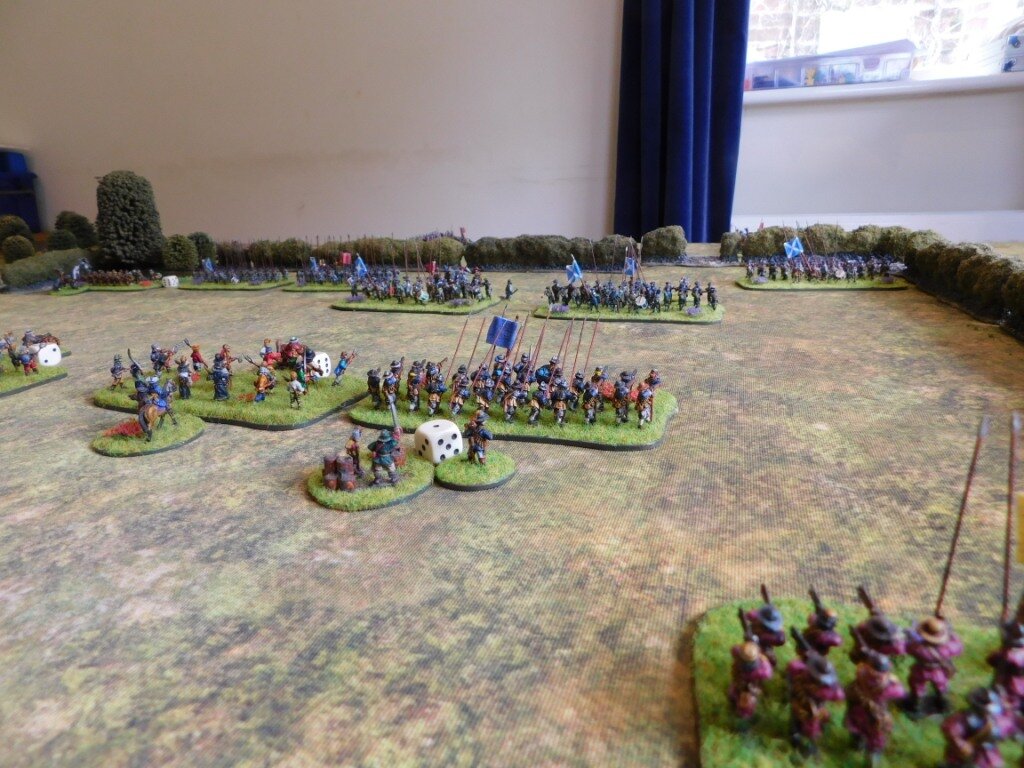
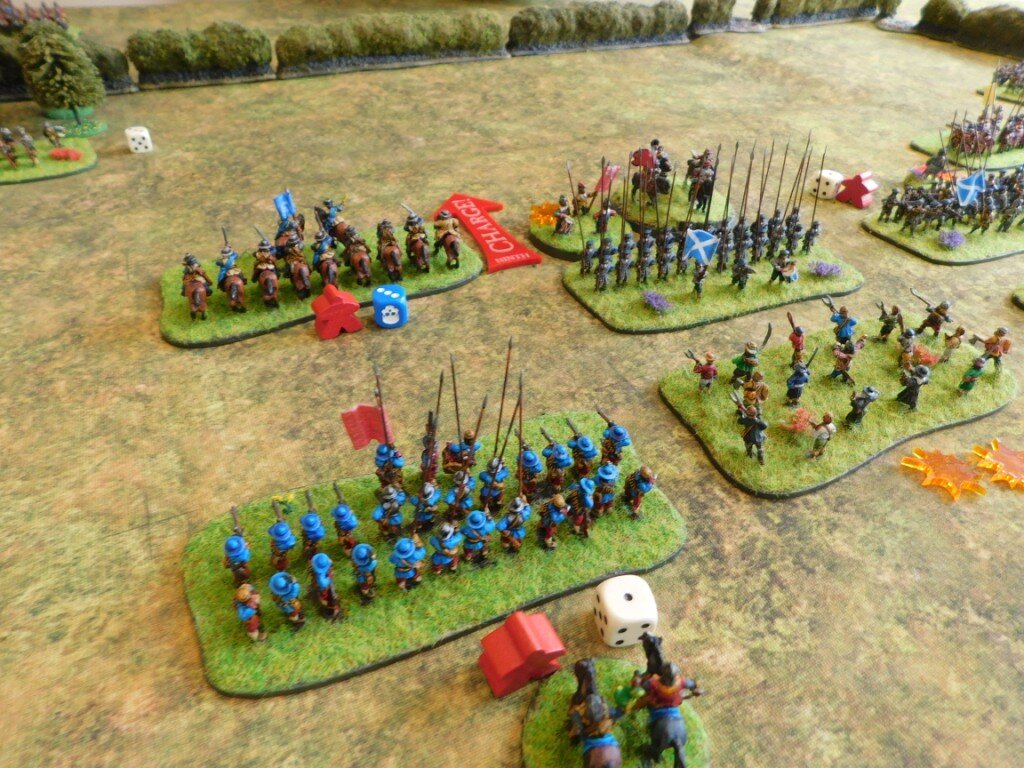
A general melee broke out in the centre of the field. Incredibly, given my luck in recent games, I quickly gained an advantage, with a squadron of horse and a battalia of foot (the ones in dark pink: the Wickborough foot) breaking through the enemy troops in front of them!


Then I made a mistake.: a stupid schoolboy error that would haunt me for the rest of the game!
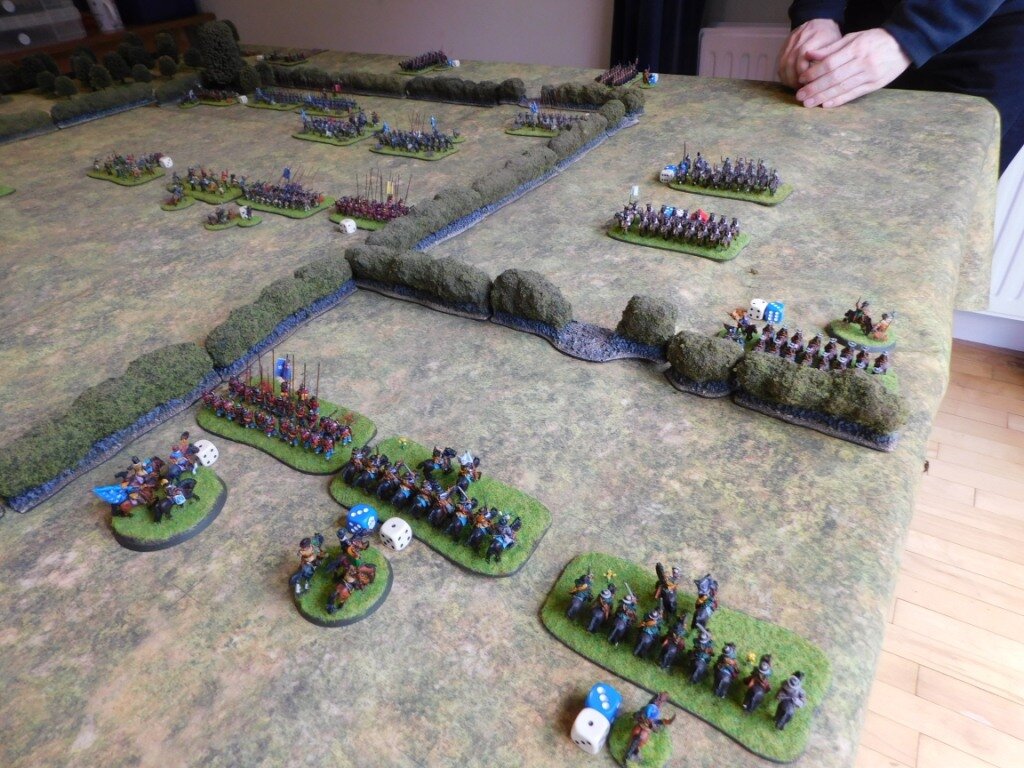
Bevan had sent a unit of commanded shot (a smallish group of musketeers) forward through the wood (Munces Wood, in fact) towards my cautiously-advancing squadrons of Swedish horse. I failed to resist the temptation and charged the blighters as they came up to the edge of the trees.
Yes, that’s right: I charged musket-armed infantry in woods with close formation horsemen!
My foolish horsemen (the Cranston horse) were soon eliminated, leaving that flank open for the Musketeers to threaten my victorious infantry in the centre and for Bevan’s “spare” squadron of Dutch horse (the Stand-Fast-On-High Puritan horse) to advance up that flank as well…and adjusting to counter those threats prevented my infantry in delivering what should have been the coup de grace!
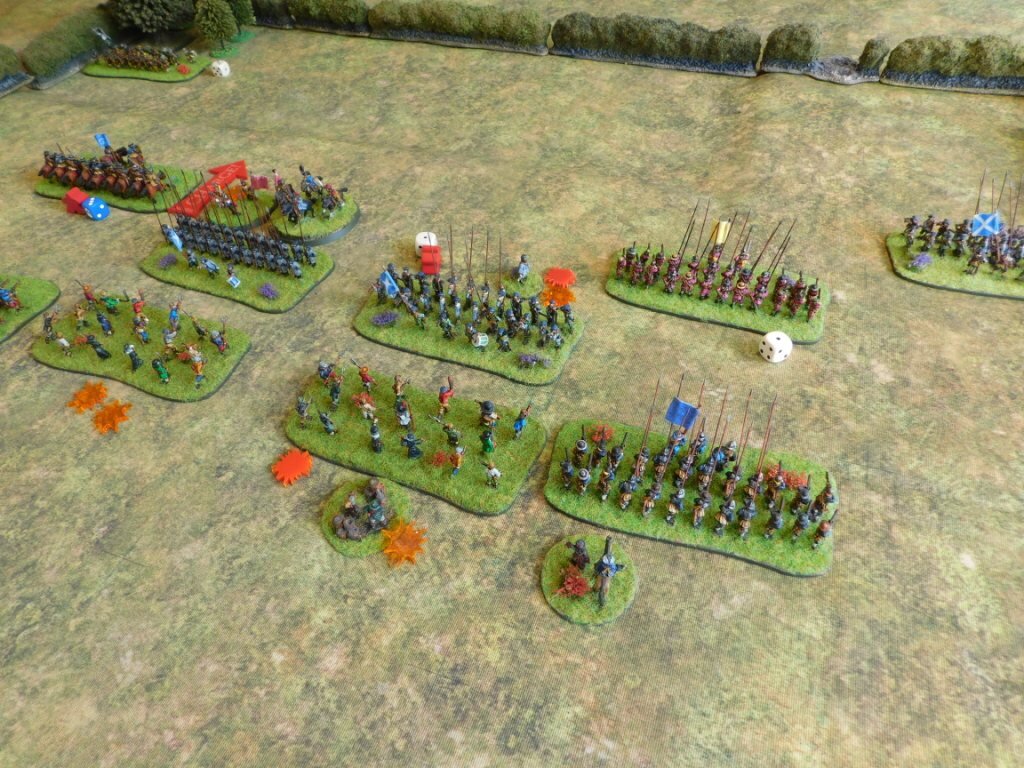
With some brilliant tactical play, Bevan then used the breathing space I had given him to regroup his centre. I still had the advantage, but now would need to break him again.
My pursuing cavalry (the ones that had broken through the line earlier: the Staplehurst horse IIRC) went off the table and then came back on to hit a squadron of enemy horse. I should have broken them, but didn’t, leaving them free to rejoin Bevan’s troops in the centre of the field (what we had started calling “the arena” due to the way the hedges were laid out) and again forcing me to deploy to face them.
Meanwhile, a melee had finally broken out on the right flank as Bevan could see that he had no choice but to try and win there before his centre finally collapsed. This didn’t work for him, however, and I was soon able to punch through on that flank.
The battle was now all but mine. I just need to destroy one more unit of Bevan’s and the rest of his men would lose heart and flee the field. Okay, so it was true that I would lose the game if I lost one of my foot battalia or two squadrons of horse, but all my remaining units were still pretty robust versus Bevan’s shaky-looking troops!
Bevan, however, had one final card to play.
If you remember, my folly of attacking infantry in a wood with horse meant that I had had to defend my left flank against a squadron of Dutch horse. I had succeeded in keeping them from getting over the hedge, using a battalia of infantry to do so. Now Bevan would have one last go at breaking through here. Failure would allow me to deliver the final blow that I needed to win the day.
His horse were double-disordered, my foot were disordered…so he had to get over the hedge to get me and then do two hits with me saving neither.
You guessed it: the cards fell his way and, with a roar of triumph, the Performe-Thy-Vows Horse swept over the foliage and dashed my pike-and-shot battalia from the field!
And that, as they say, was that!
Aftermath
Well that will teach me not to charge infantry in a wood!
All my hard work in the initial stages in the centre destroyed by a need to watch my left flank: a flank that I had effectively exposed myself. Much kudos to Bevan for staying cool and conducting an excellent fighting reorganisation of his collapsing centre, and then for taking full advantage of my mistake and holding his nerve until the end.
Another great game of For King & Parliament that came down to the last moment!
Here’s a complete gallery of the game.