TFL Painting Challenge: Christmas is Coming!

The first batch for December as people start that final push for points before the end of the month and the end of this year’s Challenge.

Plenty of time to get you last entries in: so get painting and photographing!

Please do visit the individual galleries, but here’s a taster to whet the whistle:

Cossack Command & Tatars

Sorry for the lack of posts this week: been very busy in the real world!

Expect a flood of interesting content over the next couple of days but, to start, here’s a catch-up of some painting I’ve been doing.

First up are a couple of command bases for my 15mm Zaporogian Cossacks. Lovely figures from the By Fire & Sword range painted mostly with Contrast paints. I especially like the chap on the right with the pipe.

Alongside the two Colonels, I also painted a base’s worth of Tatar light horsemen. These are also from the By Fire & Sword range, and are also nice figures.

One thing: the riders are metal and the horses are plastic. There must be a good reason for this, and I didn’t notice that the figures felt top heavy, but the plastic is of the soft, bendy variety, so sometimes the horses are “set” at a funny angle and, unlike metal figures, can’t be straightened out. You have to slope the base when you mount it to get the horse as a whole to sit straight.

It also means that I am less confident of picking up the base by the two outside figures: I’m worried that the plastic won’t take the weight. I know I shouldn’t be picking up the base by the figures anyway, but sometimes in the heat of battle etc. I shall have to see how they manage on the tabletop.

IABSM AAR: Viking Panzers in Central Poland

Another cracking I Ain’t Been Shot, Mum battle report from the pen and camera of Mark Luther.

It’s another 6mm battle fought at the Gigabyte’s cafe, and this time features a somewhat generic game based on actions to the east of Warsaw in August 1944 where the Soviets had sent masses of tanks through thin lines of the German defenders. The panzer units were then forced to scramble to cut those units off before they totally disrupted the front.

Click on the picture, below, to see all…

More Moloitsy and some Tatars

Another base of Cossack Moloitsy rolls off the production line. That makes four I have now, which is enough for the 150 point army I have planned. I do have one more base’s worth of figures to paint, however, so will probably end up with five in all.

As before, these are By Fire & Sword miniatures painted up using mostly GW Contrast paints, and mounted on a Warbases large vehicle base.

My Cossacks, not being of the Ukrainian sort, don’t have very good cavalry, so I’m going to add some Tatar allies to the army. I have bought enough to field what I need but, whilst wandering around Warfare this weekend just gone, I saw these chaps on sale for quite a reasonable price i.e. painted well enough for me to like them, priced at under double the raw lead.

Whilst I’m not sure that they are actually Tatars, they will do as Tatar bowmen…and I shall probably use them to indicate veteran bowmen as their distinctive headgear makes them look like they are more of a chosen unit than a random collection of warriors.

IABSM AAR: Anzio #10: Highway 7

Another great 6mm I Ain't Been Shot Mum game from Mark Luther played at Gigabites Cafe in November 2021.

The scenario is taken from the Anzio: Wildcat to Whale scenario pack and features US infantry and armour assaulting a collection of four farmhouses held by men from the Herman Goering Panzer Division.

Click on the picture below to see all:

A Day at the Races: Warfare 2021

This weekend just gone, I visited the Warfare show at its new if exceedingly temporary home at Ascot Racecourse (next year it will be somewhere in Farnborough - Ascot proving too expensive for a repeat).

Those of you who have been to Warfare in previous years will know of its historical presence at the Rivermead Leisure Centre in Reading: a place often characterised by terrible parking, worse catering, but two large halls (and a few smaller rooms) packed full of gaming goodness that made it an unmissable event.

So how was the Racecourse.

Pretty good actually, if you ask me.

There were a few problems: the parking, although free, was very badly signposted when I arrived around midday. Apparently the original car park had filled up more quickly than anticipated, and there wasn’t any decent signage for the overflow. But it was, when I eventually found it, plentiful and free, which is good.

As for the atmosphere, I thought it was excellent. The main body of the show was on the ground floor of the main grandstand: a space that seemed to stretch for miles and miles. Imagine Salute squeezed into a 10m wide corridor and you have an idea of what I mean. This gave the show an intimate, labyrinth like quality, where display games and trade stands seemingly appeared out of nowhere in a way that I can only describe as being akin to the back of Mr Ben’s favourite tailors! In a similar vein, and for our younger viewers, I half expected to step into Narnia at any moment!

It reminded me a bit of the town hall in Kensington that used to be the venue for Salute, but schroffed up and brand new. I liked it.

Amazing 54mm battle between the Romans and Carthaginians

The ancillary elements, the Bring & Buy, the competition games, were on the second and fourth floors: again, plenty of room and very pleasant surroundings. I don’t competition game any more (brings out the worst in me!) but I enjoy wandering around looking at all the armies on show, admiring the look and feel of the rule sets I like, scoffing at the ones I don’t! The venue made this easy to do and a most enjoyable trek.

So, all in all, an excellent show in an excellent venue. Even better, the catering was up to the standards you would expect from Ascot Racecourse, and not too pricey either. Three excellent coffees and a cake cost me only £11.50 (and the cake was delicious: fresh etc); my lunch was a burger that actually tasted of cow and not of a poor unfortunate who broke a leg at the last!

Well done to the Wargames Association of Reading, and I’m already looking forward to next year’s show.

19C AAR: The Battle of Lederhosen

With both the Austrians and the Prussians now rebased (see previous posts) it was time to get the armies back onto the tabletop. This would be their second outing after over twenty years in storage!

The Austrians

  • 1st Division

    • 1st Line Battalion

    • 2nd Line Battalion

    • One Jaeger Company

    • Two artillery batteries

  • 2nd Division

    • 1st Jaeger Battalion

    • 3rd Line Battalion

    • Two Jaeger Companies

    • Two artillery batteries

  • Cavalry Division

    • 1st Uhlan Regiment

    • 1st Hussar Regiment

  • Army Reserve

    • 1st Dragoon Regiment

The Prussians

  • 1st (Jaeger) Division

    • 1st Jaeger Battalion

    • 2nd Jaeger Battalion

    • One Jaeger Company

  • 1st (Line ) Division

    • 1st Guards Battalion

    • 2nd Guards Battalion

    • 1st Landwehr Battalion

    • 2nd Landwehr Battalion

    • One Jaeger Company

    • Three artillery batteries

  • Heavy Cavalry Division

    • 1st Cuirassier Regiment

    • 2nd Cuirassier Regiment

    • 1st Dragoon Regiment

  • Light Cavalry Division

    • 1st Uhlan Regiment

    • 2nd Uhlan Regiment

And that was where we had to end the game unfortunately.

I was certainly in a very good position on my left, honours were even in the centre, but I was definitely losing the right,. So we called it a draw, with a slight strategic advantage to the Prussians balanced by the extra casualties they had taken.

A great game, and I’m now rebasing the French so that they can join in the fun!

TFL Painting Challenge: Last November Update

Activity levels are rising as people try and get their final entries in for the year!

Make sure you visit the individual galleries to see all the goodness, but here’s a selection to whet the whistle:

Allan Mallinson's "The Shape of Battle"

I’m reading a rather good book at the moment: Allan Mallinson’s The Shape of Battle: Hastings to Helmand.

Mallinson was a British army officer for many years, and is also the author of the popular Matthew Hervey series of books about a British Napoleonic/early 19thC cavalry officer. In addition, he’s written several books of military history, of which this is one.

The book looks at six campaigns, each culminating in a decisive battle: Hastings, Towton, Waterloo, Sword Beach, Imjin River and Helmand. Each of the six sections describes the background events that led to the campaign, the broad-brushstrokes events of the campaign itself, and then what happened at the battle. There are some nicely designed maps to make everything clear: very useful when dealing with, for example, Towton, when keeping track of who is for York and who is for Lancaster is difficult enough at the best of times.

Mallinson’s writing style makes this a very easy book to read, and the chapters are liberally peppered with quotes from either historical or historical fiction sources. To look at the chapter on Towton again, I loved the quotes from Shakespeare’s plays that accompany the text: makes the facts spring off the page with colourful delight!

This is an excellent book for the wargamer who knows a bit, or who used to know a lot, about the different campaigns covered. I know, for example, quite a bit about Hastings and the way that the Anglo-Saxons and Normans made war, but I last looked at it in any detail several years ago, so it was a really nice, and inspiring, way of refreshing both my knowledge and interest in the action.

Recommended as an Christmas present to yourself!

More Cossacks

In between all the re-basing that I’ve been doing, I finally got around to picking up my brushes and finishing off another base of Cossack Moloitsy.

These are more of the excellent By Fire & Sword miniatures. I like the ones in blue, but am not so keen on their purple-clad neighbours, even if it does match their banner!

Talking of which, the chaps in blue gave me all sorts of problems with their banner. Not the one shown: that is attempt three, with the previous two ending up in the bin. Unusual, as I’ve found the provided banners really easy to deal with in the past. Must be clumsy hands from too much re-basing!

Anyway, one more base of Moloitsy to go, and then the officers and artillery…and the Tartar allies are already on order!

19th Century Prussians Re-Based

Having re-based the Austrians, and liking the results, it was time to have a go at the Prussians.

I had forgotten how brittle the old Freikorps 15 figures are, so I’m afraid we had a few casualties along the way. I lost a handful of infantry and, for some reason, the Lancers just kept snapping off their bases. The infantry I could spare (loads of singly-based skirmishers to plug the gaps!) but it took me quite a bit of effort to re-build the lost Lancers, and even then I’ve made sure the broken figures are the middle of three.

As per yesterday’s post, these figures haven’t seen the light of day for over twenty years, so it’s really nice to see them schroffed up and ready for action again.

That’s 204 foot, 62 mounted and seven guns/limbers/teams done…and a right pain it is too!

19thC AAR: Austrians vs Prussians

As we’d been playing For King and Parliament almost exclusively for the past few months, my regular wargaming opponent and I fancied a change. He’d spotted my fairly extensive collection of 19th Century figures, so suggested we dust them off and have a game.

Good idea, says I, so the next question became a discussion about what rules to use. I wanted something simple, with no need for protractors and laser pointers and the like, so we thought we’d give Neil Thomas’ Wargaming 19th Century Europe 1815-1878 a try.

This compact little booklet contains a wealth of information. There’s a large background section followed by six pages of rules and then large numbers of army lists, battle scenarios and historical information.

Six pages of rules sounded good to me, especially as I knew that I would need to re-base my collection to play any commercially available rules, so would only need to expend a little brain power to work out how to use my existing figures and play-test the system before making any sort of re-basing decision.

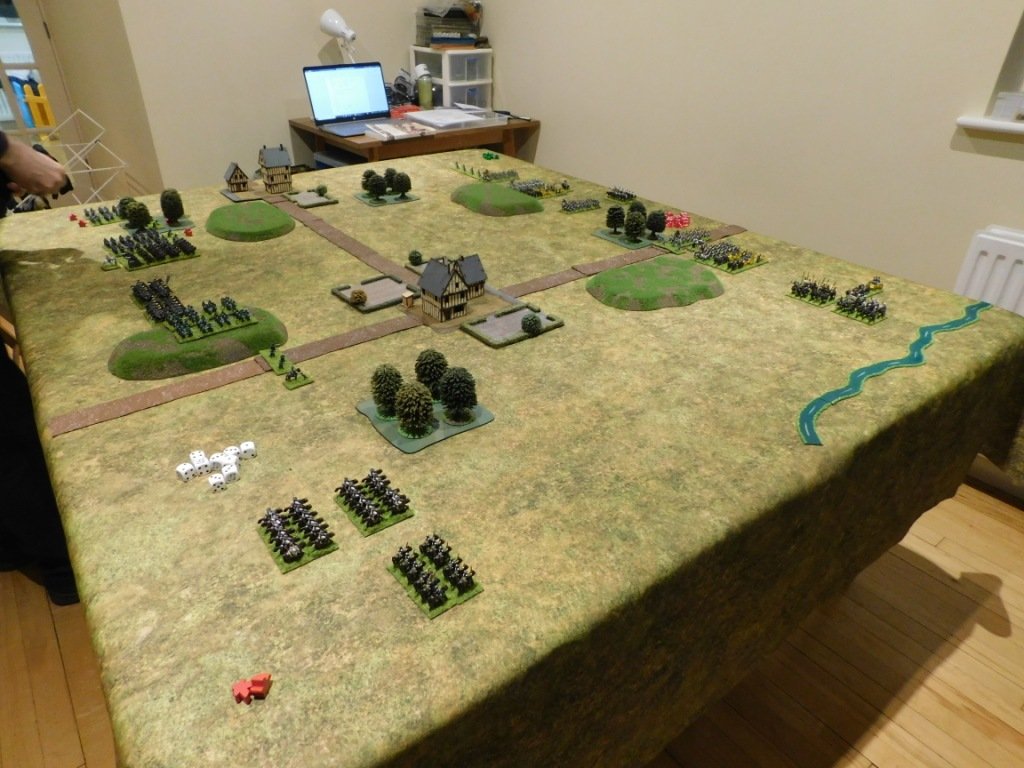
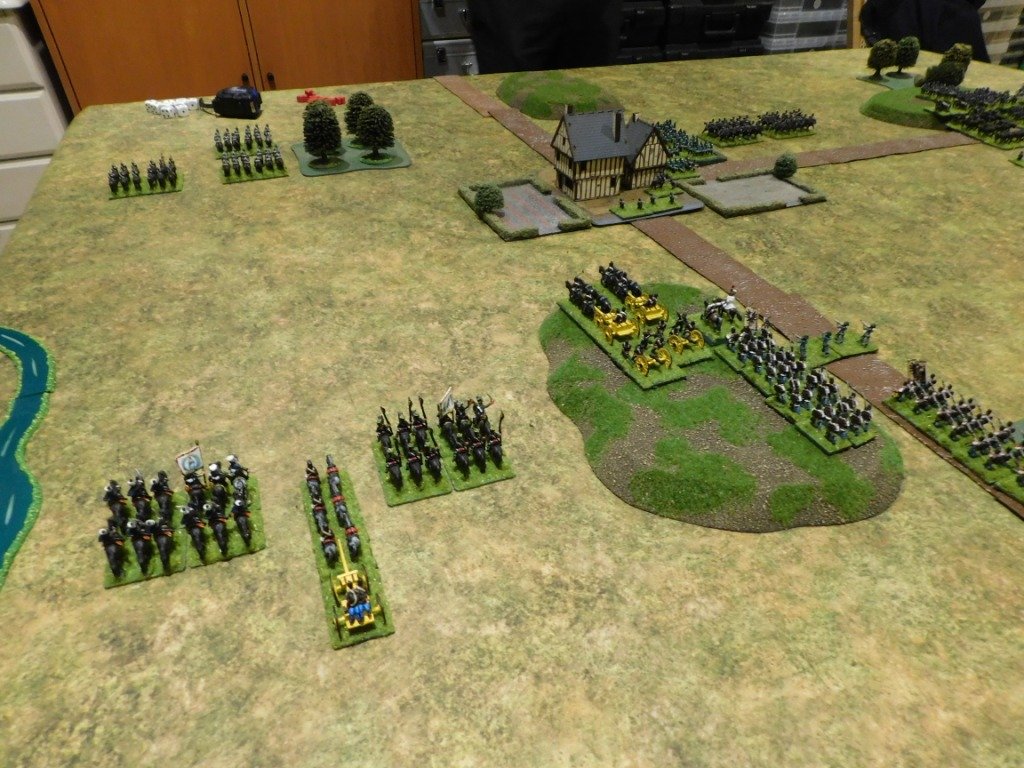
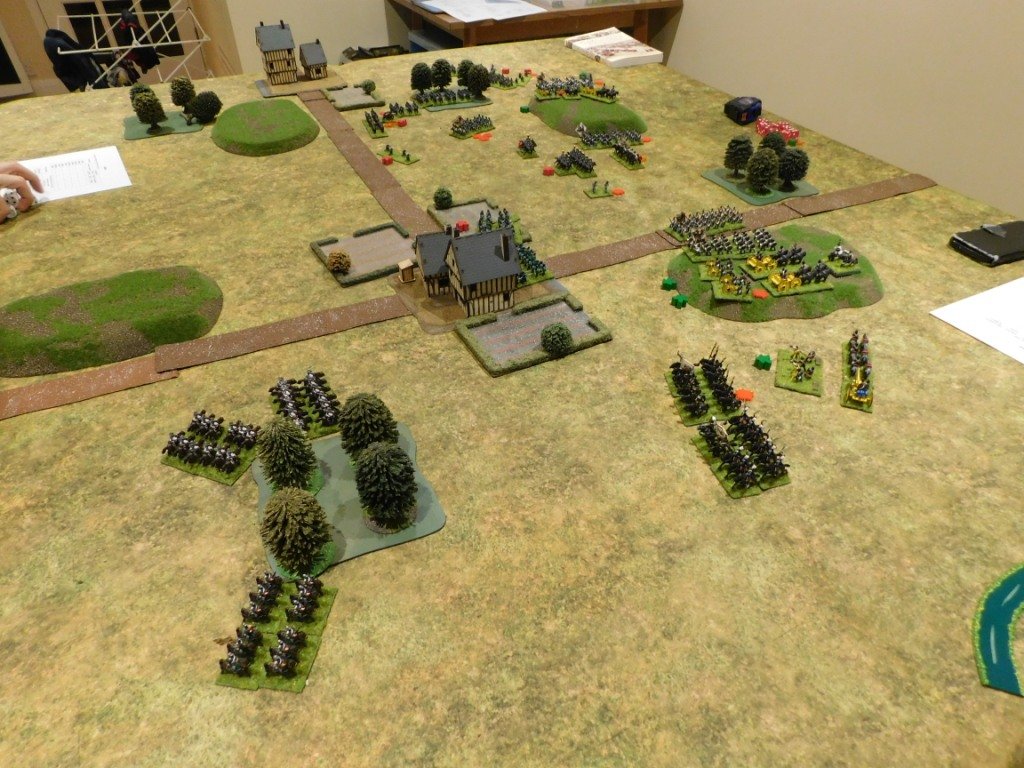
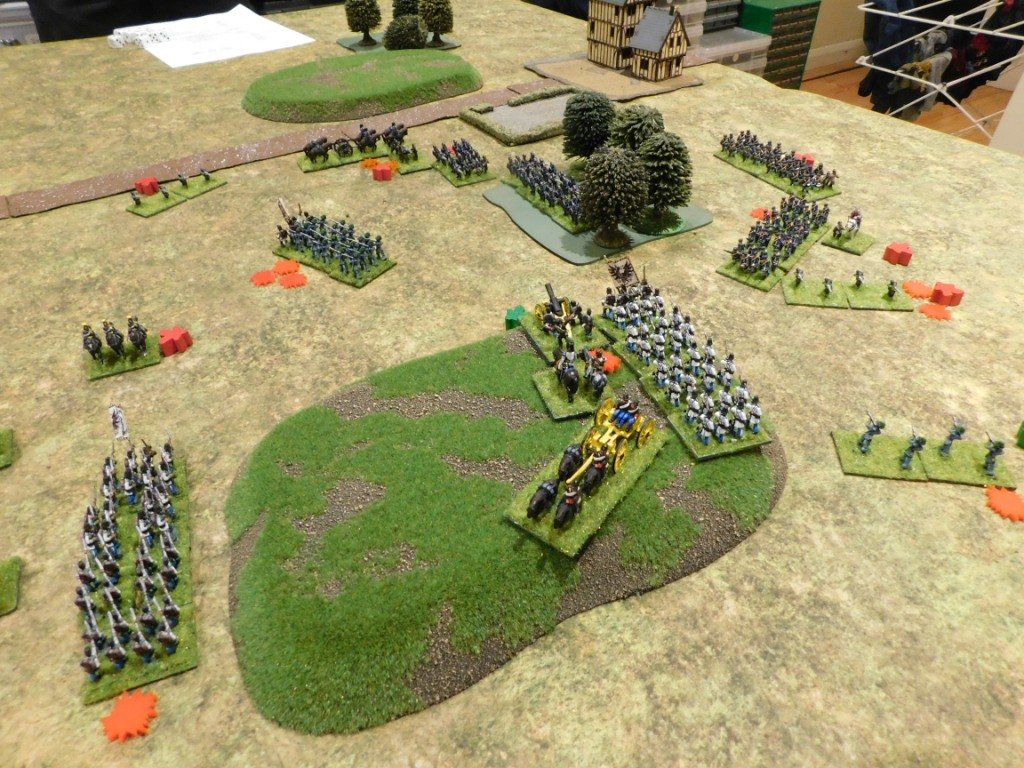
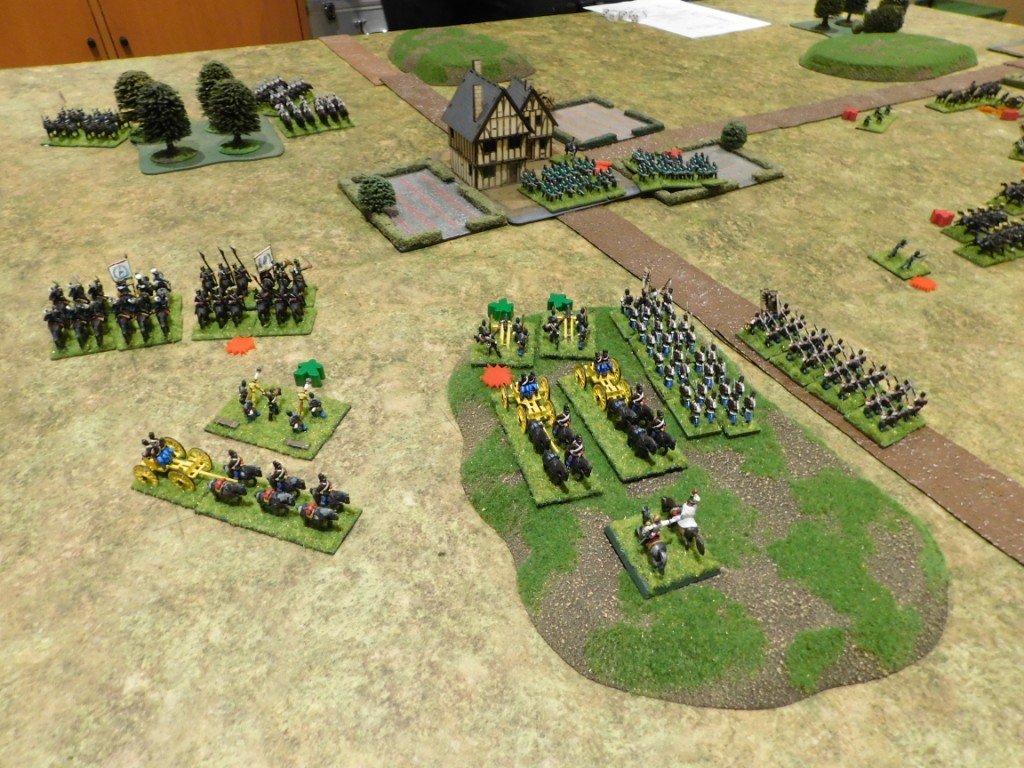
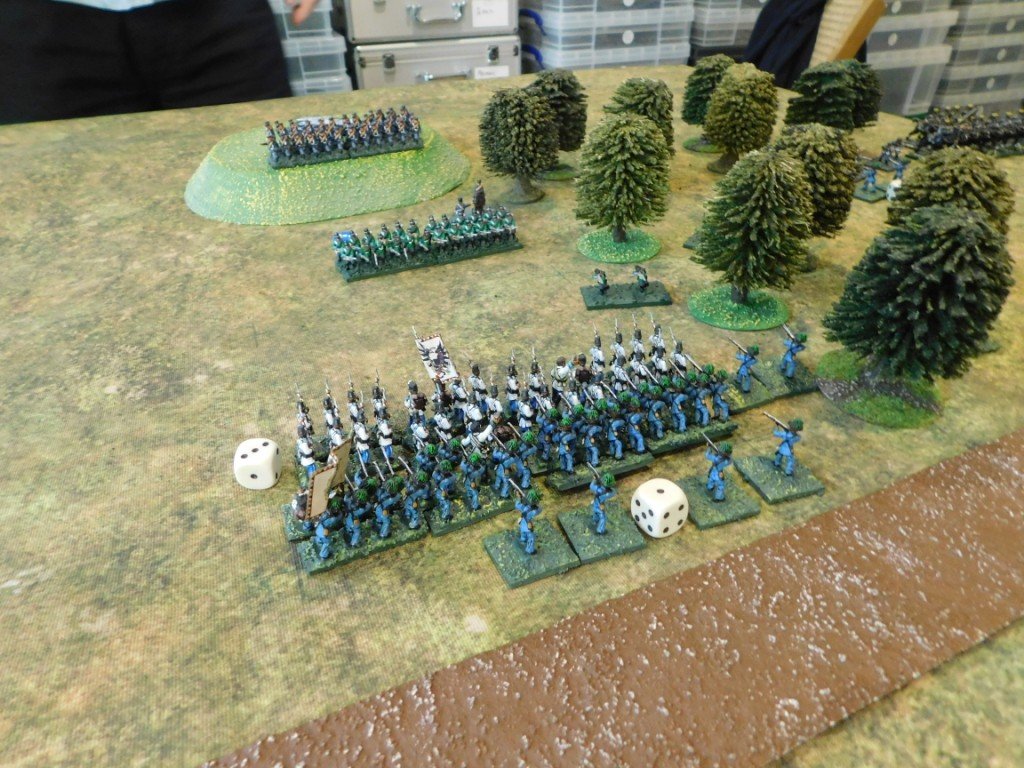
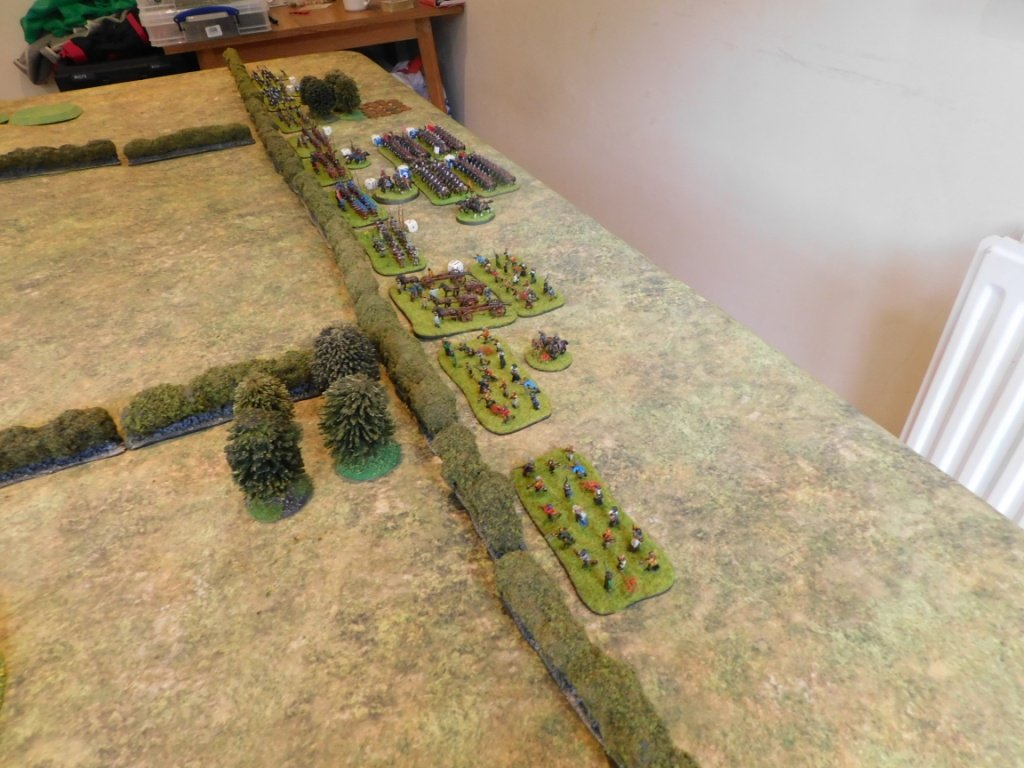
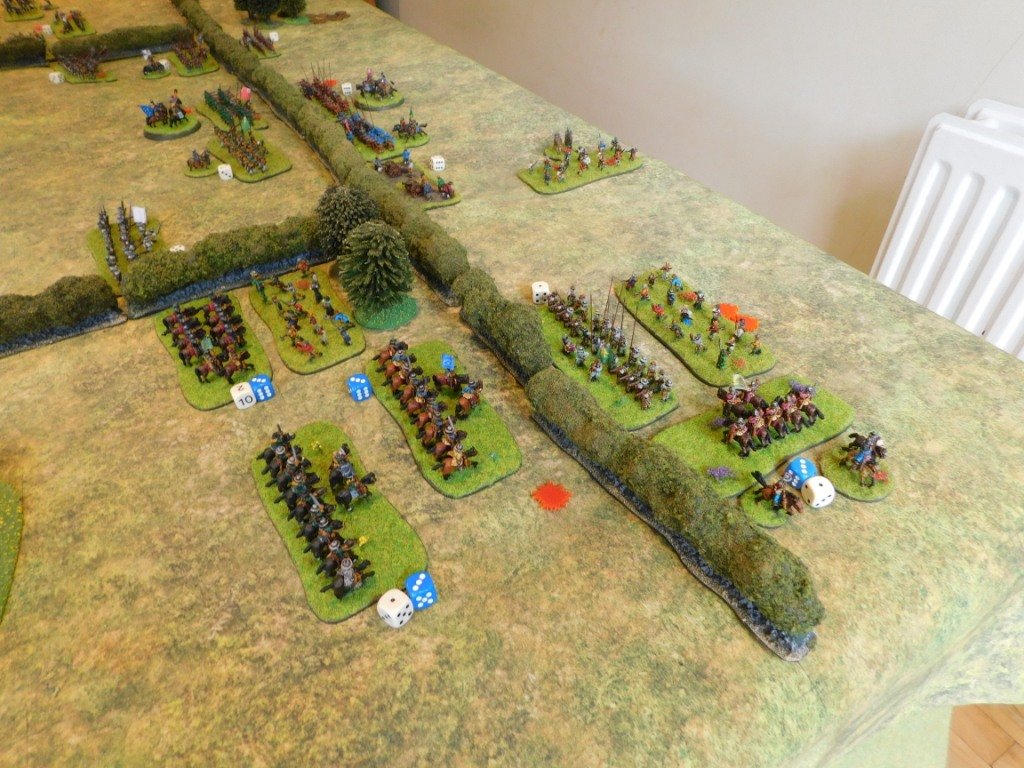
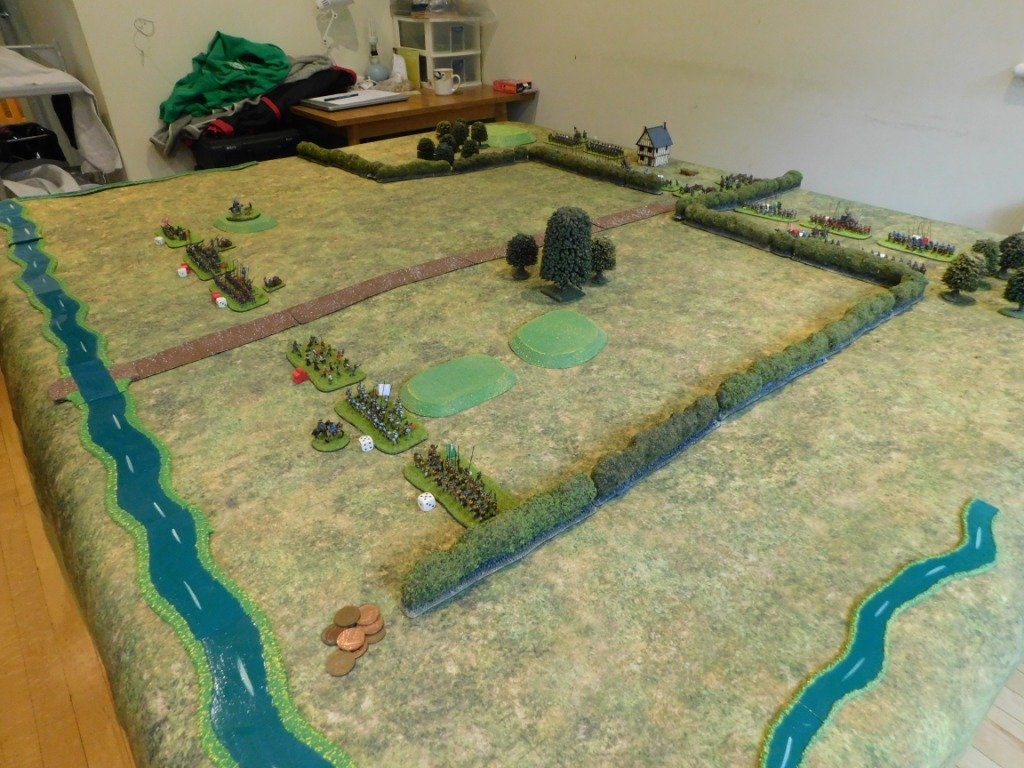
We set up a quick encounter game using as many of my Austrian and Prussian figures as possible, and set to…
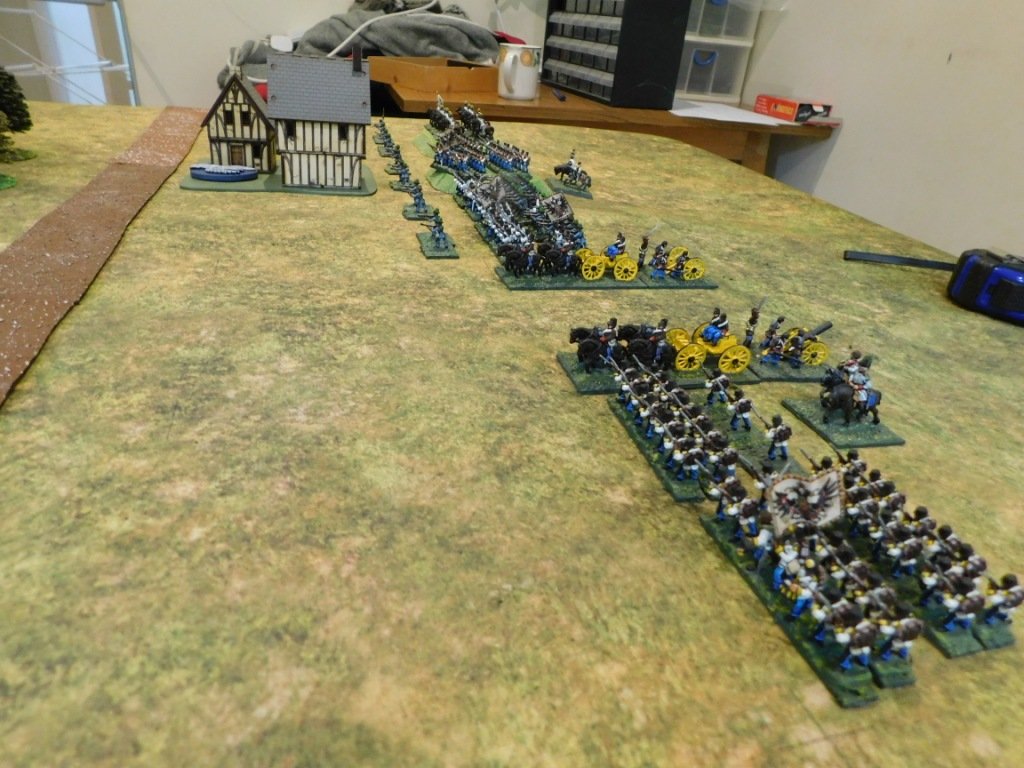
The Battle

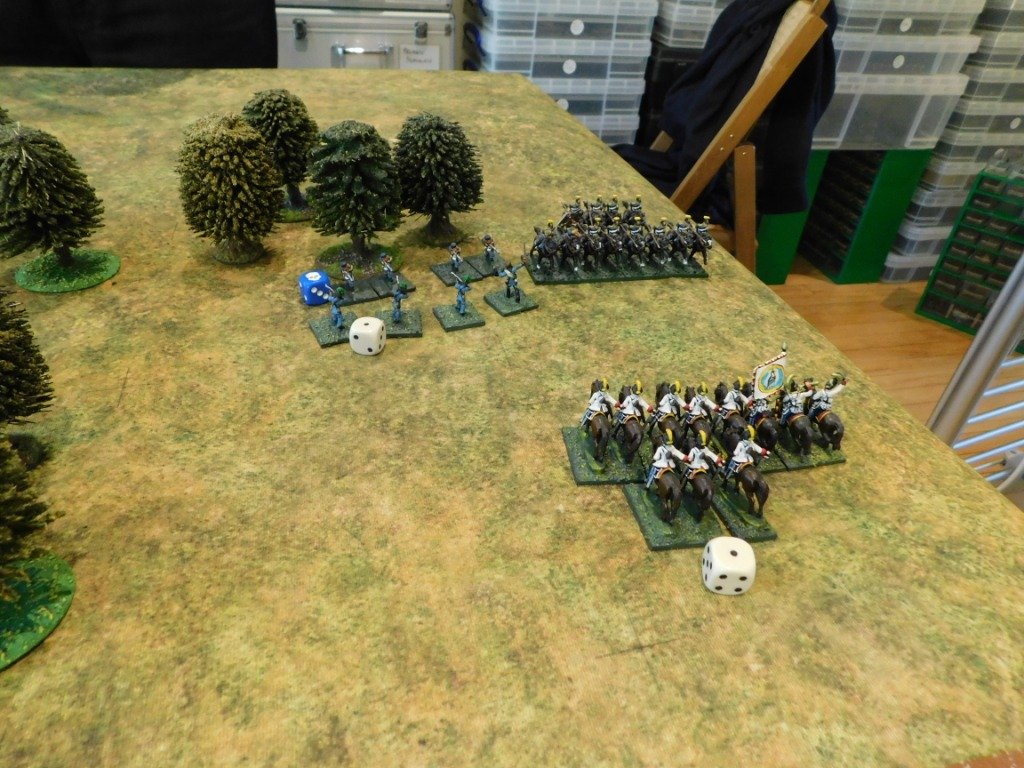
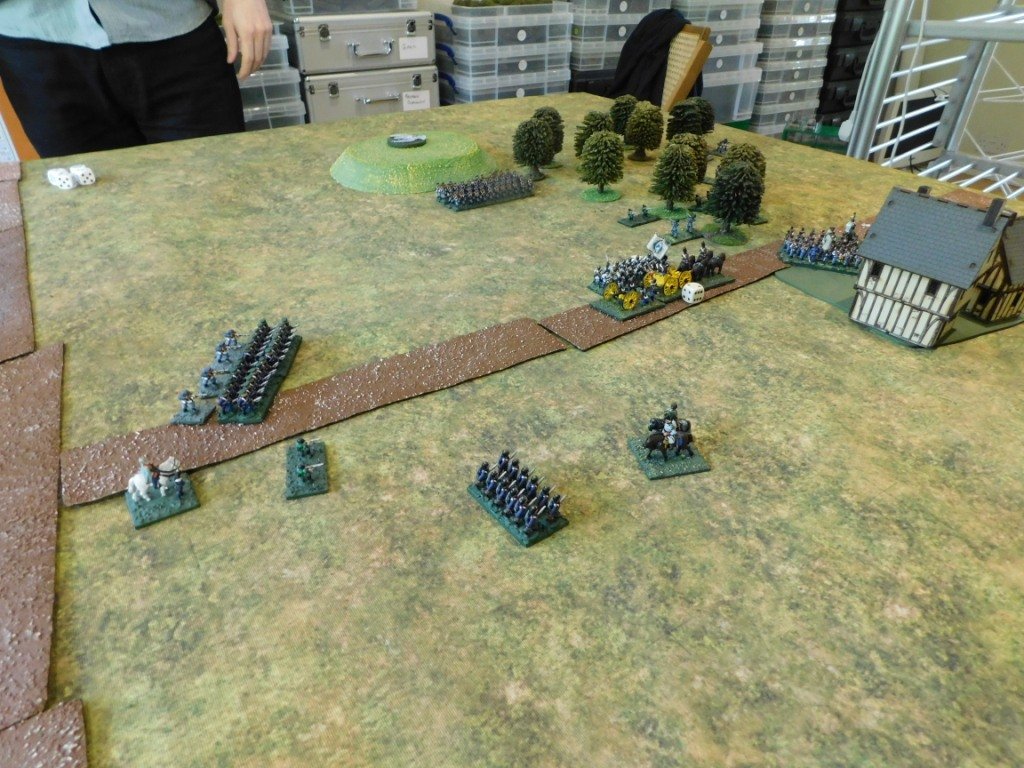
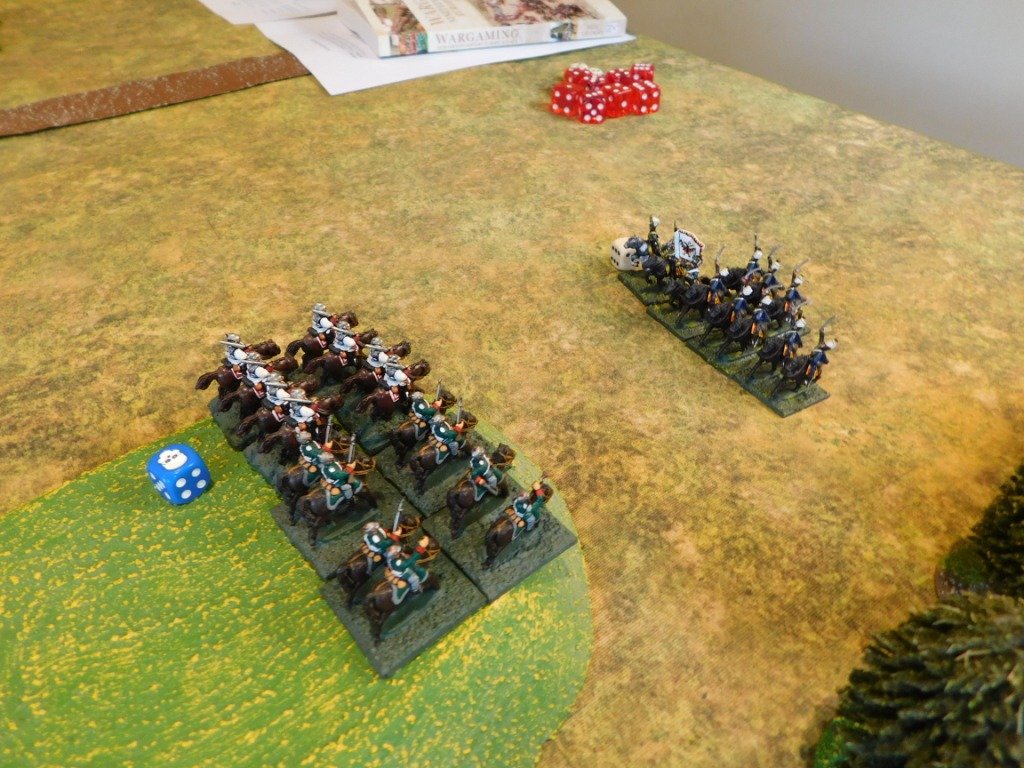
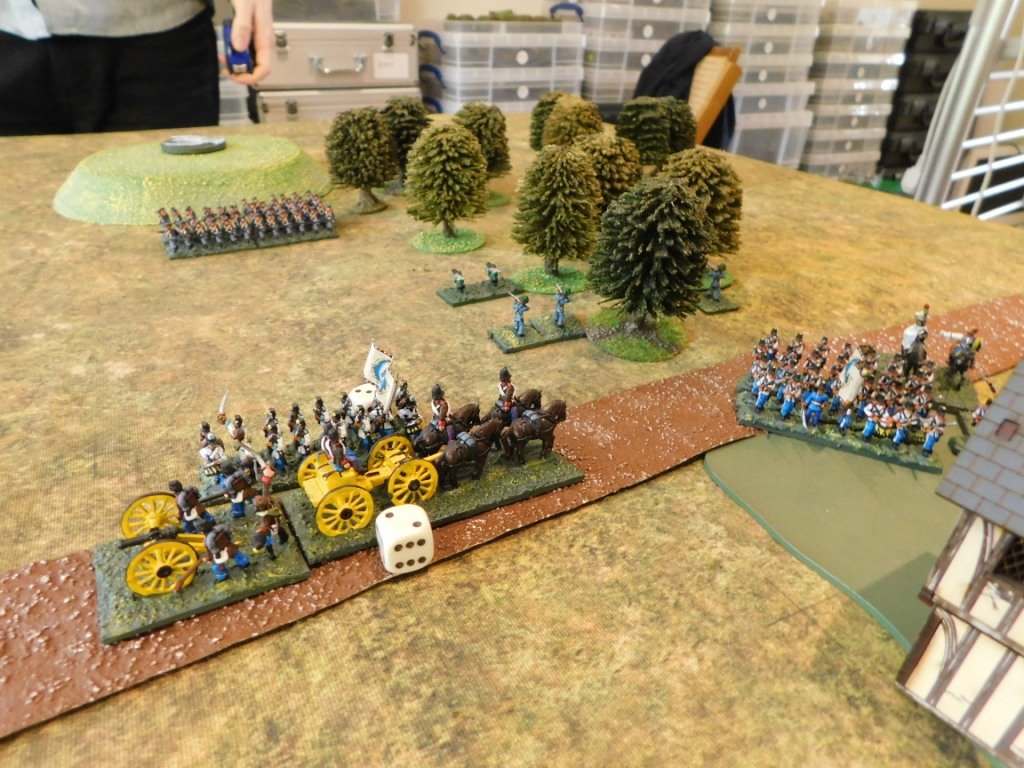
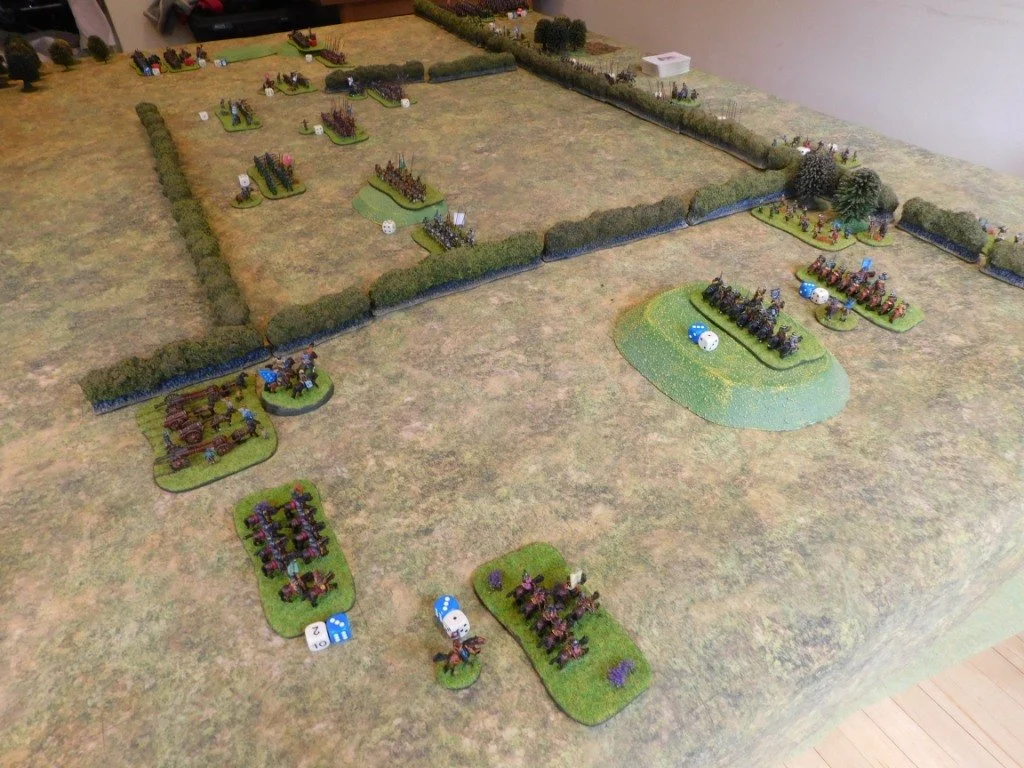
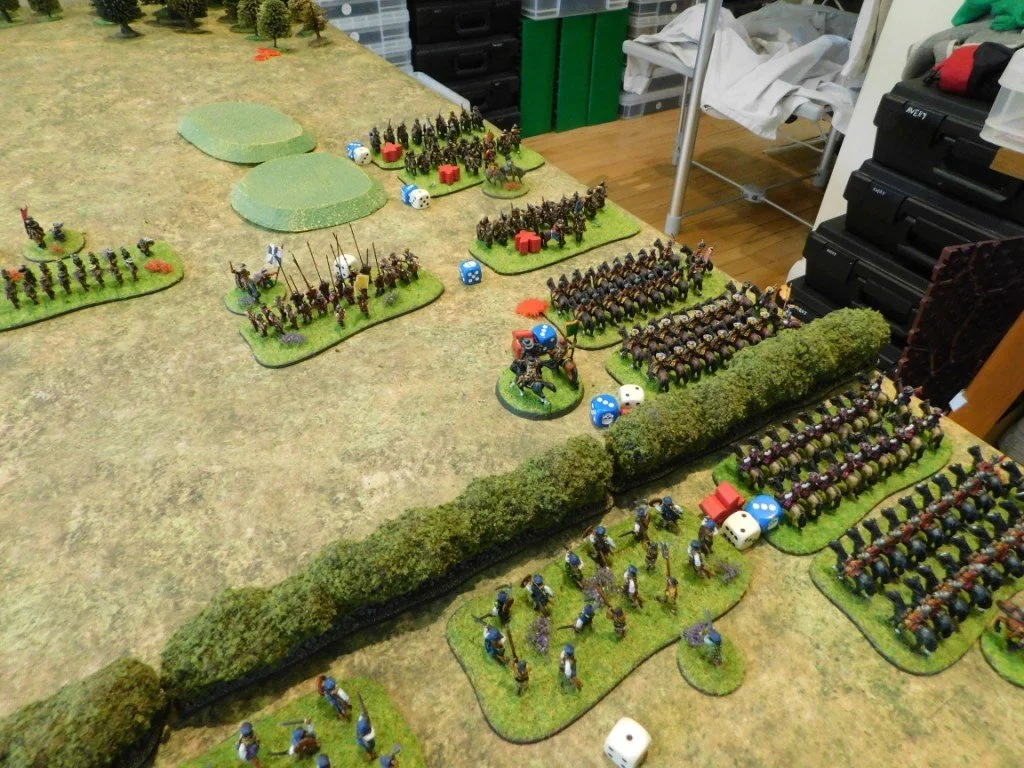
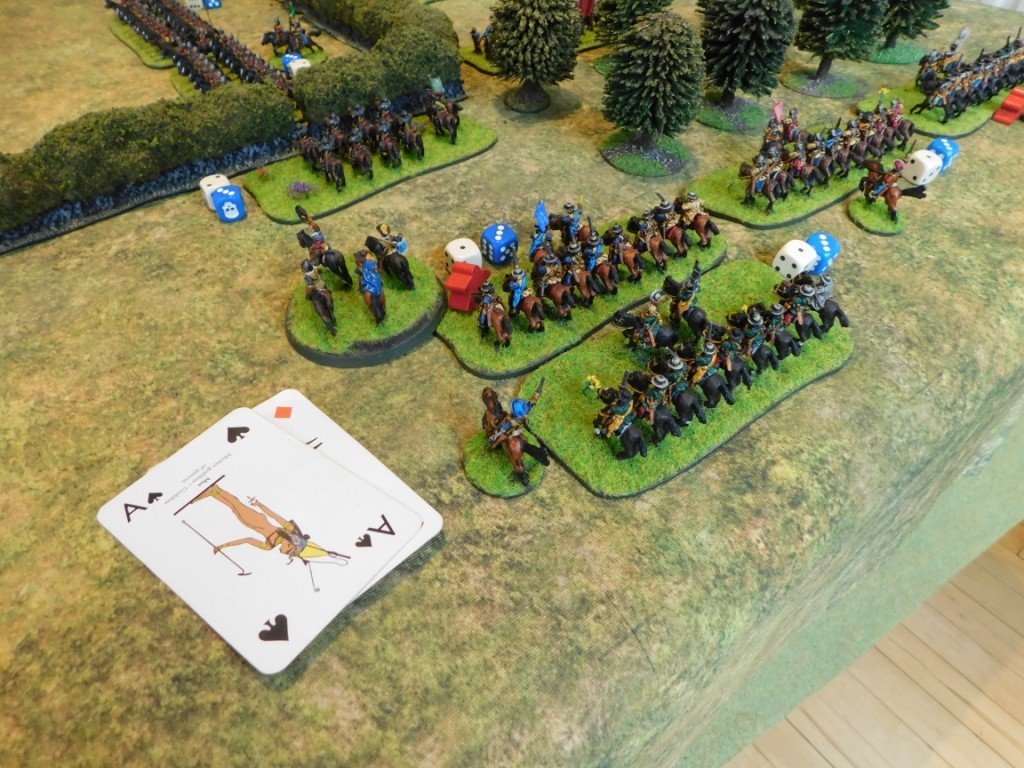
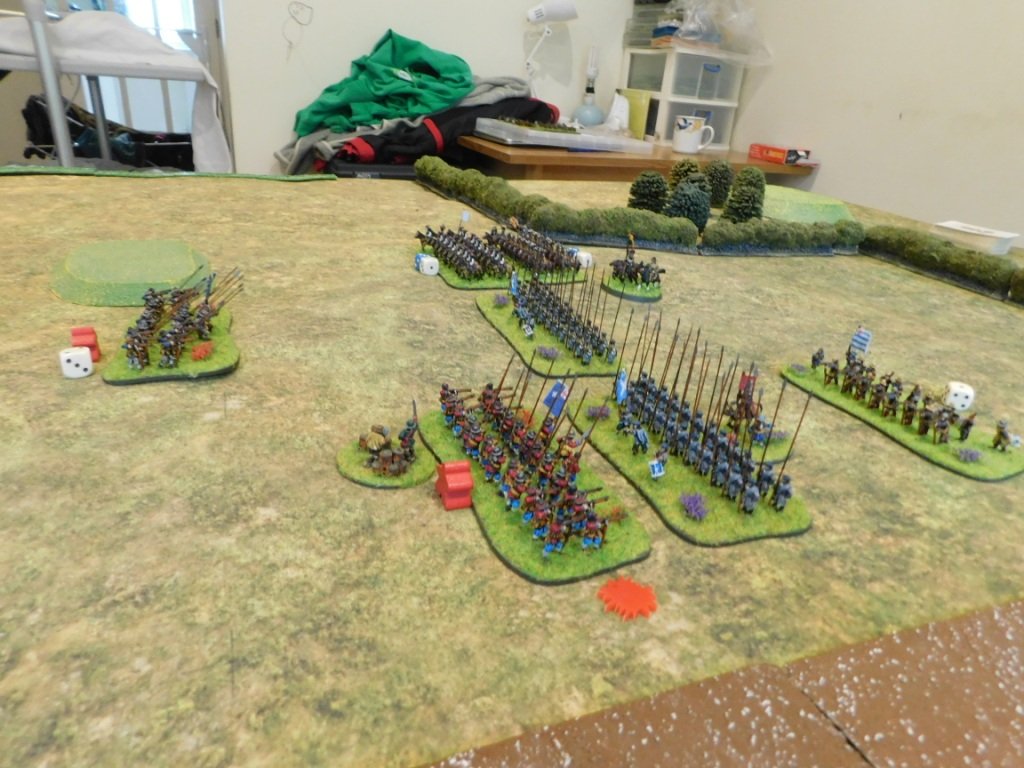
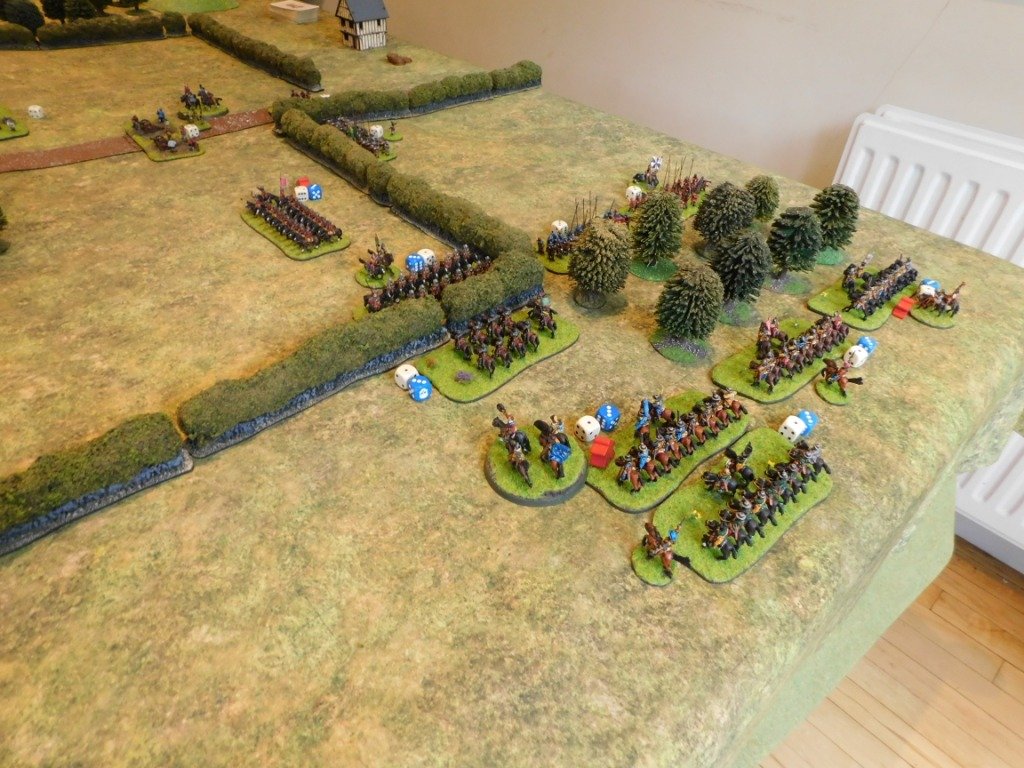
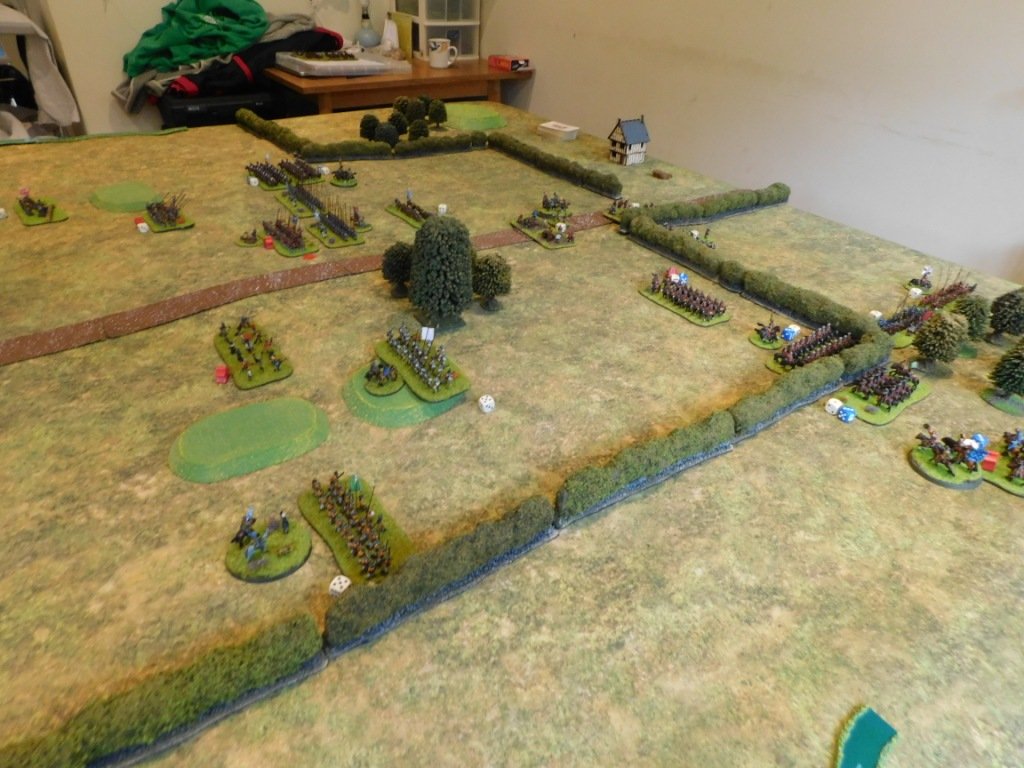
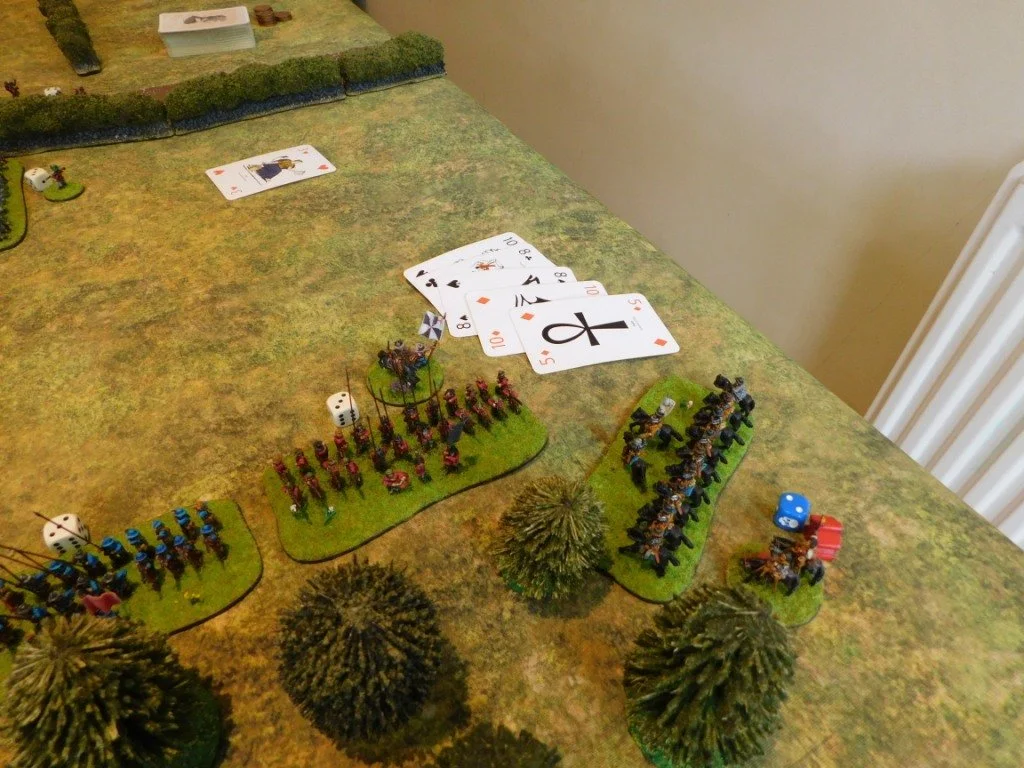
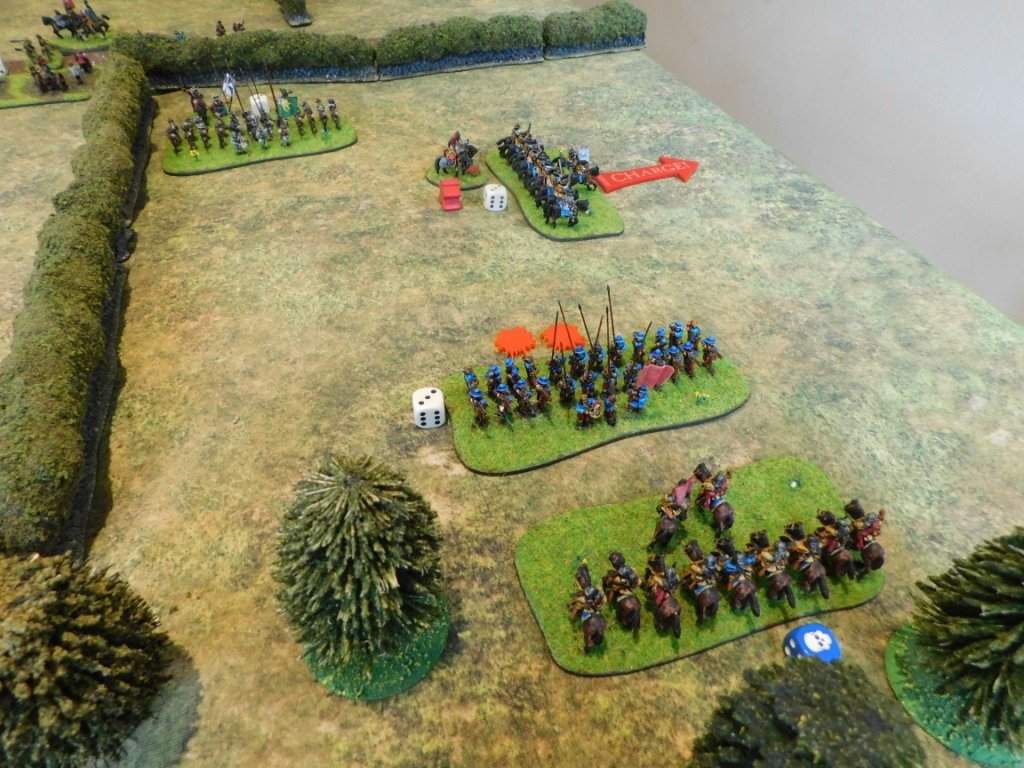
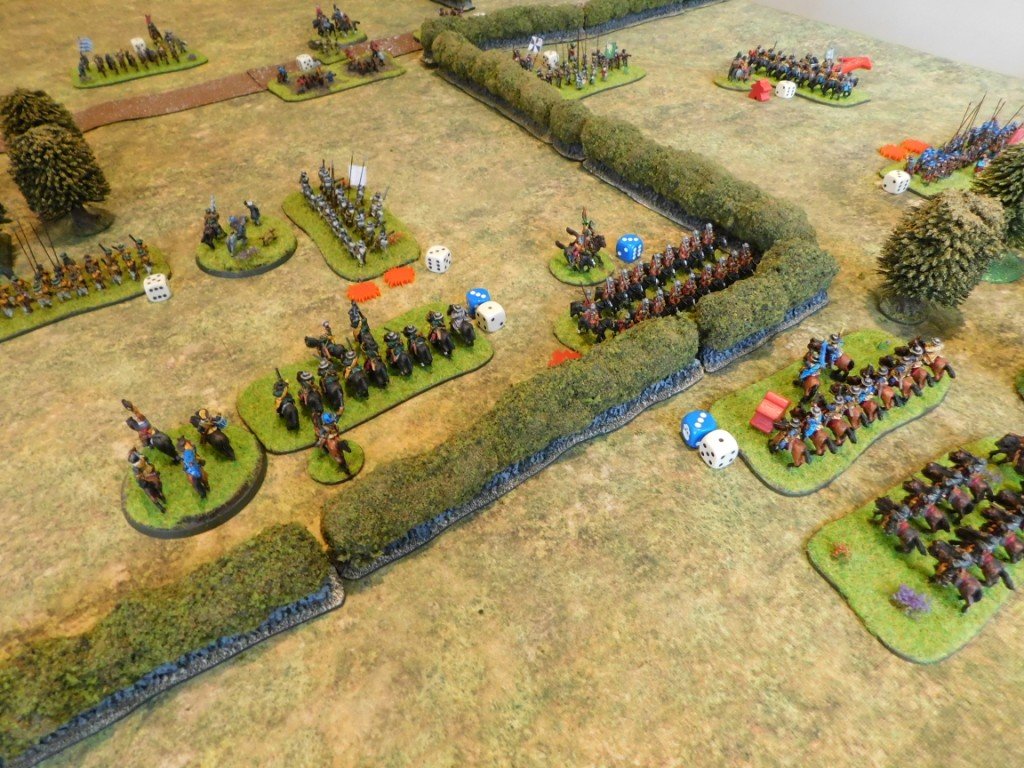
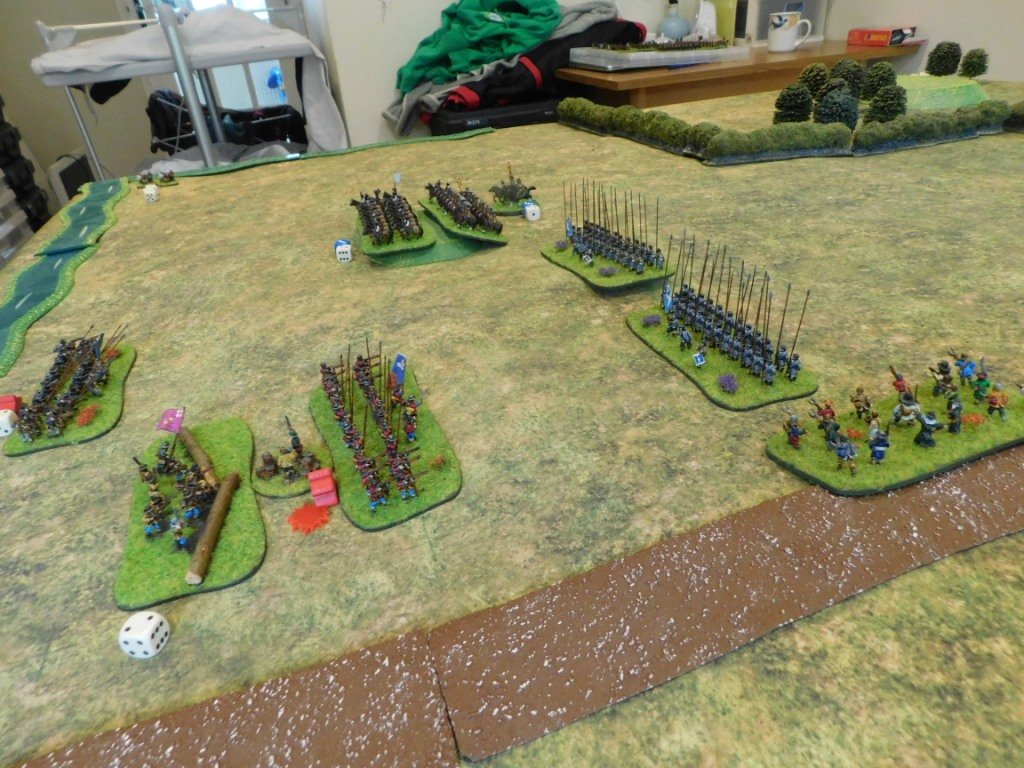
As I said, above, we used my existing figures based as is, and made loads of mistakes with the rules - despite their simplicity!

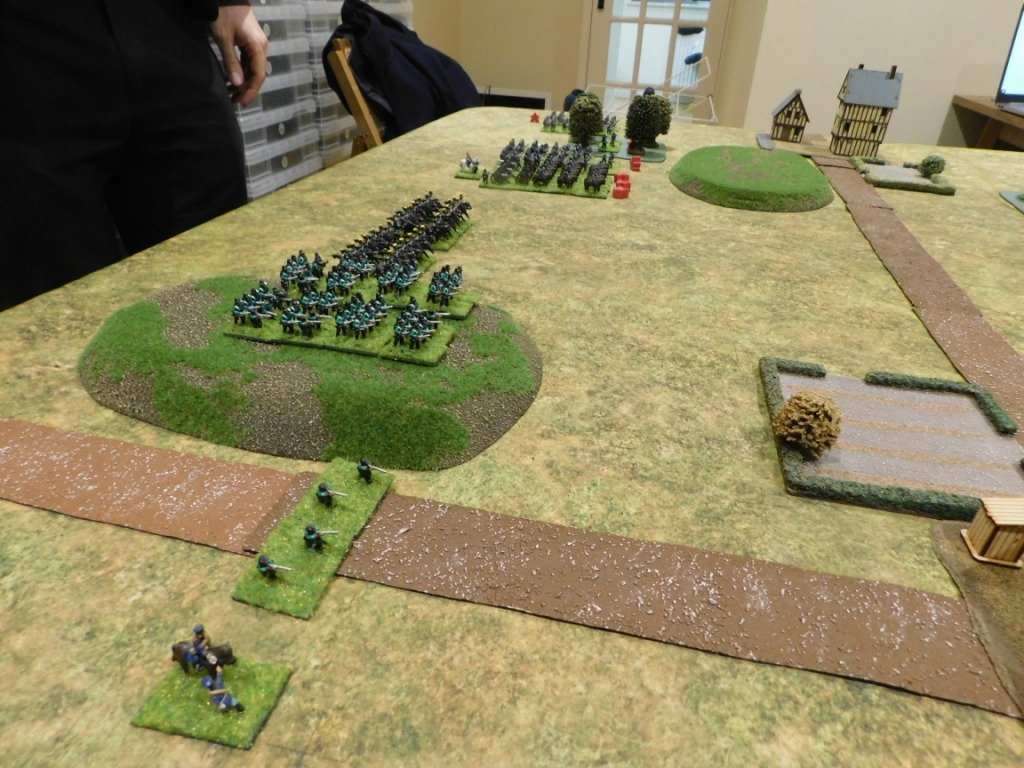
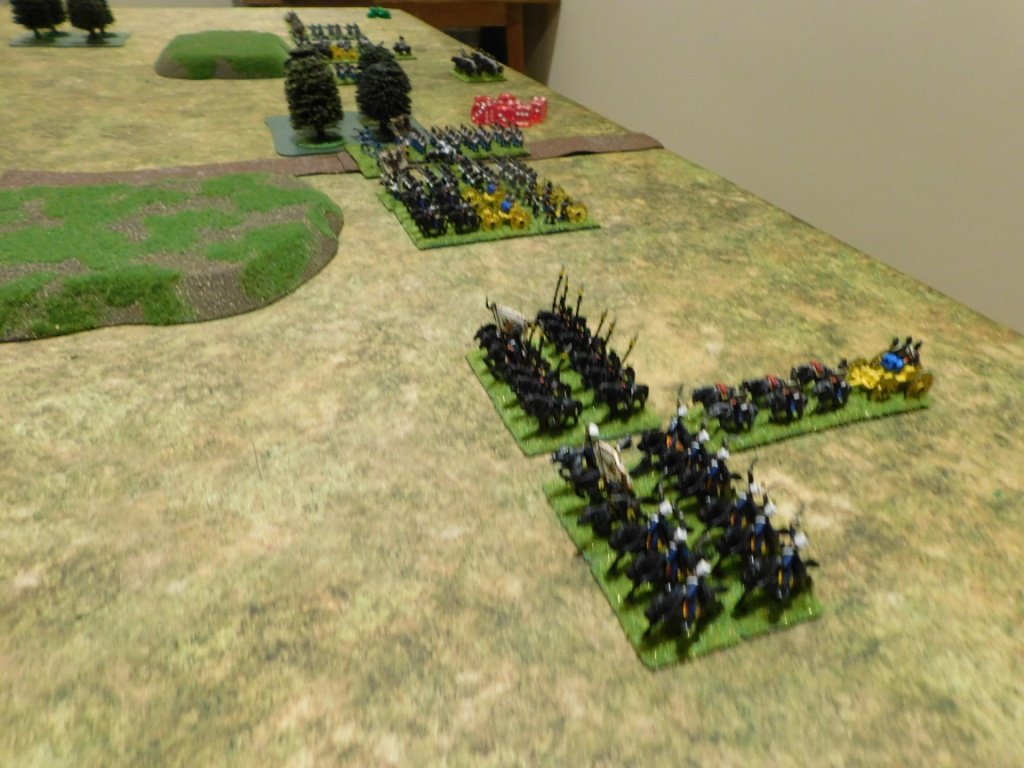
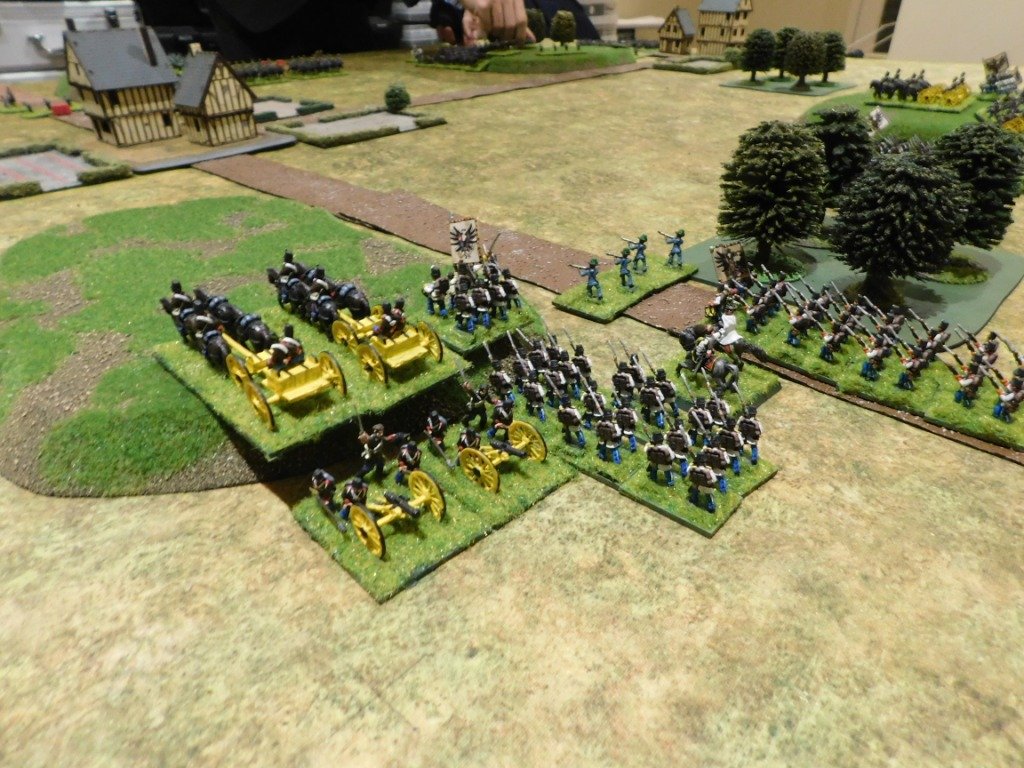
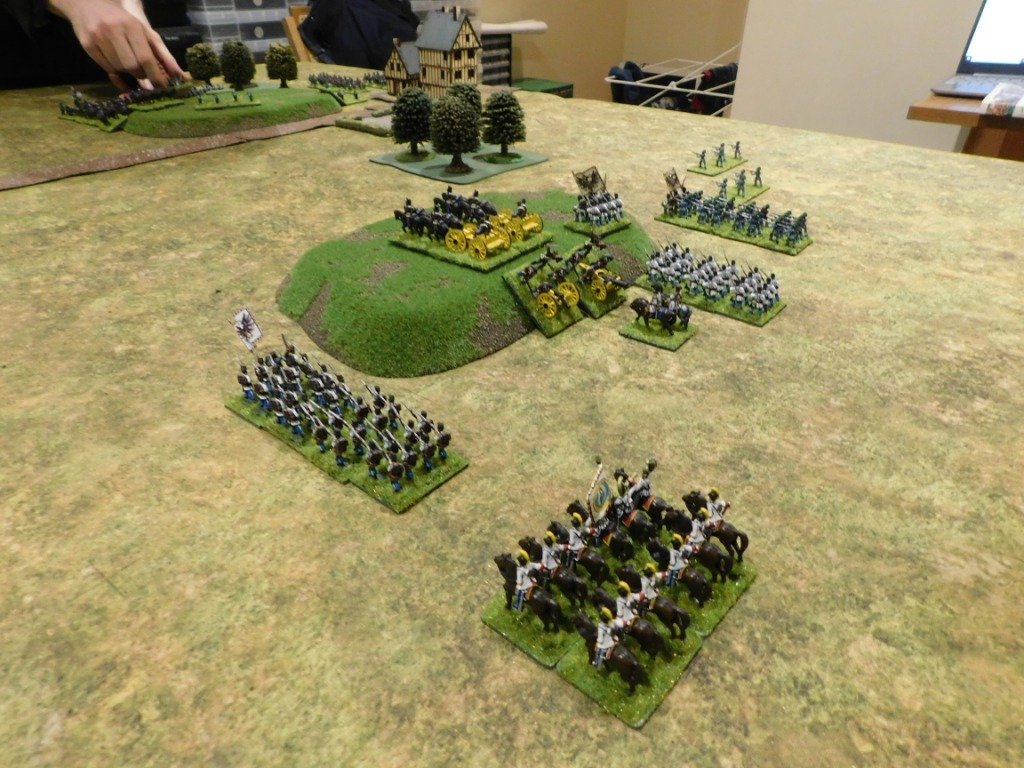
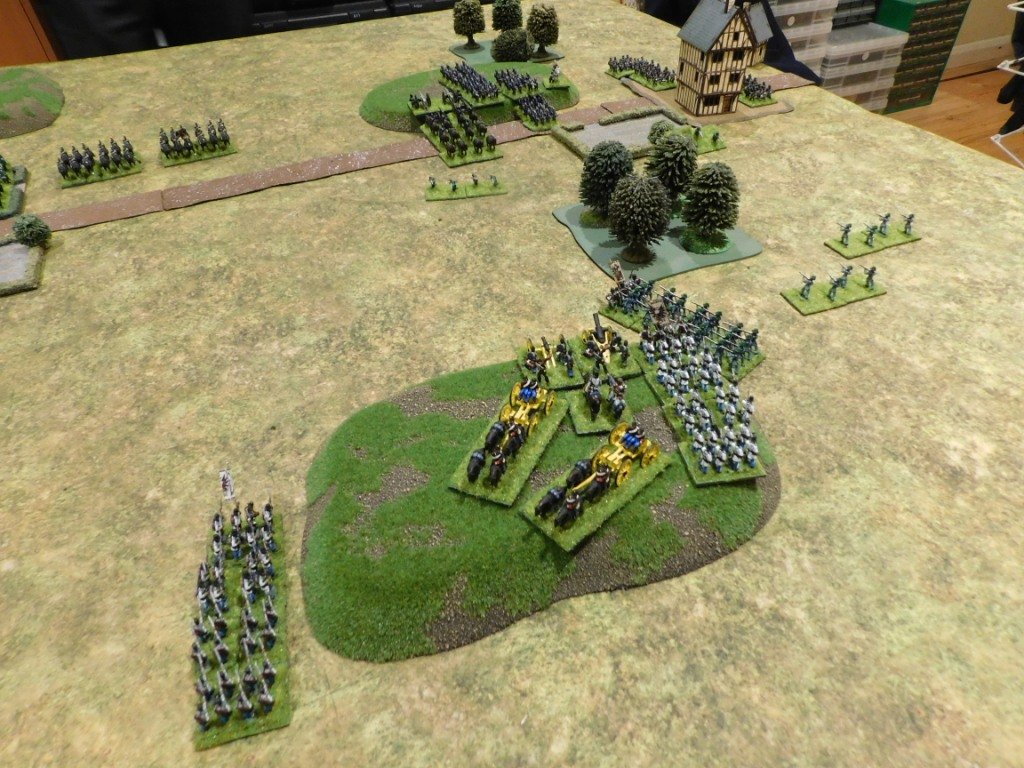
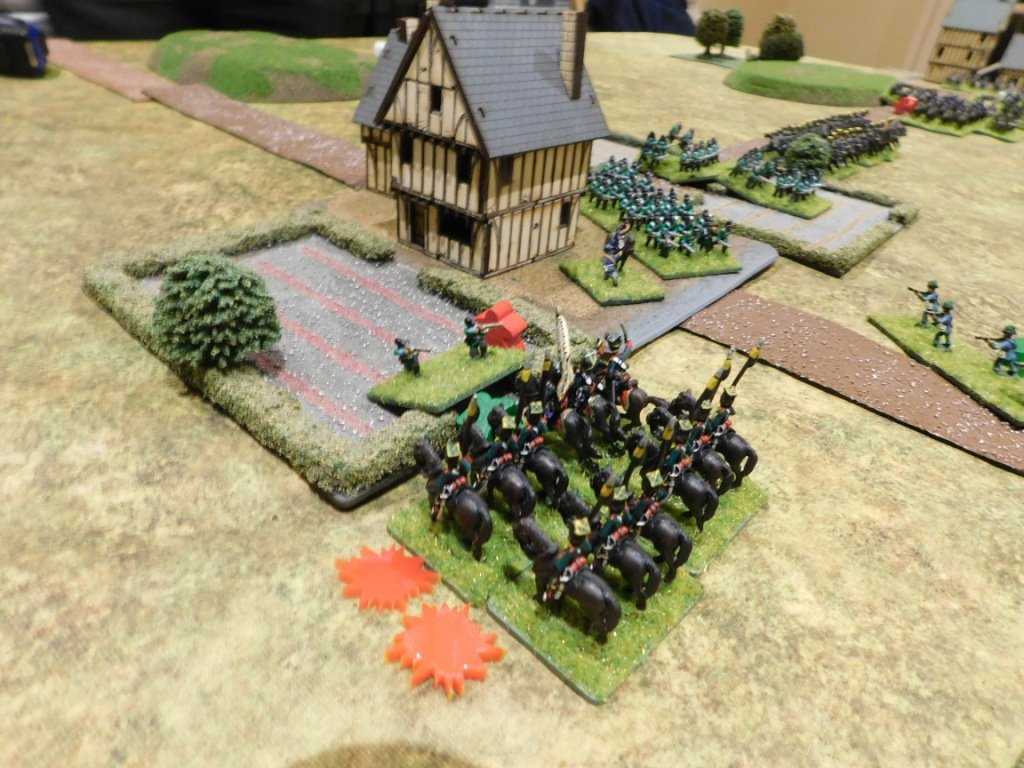
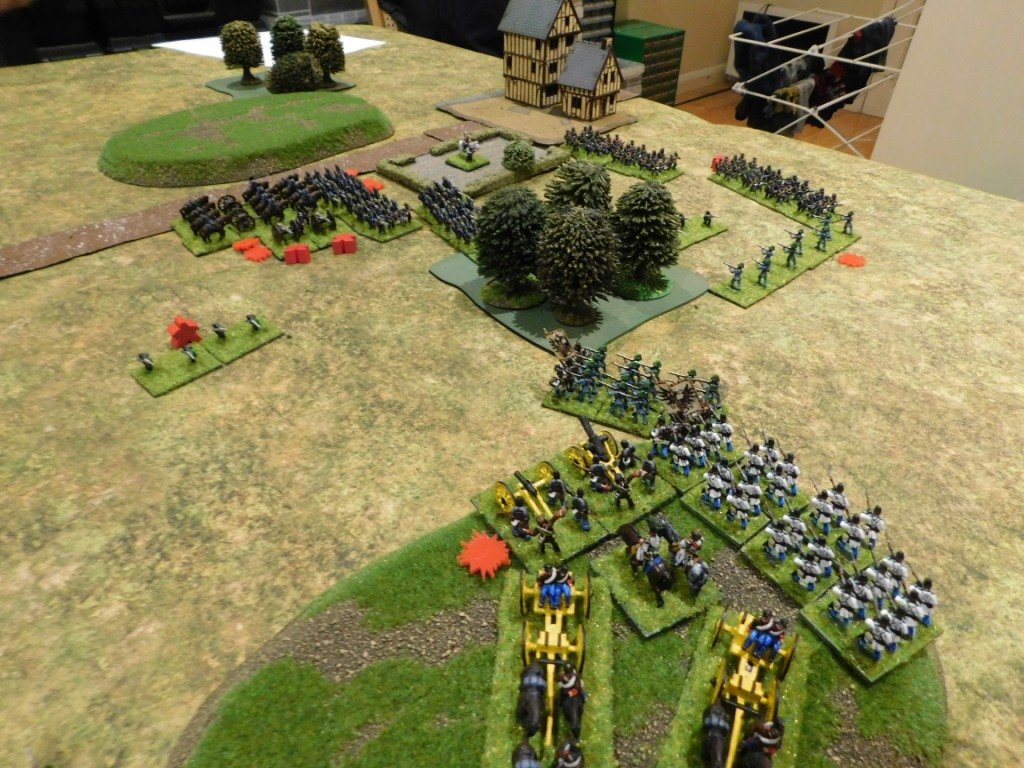
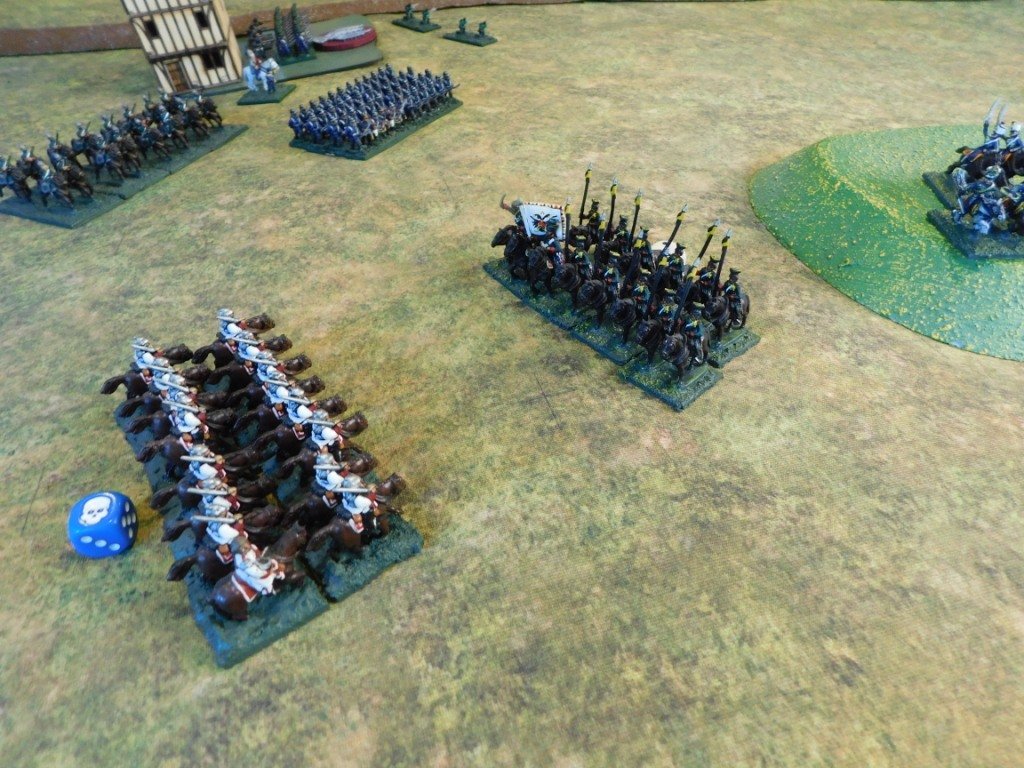
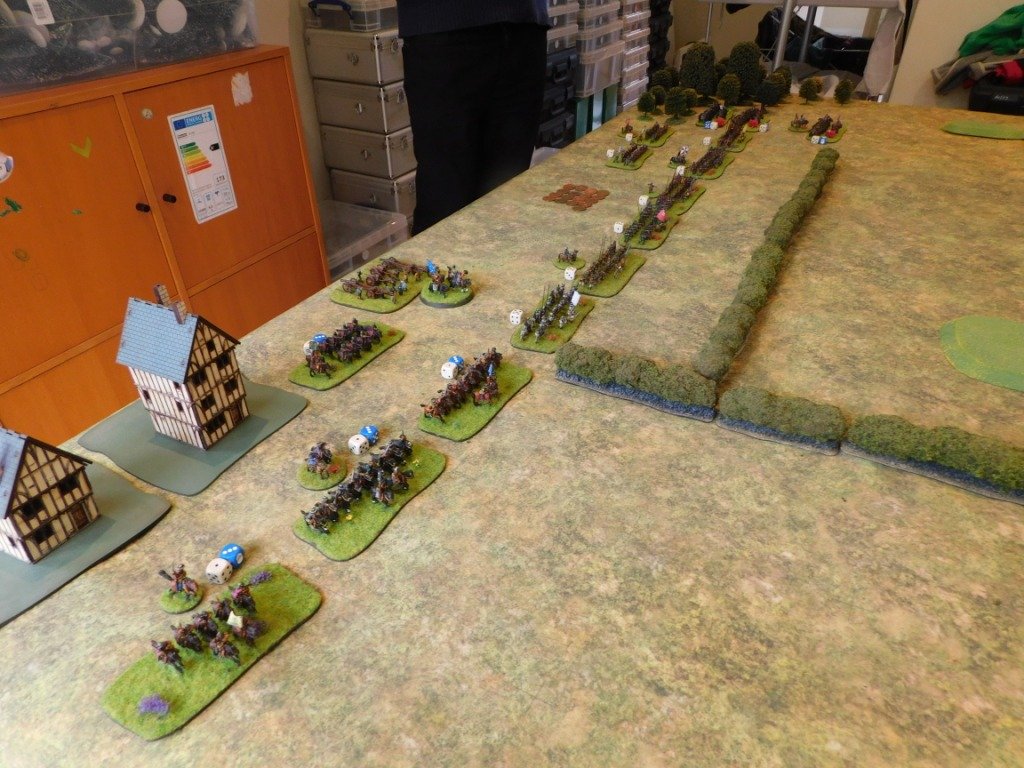
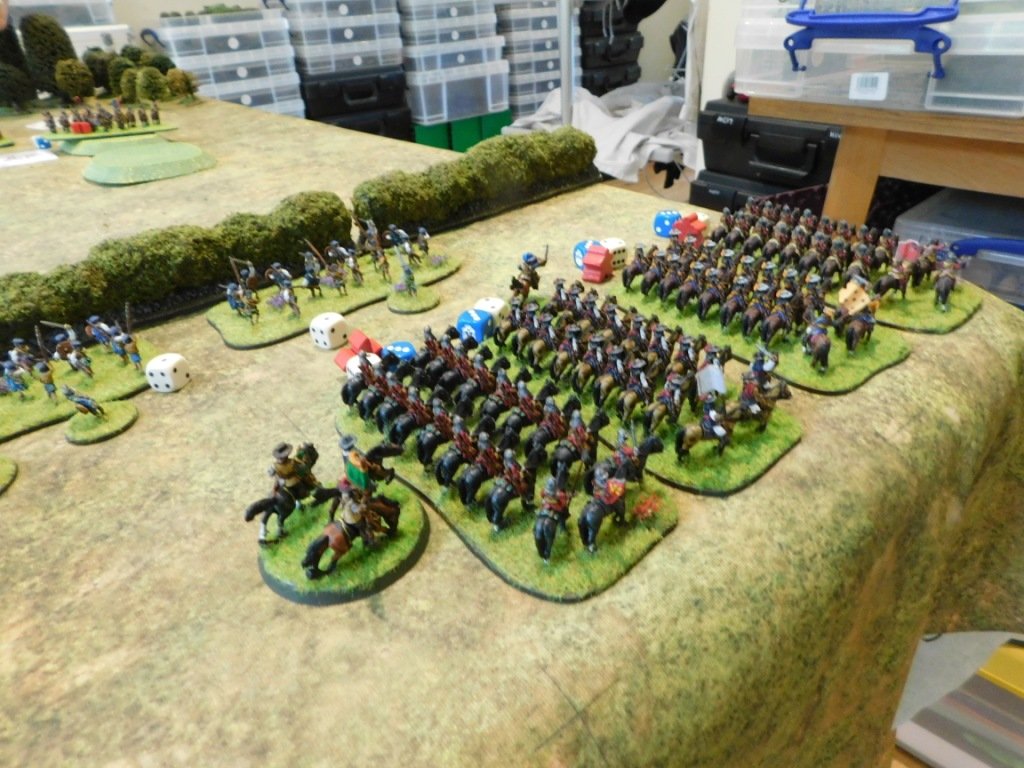
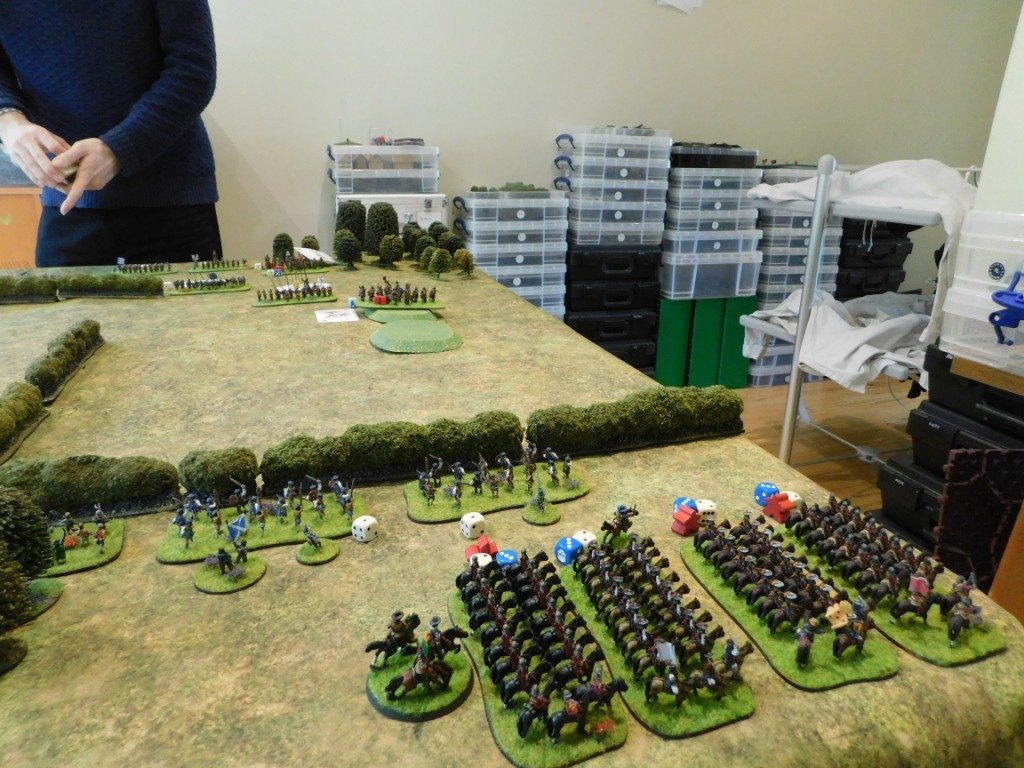
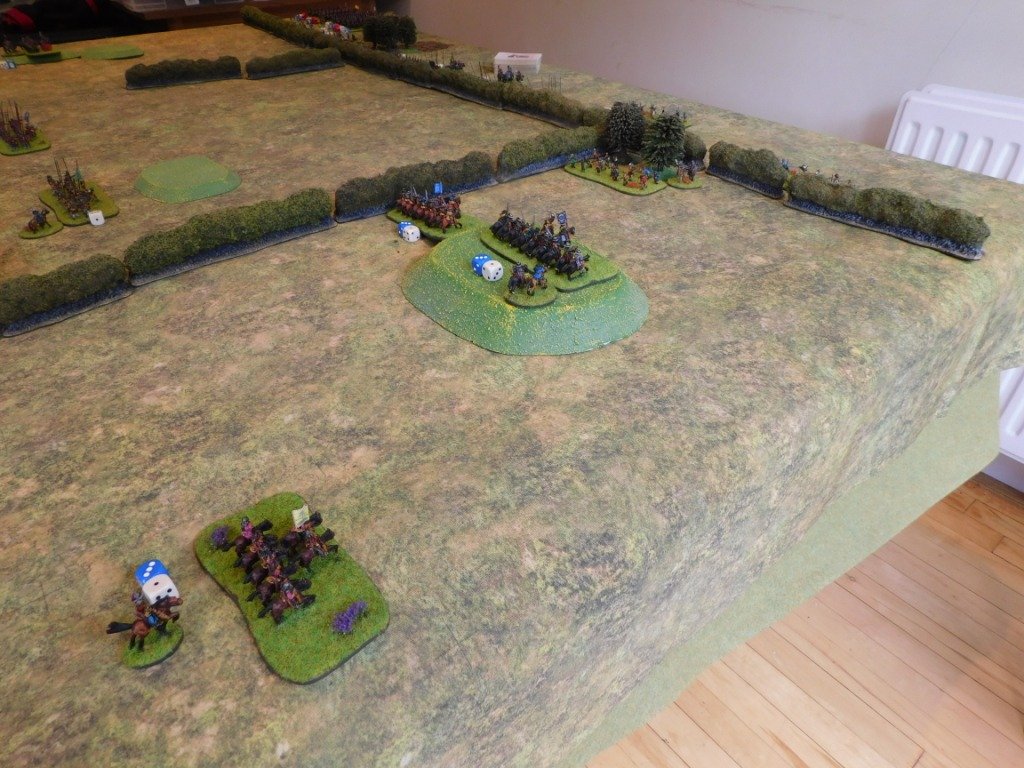
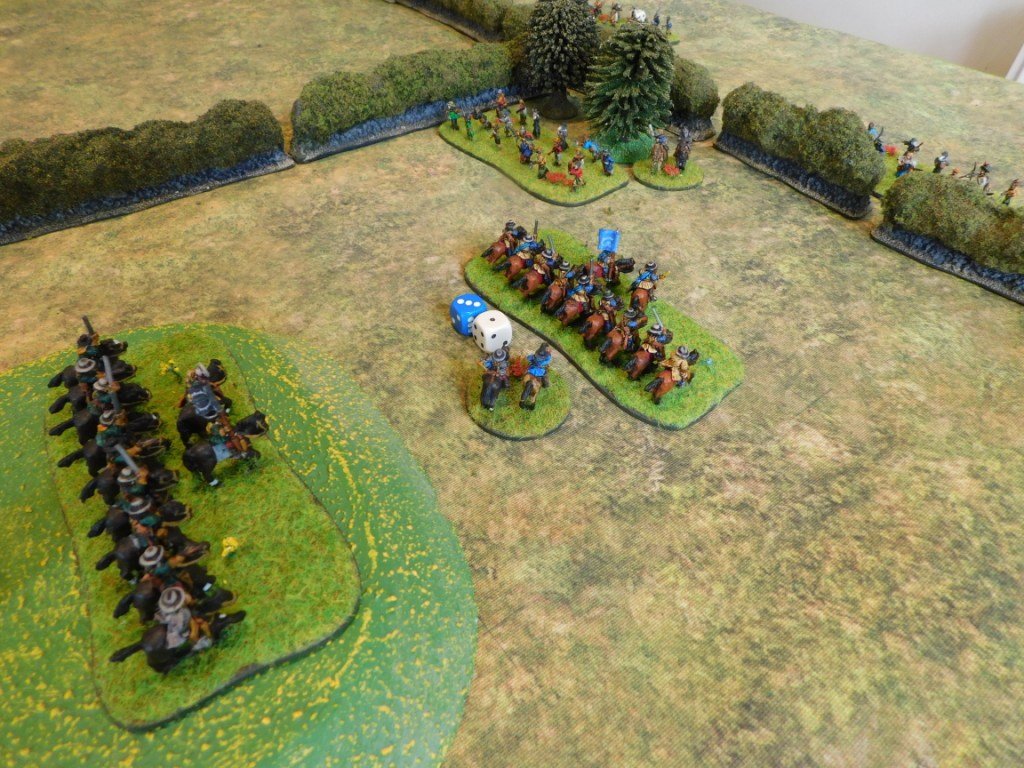
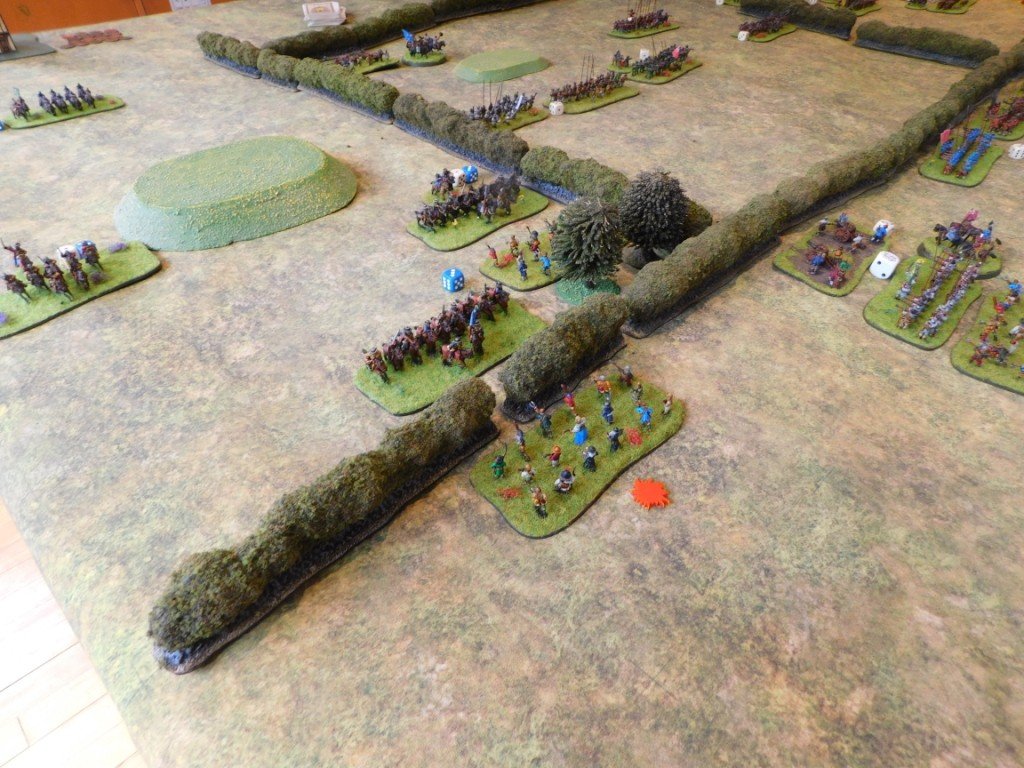
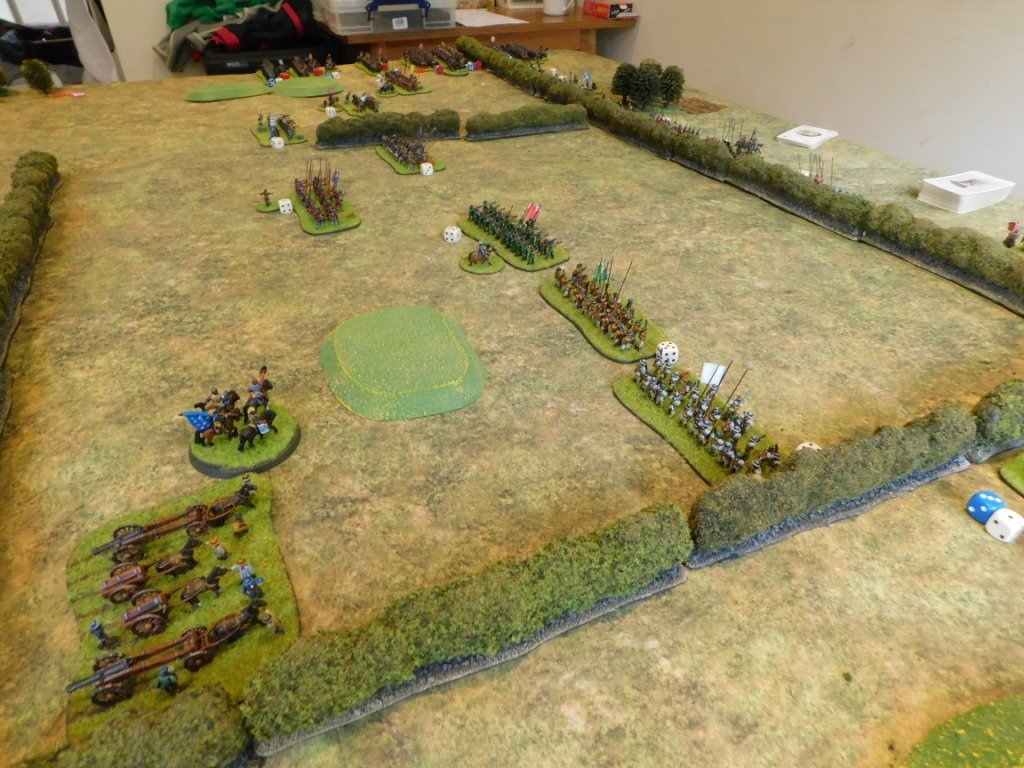
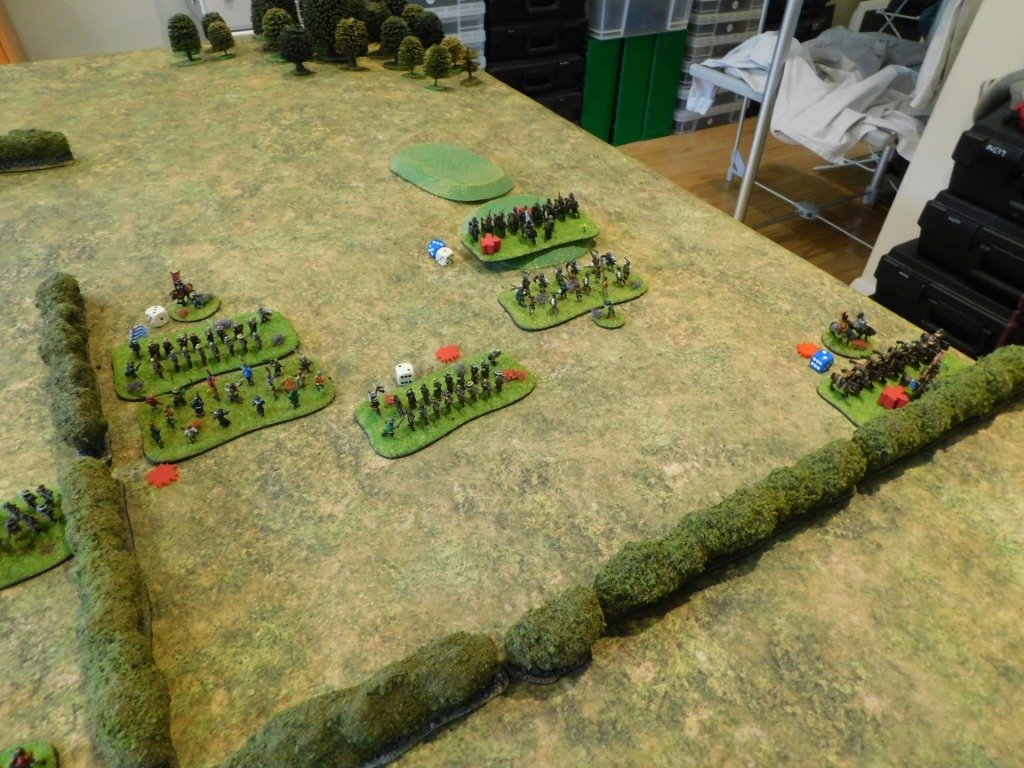
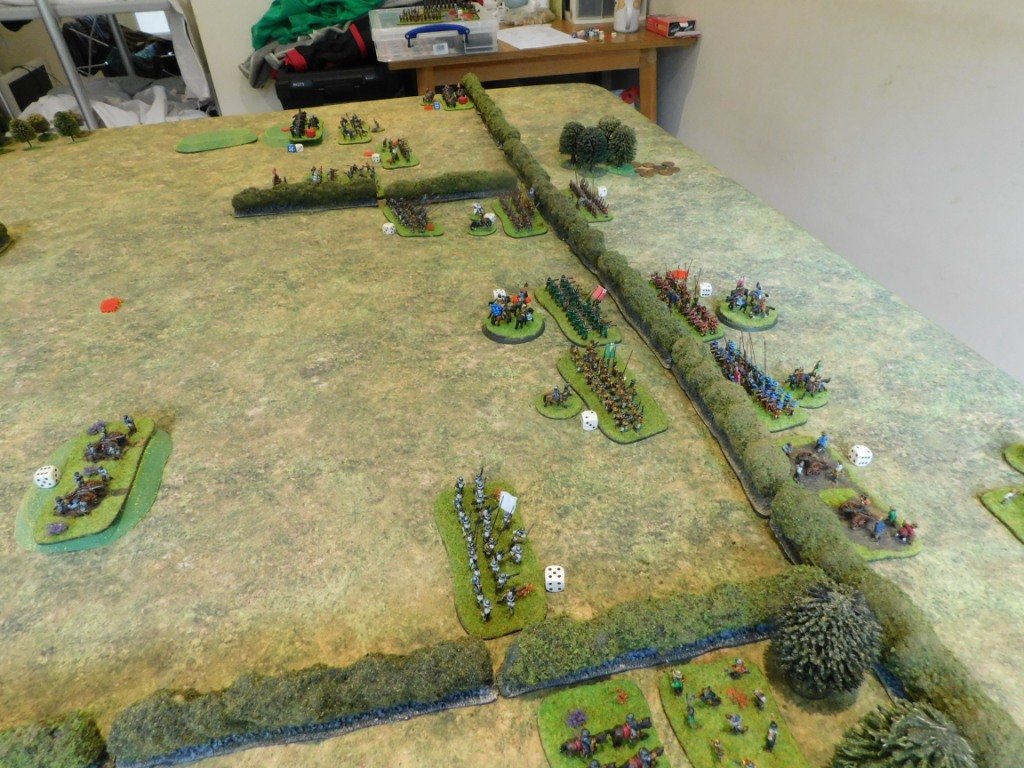
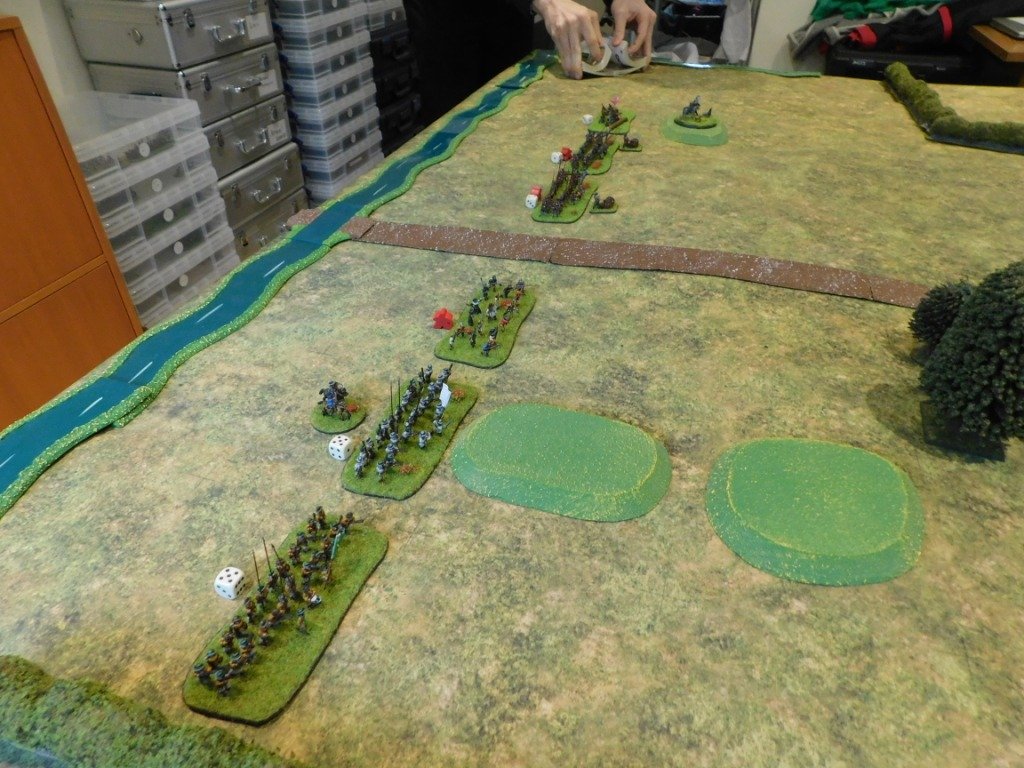
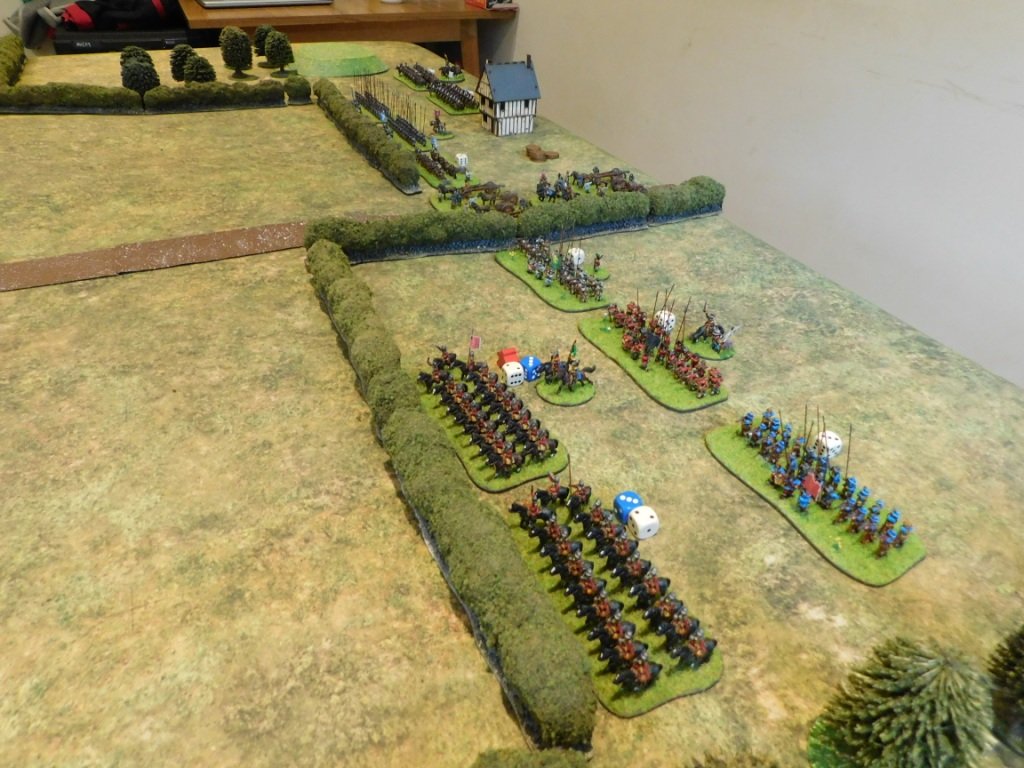
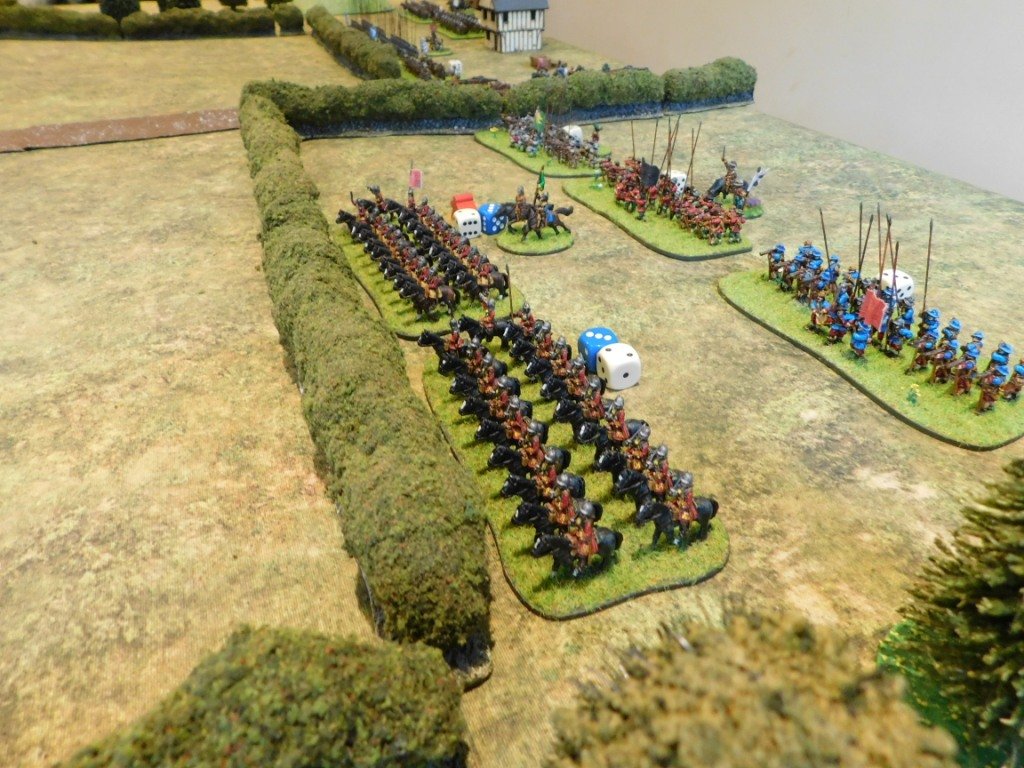
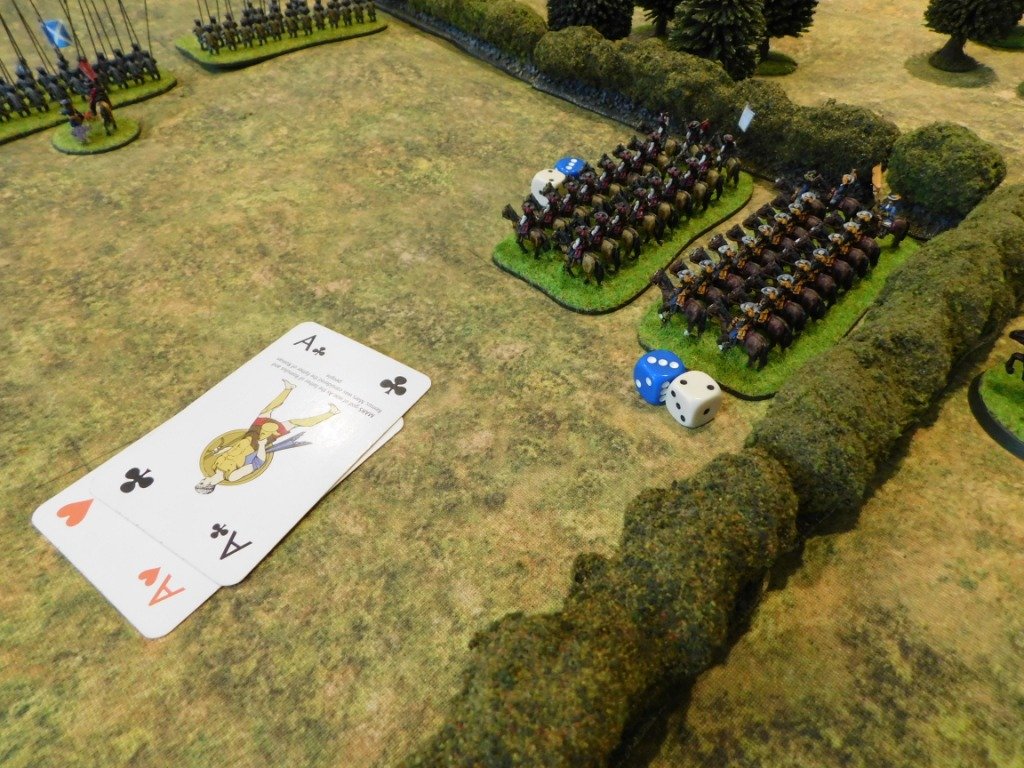
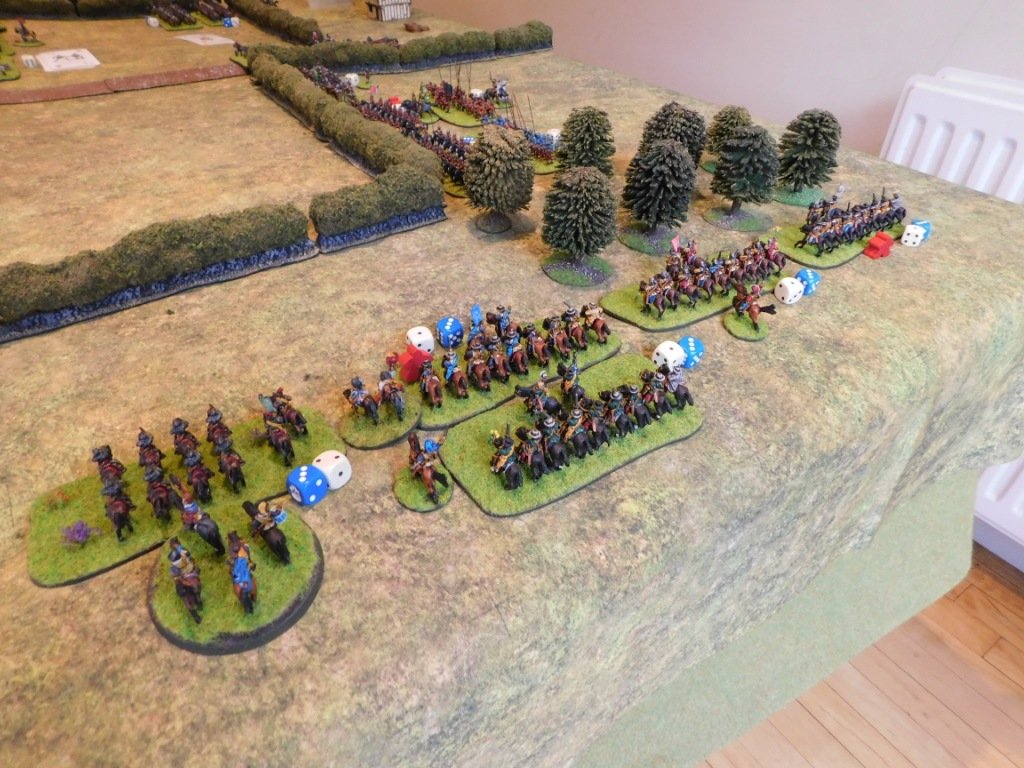
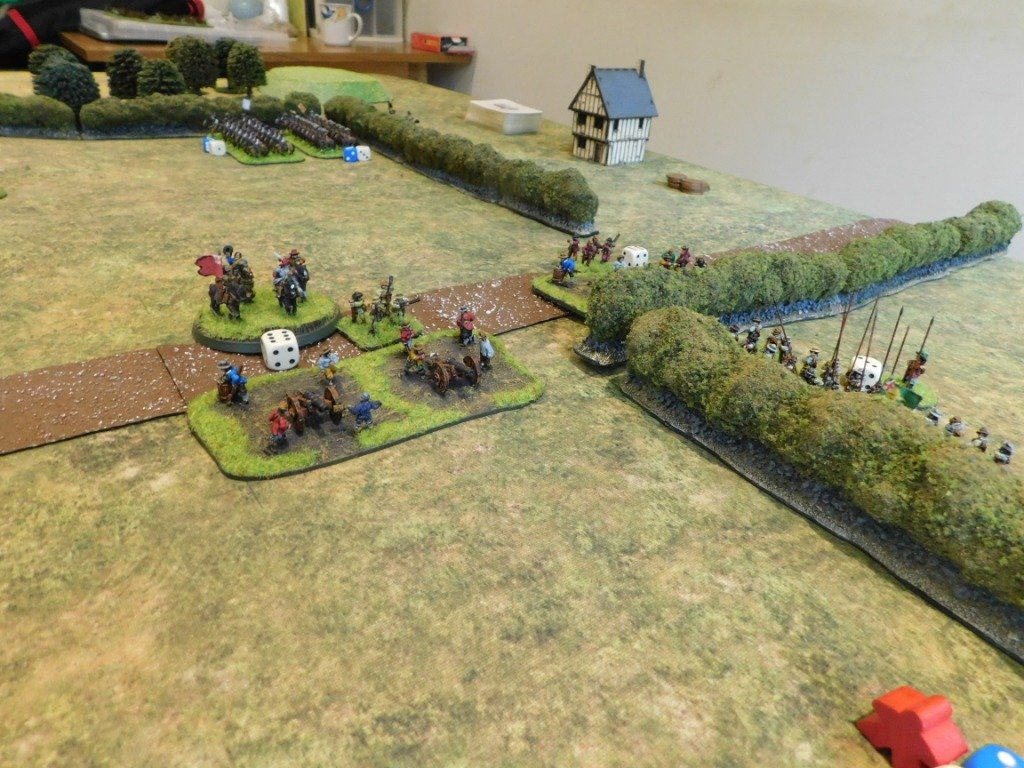
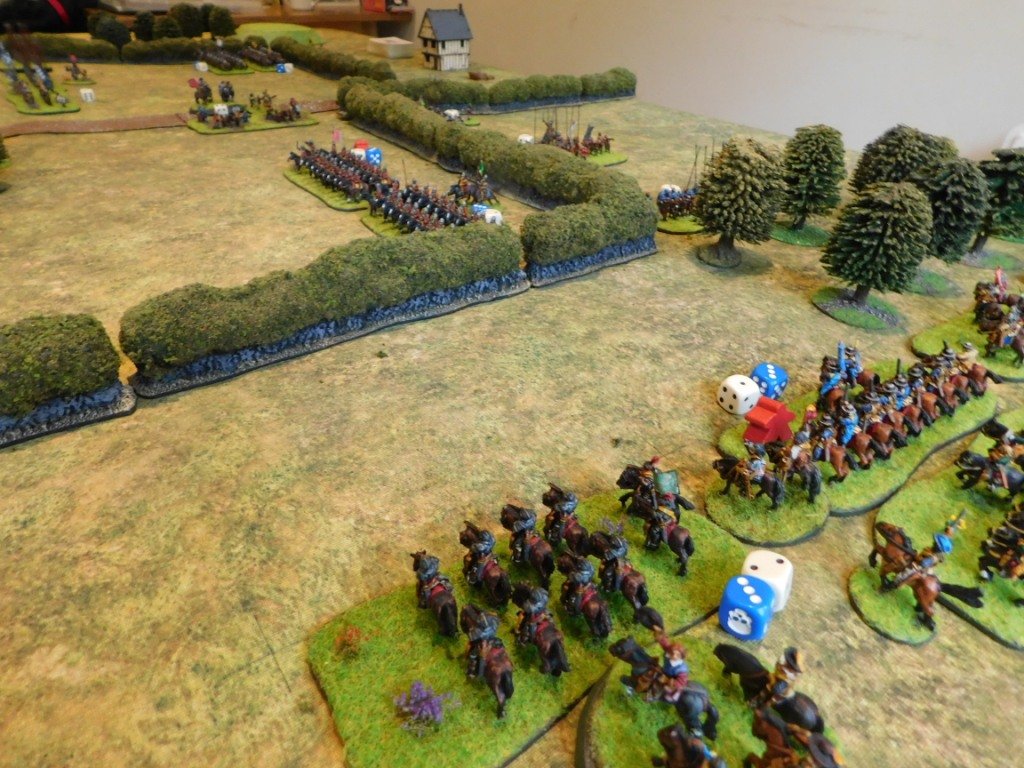
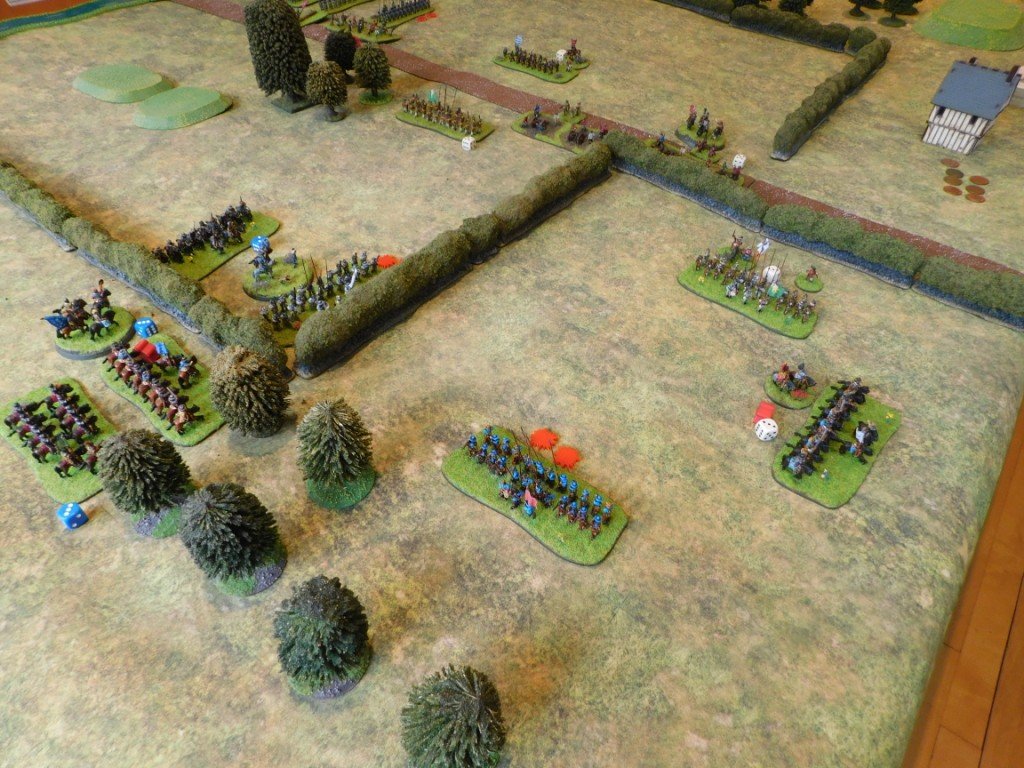
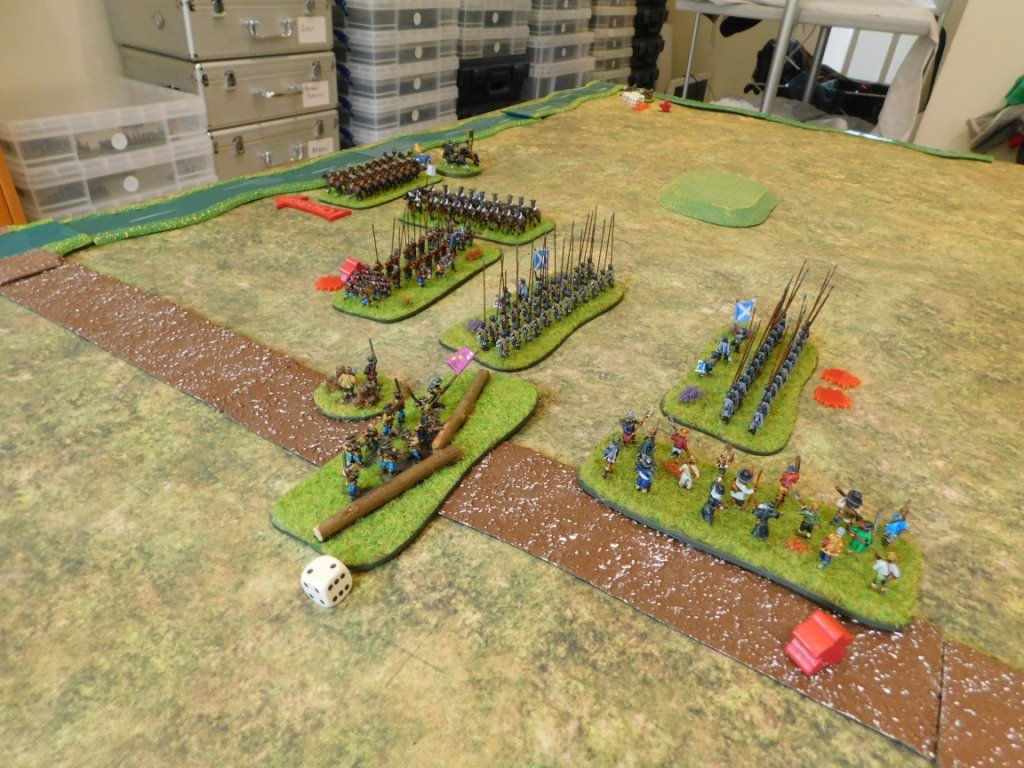
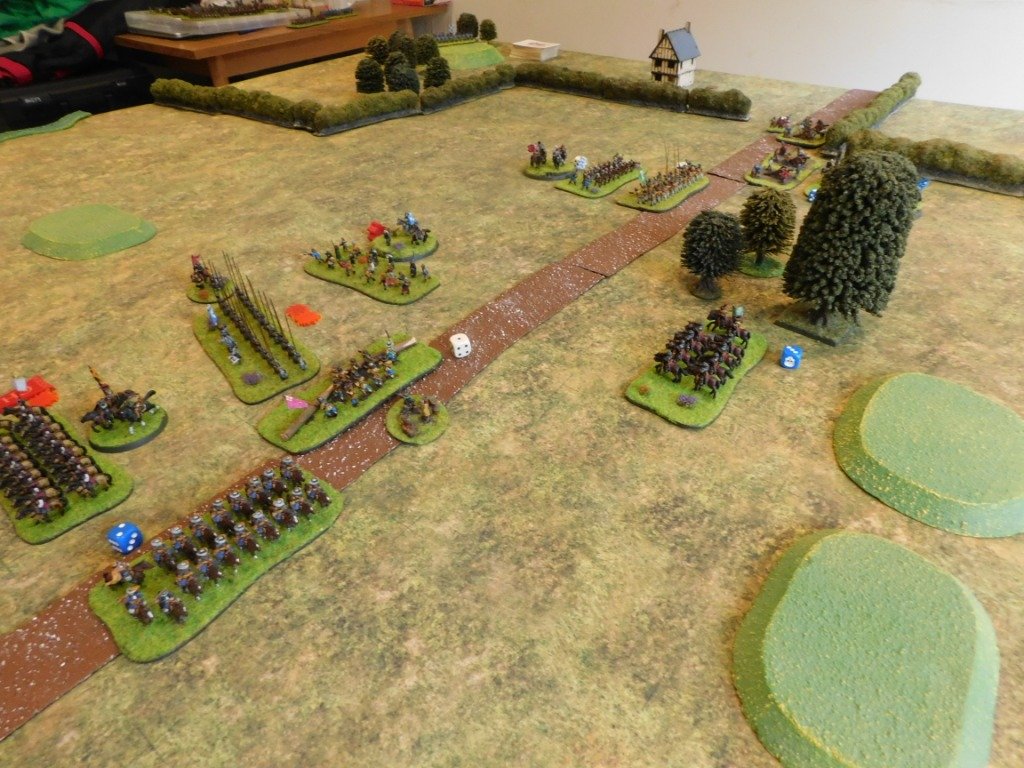
I won’t therefore do a full AAR, just a gallery of the action. Suffice to say that my brave but outnumbered Austrians were soundly beaten: the breachloaders used by the dastardly Prussians proving highly superior to my Lorenz rifles!

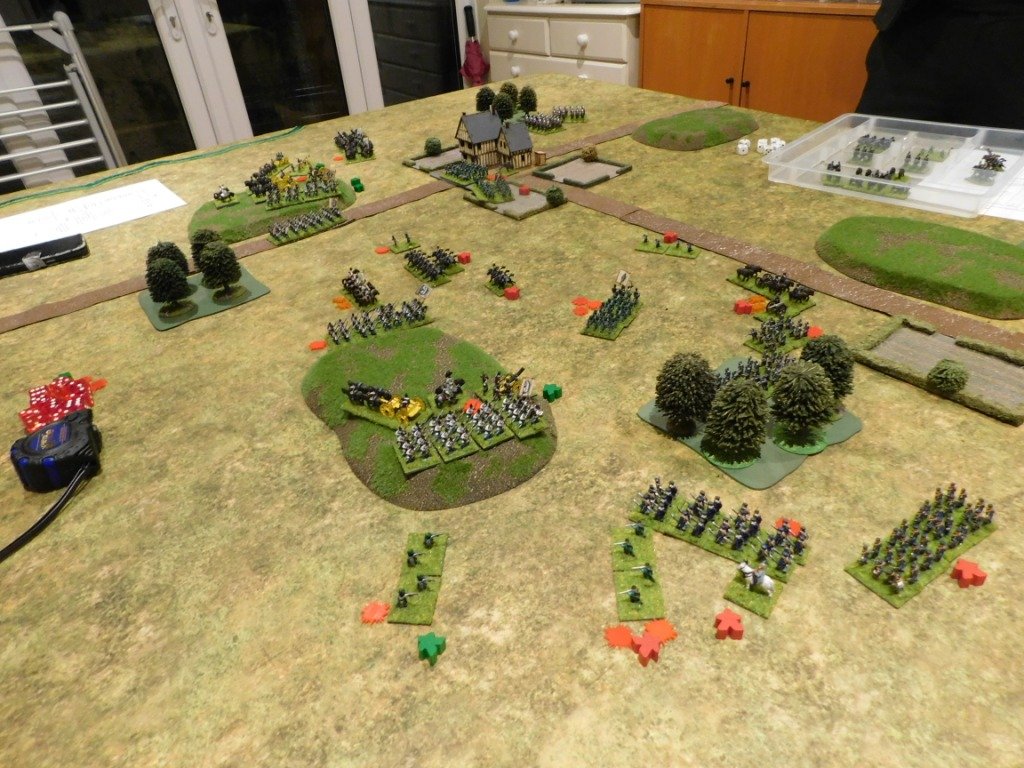
It was a most enjoyable game, however, with the rules proving simple yet infinitely subtle. It certainly had the feel of a 19th Century battle: very pleasing as many rulesets for the period, in my experience, are a Napoleonic battle with a bit of advanced weaponry tacked on!

I’ve now started re-basing my troops to suit the system (and many other sets as there’s nothing too outre about what’s needed) and we’ll have more of a proper game next time.

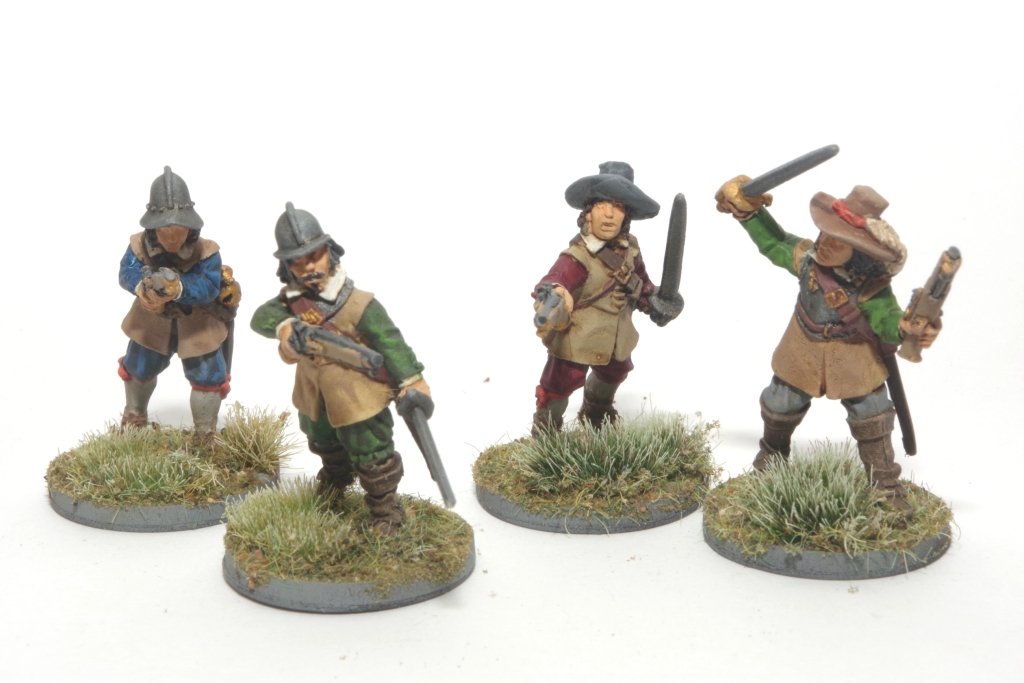
Oh, and it’s worth mentioning that none of the figures featured had been on the tabletop for over 20 years!

FK&P AAR: Disaster at Skirmett's Orchards

Here’s a battle report from the playtest of the final scenario in my newly-published Siege of Norchester scenario pack for the English Civil War rules, For King & Parliament.

As the title of this post suggests, this was an absolute disaster for my Parliamentarians!

“Went the day well, my dear?”

“No it bl**dy didn’t!”

The day started very well. Above is a view from behind the Royalist lines, with the village of Skirmett in the centre of the table. My plan was to win on the wings then envelop the Cavaliers in a “horns of the buffalo” manoeuvre.

Northern Donkey Wallopers to the Front!

On my left wing, I had a brigade of Borders horse: poorly-mounted, but out-numbering the opposition. The lancers on the far left were quite nasty in a first clash, so I was pretty happy that I could get an advantage here.

The centre and right

I was a bit more concerned about my right wing, where the Roundheads had quite a few units of Swedish-style horse versus my monolithic Dutch-style troops, but my infantry were nearby and could always pore fire into the flanks of any rampaging Royalist cavalry before they got too close.

Back on the left wing, the two lines of cavalry smashed in to each other: complete disaster!

I may have gone a little over the top on the disorder markers!

Let me explain. I got my tactics just right and ended up with three cavalry units facing just the one of his. Not only that, but I was uphill charging downhill. Yes, I had both my CinC and the Brigade Commander with the central unit, but officers casualties are quite rare, yes?

Wrong!

In the first clash I lost both my CinC and the Brigade Commander: both killed outright!

This was particularly painful as in FK&P not only are officers really useful for, er, officering but, representing the cult of personality around so many ECW commanders, your CinC is worth a great many Victory Medals. Combined, I lost just about a third of all my Medals with the death of just two men! This obviously meant that even if things went 50/50 from now on, I would lose the game in short order.

Anyway, we decided to play on for a bit…

Even Stevens on the Right

Another cavalry clash on the right, with my troopers getting an initial advantage.

The Centre standing Firm

Unfortunately that advantage didn’t last. Lady Luck again deciding that she was for the King!

Centre cavalry unit couldn’t even last long enough for the infantry to intervene!

Which meant that when my already battered left flank finally gave way, I was out of Victory Medals and on the stage coach to Losertown!

The Left Crumbles

So a very quick battle mainly due to the surprising death of my CinC and a cavalry brigade commander. Still an enjoyable game and, looking for the silver lining, the speed of my defeat gave us time for another game…

FK&P AAR: Napshill Downs

Regular visitors will be aware that last Friday saw the release of my second scenario pack for the For King & Parliament English Civil War ruleset: The Siege of Norchester.

The pack contains twelve free-standing, fictional scenarios in a loose chronological order. It tells the story of the investment of the fictional, Royalist-held city of Norchester. It begins with the Parliamentarians gradually pushing the Royalist foraging parties back into the city itself, then looks at the Royalist attempts to delay the construction of encircling works. There’s an assault on the outskirts of Norchester and then a Royalist attempt to get a messenger through to the King to ask for aid. Finally, there’s the arrival of a Royalist relief force, the fall of Norchester and the attempted escape of the main Cavalier protagonists. The same officers and units are used throughout the campaign, and it is hoped that the players will come to adopt and recognise them as their own or the enemy.

The pack is designed to give players who don't have enough time to write their own scenarios a number of games that they can play with little or no preparation. All you have to do is print out the game and player briefings, set up the table according to the map, break out the figures and cards, and start the first turn. You don't even need to print the pack out in full: just the pages you need for the scenario you're going to play. The games can be played either as a series of linked games or as a collection of one-off battles. To emphasise: each scenario is free standing and they do not have to be played in any particular order…but it is anticipated that players will play them in order as a campaign, keeping a running total of each sides’ score as they go along. The pack provides a Campaign Record Sheet as an easy way of doing so.

Finally, although specifically designed for FK&P, with a little work the scenarios can be adapted for any set of English Civil War/Renaissance rules: the basic elements of why, where and with what each side is fighting being largely common to all systems.

Napshill Downs

An important part of the preparation for launch is to playtest all the scenarios in the pack, and below you will find a gallery of images from the playtest of scenario #11: Napshill Downs.

As one of the later scenarios, the background is that Norchester has already fallen so some of the Royalist erstwhile defenders are trying to make their escape from the region in order to continue the fight against the Parliamentarian traitors elsewhere. The Roundhead force (which I was commanding) is tasked with bottling them up and destroying them.

This was one of those games that went wrong for me just about right from the beginning when I completely cocked up my opening moves! Read on to share my pain!

The Attack on Marlowe

Meanwhile, blogger Zanoni has started playing through my previous ECW scenario pack: Marlowe to Maidenhythe, which is now available in both digital and physical form.

His first AAR, covering scenario #1 The Attack on Marlowe has lots of pictures of his beautifully painted collection of ECW figures. Recommended as a feast of eye candy!

Click here to see the report on his excellent Troop Time! blog.

TFL Painting Challenge: First November Update

Half way through the month and I’m only just getting around to an update: shows how busy I am with real world work…well, that and getting Norchester published.

And there’s only about six weeks to go before the end of this year’s Challenge: so those of you sitting on vast numbers of entries need to get them to me before December 31 to make sure your scores are recorded. We have 24 people who’ve sent in entries this year: two newbies and then fourteen under their last year score and only eight over their last year score.

But there’s still plenty of time for the fourteen to make up the difference: so here are this week’s entries to encourage you to pick up a brush and start painting.

Salute 2021

Yesterday saw a return to the annual pilgrimage to the Salute show, one if not the largest wargaming show in the UK.

Previous years have been characterised by long queues to get in, dim lighting and, in the morning at least, an event so crowded that it was hard to even get to see a trade stand let alone buy anything.

Well this year it was very different. No queues at all by the time we arrived half an hour after the event opened at 10.30am, the same dim lighting, but a distinct absence of any crowds. The show was busy, but good busy: plenty of room to move around.

There was also less to see: there were several noticeable gaps where trade stands should have been, and as many empty demonstration tables where people hadn’t turned up to run their game. This was presumably all down to COVID, and is a real shame, particularly as the venue was operating a strict vaxed/lateral flow policy before you could come in.

The theme of this year’s show was the Battle of Britain, and one of the good things to see was the Hurricane and Spitfire aircraft on show…complete with pilots sitting in chairs drinking tea and flirting with WAAFs!

Nothing to do with the show, but quite amusing, was the fact that Excel was also hosting a Star Trek convention, meaning that the small number of military reenactors present was utterly dwarfed by the vast numbers of Trekkers in the venue dressed up in their uniforms…including daughter #2 who took full advantage of me going to Excel to tag along and take us to the Trek event as well.

And very expensive that proved too.

I don’t know how much Rifleman Harris charges for his autograph, but I suspect that it’s much less than I paid for daughter #2 to get a signed photo from two of the cast of Deep Space 9. It was certainly more than I spent on figures!

So a smaller, less busy Salute this year, which actually was no bad thing. Not many of the demo games warranted a mention, with the obvious exception of the O Group game featuring some wonderful terrain representing Stalingrad sloping down to the Volga. Looked fantastic and I would love to play IABSM on the set up!

Siege of Norchester Scenario Pack Now Available

Simon Miller and I have just published the digital edition of my second scenario pack for For King & Parliament: The Siege of Norchester.

Buy The Siege of Norchester here

Hopefully you'll have seen (and had your appetites whetted!) by some of the many playtest battle reports posted here (the last post before this one being an example) but for those who haven't, here's the marketing blurb:

The Siege of Norchester is a supplement for TtS! For King & Parliament that contains twelve free-standing, fictional scenarios in a loose chronological order.

The pack is designed to give players who don't have enough time to write their own scenarios a number of games that they can play with little or no preparation. All you have to do is print out the game and player briefings, set up the table according to the map, break out the figures and cards, and start the first turn. You don't even need to print the pack out in full: just the pages you need for the scenario you're going to play.

The Siege of Norchester tells the story of the investment of the fictional, Royalist-held city of Norchester. It starts with the Parliamentarians gradually pushing the Royalist foraging parties back into the city itself, then looks at the Royalist attempts to delay the construction of encircling works. There’s an assault on the outskirts of Norchester and then a Royalist attempt to get a messenger through to the King to ask for aid. Finally, there’s the arrival of a Royalist relief force, the fall of Norchester and the attempted escape of the main Cavalier protagonists.    The same officers and units are used throughout the campaign, and it is hoped that the players will come to adopt and recognise them as their own or the enemy.

action from scenario #2: munces wood

The games can be played either as a series of linked games or as a collection of one-off battles. To emphasise: each scenario is free standing and they do not have to be played in any particular order…but it is anticipated that players will play them in order as a campaign, keeping a running total of each sides’ score as they go along. The pack provides a Campaign Record Sheet as an easy way of doing so.

Finally, although specifically designed for FK&P, with a little work the scenarios can be adapted for any set of English Civil War/Renaissance rules: the basic elements of why, where and with what each side is fighting being largely common to all systems.

So whether you’re for the King or for Parliament, The Siege of Norchester gives you everything you need for many hours of joyful gaming!

Buy The Siege of Norchester here

FK&P AAR: Ramshackle Road

Another game of For King & Parliament using a scenario from my forthcoming Siege of Norchester scenario pack. This time it’s an encounter at Ramshackle Road, where the Royalist raiders are pinned against a river!

Although I did definitely lose the battle, the game was actually closer than the report above suggests. The appearance of the Royalist horse on my flank was a nasty shock, and I didn’t cope with it very well!

A great game, despite the result!

Massive Re-Base!

My 19th Century Austrians have been languishing unused for some time: like years! This is partly to do with being occupied with other periods, but also because they are based in a slightly weird fashion.

Let me explain. In my twenties I wrote a set of home-brewed rules that combined Johnny Reb and Trevor Halsall’s set, Rules for Wargames: Sebastopol, Sadowa & Sedan. They were never intended for publication: just for home use. The basing system involved company-sized bases in line, with the correct number of figures at 1:20 ratio. As Austrians, at that time, had 140-man companies (paper strength), this meant I had battalions of six 7-man, strip bases. Looked good on the table, but very inflexible when it came to using other rule sets.

Now, many years on, I have decided to re-base the European armies from my 19th century collection to give me the flexibility I need to play the rules that my set of wargaming friends are playing. It’s a big job, but actually quite satisfying as the armies were based quite crudely: certainly more crudely than I can manage now.

My chosen basing is to mount each infantry or cavalry unit on the equivalent of four 40mm x 30mm bases. The infantry will be mounted on six bases: two 40x30 and four 20x30, with eight and four figures respectively. The cavalry will be mounted on four 40x30 bases, with three figures per base. Infantry skirmishers will go two figures on a 40x30 base, and guns/limbers and officers mounted individually.

First up, as mentioned above, are the Austrians: 172 infantry, 40 horsemen and 13 guns/limbers.

Bases were all from Warbases: excellent service as usual.

I even managed to squeeze an extra infantry unit out of my collection: judicious re-painting of cuffs and collars on spares and extra skirmishers, and adding a flagpole and flag to one infantryman figure.

Next up: the Prussians!