IABSM AAR: Blenneville or Bust! #01: West of Pierrecourt

Just before Christmas I had a chance to play a great game of I Ain’t Been Shot Mum using the first scenario from the Blenneville or Bust! scenario pack: West of Pierrecourt.

The Allies are moving up the valley hoping to hook round Pierrecourt to the west. In order to do this, they need to be able to cross the Moire River. There’s a major bridge at Belle Maison, but Belle Maison is apparently full of Germans, so it would be good to find somewhere else to cross. Aerial assets have spotted a small bridge west of Pierrecourt, and the reconnaissance elements of the US 107th Infantry Division (nicknamed the Coyotes) have been sent forward to check it out.

The Germans, meanwhile, are keenly aware that the troops in Pierrecourt are relying on the Moire to protect their wider left flank. As the Allied advance begins, their commanders send out 30th Panzer Division’s reconnaissance units to cover as many river crossings as they can. This scenario covers the first clash between the opposing scouts.

Click on the picture below to see what happened:

First Painting Challenge Update of 2023

I’m pleased to report that you lot didn’t rest your brushes for very long: six entries already for the 2023 Painting Challenge.

In no particular order, we have submissions from Ashley, Matt, Nick, Mervyn, Stumpy and Ralph. You can see all their work in their individual galleries, but here’s a taster:

Some beautiful work there, and plenty more to come!

TTS AAR: Burgundian Ordnance vs Vikings

As Bevan had his Vikings out and I wanted to get my still-relatively-new Burgundians onto the table, we decided to have a game that would set the two against each other.

The Viking army was the same that had beaten my Vikings: maxed out on Bondi with a few lights in support. My Burgundians fielded four units of Later Knights supported by four units of sound infantry: three mixed spear or bill and bow units and a unit of crossbowmen. I also had an organ gun present.

View from behind the Burgubdian line: there’s an awful lot of Vikings over there!

The Vikings rushed forward, but were unprepared for the sheer weight of the Burgundian Knights that charged them. Two of my armoured units, shot in by archers to disorder the shieldwalls just before impact, smashed straight through the Vikings in front of them, sending them fleeing for their longships.

One of victorious Knights units then took the enemy camp whilst the other roamed around the centre of the field looking for more Vikings to charge.

Just after the first of the viking shieldwall units disappears from the field

taking the enemy camp (top leftish); rolling them up (centre right)

Meanwhile, on the right, one unit of Burgundian infantry used their horses (i.e. the Mounted Infantry bonus) to advance forward fast enough to split the advancing Viking line. This enabled another unit of Knights to turn right and hit the right flank of the Viking left-flank force that was currently engaged in a massive shoving match with some more Burgundian infantry.

With three Bondi units and their camp now destroyed, this proved too much for the Vikings to bear and, as another Bondi unit fled the field, the rest of the enemy army crumbled and followed. A glorious victory to the Burgundians!

Actually I was a bit lucky on my left, where a huge Viking outflanking force effectively took no part in the game because (a) having the initiative meant I could stay well away from them at set up and (b) Bevan’s attempts to move them into an outflanking position were stymied by the cards, who had obviously decided they didn’t like Vikings any more!

The whole game took only about an hour and further proved the power of the Burgundian charge!

IABSM AAR: Happy Christmas!

Over the Christmas period, I got a chance to play in a Christmas-themed game of I Ain’t Been Shot Mum set in late December 1944.

It was a Battle of the Bulge scenario, with me playing a US force defending a major supply dump against an attack from a German armoured column. I could expect some support from nearby Brits, but couldn’t be sure when they would arrive.

Click on the picture below to see what happened…

TTS AAR: Vikings vs Vikings: the Decider

Having fought the Vikings versus Vikings battle twice over with one victory apiece, it was time to play the decider. Forces were unchanged from the last game.

Bevan’s Vikings had the initiative, and soon the two battle lines were thundering towards each other.

Looking at the picture above you’ll see that Bevan overlaps my main line with one unit of Bondi and a unit of lights, facing only a unit of light archers. Knowing I was going to be outnumbered, I had deliberately put my Huscarls (veteran troops indicated by the red Meeple) to protect my flank.

The lines came together with a mighty smash. What you can’t see is that out of frame to the left, his extra unit of Bondi and their accompanying lights are driving my lights backwards and will eventually send them off the table.

Much disorder on both sides after the first clash, with no-one really getting an advantage…which is not what I wanted as I needed to win quickly if I was not to be overwhelmed by superior numbers. Still out of frame to the left are his extra Bondi!

A couple of my units break through the centre, introducing the possibility of an assault on the enemy camp, but there’s now a mass of enemy units on the right flank…

…and worse, as you can see in the picture above, his Bondi on the left have finished dealing with my lights and have manoeuvred themselves into a position from which they can assault my main battle line from the rear!

Those Bondi do indeed charge me from behind and the resultant loss of my end Huscarl unit leads to a general disintegration of my line.

A resounding defeat results!

Aftermath

A great series of Viking vs Viking clashes. You can see from the picture to the right that the two enemy units in front of my Huscarls are about to give way, so if I had just been able to kill them one turn earlier, then my veterans could have turned to face the flanking unit that did so much damage.

The sagas will now record that my Vikings slunk away, defeated. Doubtless they will re-group and be back into action soon!

Last Painting Challenge Update of 2022

I’ve now uploaded the final entries into the 2o22 Painting Challenge: any entries received from now will go into the 2023 Painting Challenge.

Today’s batch includes entries from Sapper, Mr Plowman, Andrew Helliwell, Mervyn, Chris Kay and Stumpy; along with an enormous first-and-last catch-up entry from Mr Hodge.

Do visit the individual galleries, especially Derek’s as it’s got some great stuff in there that you won’t have seen before today, but here’s a taster:

And finally, I declare that the TFL 2023 Panting Challenge is now open: let the painting begin!

2022: Review of the Year

Is that another year gone already? How the time does fly! Looking back on everything that I have done this year it seems a like some of the events took place only yesterday and some took place in a different era. Temporal perspective aside, let’s have a look back at 2022…

Gaming

My target for the year was 52 games i.e. an average of one per week. I actually achieved 47 games, equaling last year and my previous high score.

Just over half the games (51% to be exact) were Ancients, with To The Strongest still being the ruleset of choice. This tally also included one day when I fought six different battles, which is a new record for most games played in one 24 hour period.

rampaging nellies!

Next up in terms of popularity was the Pike & Shot era, with 26% of games played. I used For King & Parliament for these, the 17thC version of TTS. Note that many of the games were actually set not in the English Civil War but on the eastern front (Cossacks, Poles, Muscovites) using rule adaptations from the Tales from the Wargames Shed blog and then my own additions. Army lists for the period can be found here.

history repeats itself: muscovites preparing to advance against the zaphorogian cossacks

The next most popular period was WW2 at 13% of games played, all using I Ain’t Been Shot Mum. Not as many as I would have liked, but all memorable games including one brilliant encounter at the Operation Market Larden Lardy Games Day when it seemed as if my tanks and anti-tank guns just couldn’t miss.

Breaking the Panzers at Operation market larden

Finally a smattering of other periods: two games or 4% from each of the 19th Century (using the Neil Thomas Rules for 19th Century Wargaming) and Napoleonics (one Sharp Practice and one Age of Eagles); and one sci-fi game using my own Quadrant 13 rules. Both Napoleonic games were brilliant battles: the SP game was also at OML, the AoE game memorable if only for its sheer size.

Painting - Overview

A great year for painting where I managed to beat my old record in the Painting Challenge by a significant amount. My previous high score (set in 2019) was 2,004 points, this year I achieved 2,077 points, an increase of 4%. Now all I have to do is to do it again and more next year!

Painting - New Armies

Although I added eight new armies to my roster (Ancients: Vikings, Burgundian Ordnance; 17th Century: Swedes, Muscovites, Ottomans, Transylvanians, Polish Lithuanians; WW2: Afrika Korps) I have to confess that they were all acquired pre-painted except for the Swedes, and they consist of only a full set of command stands to order appropriate-looking troops from my other 17th Century armies, and the Afrika Korps, and they are currently only a dozen tanks strong.

Well I did paint a single unit of Saxon Town Infantry for the Transylvanians, but that doesn’t really change the fact that effectively all my new armies were bought ready painted: something I have never really done before.

Vikings as Medieval Scandinavians losing to the Burgundian ordnance

I’m not actually sure why: I’d like to say it’s because (in the case of the Vikings) an irresistible E-Bay purchase of one unit meant I had to then commission a whole army from the same painter just to find a way to use them and (in the case of the 17th C stuff) there was a bargain offer on Lead Adventure Forum but I think it’s more than that. I still enjoy painting, but am finding it more of a chore than ever before. Interesting, and we will have to see what 2023 brings.

Painting - Existing Armies/Re-Basing

Major projects completed this year were the 17th Century Cossacks and motorising my WW2 Poles. This last I am quite proud of as it involved a lot of research and the commissioning of unique models from Syborg 3D printing including, I am sure, the only accurate C4P artillery tractors in the marketplace (see post here).

How I think a Polish C4P artillery tractor should look

Otherwise, I have added bits and bobs to my Gebirgsjaeger; Sumerians; Brute; French Napoleonics; Indians and various sci-fi armies; and painted up the Kesserine Western Desert boxed set from Battlefront (Afrika Korps and US tanks).

But one of main focuses this year has been re-basing, with the Crimean Russians and Crimean British being huge jobs, and the Sassanid Persians also being significant. The Ruskies have already been on the tabletop (versus the French) and the Brits will see action next weekend, against the Russians as it happens.

Publishing

Pressures of real-life did, however, mean I failed to complete either of the two publishing tasks that I had set myself this time last year: no, or rather little, progress has been made either on the early war Far East Theatre Book for IABSM nor on a scenario pack for TTS.

I have, however, written the first seven scenarios for a new IABSM scenario pack, using an idea that had been bubbling away for some time, but that is also now on the back burner: I just don’t seem to have the bandwidth any more!

Well, perhaps not at the moment.

Work has been really busy this year, and I did pass my Wing Chun kung fu black sash grade (which means I now have black belts in jujitsu, kickboxing and kung fu) and all that, along with my other jujitsu work and associated Japanese kobudo weapons training, and, of course, the family, have left me little time to actually sit down and write. Hardly surprising really!

Looking forward to 2023

So what do I want to achieve wargaming-wise in 2023?

Obviously more games: let’s try for the 52 target again.

More painting: I don’t think I’m going to be able to hit the heights achieved this year, but we’ll aim at 2,000 points in the Challenge.

And then let’s re-set the publishing targets of last year - the IABSM theatre supplement and the TTS scenario pack - and add the already-started IABSM scenario pack to the list.

Thanks for your visits, likes and comments throughout 2022, and I look forward to seeing you all throughout 2023 as well.

R

Last Painting of 2022

Too late to start a new project, so a couple of bits and pieces rescued from the slopes of the lead mountain.

First up are some more Brute. These are technically 15mm sci-fi figures from Nuclear Shrimp. I say “technically” as they are post-apocalyptic wasteland mutants…so the figures are far more like 25mm than 15mm.

These are a couple of field guns carried on the backs of gorusk beasts of burden. You can see from their eyes and teeth that the poor gorusks are vegetarian herd animals pressed into service by the Brute!

The gorusk were painted with GW Contrast Paints, with the platform and gun painted a base black then dry-brushed in steel and then either a bronze/gold colour (the platform) or a metallic blue (the gun). I then did the chains forming the harness in a bright steel colour to make them really stand out. Fun figures, although I’ve no idea when I’m actually going to use them.

The second bit of painting was a couple of command stands for the Crimean British. You don’t actually need command figures under the Neil Thomas rules that I am using, but I always think it’s nice to have them on the table top, and we will probably come up with a house rule to make them significant. Perhaps having a unit to which a command stand attached always activating at full effect, and having an officer attached to a command stand vulnerable to enemy action in some way. Something simple like that.

So that’s it for painting in 2022. I’ve exceeded my previous record in the Painting Challenge, so I’m happy about that…except, of course, that I now have to do even better next year!

I’ll post the last Painting Challenge update for 2022 on New Year’s Day (I have a handful of entries already in, so don’t hold back submitting your last efforts) and then it’s on to 2023!

TTS AAR: Vikings vs Vikings Again

The first battle in a marathon day that would see me playing To The Strongest six times was a repeat of the Vikings vs Vikings game I’d had against Bevan a week ago.

Well, not exactly the same, as Bevan had somewhat altered the make up of his army: now he dispensed with any Huscarls and Irish, and just fielded as many Bondi units as he could.

Shot from behind my battle line

My plan was to hold the hill on my left flank whilst advancing strongly with my right. The hill was soon occupied and my men surged forward on the other side of the table determined to win there before returning to mop up the centre and left.

My left flank was soon heavily under siege, but some good work with the lights meant that I was holding the ground without much difficulty. It was also here that the first of the enemy commanders was killed, by arrows IIRC. I would go on to kill all wound all of his commanders: a major factor in my eventual victory.

The right was now engaged as well with, apart from killing/wounding another enemy general, mixed success.

Fortunately my units in the centre were able to defeat the two shieldwall units in front of them and this, combined with some other successes and, as I said, the taking out of every enemy commander, meant that I had done enough to send the rest of the enemy Vikings flying from the field.

With one victory each, the stage was now set for the decider…

TFL Painting Challenge: Boxing Day Update

Lots of people sending in their “last entries of the year”…but we don’t believe that: there’s still plenty of time to polish off that project that’s been sitting on the painting table for far too long!

Today’s entries include David Scott’s first of the year: which just goes to show that it’s never too late to enter the Challenge! Alongside David are submissions from Matt, Carole, Chris and Mervyn.

Do look at the individual galleries, but here’s a taster of what’s been added.

Plenty of time to go yet: keep painting!

Last of the Crimean British

I needed one more infantry unit to finish off my Crimean Brits and, to give me two symmetrical brigades, it needed to be a unit of Guards. Scots Guards to be exact.

I fancied a change from the Rank & File figures that I had been using, so went with the Eureka 18mm range. These would be a little taller than the rest of the army but, hey, I wanted a battalion of imposing Scotsmen so that would do the trick nicely.

The Eureka figures are exquisite: my crude painting certainly does not do them justice. My only complaint would be that the bayonets are extremely thin and I’m quite worried that they will break easily…not that any broke off in the painting process, but then the figures haven’t been handled on the wargames table yet.

The tartan effect on the kilts was achieved by painting the kilt blue then painting a green cross-hatching on it. Again, somewhat crude, but all you need for the three foot rule.

I could have painted these better, but they match the style of the rest of the army. I would also have like to homogenise the poses a bit more, but the Eureka UK distributor was a bit low on stock and I wanted to get these done before the end of the year.

These figures actually now take me to a new personal best score on the TFL Painting Challenge: 2,035 points as opposed to my previous 2,004 points achieved in 2019. I would like to get up to 2,050 before the end of this year’s challenge, but with only eight days to go, some of which are Christmas, it might be a bit tricky!

Lard Magazine 2022

It’s back and it’s 185 pages of bumper wargaming fun.

THE BATTLE FOR HIGH WOOD

Internet sensation Alex Sotheran brings his Storm of Steel magic to Lard Magazine and gets us started with this action for Through the Mud & the Blood.

ACTION AT BEDA FOMM

We’re off to the Western Desert in a small tank with this O group scenario from the gold pen of

housewives’ favourite David C.R. Brown.

FULL OF EASTERN PROMISE: PREVIEWING THE FAR EAST SUPPLEMENT

Big Rich explains what we can expect when Chain of Command takes us to the Far East! Make no mistake it’s hot, hot, hot!

LA BARRIERE DE CLICHY

The Russians are at the gates of Paris. David Hiscocks takes us to 1814 this artistically inspired Sharp Practice scenario.

BELOV: ESCAPE TO VICTORY!

Tom McKinnell maintains a Russian theme with some desperate fighting from the Eastern Front 1942 with three linked scenarios for Chain of Command.

EXCLUSIVE: FREE.STL FILE

Santa comes early in the form of this FREE .STL DOWNLOAD of a superb terrain piece for all

readers of Lard Magazine, naughty or nice!

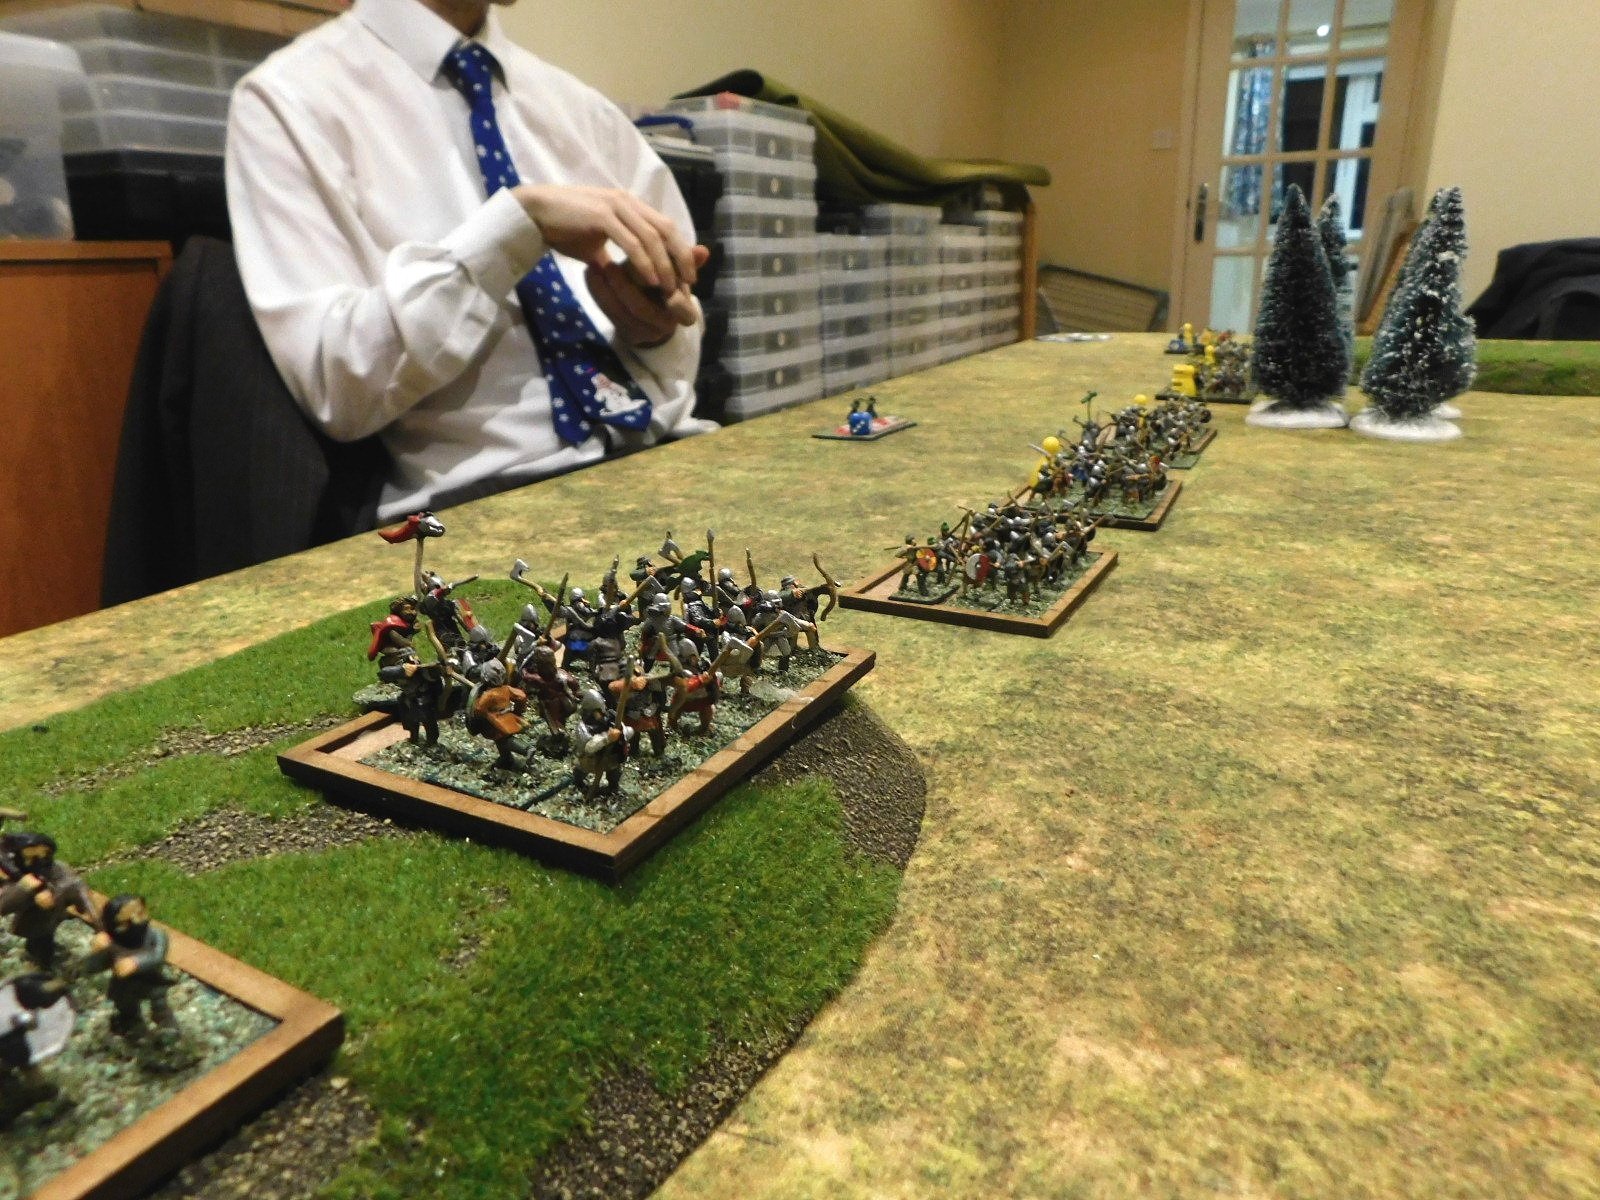
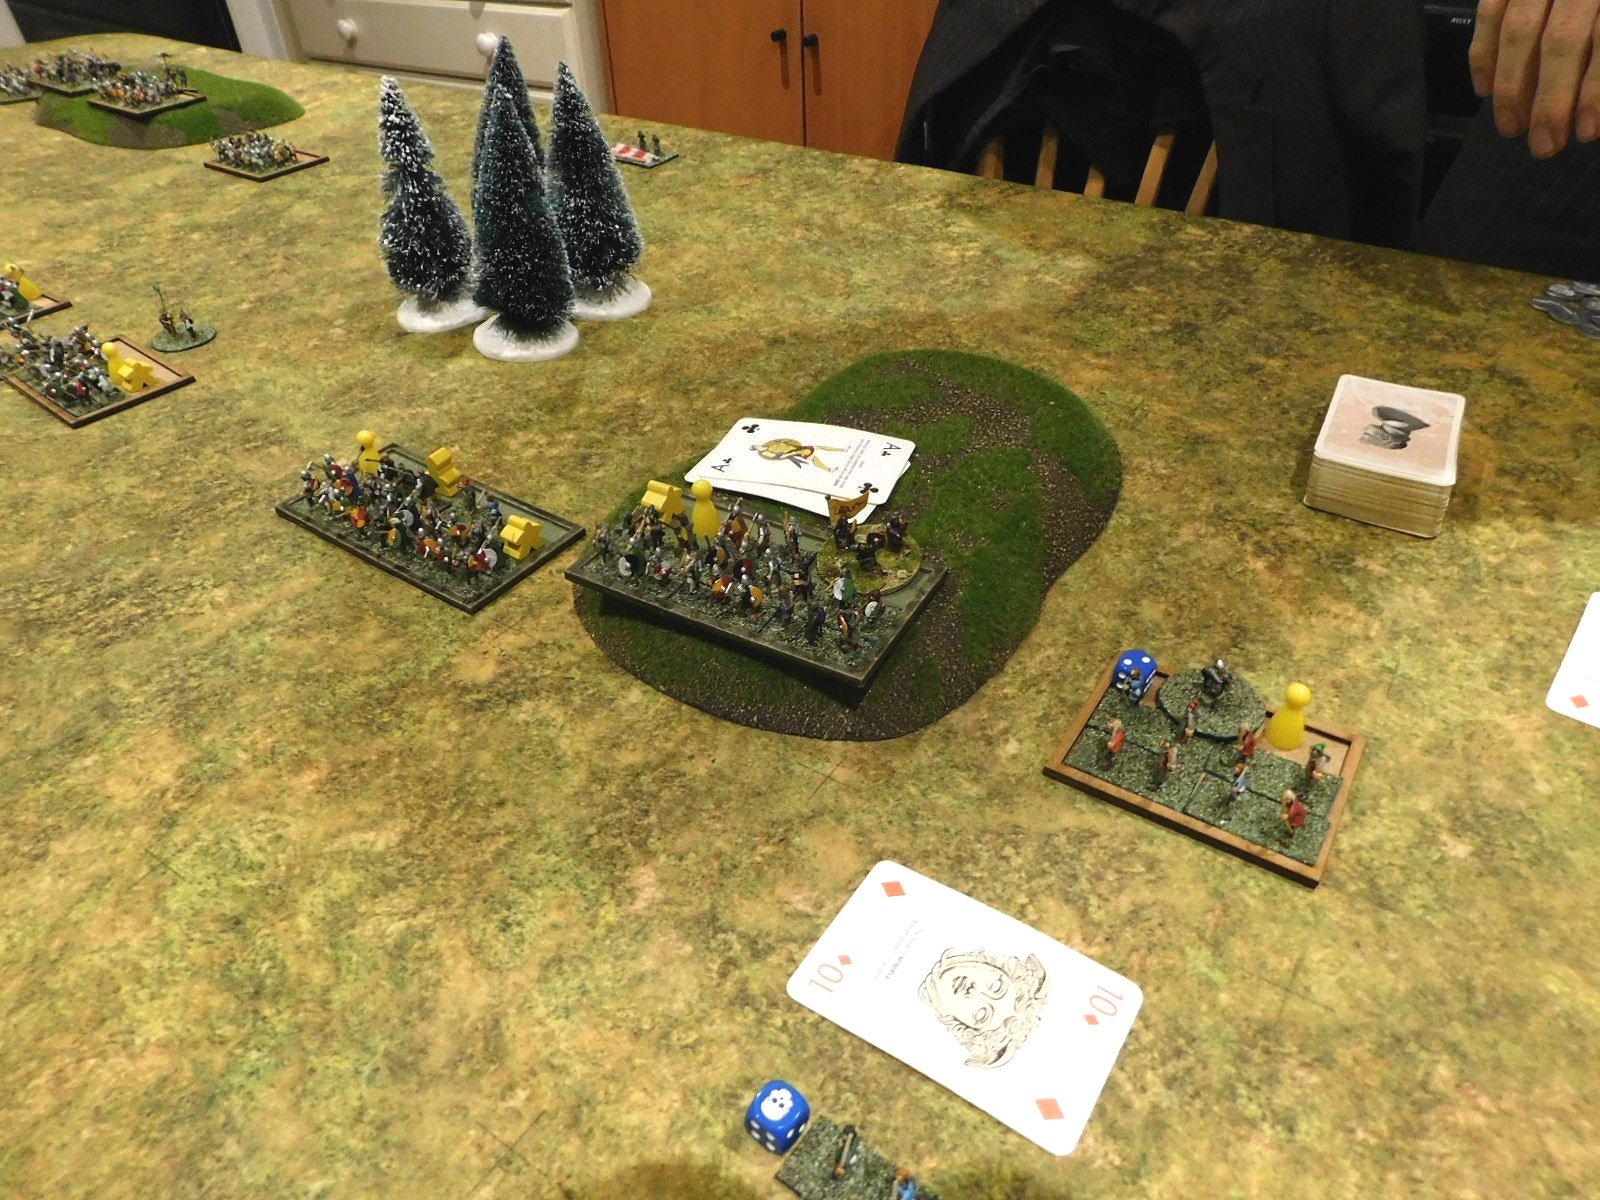
RISE AND RISE AGAIN, UNTIL LAMBS BECOME LIONS

No turkey for Jeremy Short this year as he transports us back to the days of The Baron’s War and Robin Hood with some adaptations to Dux Britanniarum with two taster outlaw scenarios. Tights optional.

IN THE AGE OF RIFLES

That pantomime dame of wargaming, John Savage makes his first of many appearances in this Lard Magazine with a meaty piece for using Sharp Practice in the late 19th Century.

PERFIDIOUS ALBION!

Gentleman John Savage takes on HG Wells in a quest to provide the most absurd Victorian invasion genre literature. Look out Dorking – the Prussians are coming! A moustache tickling accompaniment with force rosters for In the Age of Rifles for Sharp Practice.

THE EAGLE RISES

The Prussian and Austrian armies of 1866 get the John Savage treatment. Unit Rosters and National Characteristics for In the Age of Rifles for Sharp Practice

WOODLAND INDIANS: AN ALTERNATIVE VIEW

The theme of adaptations continues as Laurence Burrows offers some considered views on

incorporating Woodland Indians into your Sharp Practice games.

HOOD’S ATTACK!

Our scene shifts to Gettysburg where we see Des Darkin in the thick of the fighting with this bumper scenario for Pickett’s Charge.

TRAJAN’S TACTICAL TIPS!

It’s been a great year for Strength and Honour. Learn how to win more games with these Top Tips from the toga touting Trajan fan, Mark Backhouse.

A CRUEL NECESSITY: RELOADED

Ioan Davies-John takes us back to when the first Charles was King as he provides updated rules for applying Sharp Practice to the English Civil War.

BEFORE THE WALLS OF CORFINIUM

Adrian Davis gives us a chance to put Trajan’s Tactical Tips to good use outside the walls of

Corfinium. Three scenarios for Strength & Honour.

TORPEDO LEADER MALTA

A wave-skipping Bag The Hun scenario from Andy Crow and Reg from Dagenham as we send Rommel’s supply chain to the bottom of the sea. Dakka dakka dakka
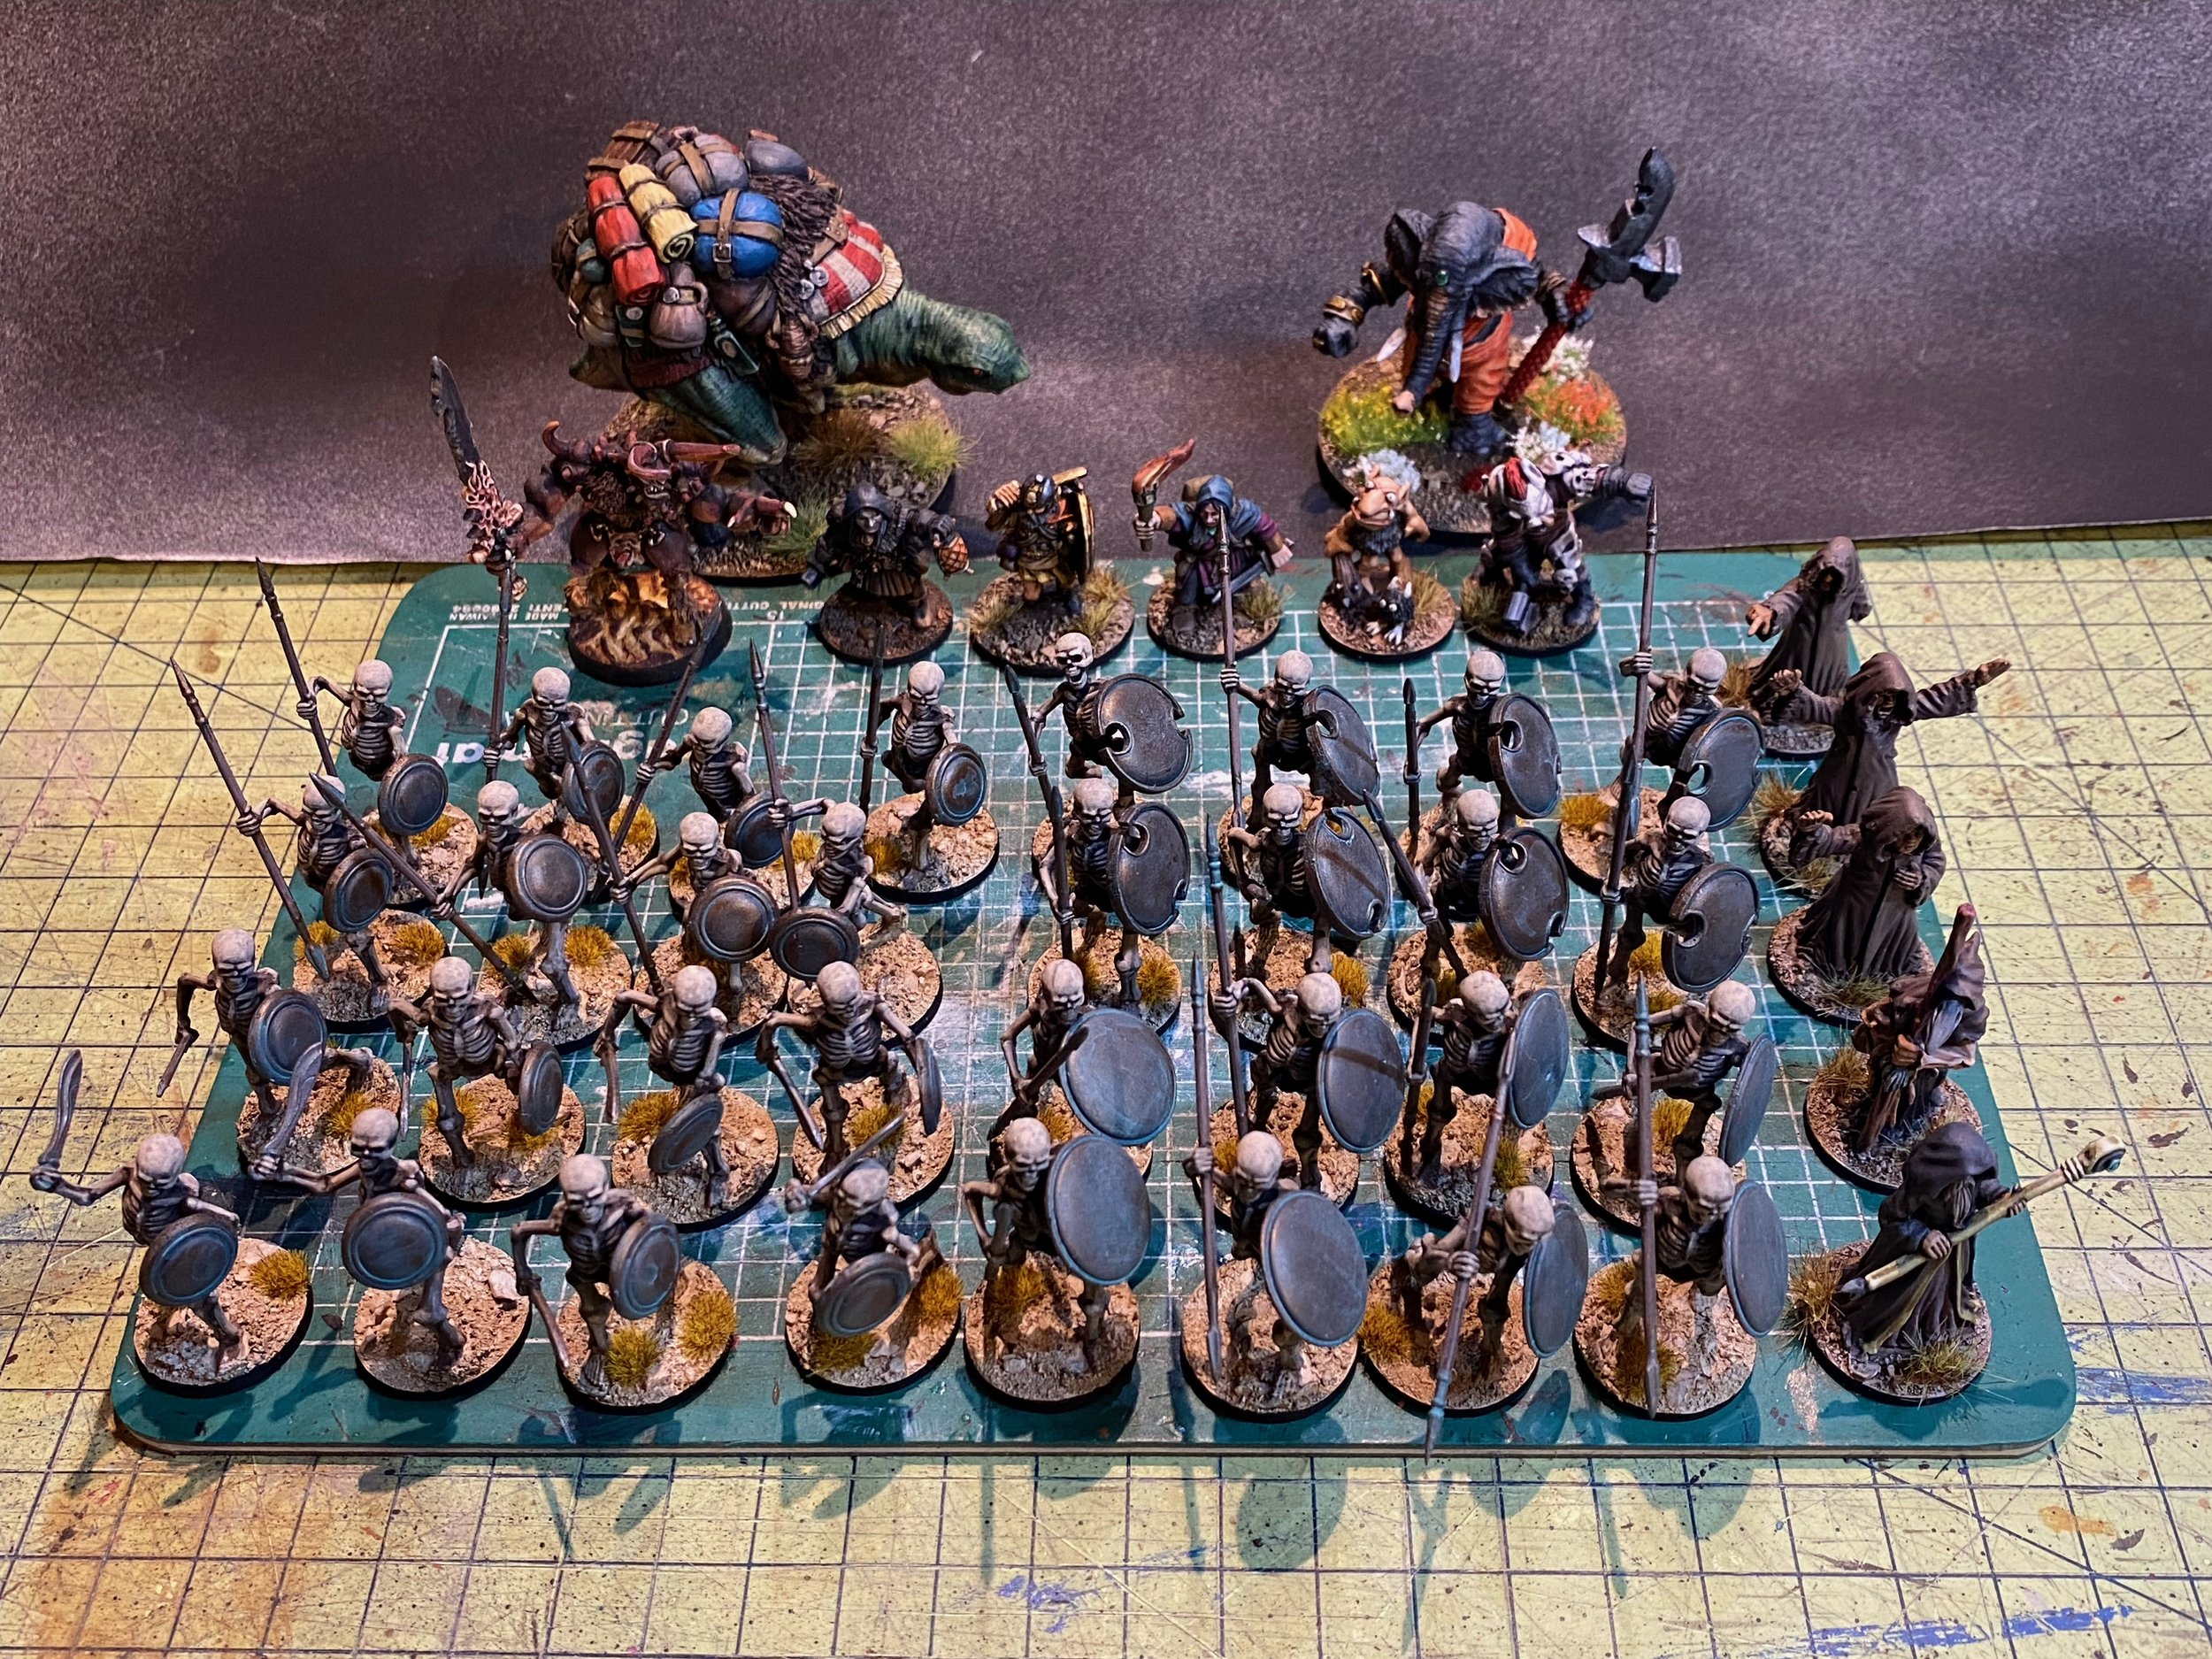
A LOOK AT MIDGARD

A new rules journey is beginning. James Morris chronicles an exciting new rule set headed our way.

THE BATTERY AT MERVILLE

Sidney’s Battlefield Challenge for 2022 sent Rich and Nick to Normandy. But it wasn’t all beer and sandwiches, as this Chain of Command scenario for the D-Day attack on the Merville Battery proves.

HEAD INLAND

It’s the wrong beach but that doesn’t bother Chris Smith, who shares the Chain of Command scenario that drew the crowds at Lard Workshop in August.

HAPSBURG, BONAPARTE AND JUAREZ. THE SECOND FRENCH INVASION OF MEXICO.

It’s Lard Magazine so there must be a sombrero somewhere. Here Richard Crawley provides no fewer than four scenarios that take Sharp Practice on a Maximilian adventure.

YES! WE HAVE NO TAMALES!

Colin Murray presents some campaign specific Random Events for Sharp Practice games in the

Maximilian adventure. Expect tequila.

MODELLING A SMASHED JUNGLE

Terrain masterclass with Joe Bilton. How to make your Jungle look like somebody has trodden on it, without actually treading on it. Novel. And great for the Far East!

CHARGE THE BASTARDS

Nick Skinner dons his XXXXL denison and tells the thrilling story of the 2nd Battalion of the Parachute Regiment at Oosterbeek Laag with this Arnhem themed scenario for Chain of Command.

THE GENERAL IS DEAD!

Crete 1941. The glider containing the German general, and his battle plans, has smashed on landing. All inside are dead. But can the Commonwealth troops extract the plans before the Germans can stop them? Chain of Command scenario from Joe McGrath.

GO SHARP INTO THE DESERT!

He’s back. John Savage wipes the sand from between his toes and provides The John Savage Random Event table (pat pending) for colonial Africa and the Mahdi Revolt.

THE DEATH OF WERNER VOSS

Alex Sotheran returns with the tale surrounding the loss of Voss and provides some ideas on how to refight Voss’s last action using Algenon Pulls It Off. Includes links to Storm of Steel videos and rules downloads.

THE AFFAIR AT LARDINGHAM POINT

A Prussian ironclad is sighted off the south coast of England. It can mean only one thing: a John Savage scenario is coming! Sharp Practice action for the Perfidious Albion and In the Age of Rifles.

INTRODUCING WHAT A COWBOY

Our very own Sidney Roundwood gets out his sixshooter and interviews (yes, you guessed it) John Savage, as we look ahead to the imminent release of What a Cowboy! What a finish!

Lard Magazine 2022: £6.00

TTS AAR: Vikings Win!

Those of you who play To The Strongest will know that although the points system is supposed to make all armies equal, some armies are less equal than others.

One such are the Vikings: large numbers of unmanouverable shieldwall units lacking any cavalry and with only a smattering of lights in support. Head on it can pack a punch, but its opponents generally dance around its flanks leaving its brave warriors to be surrounded and cut down one by one.

I recently acquired a rather nicely painted Viking army in 15mm purely on the basis that I liked the idea of a Viking army. Ever in support of the underdog, however, I was under no illusions that I would have any great success with them!

Odin, hear our call: can we just win one battle please!

I was discussing the problem with friend Bevan, another proud but disappointed owner of a Viking army, when we both had a light-bulb moment of inspiration: let’s get our Viking armies on the tabletop together, to fight each other. That way one of us is bound to win and give their brave Scandinavian heroes the victory they so deserve!

With this genius idea decided upon, the next couple of weeks were spent in the customary ritual taunting - my Vikings are harder than your Vikings etc - until at last the big day arrived.

The Armies

The armies we had put together were significantly different.

My Vikings consisted of four commands: each comprising two deep, shieldwall units and one light infantry unit. One command consisted of Huscarls with mighty axes, the other were Bondi. I also had four heroes and an army standard.

Bevan’s mob also consisted of four commands, but was less pleasingly symmetrical than mine. One command comprised a couple of Huscarl units; one command was one Huscarl and two Bondi units; one command was three Bondi units; and finally he had a command consisting of some Irish javelinmen and light infantry. He also had five heroes and an army standard.

Somewhere in Scandinavia

Bevan’s Mob

My Glorious Vikings

The Battle

Both sides tried to outflank on the right. Bevan’s outflanking manoeuvre got off to a terrible start when he drew a couple of Aces for movement, but mine was more successful: a Huscarl unit led by the CinC got past the woods in front of them and were in a great position to chew into the enemy’s Irish allies.

Unfortunately, the Irish proved a lot more resilient than planned (is it not ever so!) and one of my best units spent the rest of the game blocked from doing anything useful!

Blocked!

Meanwhile, in the centre, the two main battle lines had closed and, for a time, things swayed backwards and forwards as a mighty shoving match took place. My lights proved useless in this sort of game: they shot off their arrows with little effect, then spent the rest of the time hanging around behind my line, unable to get around an enemy flank and unwilling to mix it with the big boys.

On my left, Bevan’s Vikings finally got moving, and a separate battle developed between various Bondi units from each side. This I won fairly decisively and for a time it looked as if I had the advantage.

Unfortunately, back in the centre, the left hand side of my main line eventually gave way, and two enemy units burst through. This allowed them to turn and charge into the rear of the rest of my Bondi, who spectacularly survived one turn being hit twice from behind, and then almost did the same thing next turn as well.

By this time, Bevan was down to four coins, I was down to one, so when my Bondi hit-from-the-rear gave way, the rest of my men lost heart and fled the field. If I had survived that impact (and I almost did: drawing a Ten and a Six when a Ten and a Seven would have done it) then I would almost certainly have won the game…it was that close!

Two enemy units, top right, have burst through my line. One is about to charge my rear!

But it was not to be: my Vikings had lost…but at least Bevan’s Vikings had won!

Despite my defeat, it was a glorious game, and one that we will definitely be repeating, although this time let’s hope the correct set of Vikings come out on top!

The Return Match

Time for the re-match: this time I would take the Burgundian Ordnance and John would take the Medieval Scandinavians.

My plan was hold the centre with my infantry and half my Knights, and use the rest of my Knights to lap around the ends of his line, hopefully achieving some kind of roll-up. Comparing notes afterwards, John’s plan was to close with my troops as quickly as possible, using sheer mass and ferocity to win victory.

I had the initiative, and wasted no time in getting forward into the centre of the field. I then halted my centre and waited until the Scandies came forward.

The Scandies did indeed come forward, with one warband getting out in front, and soon battle was generally joined in the centre of the field.

Warbands are pretty hard to kill, even with Knights, but all I needed to do was to hold them in place whilst my horns lapped around his flanks.

On my right flank, this worked like a dream: a squadron of Knights got into the perfect position for a flank charge on the Scandinavian main line and thundered forward to do enough damage that a Burgundian spear-and-longbow unit could finish off the unfortunate warband that was their target.

Unfortunately on my left flank I got a bit too enthusiastic, and although the initial outflanking manoeuvre worked and sent more Scandies from the field, his lone unit of tax-free Knights was able to get forward fast enough to out-flank my out-flankers and consign one quarter of my Knights to the recycle bin! Whoops!

Fortunately this didn’t matter, as my right flank continued to chew through his centre having achieved exactly the roll-up I was after.

I will spare you the gory details, but you’ll see from the pictures below that pinned from the front and hit from the flank (by Knights as well) is not just a recipe but a whole cook book for disaster!

The coup de grace (to put it as the Burgundians would) came either from a unit of my infantry taking the enemy camp or the loss of a unit of light archers being the final straw that broke the Scandinavian back. To be honest, I can’t remember which.

A great game, for me at any rate, and a cautionary tale for warband armies going up against more combined arms forces: watch those flanks!

TFL Painting Challenge: Second December Update

Another huge set of entries, and less than two weeks since the last update: everyone is obviously keen to get those last few entries in before this year’s Challenge ends at midnight on the 31st.

Today we have entries from Carole, Chris, Andrew, Matt, Ralph, Mervyn, and Nick. Do go to the individual galleries, but here’s a taster for you:

Still plenty of time to get those last few entries in!

A Game...Finally!

What with work and Christmas and everything, it’s been weeks since I actually got to have a battle, so thanks to friend John for braving the freezing fog coming over this morning for a couple of games of To The Strongest.

I had two new armies that were ready to try the tabletop: the first were the Burgundian Ordnance boys I had bought complete ay Colours; the second were my Vikings, finally complete after some time with the figure painter I like to use.

Ideally I would have fought them as is, but these days I try to make encounters as contemporaneous as possible, so the Burgundians would fight as Burgundians but the Vikings would, with the aid of a unit of lancers borrowed from my 17th Transylvanians, manifest as Medieval Scandinavians. Still not exactly contemporaneous, but close enough for jazz! For the first game, I would take the Scandies and John would take the Burgs.

My force consisted of only three commands. The first, headed by the CinC, consisted of my single unit of Frasle or “tax free” Later Knights and two unit of light archers. The second comprised three deep units of Hird: hard men with axes and extra bows. Finally there were the Leidangr bondi types: three of them in a third command.

The Burgs consisted of four commands, each a unit of Later Knights accompanied by a unit of foot. Three of the foot units were either billmen or spearmen with extra longbows, the third were crossbowmen, with the command with the crossbowmen also having a unit of organ gun artillery.

The First Game

With neither side being particularly hot on scouting - Later Knights don’t scout! - a straight draw of the cards meant the John and the Burgs had the initiative. I set the Scandies up in a long line with the Frasle and lights on the left, Leidangr in the centre and Hird on the right. With two camps and almost no cavalry, I was nervous about his cavalry lapping around my flanks.

The Burgs remained in attack columns: coming forward with their infantry sheltering their Gendarmes.

I was keen to get my Hird into his troops as soon as possible, so ignored my bows and headed forward on the right asap. As I came into range, his infantry fired a couple of longbow volleys which actually did me more damage than I had anticipated. At the same time, one unit of his Knights managed to get past his sheltering infantry and charge into one Hird warband. This proved disastrous for the Scandies: with a glorious or pitiful (dependent on your point of view!) run of cards leading to me losing both a unit of Hird and their general!

Meanwhile on my left wing, my Frasle had proved themselves victory-free as well as tax-free: being sent fleeing from the field through a combination of bow fire and the attentions of some Gendarmes. The battle was definitely not going well!

I continued to lose ground on the right - my remaining Hird were outnumbered but putting up a good fight, and those deep units are hard to finish off - but it was in the centre and centre-left that a unit of Leidangr started to properly fight back.

The Gendarmes that had dealt so summarily with my cavalry were wounded by some light bowmen and then polished off by a warband; and another unit of Gendarmes was smashed from the field by some Hird. I was still down to only four coins, so would lose the game if I lost another two units/generals, but now John was down to only five coins, meaning I would win the game if I could kill three of his units/generals.

Unfortunately I could not sustain this momentum (you can see in the gallery above that most of my units were by now disordered) and was soon down to just one coin.

The final action of the game was for a unit of Gendarmes to lap around my right flank, and although I had some Leidangr to face them, Later Knights versus damaged Shieldwall was a foregone conclusion.

Post-Match Analysis

A good first game with the two new armies. I was surprised at how effective the Burgundian shooting was, and how fragile my deep units were in the first half of the game. That was, however, probably an atypical result of the actions that took place, as the second half of the game saw my surviving Hird and Leidangr soak up huge amounts of damage whilst still dishing it out effectively.

So the game was probably decided in that first clash, when I lost a unit of Hird and their general in a shock result. After that, even with things being 50/50, I was on the road to a defeat. All kudos to John, though, for maintaining the pressure and not giving me the opportunity I needed to turn the tables.

The next game will see us swap sides…

More Crimean War Brits, and some Scots

As this year’s Painting Challenge draws to a close, I find myself very close to achieving a new high score. Before the below are added, I was on 1,967 points versus my previous record of 2,004 points set in 2019: a mere 37 points apart.

First up today is a another battalion of Crimean War British Line Infantry.

These are Rank & File figures from Timecast: very nice figures that my somewhat messy painting doesn’t really do justice to.

These chaps had quite an adventure. Firstly I varnished them before noticing that the Union flag was missing the red diagonals. Secondly, I had these drying in the garage and managed to acrobatically drop the tray holding them in a spectacular fashion whilst wrestling with the garage door. More speed less haste, as they say! Some time was needed to re-glue half the figures back on the bases and touch up the impact points with fresh paints. Annoying!

Second up is another command stand for my Covenantor Scots:

I’m showing you the back view so that you can see all the lovely tartan! Figures are from Peter Pig.

So that lot give me 36 points in total, meaning I am now only a couple of points under achieving a new record with over three weeks of December still to go…

TFL Painting Challenge: First December Update

As we move into the last month of this year’s Challenge, I’ll be doing more regular updates as you all accelerate production.

I’ll be running the Challenge again next year, so get in as many points as you can over the next four weeks or so to set yourselves a decent target for 2023.

Entries this time from Stumpy, Sapper, Carole, Mervyn, Matt, and Chris: I recommend a visit to their individual galleries, but here’s a taster for you:

More Crimean British

The last of the re-basing…

my name is cardigan, what is what, what is wHat!

These represent the 11th Hussars of Balaclava fame, or rather infamy. I had eleven of these already painted, so had to find one more to colour match and paint up.

I painted these myself some twenty years ago and was very proud of them at the time.

Here are all the skirmishing units I will need: naturally composed of Riflemen. These I bought painted

Finally, here’s another battalion of Guards. This is a half-n-half unit: the rear two ranks are composed of Minifigs Guards that I painted some twenty years ago; the front two ranks are newly bought Timecast figures painted up to match. There’s a small difference in size and pose between the two, but nothing that will be noticeable on the tabletop.

Just another unit of standard foot, a Scots battalion, and the commanders to go now: but they will all have to be bought and painted from scratch,