IABSM in the Desert
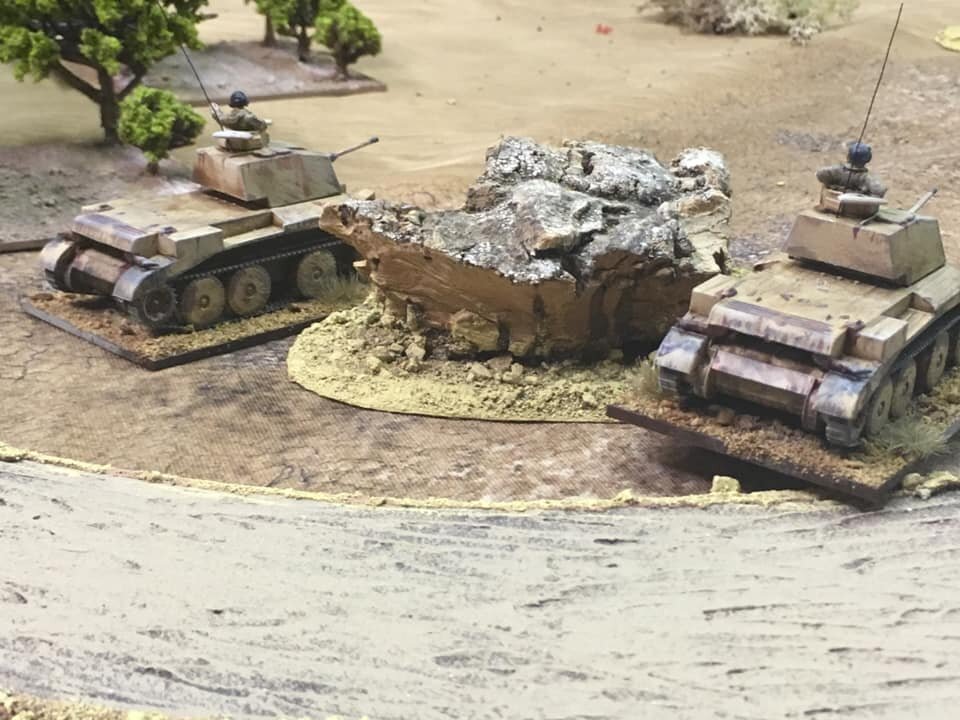
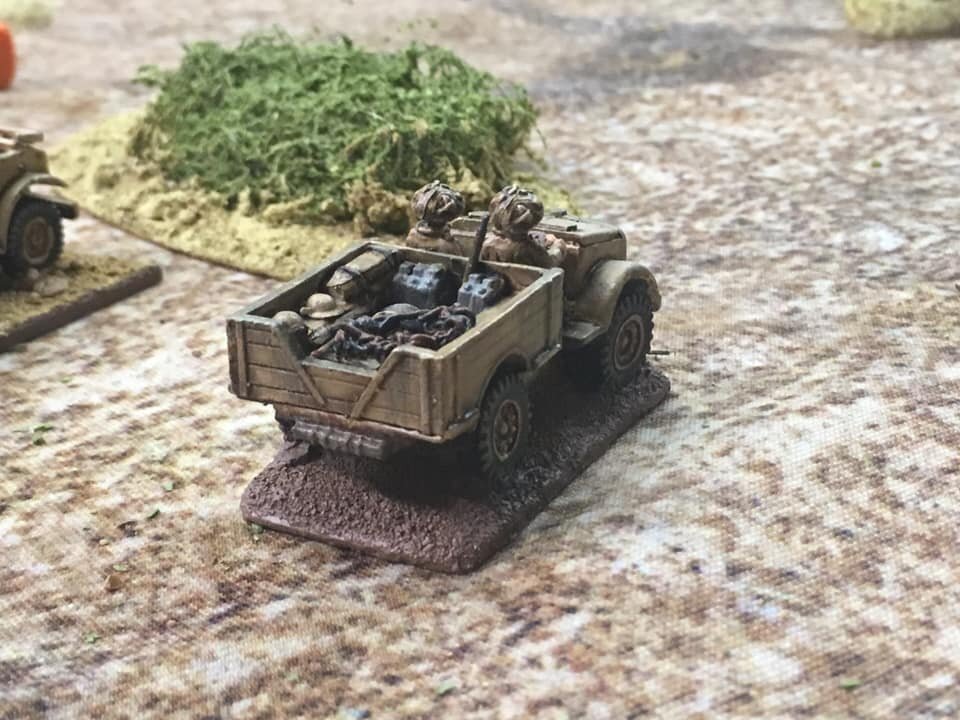
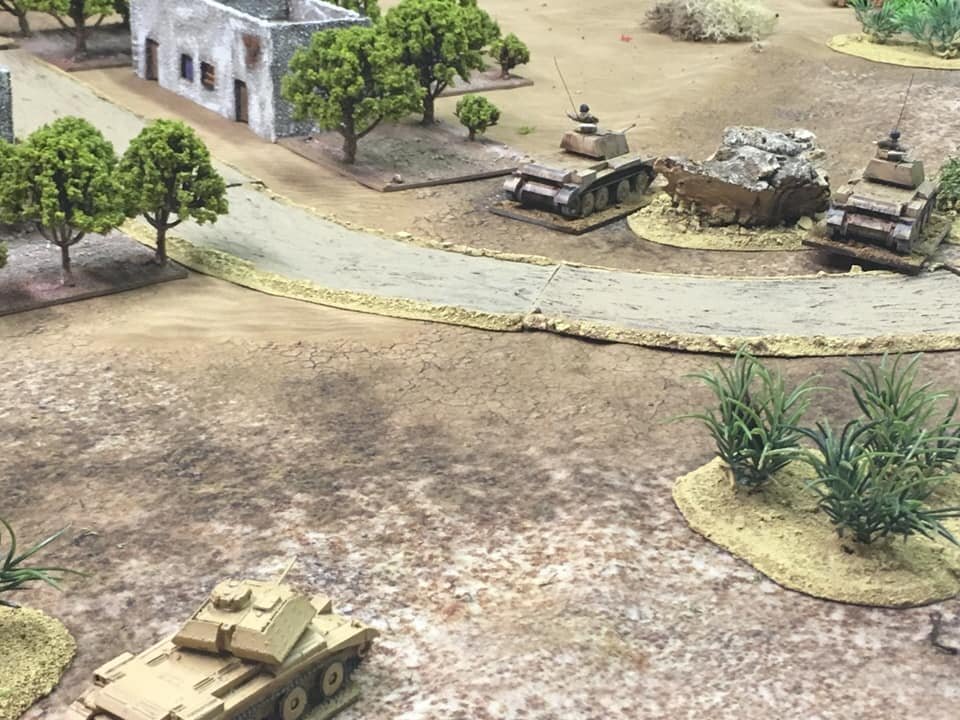
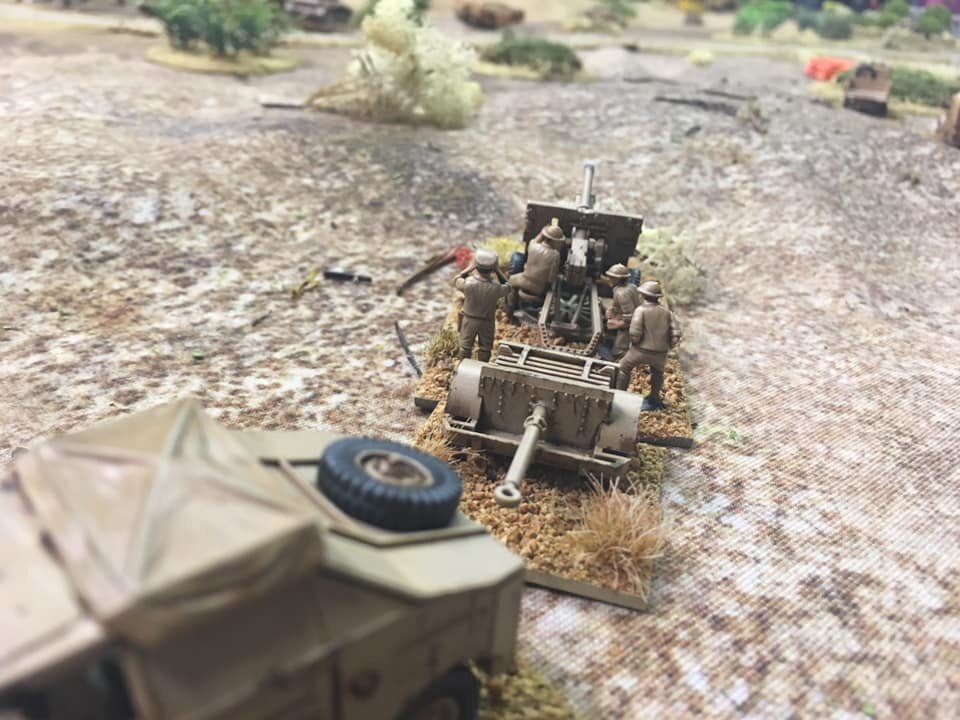
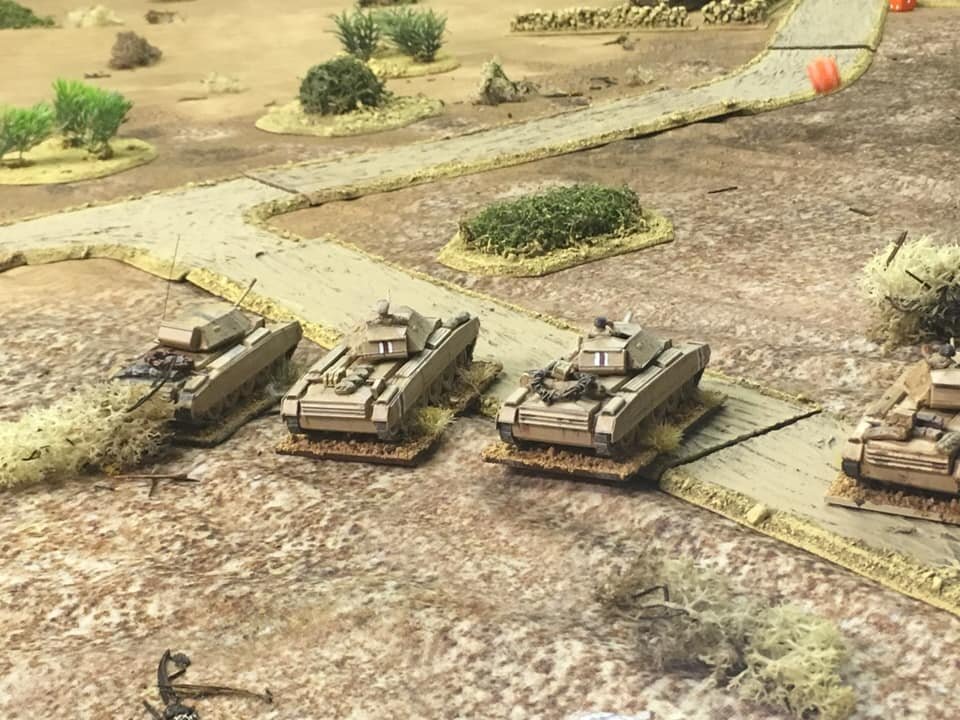
/Not a full AAR, but some nice shots of a Tim Whitworth game from last summer. Images taken from the IABSM Facebook Group: recommended if you play the game.
Not a full AAR, but some nice shots of a Tim Whitworth game from last summer. Images taken from the IABSM Facebook Group: recommended if you play the game.
Published today, and available to buy from the TooFatLardies shop, Blitzkrieg in the Far East 1: Japan is the sixth in the series of early war handbooks for I Ain’t Been Shot, Mum. The handbook is 116 pages long and covers the Japanese army during the first phase of the War in the Pacific, December 1941 to June 1942, when its battle-hardened armies inflicted defeat after defeat on the Allies.
Unlike the other titles so far in the series, the nature of Japan’s campaign of expansion means that the booklet is not divided into sections defined by the different types of division that fought, but into sections defined by the different geographical mini-campaigns: Malaya and Singapore, Burma, the Philippines, The Dutch East Indies and the South Seas. In effect, it is several theatre booklets rolled into one.
There are a total of forty-eight different lists split as follows:
Malaya & Singapore: 7 lists from 25th Army
Thailand & Burma: 5 lists from 15th Army
The Philippines: 16 lists from 14th Army
Hong Kong: 1 list from 38th Division
Borneo: 2 lists from 35th Brigade
The Dutch East Indies: 15 lists from 16th Army
The South Seas: 2 lists from the South Seas Detachment
Finally, we have the usual ratings and armoury sections, and a note on air support.
Although designed for IABSM, Blitzkrieg in the Far East: Japan contains a vast amount of information useful to gamers of other systems, and is really a must-buy for anyone interested in the early war period.
Another unit destined to see the tabletop very rarely: a battery of German 10.5cm howitzers.
These are, again, plastic, and actually not bad at all. The guns are superb: they go together easily and paint up well; the crews are a bit more average but take also the paint well.
What I do like about the crews is that, unlike the chaps manning the Nebelwerfer battery I was complaining about a couple of weeks ago, these men have dumped all their backpacks, and gas mask cases, waterbottles etc, and are just dressed in their uniforms. Makes a lot more sense and saves a lot of time when painting them up!
Definitely another recommended from me: a great way to get some glorified objective markers onto the table without breaking the bank!
Another unit almost certainly destined never to see the tabletop except as an objective for attack!
One of the new Late War box sets from Battlefront, the 15cm Nebelwerfer Battery consists of six plastic rocket launchers with three sprues of six crew each.
Very easy to build and paint up, and I like the extra ammo stowage you get to dress the bases. My only real problem is with the crews. The number of figure provided is fine: you get six figures per rocket launcher, but only four per launcher are actually suitable, the other two being obvious artillery- or anti-tank-men. That’s not the problem.
My gripe, and it is a small one, is that three of each set of kneeling crew members are wearing their full equipment: backpack, gas mask case, haversack, satchel etc. Now, fair enough, you don’t want to lose your stuff by putting it down somewhere and then forgetting it, but these are behind-the-lines artillerymen. I can’t see that they would go about loading their weapons with full pack on…but maybe I’m wrong, maybe they did. Anyone know? Anyhow, looks a bit weird to have all these heavily laden chaps servicing their guns.
But it’s a small gripe and don’t let it put you off buying. When it comes down to it, the set does exactly what it says on the tin. Now all I need to do is to get a table big enough to cope with their minimum range!
I’m still working my way through all the stuff I bought in the Battlefront sale. The next box set pulled out of the pile was a platoon of M18 Hellcat Tank Destroyers.
These are lovely pieces of kit: the traditional resin and metal mix rather than plastic, and well worth the money. They go together very easily indeed, and even my usual bugbear of fitting the crew in to the turret compartment was easily solved with a pair of clippers!
I built two of the M18s without a muzzle brake (left hand picture above) and two with the post-1944 muzzle brake (right hand picture above).
Painting them was easy. I began with a quick spray of a slightly darker shade of green: more a British colour than an American one. Once that was properly dry, I painted all the things that wouldn’t be green at the end of the process: the crew, the tools, the stowage etc. Then I washed the whole vehicle in Agrax Earthshade and, when dry, highlighted everything. The main vehicle body was heavily dry-brushed with brown velvet: this gave me the contrast I was after with the darker and washed green below. The tracks are my usual mix of a steel colour with a flesh wash.
To make sure the crew stood out, I actually painted them in a very light green uniform: not quite accurate, but when washed gave a nice effect. You can’t see it very well in the picture, but the crew member on the left (as you look at the picture) is actually giving someone the finger. Just one of the vagaries of casting, but a nice touch!
One note, the box set does come with some extra stowage and a decal sheet. The extra stowage is great, and the small stars on the turret and the vehicle number are just right, but the aerial recognition stars (the ones within the circle that go on top of the back of the turret) are way too big. I had to use left over decals from another set and, because the top of the turret has got all sorts of knobbly bits on it, loads of decal softener to get a nice fit.
These get a highly recommended from me, which is actually a shame as I’ve just realised that the reason they were in the sale is that Battlefront are relaunching (today actually!) everything late war, so this box set probably isn’t available any more! Shame.
Some of you may know that I am currently writing the I Ain’t Been Shot, Mum theatre handbooks for the Far East, starting with the Japanese armies that invaded the Pacific region: Malaya, Burma, the Philippines, Borneo, the Dutch East Indies etc.
All the research, particularly into the 7th (Medium) Tank Regiment that fought in the Philippines, inspired me to finally get around to painting the two boxes of Type 89 Chi Ro tanks that have been sitting in my lead mountain since Salute two years ago. These I bought from Troll Trader for the princely sum of £12 each: a huge discount off ratecard at only £2.40 per tank.
These went together really nicely: even the back sled-things weren’t too hard to build. Not only that, but this makes 23 tanks consecutively from Battlefront without a single piece missing. Given my previous rants about quality control, this is a real (and very welcome) improvement.
Painting was just a matter of following the patterns shown on the box art. I now just need to tone down the gloss lacquer a bit with some mat spray.
My only disappointment was that when I went to enter my new Type 89 tanks into my Japanese roster, I found that I already had five of them, bought and painted some time previously. Ah well: you can never have too much of a good thing!
Recommended.
More Soviet vehicles rolling off the production line as a result of Battlefront’s last sale: this time it’s the SU-57 self-propelled guns.
More correctly called the T48 Gun Motor Carriage, the Samokhodnaya ustanovka 57 was what the Soviets called the M3 half-track with a 57mm anti-tank gun mounted on top. The Russians received 650 of them, and used the SP AT guns in Operation Bagration et al. in 1943/4.
I usually hate putting Battlefront artillery together, especially those with a gun shield, so was pleasantly surprised at how easily I could build the four SU-57s. The M3 body has a fits-just-right post for the gun, with a lovely little ledge just in front of it for the edge of the gun shield. No swearing required at all!
The crew are good too. I chose to mount them as part of the initial build (as opposed to painting them separately then putting them into the painted vehicles) and this seemed to work quite well. There’s enough room to get a brush right their way down to the feet, if necessary, so my standard block colour-wash-highlight technique worked well.
Almost to my surprise, another highly recommended.
I’m continuing to work my way through all the tanks I bought last time Battlefront had a significant sale, moving on from the Germans (Jagdpanzer IVs) to the Soviets.
The first batch of Stalin’s toys off the painting table were a company of heavy tanks: KV-85s to be exact. These filled the gap between the KV-1E (and a few lend lease Churchills) until the arrival in 1944 of the JS-III.
I’ve always liked the shape of the KV class of Soviet tank: nice and chunky!
These, the usual Battlefront combination of resin body/turret and metal tracks/gun/hatches, went together really easily (makers of plastic vehicles take note), and were a joy to paint up as well.
I did add a bit of extra stowage to a few of them: somewhat ironically given my previous comment, the canvas rolls on the front two tanks are actually the furled up canvas tops to the PSC Steyrs that I posted about a few days ago. Nothing ever goes to waste!
KV-85s from Battlefront: highly recommended.
I’m always a sucker for a bargain, so when Battlefront recently had a 25% sale in preparation for withdrawing some models from sale whilst they re-model, I took full advantage and added another peak to the lead mountain.
One gap in my collection that I was happy to fill in were some Jagdpanzer IVs: the infamous very low profile tank hunters.
These were easy to build (therapy after the Steyrs!) and easy to paint. Spray dunkelgelb, then use the sponge pad that Battlefront use as packaging to protect their models to dab on some dark green then brown. Wash with the ubiquitous Agrax Earthshade, highlight with Screaming Skull, do the tracks, crewman and decals and away you go. Simple.
Can’t wait to get them onto the table.
I’m quite a fan of plastic vehicles: the price means you can buy by the company rather than by the platoon, the plastic allows for an incredible amount of detail, and they weigh a fraction of their metal or resin equivalents - important when you’re carrying a company of large tanks around!
So when I needed a re-stock of spray paints for undercoating, and had decided to use the ones available on the Plastic Soldier Company website, and noticed that they had released a set of Steyr heavy transport cars, I impulse-purchased a box-full and looked forward to adding them to my collection. I didn’t exactly need them, but they could join the mass of other PSC products that I already had: Cromwells, Churchills, half-tracks etc.
As you might have gathered already, I like PSC kit, and have built many a PSC model, but I’m afraid to say that these were a complete nightmare to put together! They’ve turned out brilliantly, as you’ll hopefully see from the pictures below, but the actual build process was…well, it was traumatic, to say the least!
So what was the problem?
The problem starts right at the beginning of the build: step 2 in the instructions IIRC.
The first step is to attach the bottom of the vehicle to the chassis that will take the wheels. No real problem here, but my advice is to do this on all the vehicles you are building first, then properly leave them to dry until the glue is rock-solid. That assembly is going to take an awful lot of pressure as you try and complete step 2, and will easily un-stick itself as the shear you will have to use takes effect.
Okay: now onto step 2. Sticking the sides of the vehicle onto the bottom/chassis assembly. This is where the fun starts.
The sides of the vehicle are necessarily shaped and curved to represent the body and the bonnet (hood for my US chums) of the Steyr. This curved piece of plastic is not quite shaped correctly to sit on the vehicle bottom. This means that you have to glue the front of it in place, and then bend the plastic into position on the sides. That means gluing plastic under pressure in place i.e. the sides want to flex back into their natural shape rather than sit in position as the glue hardens. As this is a 15mm model, the surfaces to be stuck together are small, which means there’s not much glue available to hold the plastic-wanting-to-flex-back to-its-natural-shape in place.
One simple paragraph, but a couple of hours of extreme frustration!
No matter what I did, I couldn’t get the models to go together without leaving seam-gaps where there shouldn’t have been seam gaps. By the end, I was using plastic cement, Superglue, and, finally, a paste made up of Superglue and PVA mixed together in a desperate attempt to make things work. I had so much glue on my fingers that, even now, four days later, I still look like someone trying to conceal their fingerprints from forensics!
Things got so bad at one stage that I seriously considered taking two of the models outside and using a hammer to smash them into smithereens! I can feel my blood pressure rising even as I type this!
Anyway, I eventually got them built and painted and, I must say, they’ve turned out very well indeed:
The paint job is simple. Spray dunkelgelb from the PSC spray can. Paint canvas light brown. Wash with Agrax Earthshade, highlight with Screaming Skull. Paint in relevant bits: tyres, tools and the windows.
I’m quite pleased with the windows: they are painted a medium-light blue then very gently brushed with a bit of white.
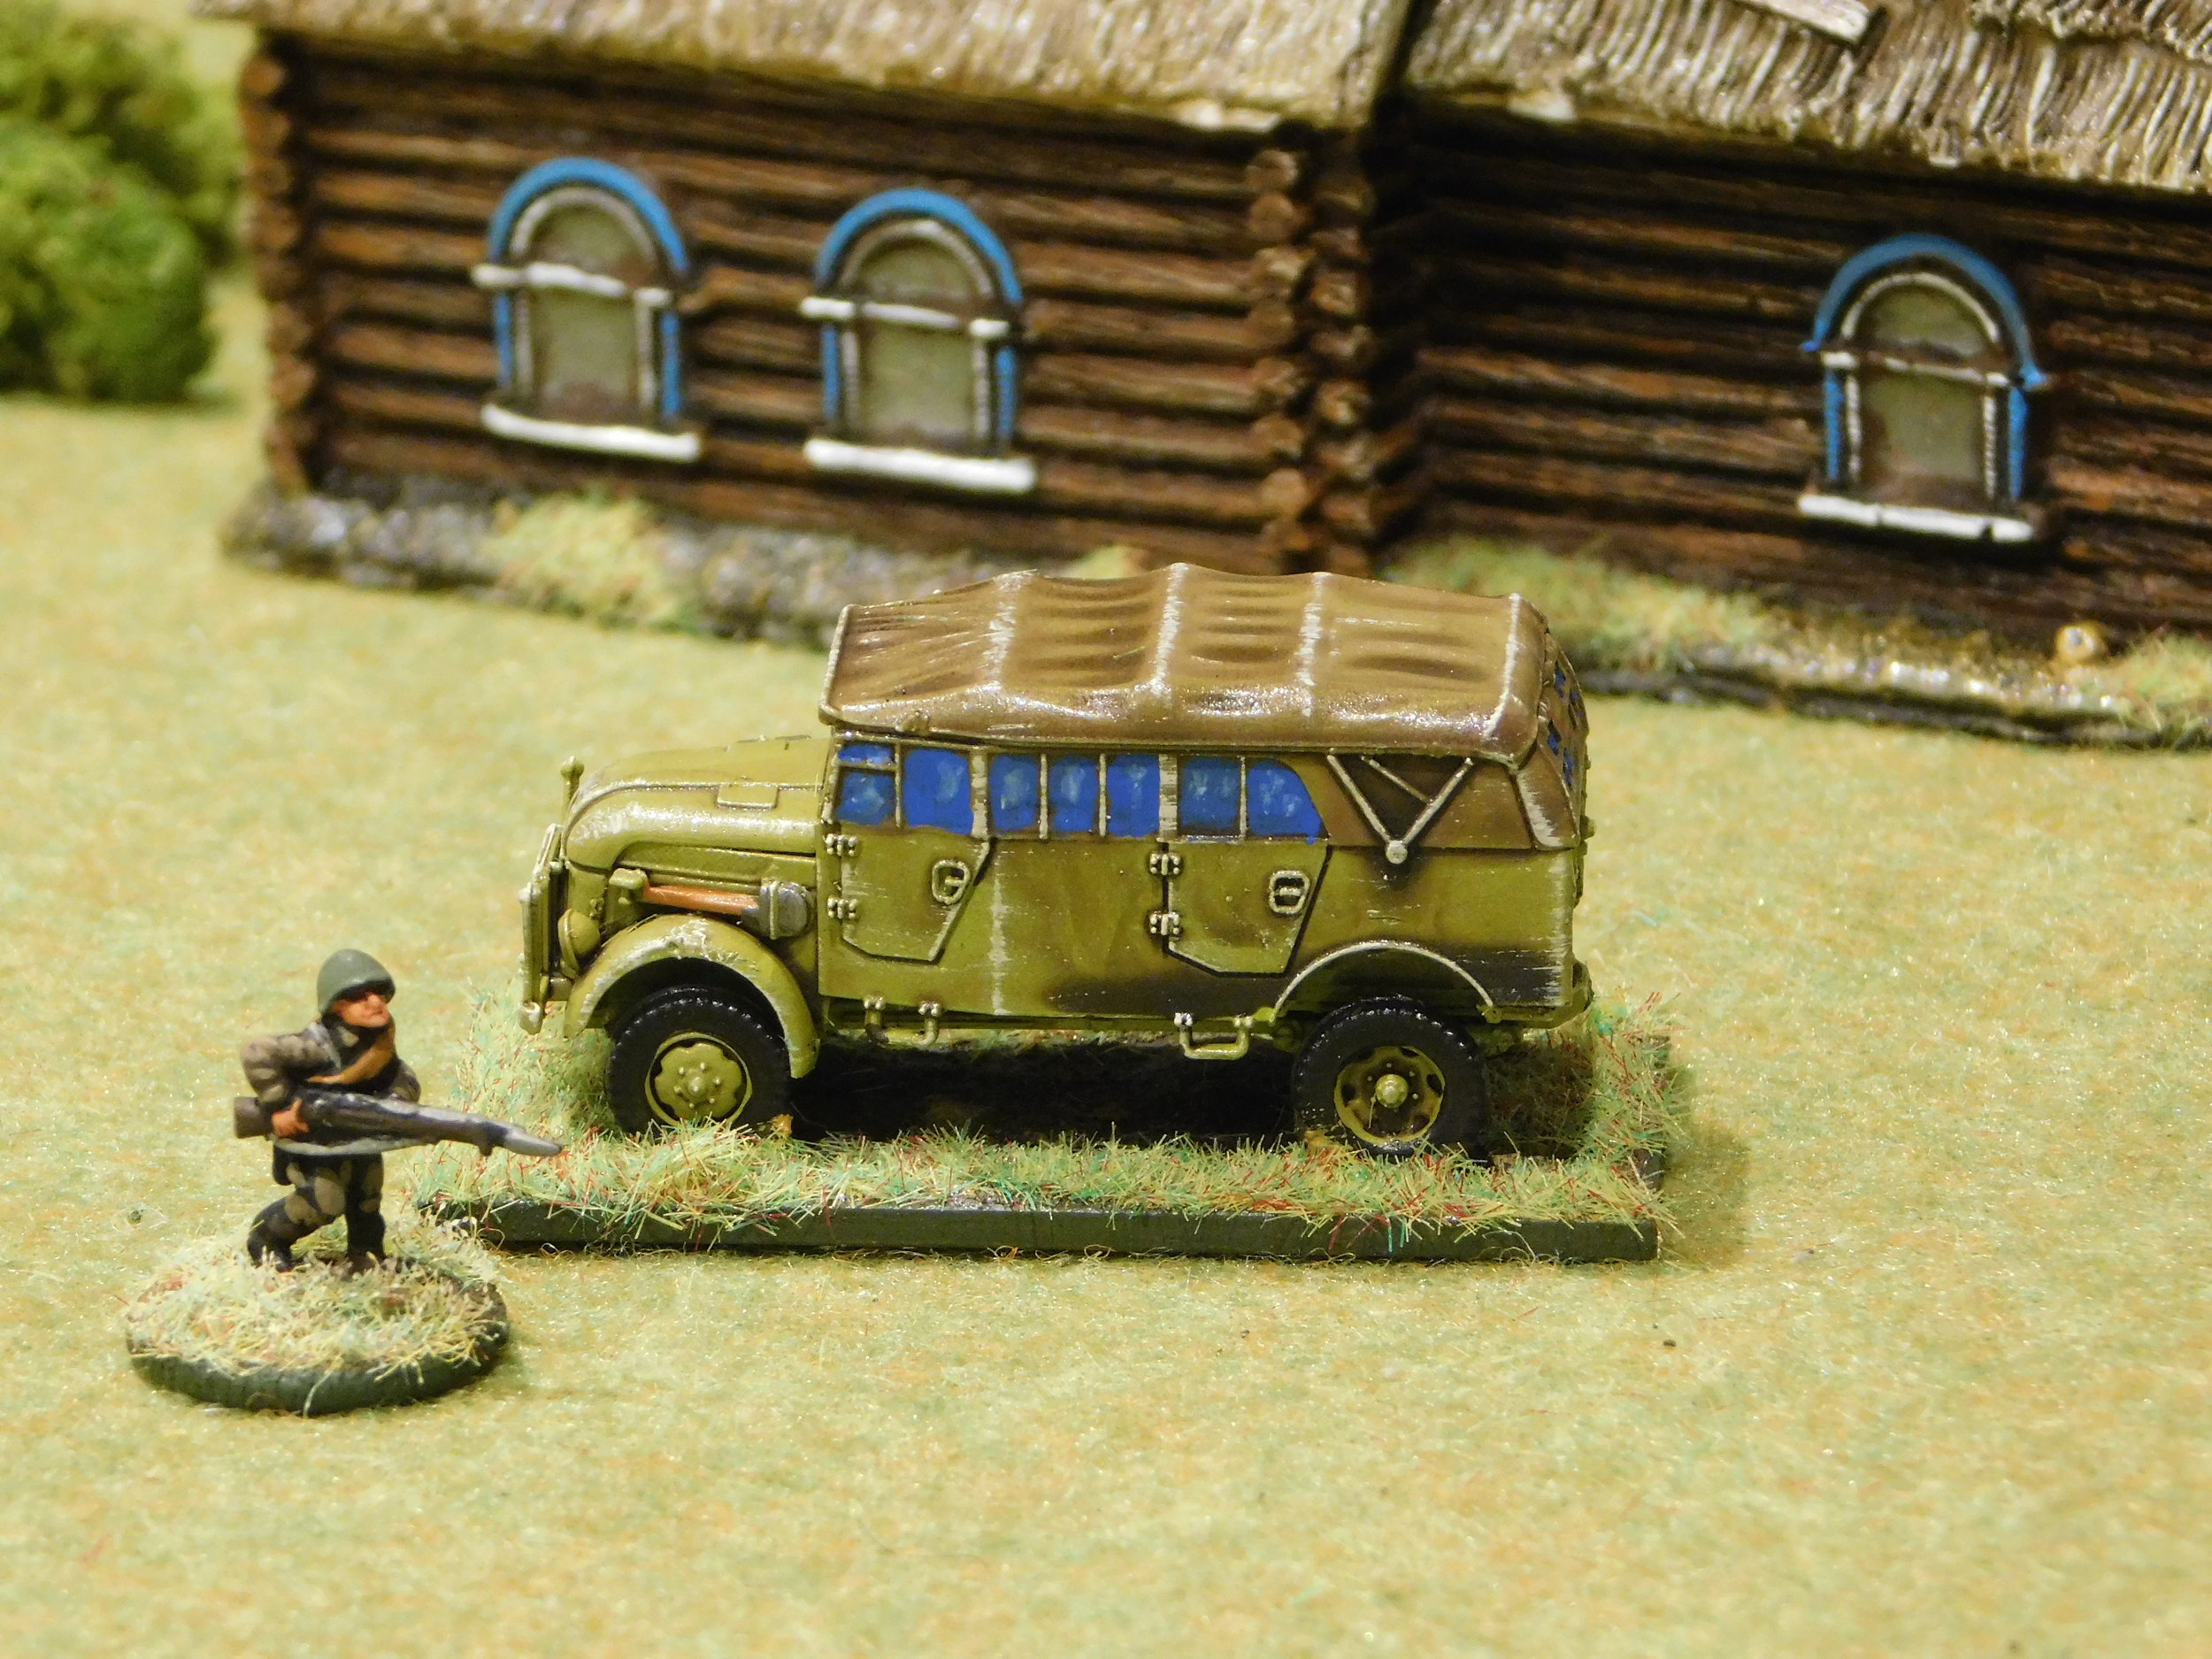
So a very lovely looking set of transport vehicles, but achieved with much pain and frustration…to the point where if PSC offered me another box for free, I might actually say “thanks, but no thanks”.
PS Note that the Steyrs come with plenty of options: early or late (my bad: the single Steyr shown above is an early model painted in late colours, the only one I actually made that mistake on: the others are all late models painted in late colours); and with the option to have the canvas top down showing the inside and some crew. I would have done that, but was so hacked off with the basic body build that I just wanted to get them finished, so went with the quick slap-on-the-canvas-roof option instead.
Those of you who have the The Defence of Calais scenario pack for I Ain’t Been Shot, Mum, and those who have read the Blitzkrieg: The BEF theatre supplement, will know that during the fall of France campaign the British were often forced to use Searchlight Infantry (i.e. line of communication troops whose purpose was to help anti-aircraft units hit enemy ‘planes by shining big searchlights into the sky) in the front line.
Up to now, unfortunately, there’s been no way to differentiate Searchlight Infantry from normal, run-of-the-mill types: after all, they wore the same basic uniform. Now, however, at least in 28mm, Sarissa Precision Ltd has produced a portable searchlight and generator.
Now the model is actually not quite right for the Searchlight Regiments (they used the searchlights either mounted on trucks, or carried on lorries with a slightly different stand) but is the closest thing I have seen so far.
Credit where credit is due: I didn’t see this on the Sarissa site, but on the Bad Squiddo games site, where Annie has created a Home Front female crew for the spotlight, and is selling the Sarissa model for them to, er, man.
Apologies if you’ve seen this before (the model is not marked as a new release on the Sarissa site) but I thought it worth mentioning. You never know, Sarissa might produce a 15mm version as a result or, equally good, Annie might start doing some of her Soviet female infantry in 15mm!
These have been sitting on my painting table for a few months: ever since the TimeCast sale in fact.
Here we have the Village Church, a Small Barn, and the Village Accessory pack from TimeCast’s 15mm Eastern Europe range. IIRC these are the re-mastered models, and very nice they are too.
The resin is smooth and takes the paint well. I’d question whether the Barn is small or not, but I like the church and accessory pack very much. That’s my Painting Challenge started for 2019.
Continuing my re-photographing of my collections, next up is the BEF: the British Expeditionary Force of 1940.
The album portrays a Regular Infantry Company plus its battalion, brigade and divisional support; plus the various options available for supporting armour.
This was actually the very first WW2 army that I painted up, and although the infantry have withstood the test of time (and many appearances on the battlefield), the armour could do with a complete refresh. In my defence, however, when I started this collection many years ago, there weren’t the range of cheap, plastic tanks available that there are now. Were I starting again, I’d be going for a complete company of each type of tank available from Zvezda!
Click on the pic below to see all:
The OB for the collection is taken from the second of my Blitzkrieg in the West theatre books for I Ain’t been Shot, Mum!
One of the ‘toys’ I got for Christmas was a new digital camera. I’d had the old one for some seventeen years, and it had really started to give up the ghost. Batteries were drained with one shot, it hated anything but the brightest of sunlight, and the cover to the compartment for the batteries had developed the annoying habit of popping open at the slightest touch.
The new one came from the post-Christmas sale from John Lewis. This was another first from me, as I actually stood and queued outside for half an hour, and then rushed in with the tsunami of other shoppers to try and get a bargain: not something I have done before, as I usually avoid the whole “Sales” madness. It seems to have been worth it, however, as once I had actually worked out where the sale items were (in their own special area) I picked up the camera I wanted for £30 less than the sale price on Amazon.
New camera means an excuse to photograph some figures, so I re-shot all my 1940’s French. Still haven’t got exactly the results I was looking for, but they look a lot better than my previous gallery.
Some rather colourful R-35’s from a supporting GBC (Groupe de Bataillons de Chars)
You can see the whole lot either here (a rifle infantry company) or here (the motorised version).
I’ve got a lot more figures, especially Somua and Char B1 tanks, and some of the more esoteric portee vehicles that Battlefront was pushing during their Blitzkrieg phase, but I’ve tried to avoid cheese and stick to the official OB’s from the TFL Blitzkrieg in the West: the French handbook.
Reading the lists and building the gallery is a great way of seeing where the gaps are in my collection.
Must be time to get some more French: I wonder if I can find any of them on sale anywhere…
I like a tabletop battlefield uncluttered by intrusive markers, so like to take any opportunity to replace a marker with something that looks more in keeping with the surrounding.
A good example of this is “Bailed Out” markers for tanks: especially useful when playing early war WW2, when you can expect far more bailed out than destroyed tanks.
I have the TFL marker pack that has some transparent oval disks with “Bailed Out” on them. I have some FoW markers: circular pieces of plastic in a variety of nice colours with little logos on them. But what I really like is a small group of painted crew figures that can be placed next to the bailed out vehicle in question.
I have these for my Germans, Soviets and British, but am mostly playing games set in the September War (Poland 1939) at the moment. Now the Poles don’t have a lot of tanks, but we’re just coming up to the period when those tanks were being used (and lost!) in almost every encounter. Time for me to paint up some Polish tank crews.
Battlefront used to be excellent for this. Every tank came with one or two standing crew figures that were designed specifically to represent bailed out and then fleeing crews. As far as I can tell, they don’t do this any more, which is a colossal shame, but I carefully kept all the ones I didn’t use just for a time like this when I needed some.
Somewhat ironically considering Poland’s fate in 1939, the above are a combination of Soviet and German tank crewmen painted up to resemble Poles. They are not perfect: the commander’s beret is a bit the wrong shape, and the crewmen should be wearing dark green mini-helmets rather than the padded version worn by the Soviets, but at a range of three feet (and just for a marker!) no-one is going to notice.
Sorted.
Although this site is dedicated to the TFL Company Level games such as IABSM, CDS and Q13, I do like to point out what else is going on in Lardland.
That's why I'm really happy to post that the much-anticipated Early War handbook is now available for the TFL platoon-sized game: Chain of Command.
Having published the IABSM early war books earlier this year, I was also somewhat involved in the production of this work, and can therefore assure you that it is truly epic. Rich has gone back to many first hand sources and original army manuals for the information it is based on.
Here's the marketing blurb:
This 124 page handbook provides a comprehensive coverage of the campaign in France and the Low Countries in 1940. Included is an historical account of the campaign in the West, as well as whole raft of new rules to cover the events of that summer. New theatre specific rules include Assault boats and river crossings, parachute drops, glider landings, bicycles, horse mounted troops and motorcycles. We have several new armour classifications for tanks with small turrets, vehicles lacking of radios and unreliable vehicles. Fancy blowing up a section of the Maginot Line? Well, you can with our new rules on fortifications and demolitions as well as looking at Francs Tireurs, ‘Shabby Nazi Tricks’ in the form of Brandenburg Commandos, Civilians, Stuka attacks and even the odd drinks cabinet being rolled out to stiffen the stiffest of upper lips.
Biggest of all is the truly massive section on Army lists. Here we wanted to provide a really comprehensive guide to the period and in doing so we went right back to the book, or more specifically the manuals that the armies of the period issued to their troops. The French Tableau d’Effectifs de Guerre, the German KsTN lists, the Dutch Handboek vor den Soldat and Officier series and many others issued throughout the 1930s and up to 1940. These manuals tell us not just how troops were organised, but how their training prepared them for war and their doctrines. This has allowed us to produce not just Army Lists but introduce national characteristics which make each nation unique in the way they fight.
Belgium
Line Infantry
Reserve infantry
Infantry scouts
Chasseur Ardennais
Frontier Cyclists
Motorised Cavalry
Motorcycle Cavalry
The Netherlands
Line Infantry
Reserve Infantry
Mounted Cavalry
Border Infantry
Bicycle troops
Motorcycle troops
Airfield Defence forces
Marines
France
First Line Infantry
Reserve Infantry
Chasseurs
Groupe Franc
Reconnaissance Motorcycle Fusiliers
Reconnaissance Cavalry
Motorised Infantry
Dragon Portes
Mounted Cavalry
Chasseur Portes
Colonial Troops
Mountain Troops
Ski Scouts
Light DIvision Infantry
Groupe Franc Motorise de Cavalerie
British
1939 Regulation Platoon
1940 Regulation Platoon
Motor Infantry
Motorcycle infantry
Line of Communication troops
Searchlight Troops
Germany
1st Wave infantry
2nd Wave infantry
3rd Wave infantry
5th Wave infantry
7th Wave Infantry
Static infantry
Pioneers
Motorised Infantry
Motorcycle Reconnaissance
Schutzen Type 1
Schutzen Type 2
SS Totenkopf
SS Verfungs and Leibstandarte
SS Motorcycle platoon
SS Aufklarungs motorcycle platoon
Fallschirmjager Type 1
Fallschirmjager Type 2
Luftlande Glider platoon
Gebirgsjager
Italy
Infantry
Blackshirt troops
Alpini
Alongside these lists we have nearly fifty support option lists giving support choices for a huge number of unit types, so if you have a motorcycle reconnaissance platoon you can select support from the different divisions which fielded that unit type. All in all, the gamer can choose an incredible range of interesting and varied troops types and then choose supports from friendly forces and allies for forces of almost limitless variety. But that’s not all. Each nation has a full Arsenal list for weapons and AFVs as well as comprehensive notes to cover their support options.
Finally, we have five new scenarios types, Going with a Bang, Strike from Above, Swift to Support, Hasty Defence and Blitzkrieg to bring the 1940 campaigns to life. All in all, a huge addition to your Chain of Command library in both hard copy and PDF.
Regular visitors will remember my post of a week or so ago mentioning that I had found somewhere (Heer46) that produced a model of an SdKfz 247: the command car used by some of the German armoured car regiments in the battle for France.
The two I ordered arrived quite quickly, and immediately jumped to the head of the painting queue.
There are two possible variants: one with a canopy over the rear compartment, and one without.
Lovely models of an uncommon vehicle that paint up very nicely. Another piece of kit that I can't wait to get onto the tabletop.
Those of you who are building an early war armoured car company from a panzer division's reconnaissance battalion (page 63 of the Blitzkrieg in the West: The Germans theatre supplement for IABSM) will have been almost immediately stymied by the need for the Big Man in the Company HQ to ride around in an SdKfz 247, as no one seems to make one.
Well I have some good news for you.
The figure manufacturer Heer46 now have an SdKfz 247 model available in 15mm. It's the Auf. B version with four wheels, as opposed to the Auf. A model with six wheels, and looks like a cracking bit of kit.
I've ordered two of the little blighters, even though I'm unlikely to ever need to field more than one.
The only problem, by the way, is the cost. In common with anything wargames related from Europe, they cost a comparatively enormous amount. The model is €11.80: which is about £10 or $14! That's about five times what you'd pay for a plastic SdKfz 222, making the SdKfz 247 the Ferrari of the German army!
Vis Lardica is a website devoted to wargaming and military history, with a special emphasis on the company-sized rulesets produced by the TooFatLardies: I Ain't Been Shot Mum (WW2); Charlie Don't Surf (Vietnam); and Quadrant 13 (science fiction)

Welcome to Vis Lardica, a not-for-profit website mostly dedicated to the company-sized wargaming rules produced by the TooFatLardies, but encompassing my other gaming interests as well.


If you need to contact me, you can do so at:
vislardica@gmail.com
If you have enjoyed visiting this site, please add a link to it on your own wargaming blog: www.vislardica.com.

