Britcon: Day Minus One
/One of the five To The Strongest competitions that I am playing in this year is currently taking place at Britcon: the massive wargames competition event held in Nottingham each year.
As I’m quite a long way from Nottingham, I travelled up on the Friday i.e. yesterday. Horrible journey where a combination of a very busy M40 and a clogged M1 meant that the trip took me an hour longer than I expected, but I found the car park no problem and, almost even better, a cracking place to re-charge my car - I’m 40 miles short of being able to do the round trip in one charge: a bit too much to risk!
Check in to the accommodation was easy too, so kudos to BHGS for their superb organisation. Okay so the room is not what one is used to (it’s been a long time since I was a student!) but very pleasant once you get used to it. The shower is very good, so things could have been much worse!


Carrying a metal 28mm army from flat to venue proved challenging: my arms and fingers had just about reached their limit by the time the main hall sprang into view, but a quick cup of coffee soon revived me and I was able to have a wander and get my bearings.
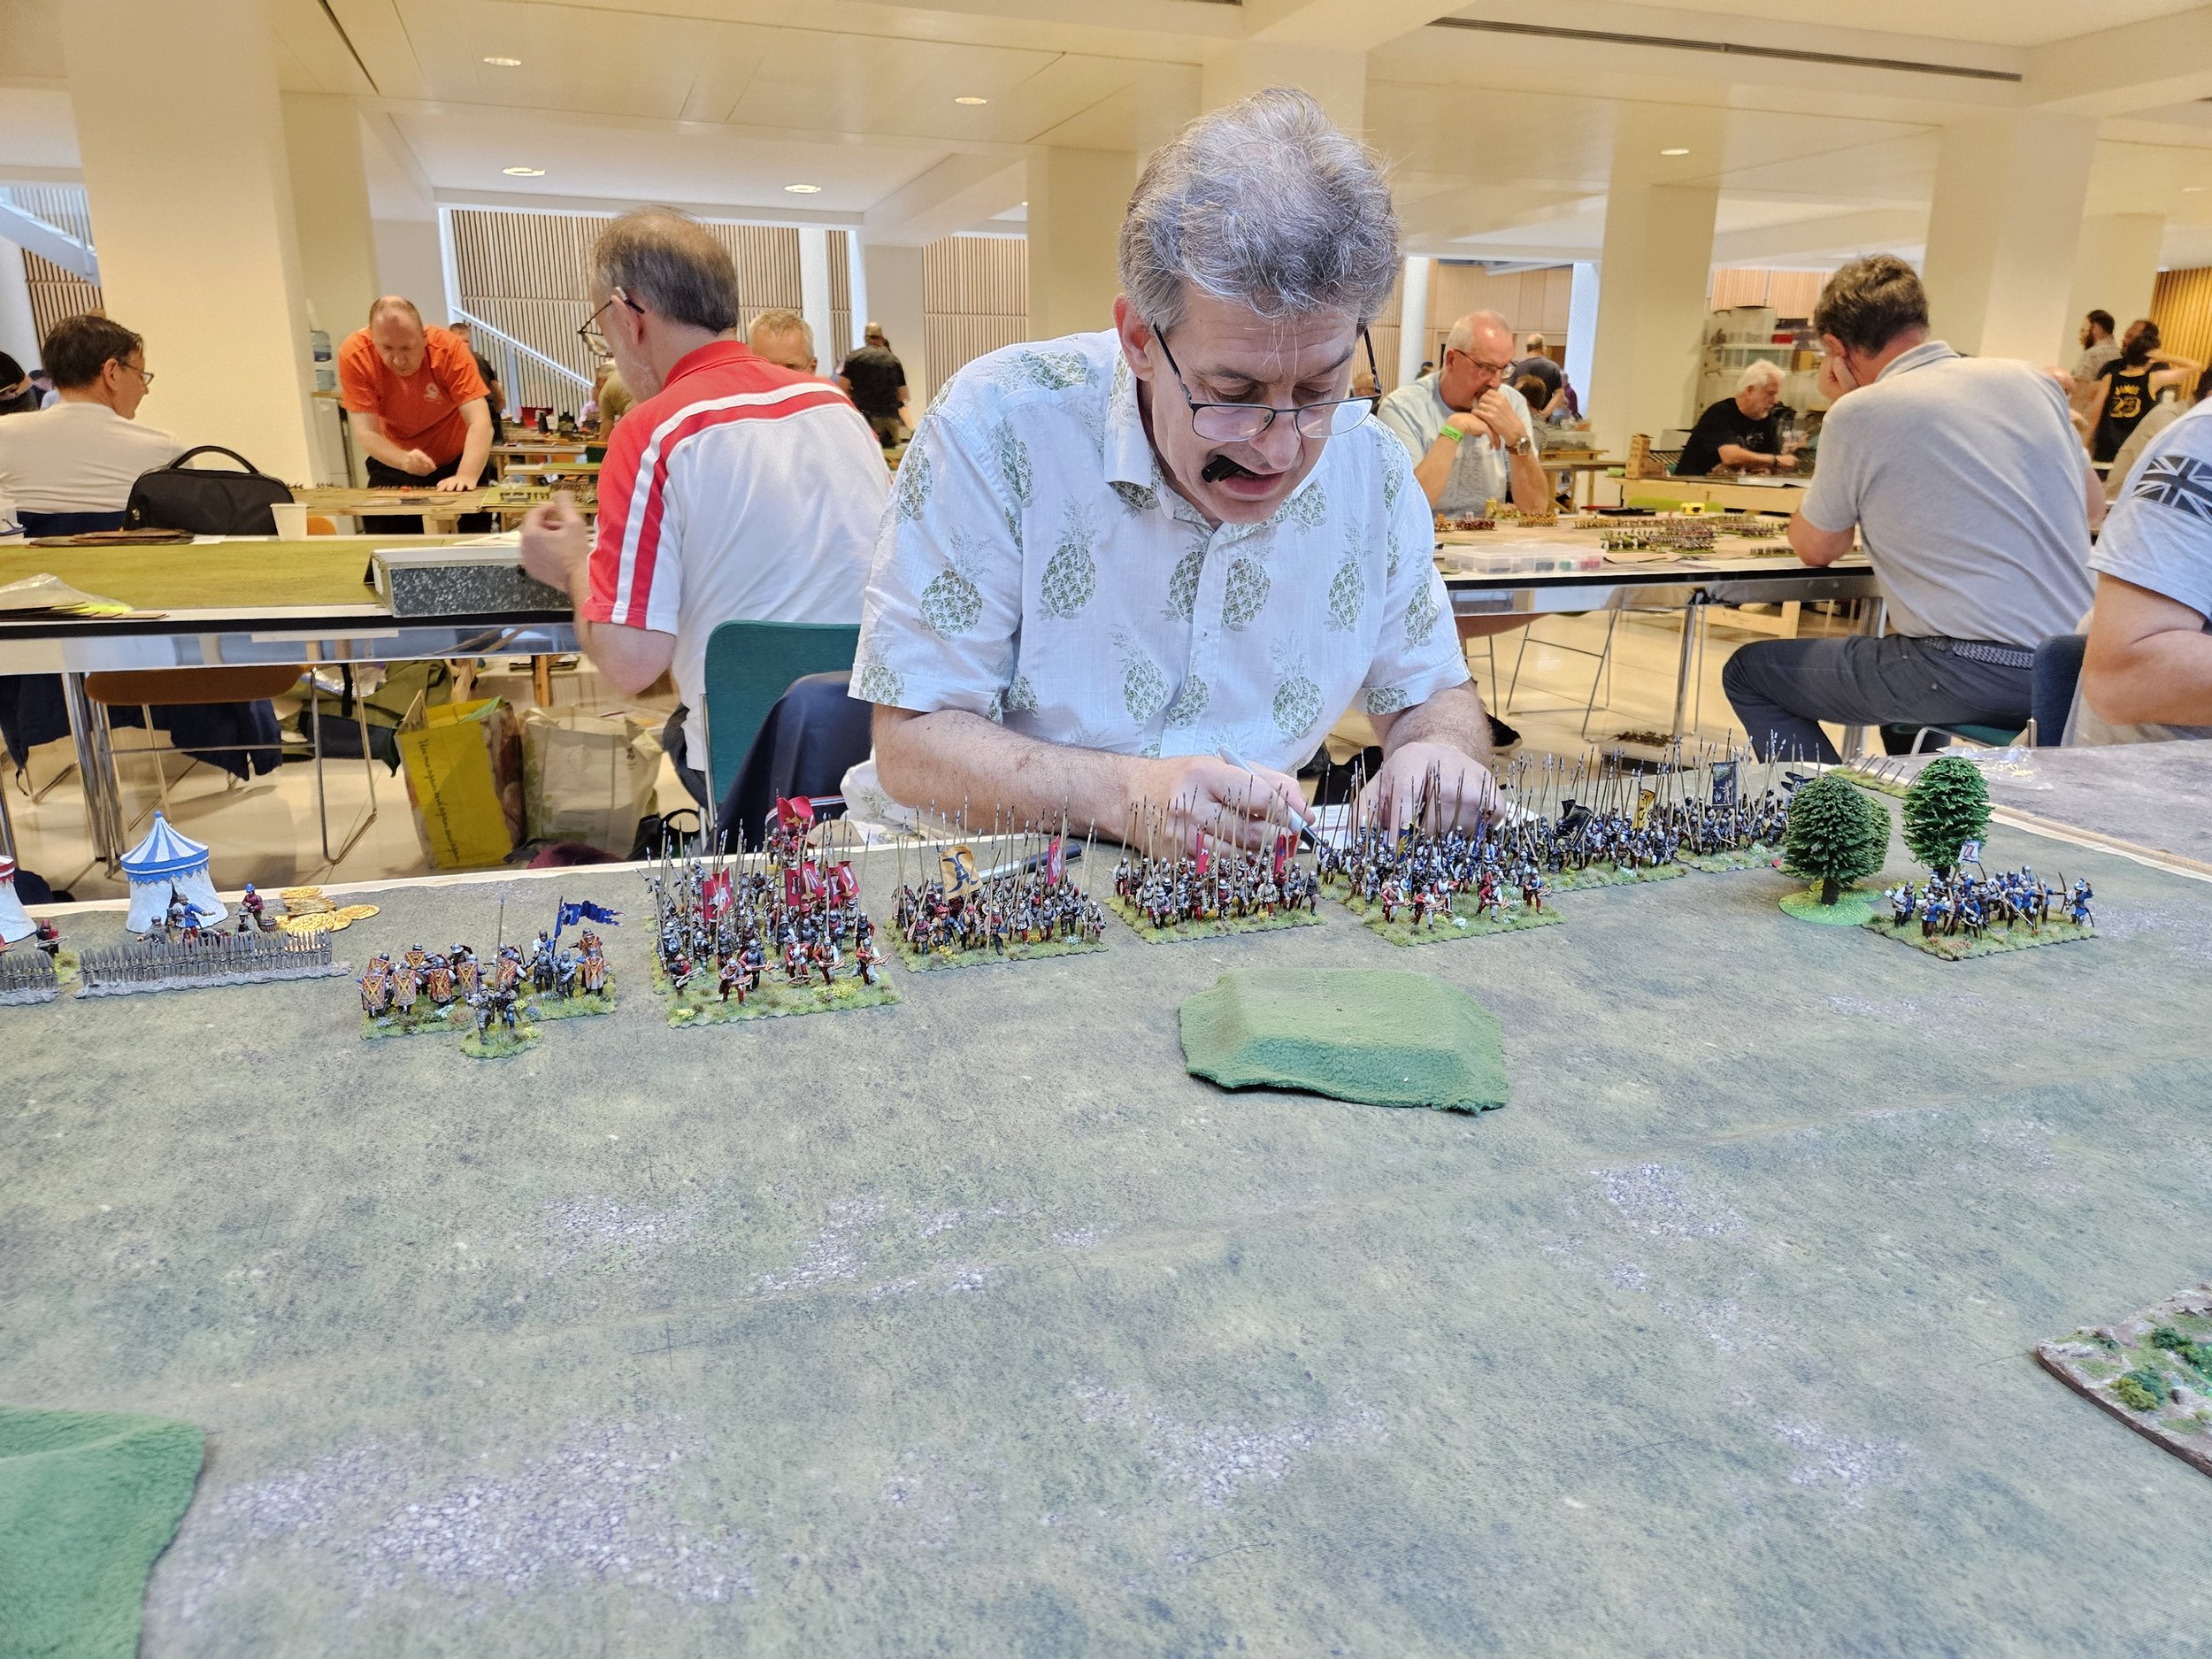
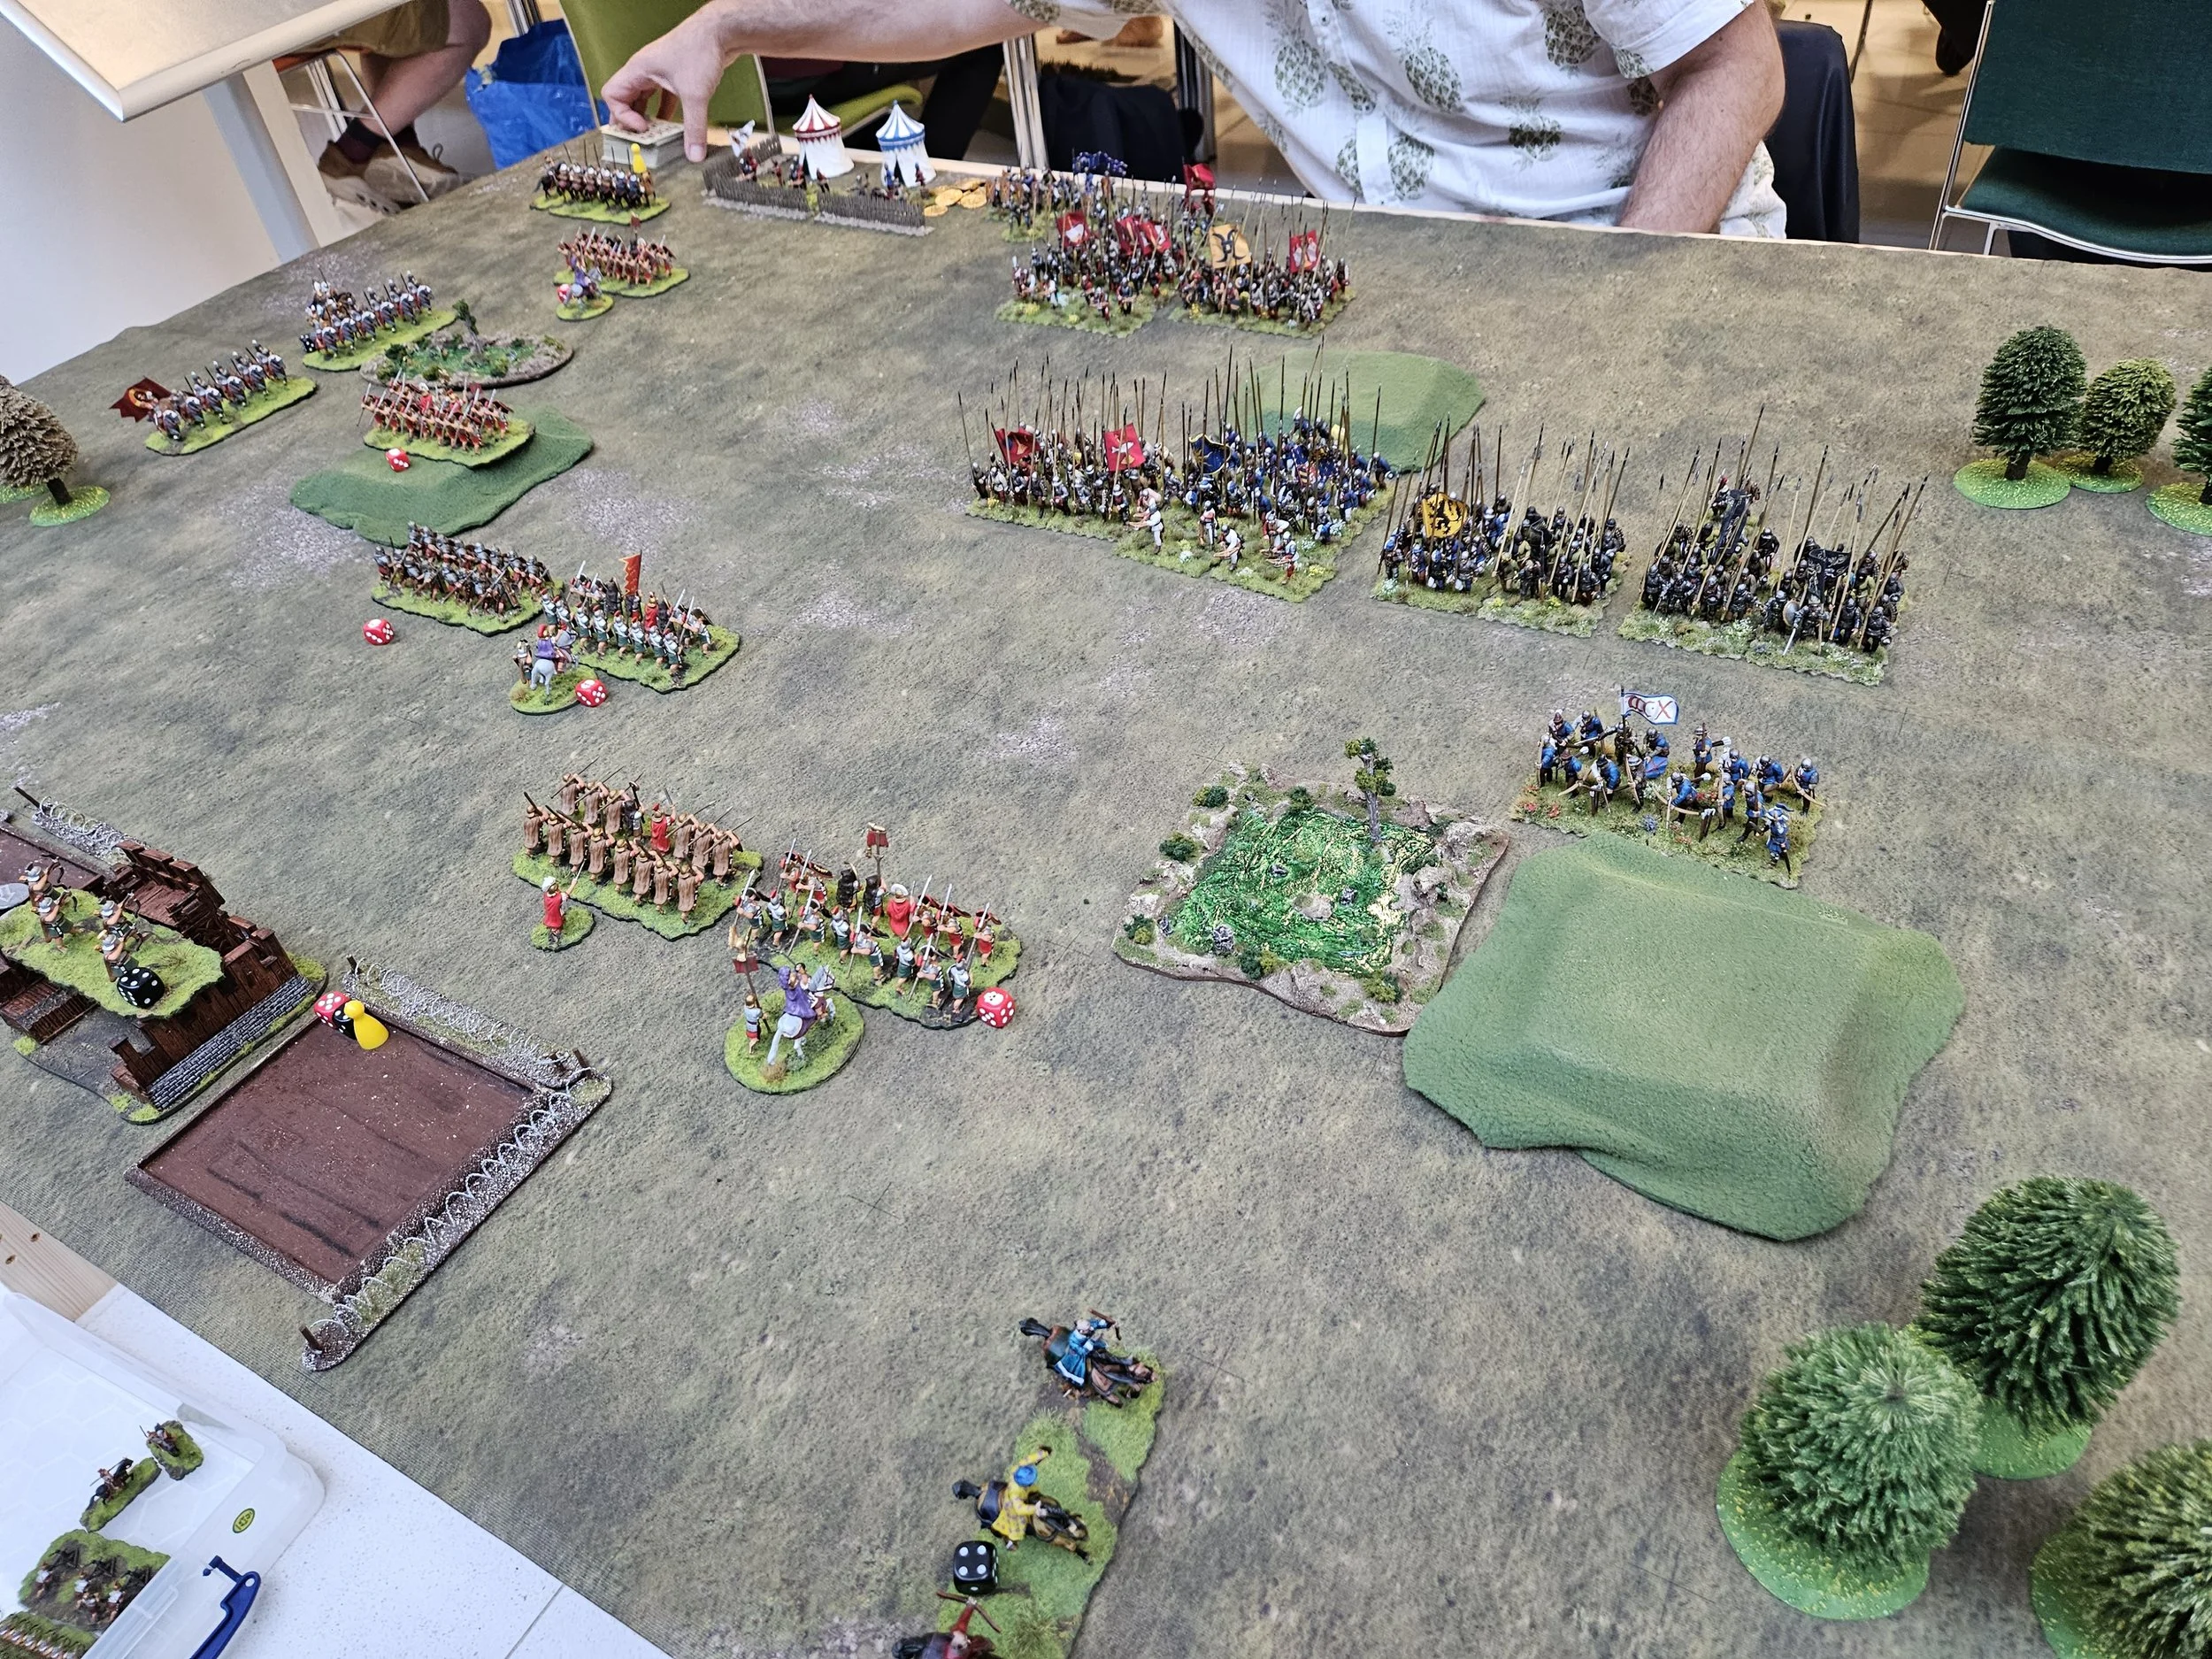
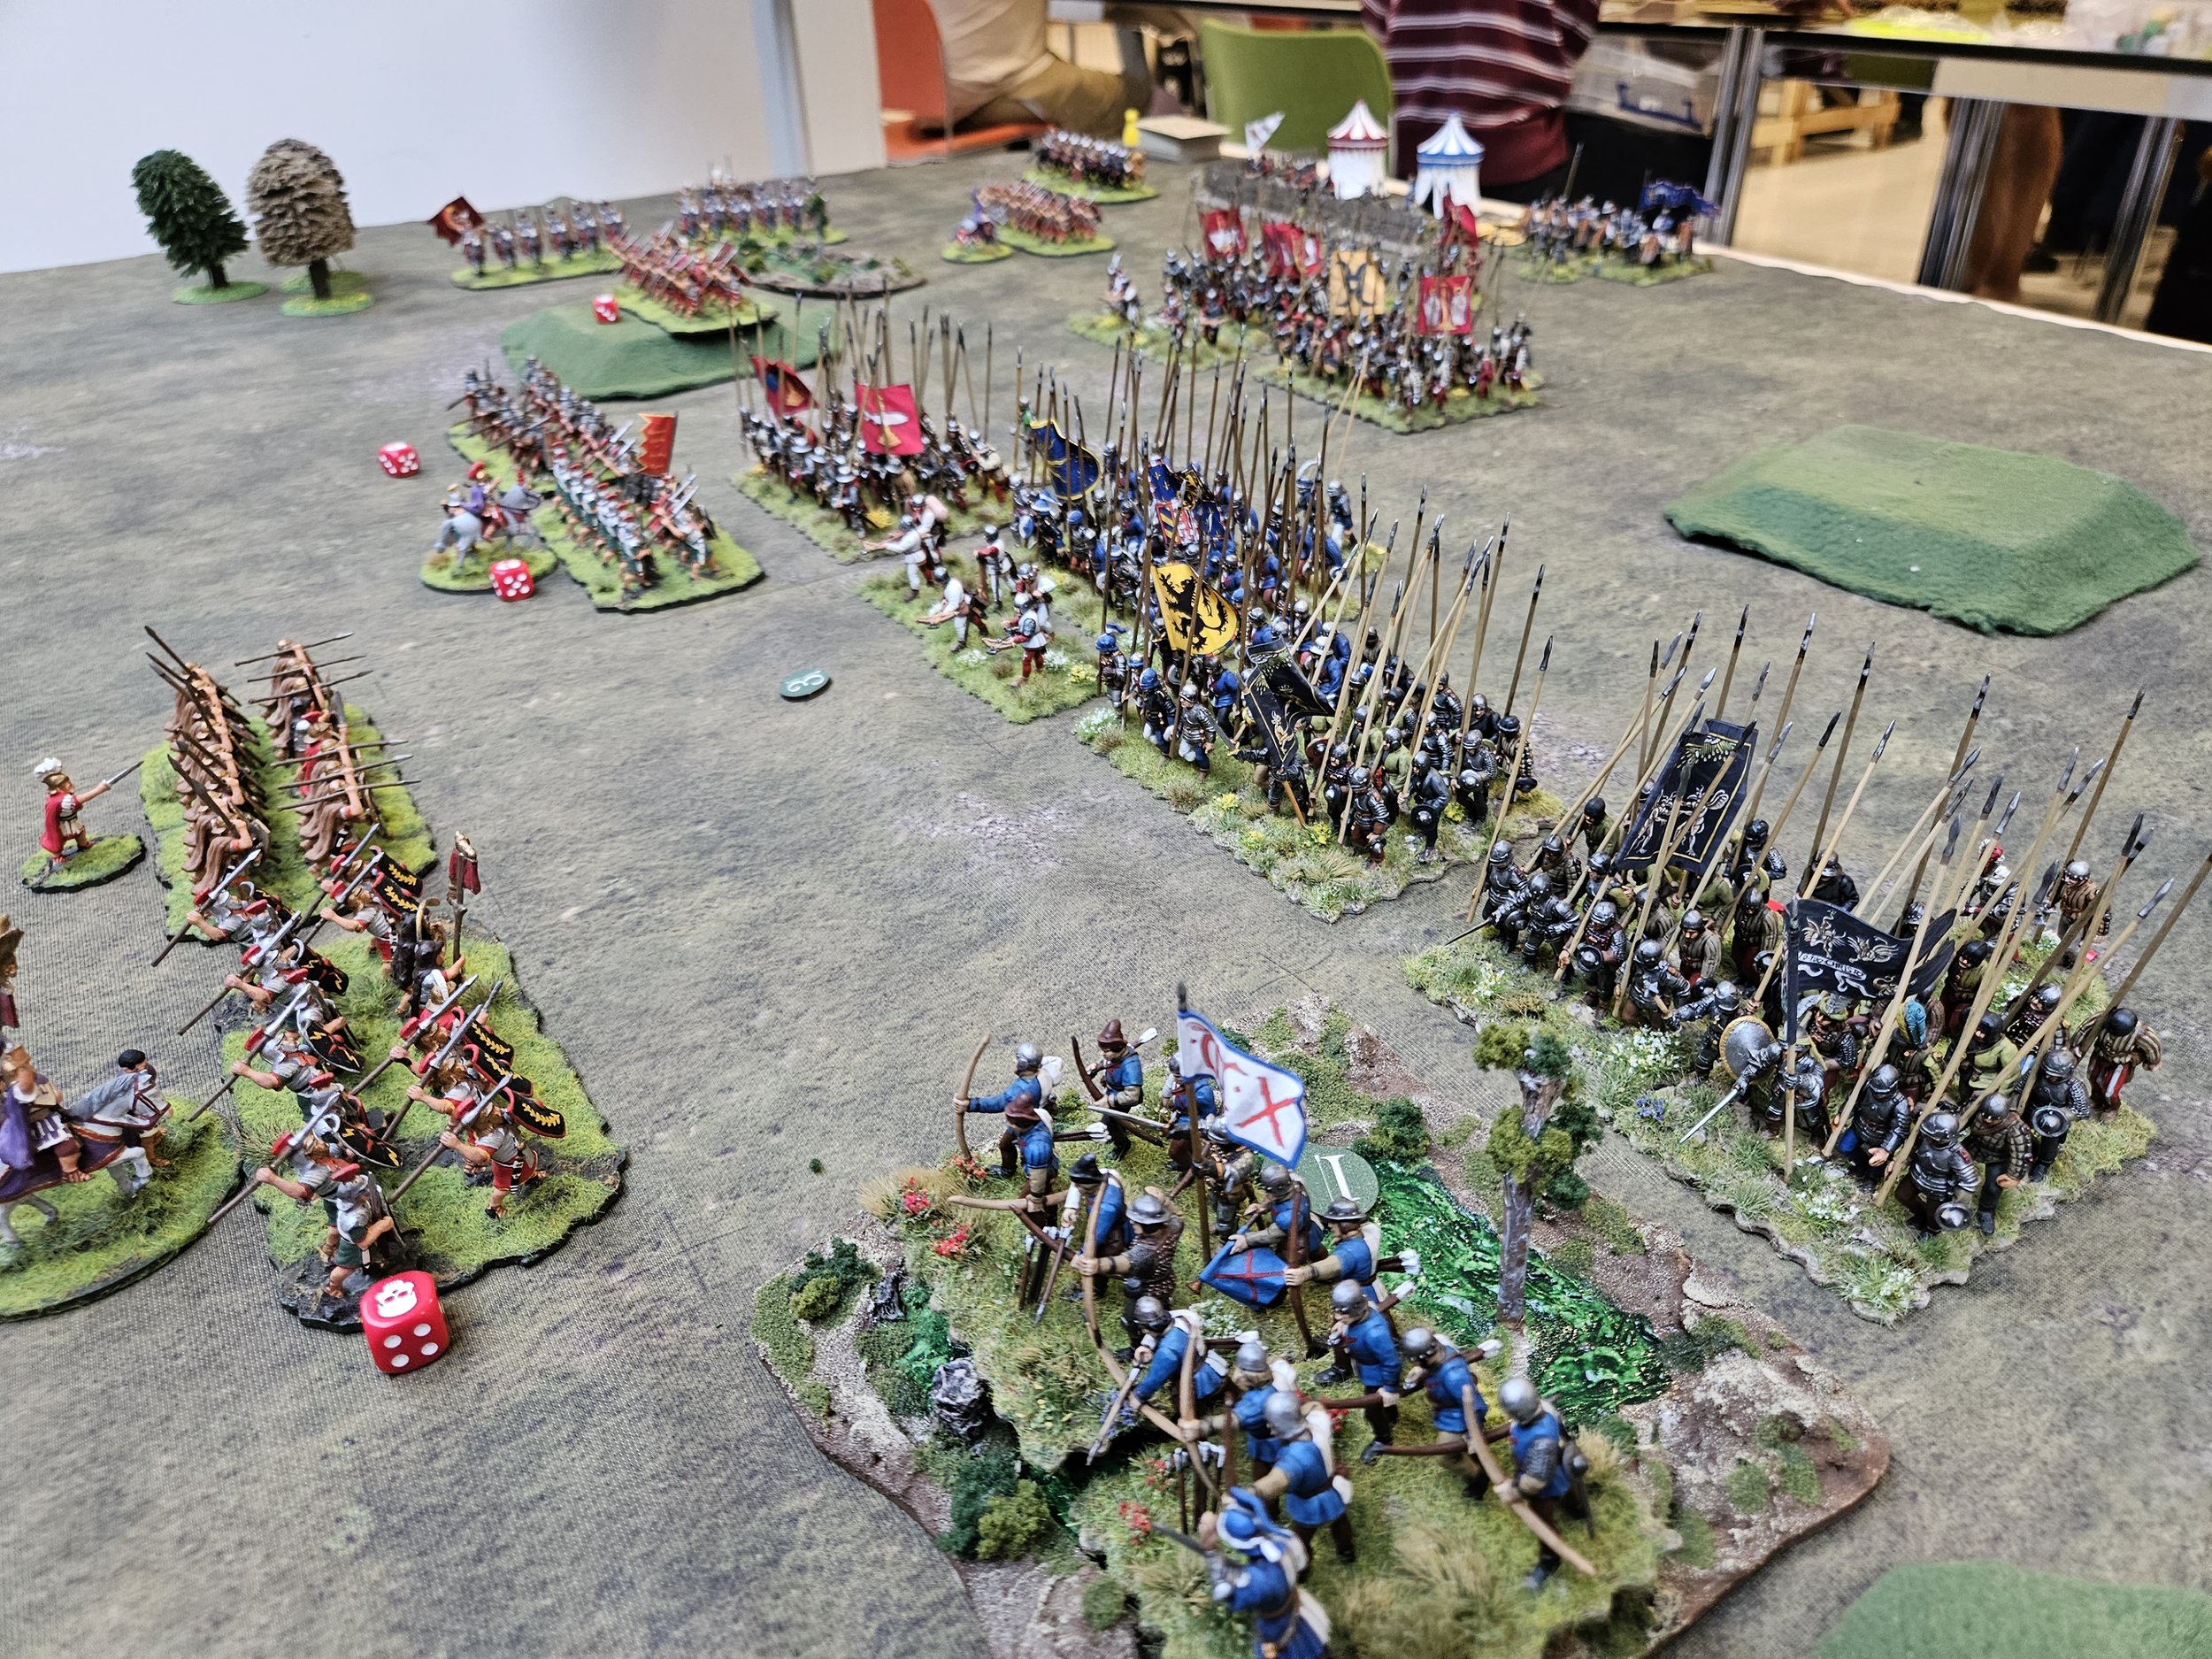
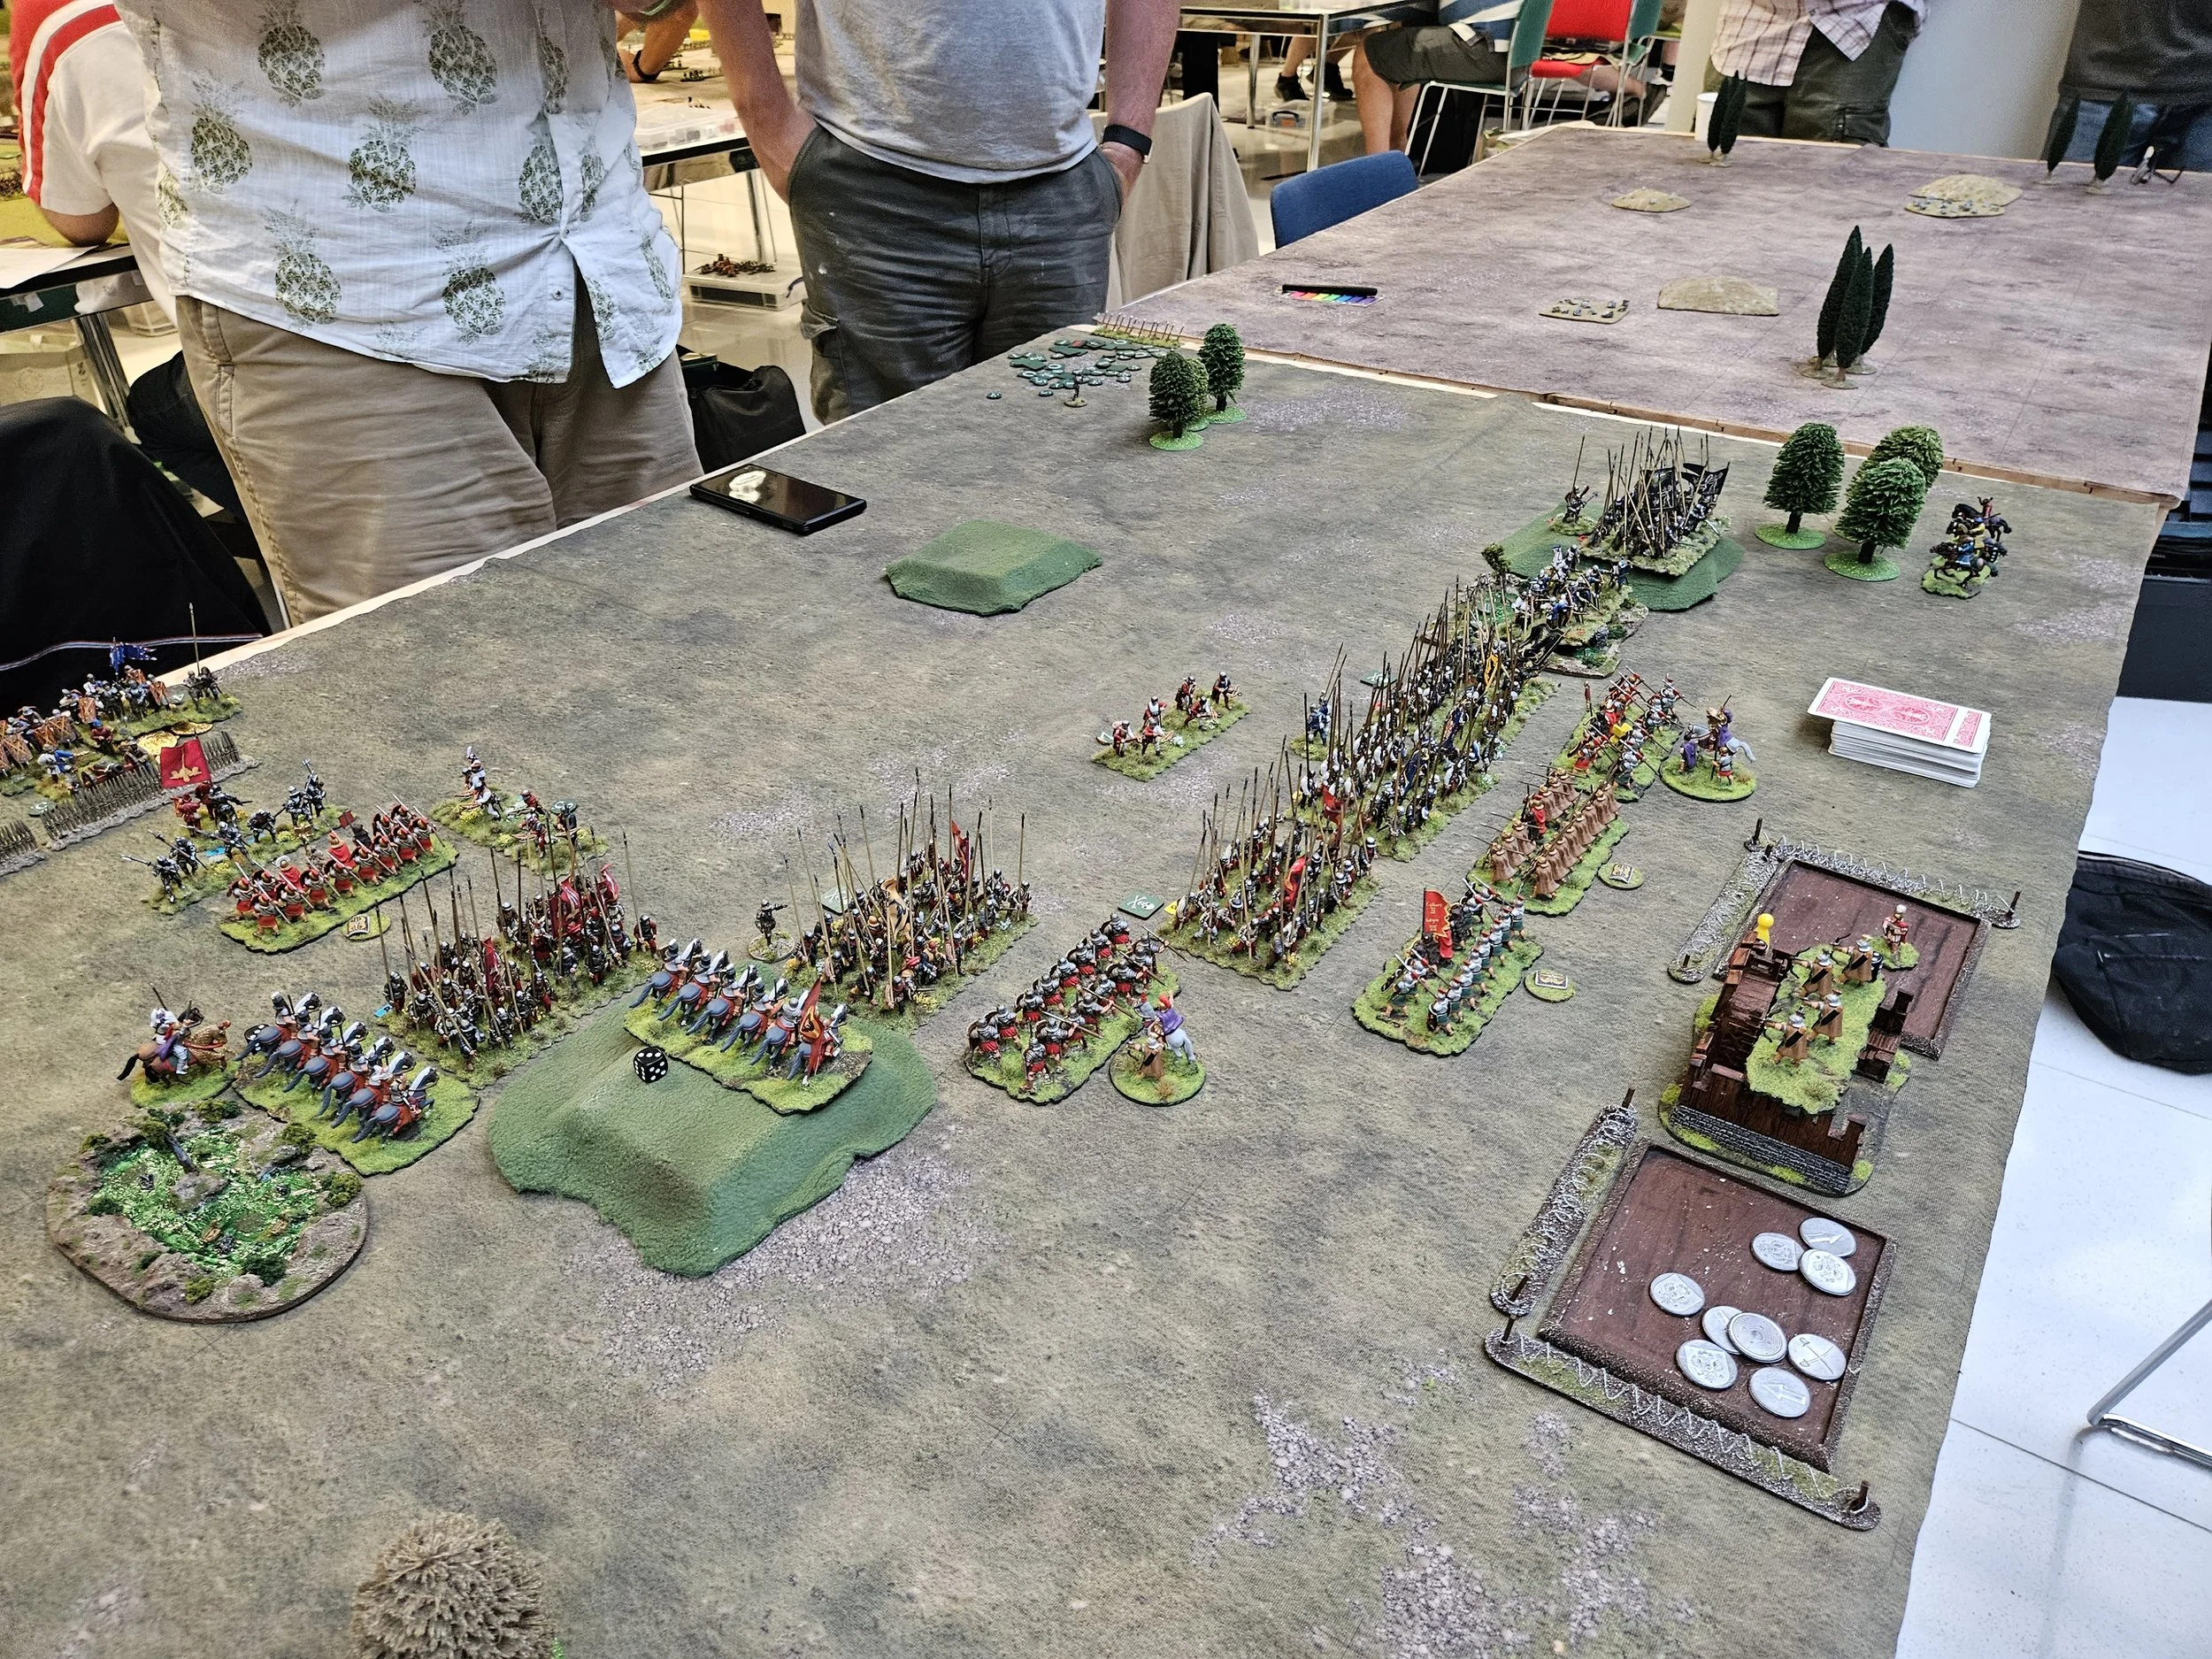
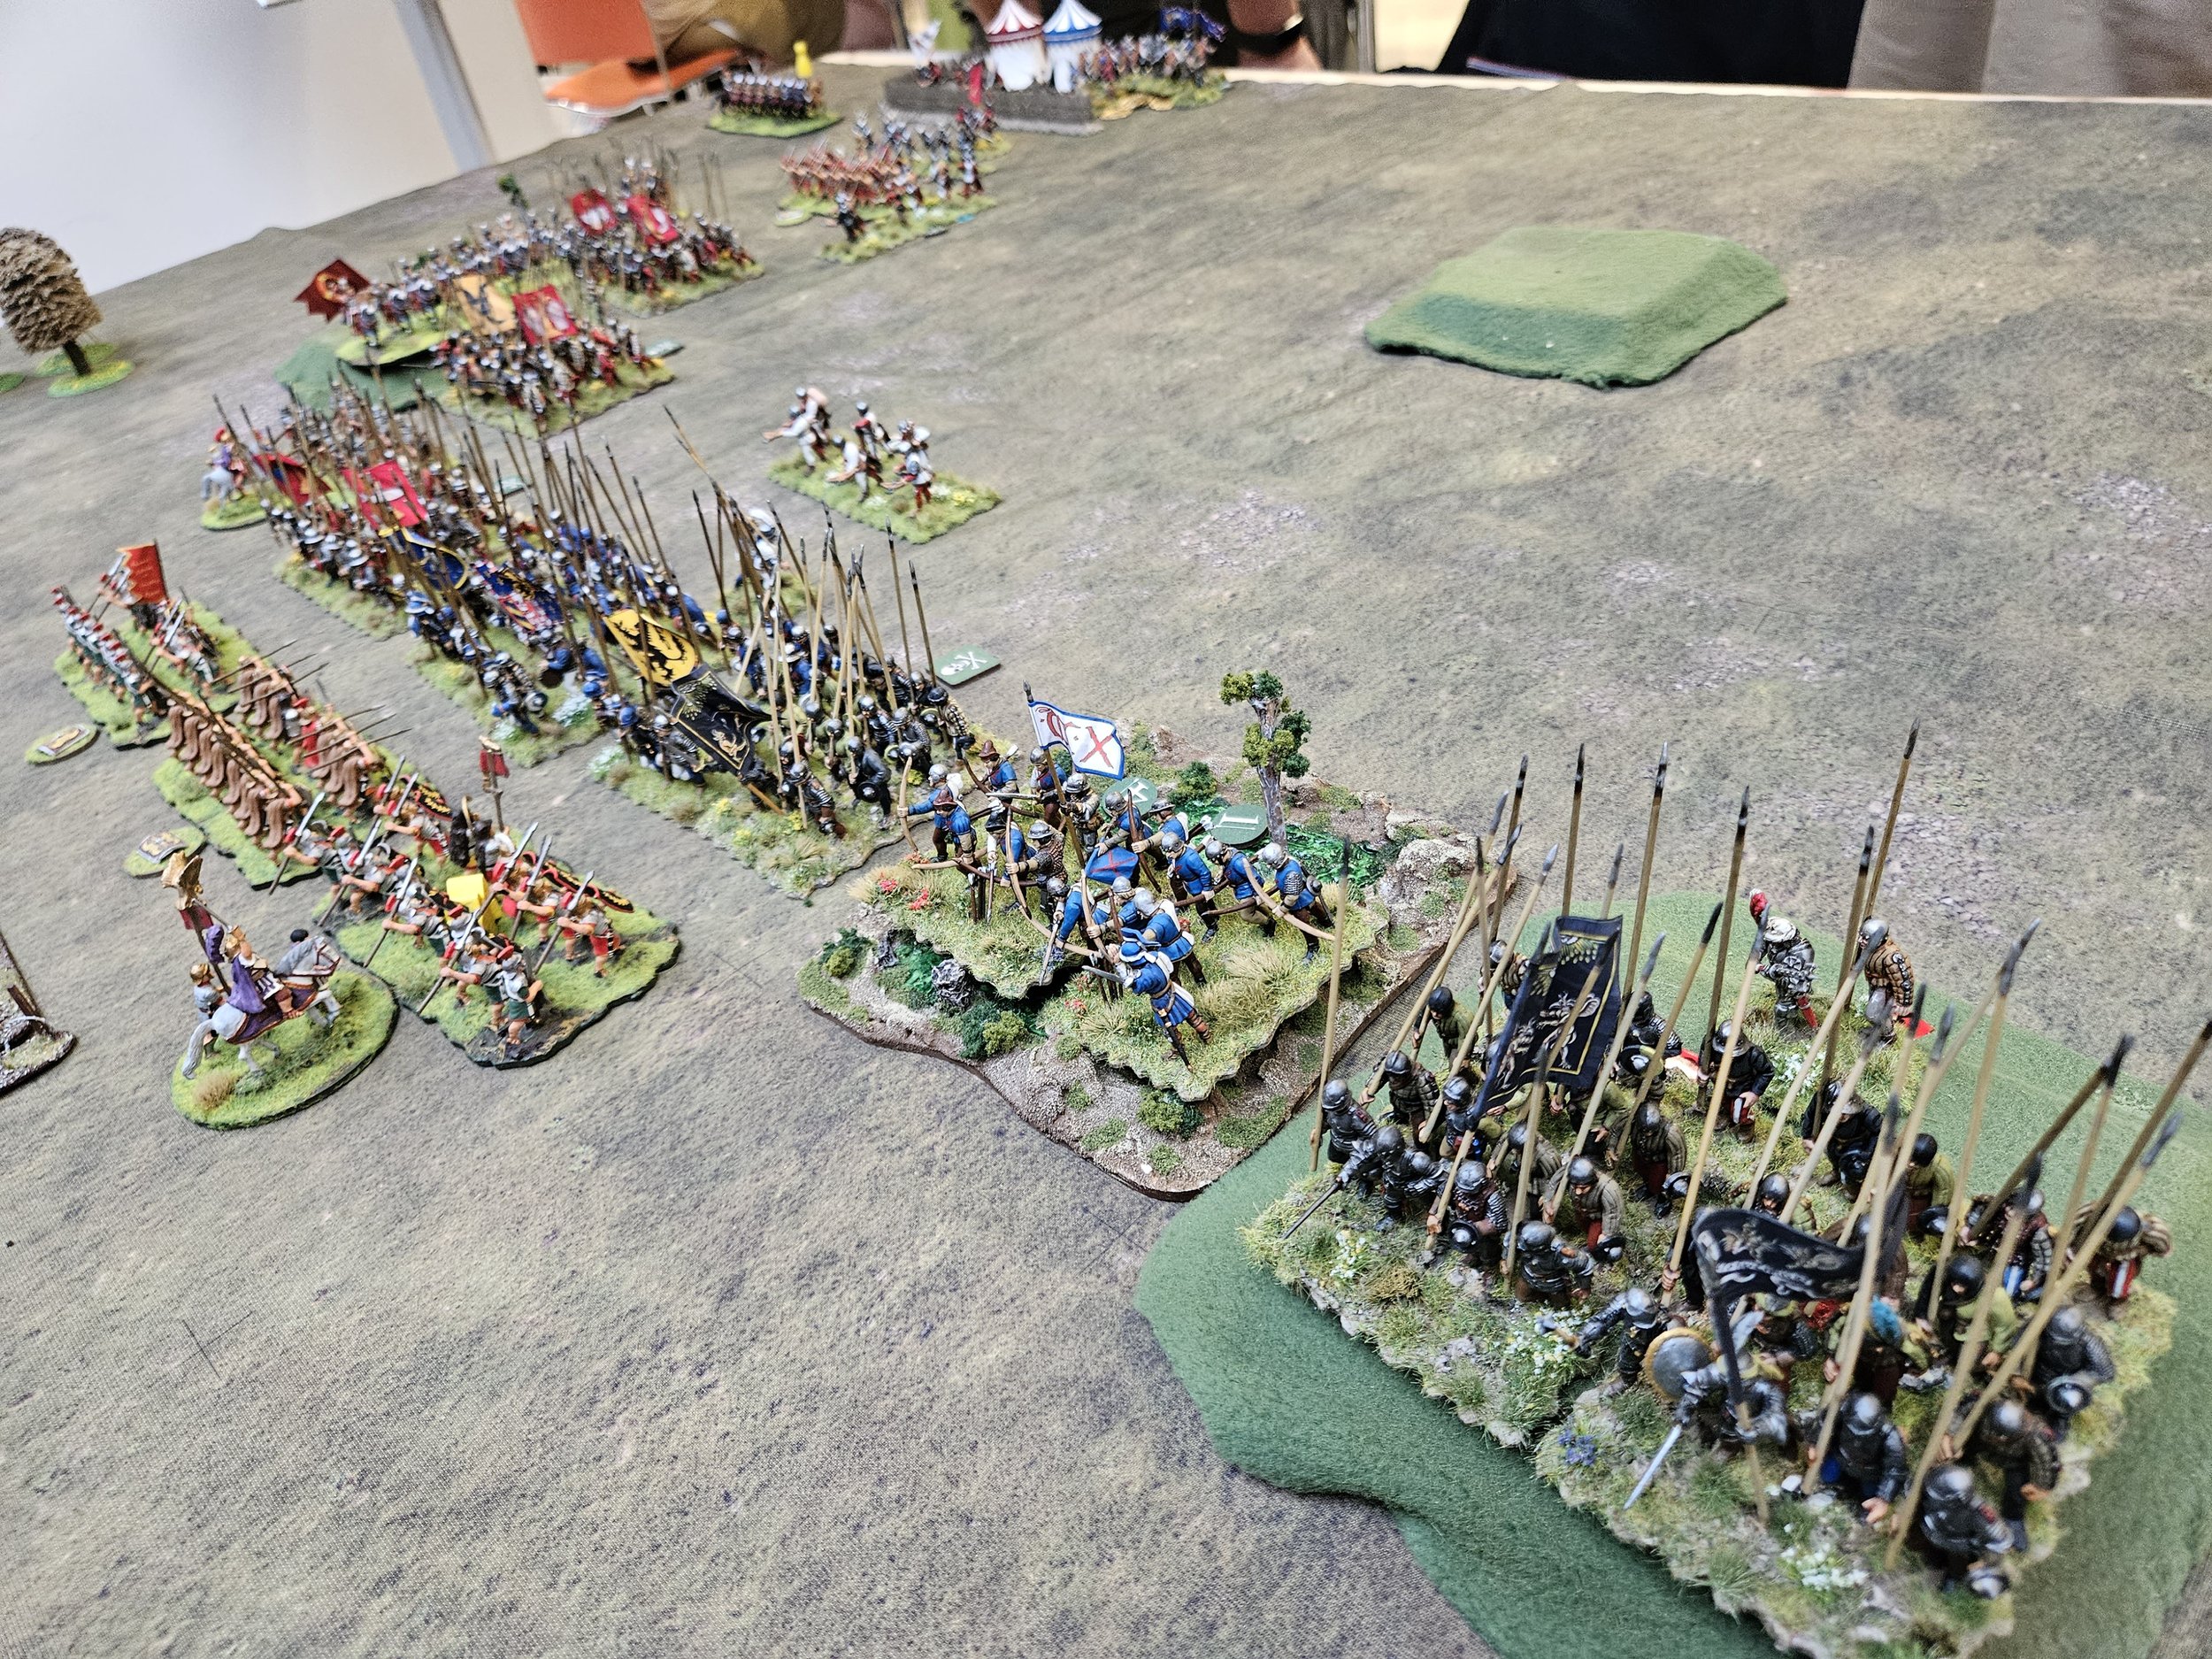
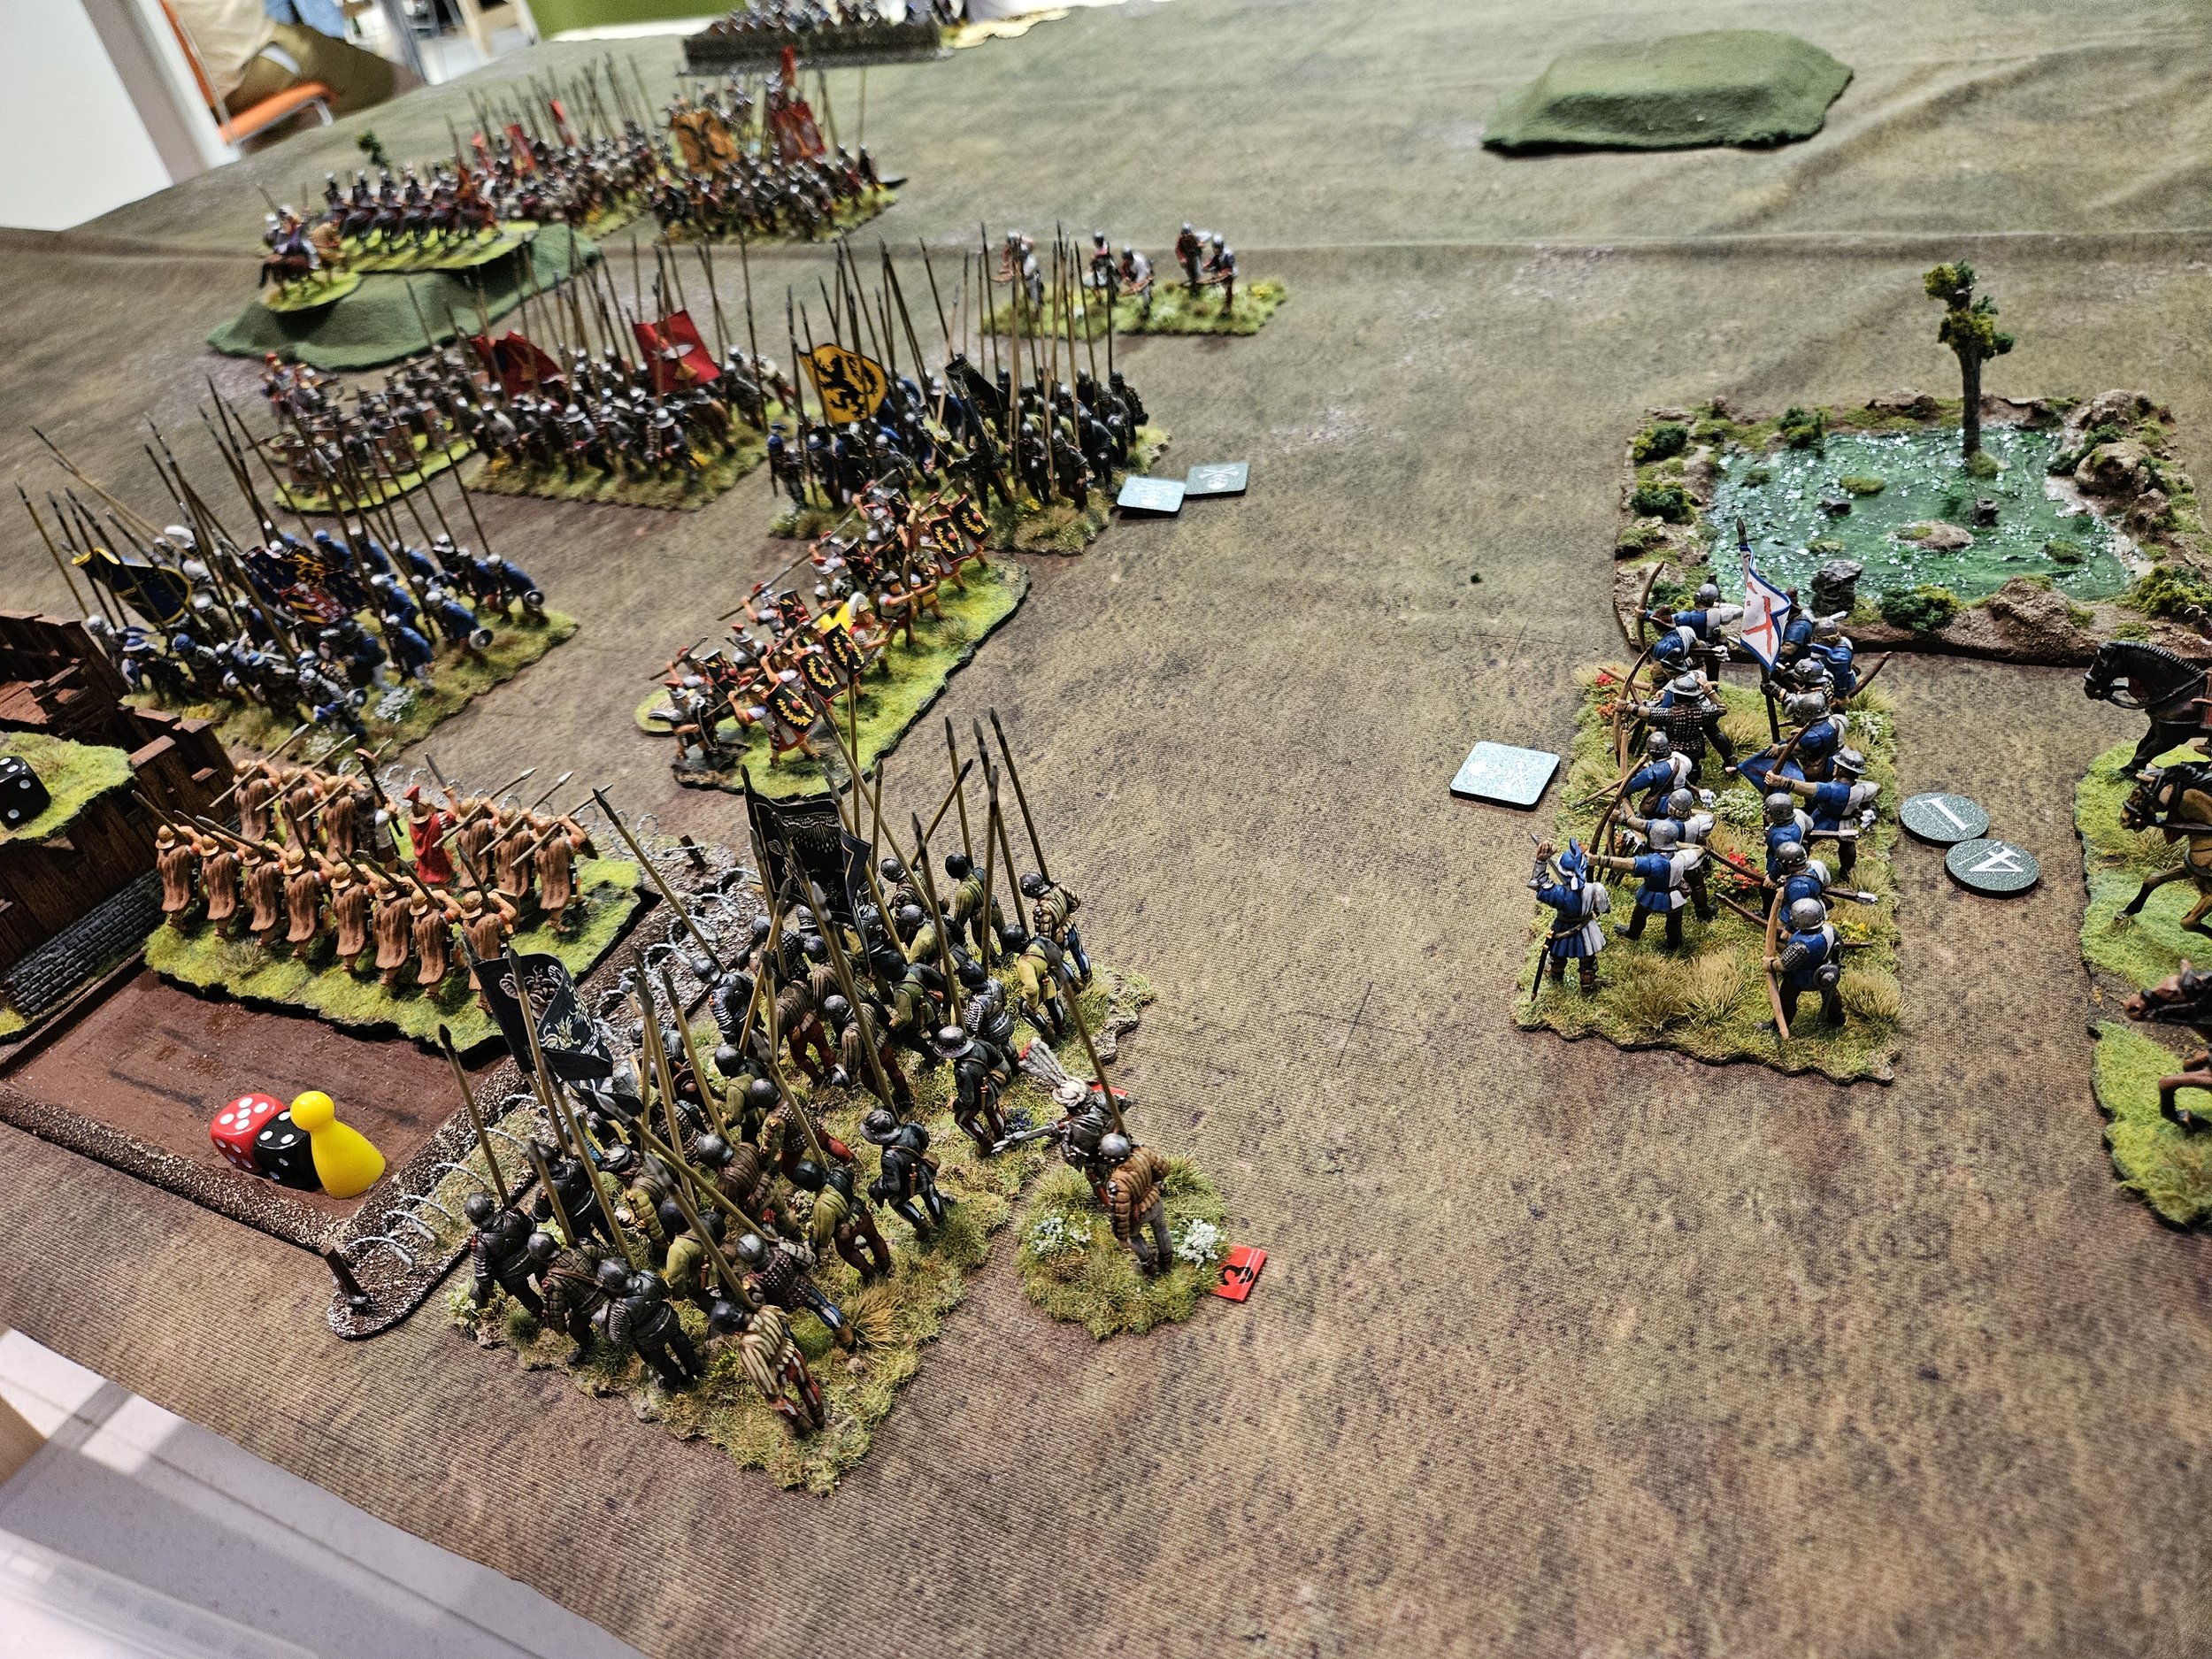
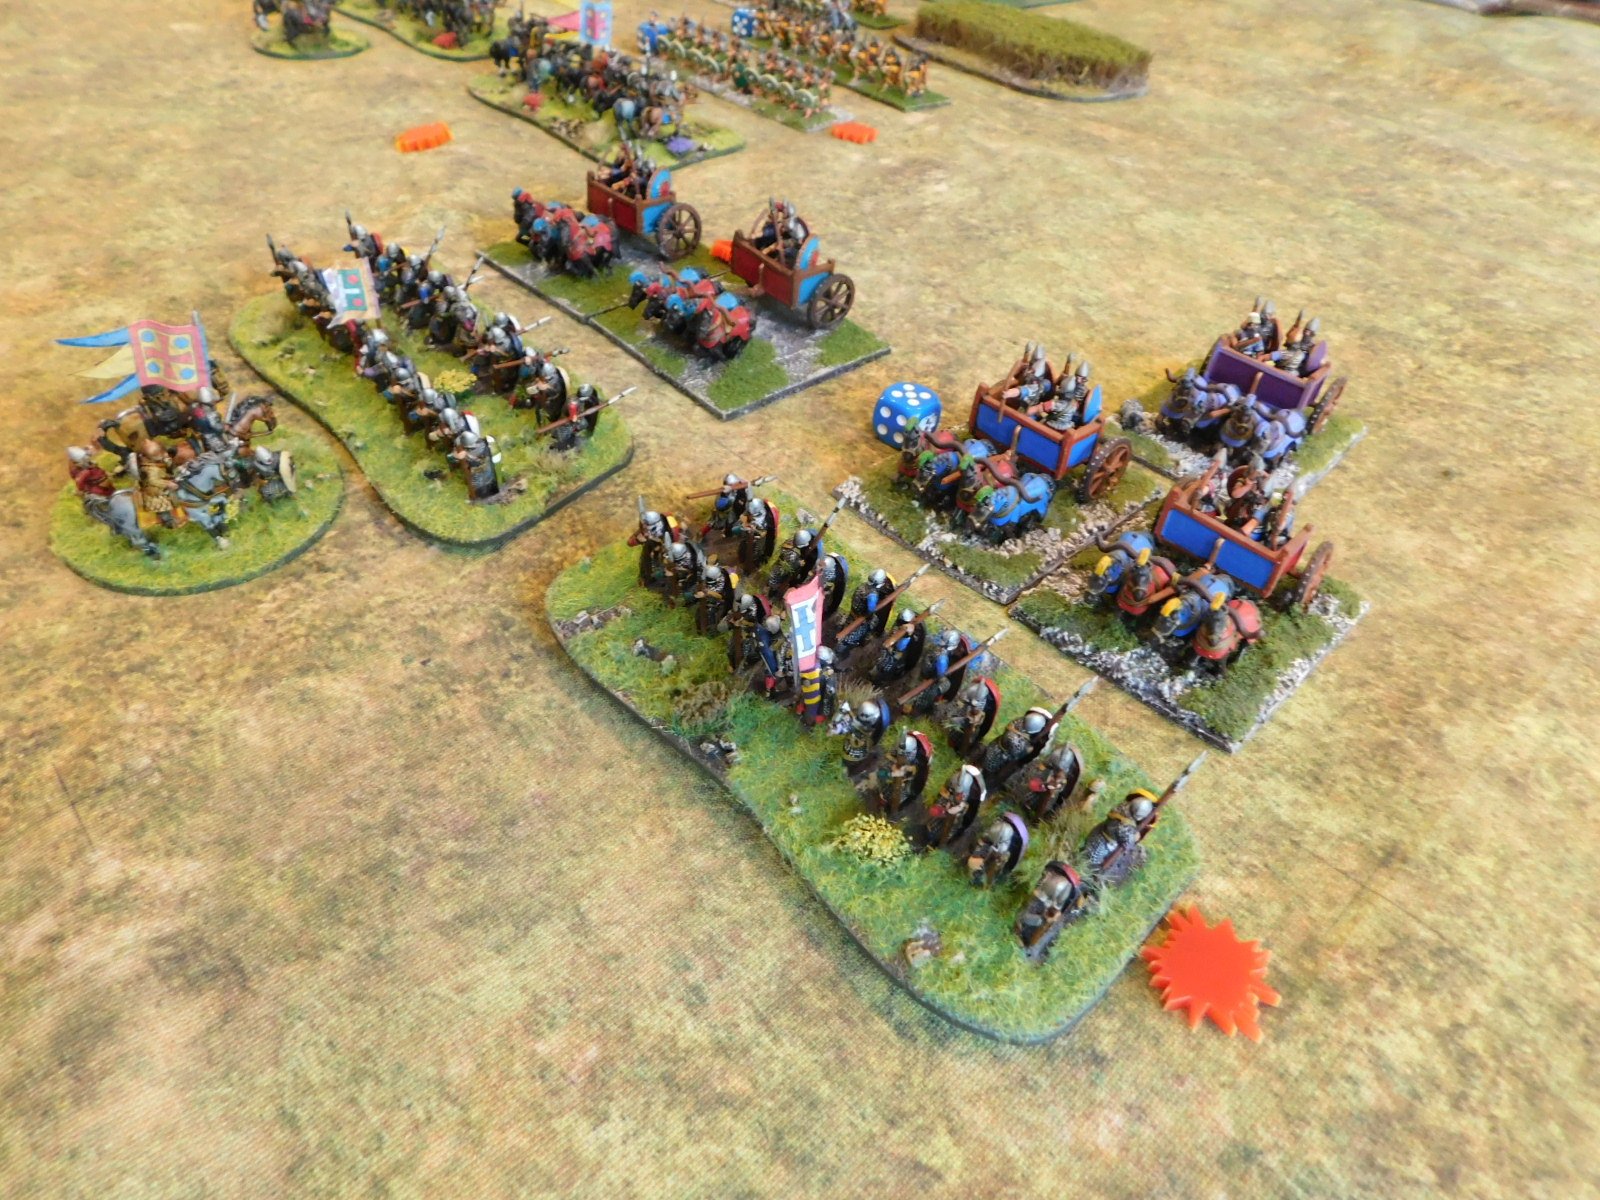
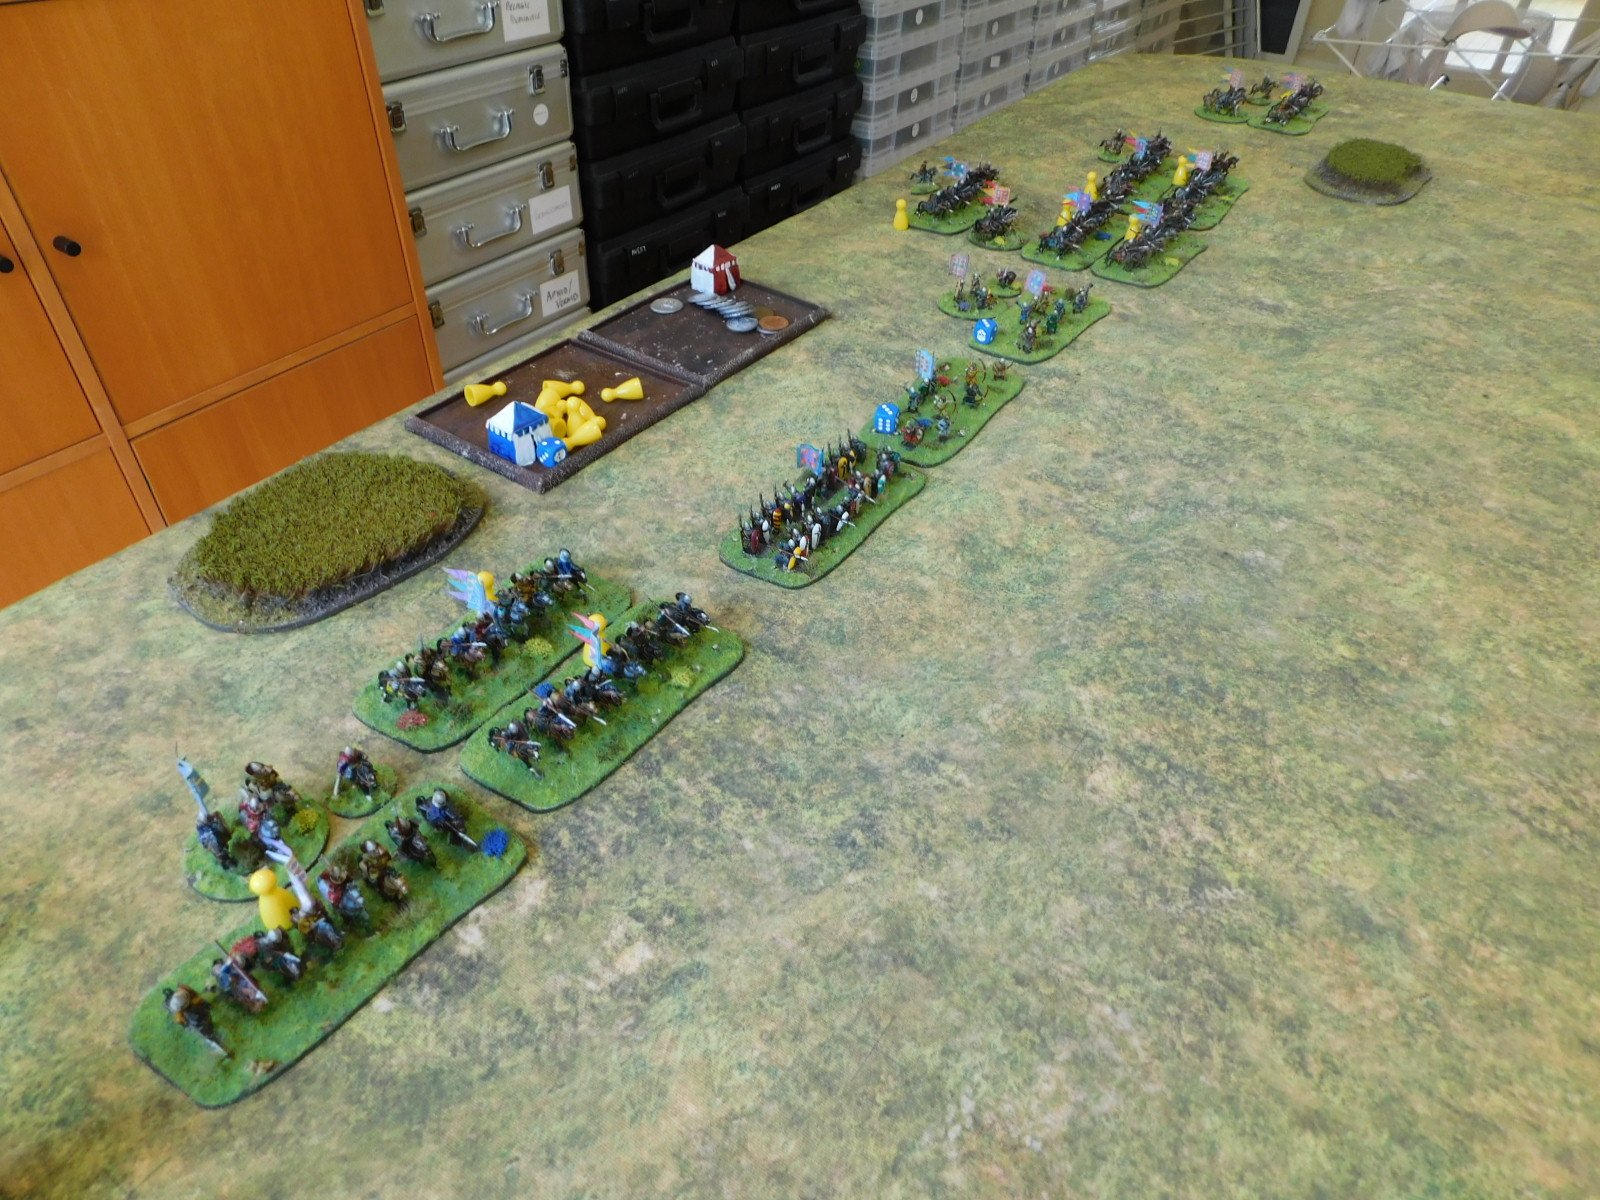
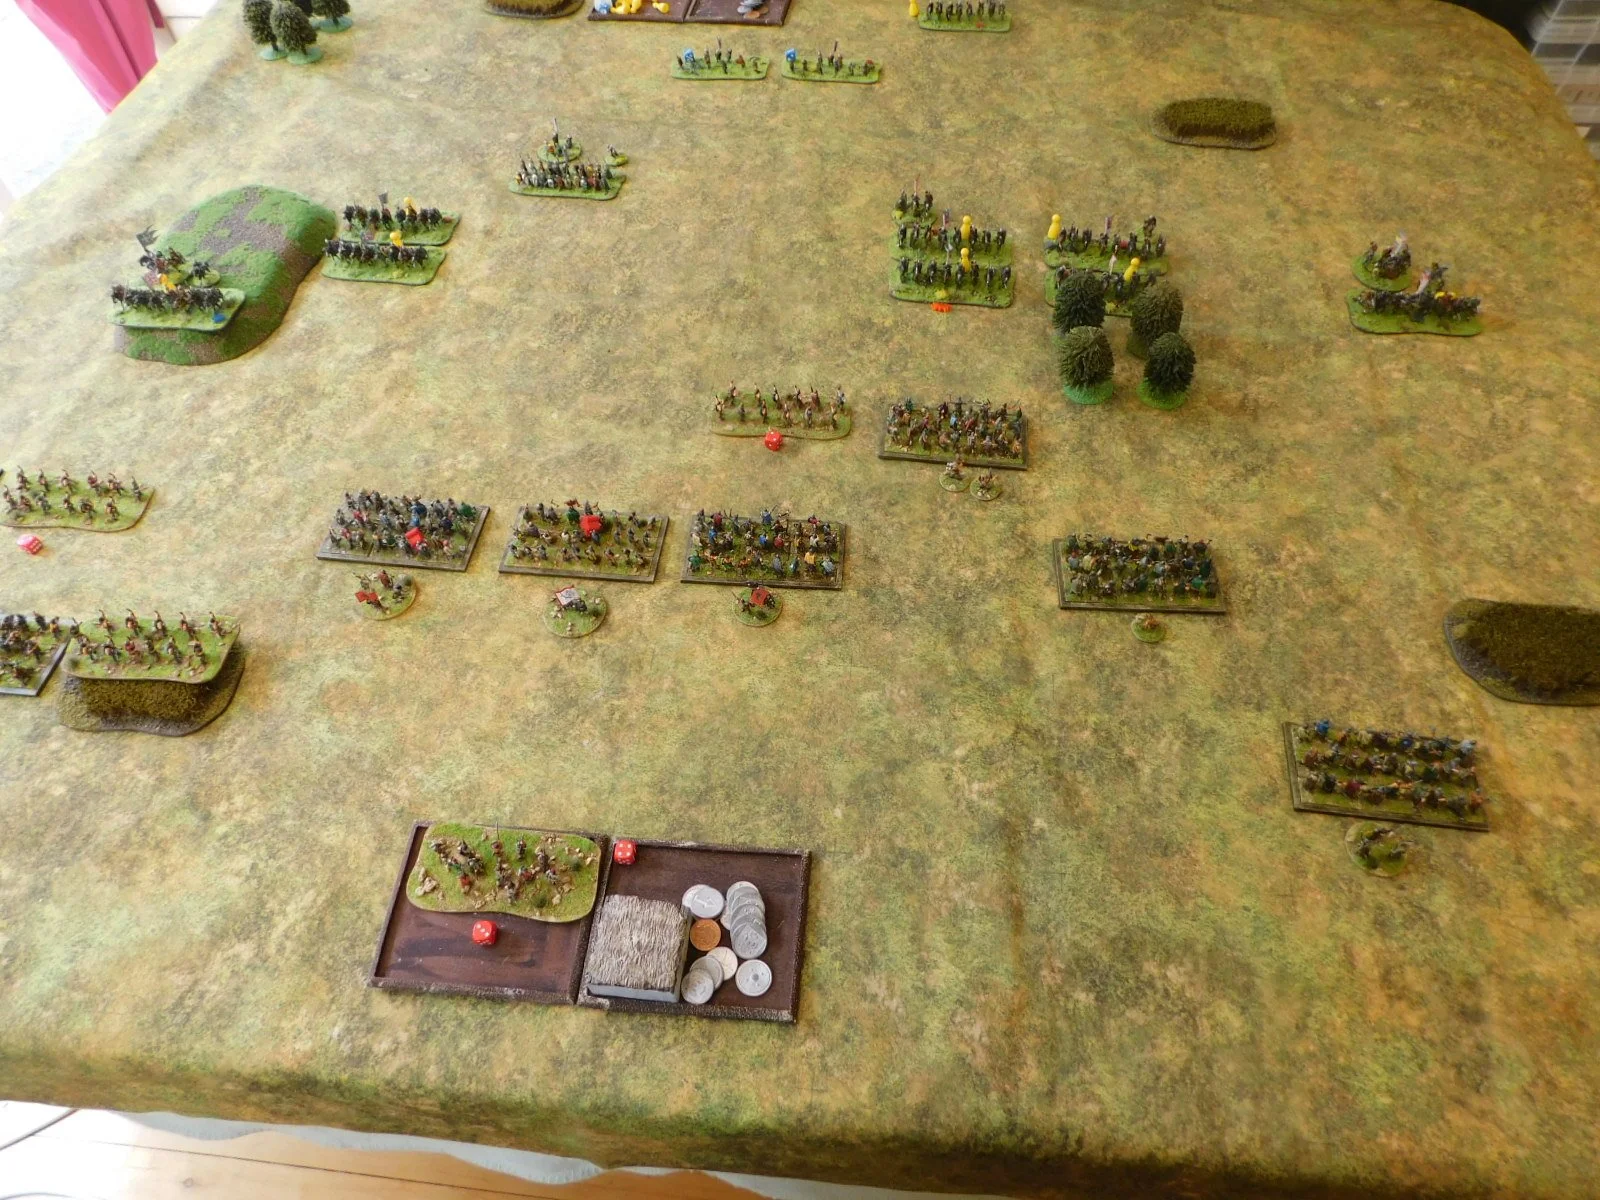
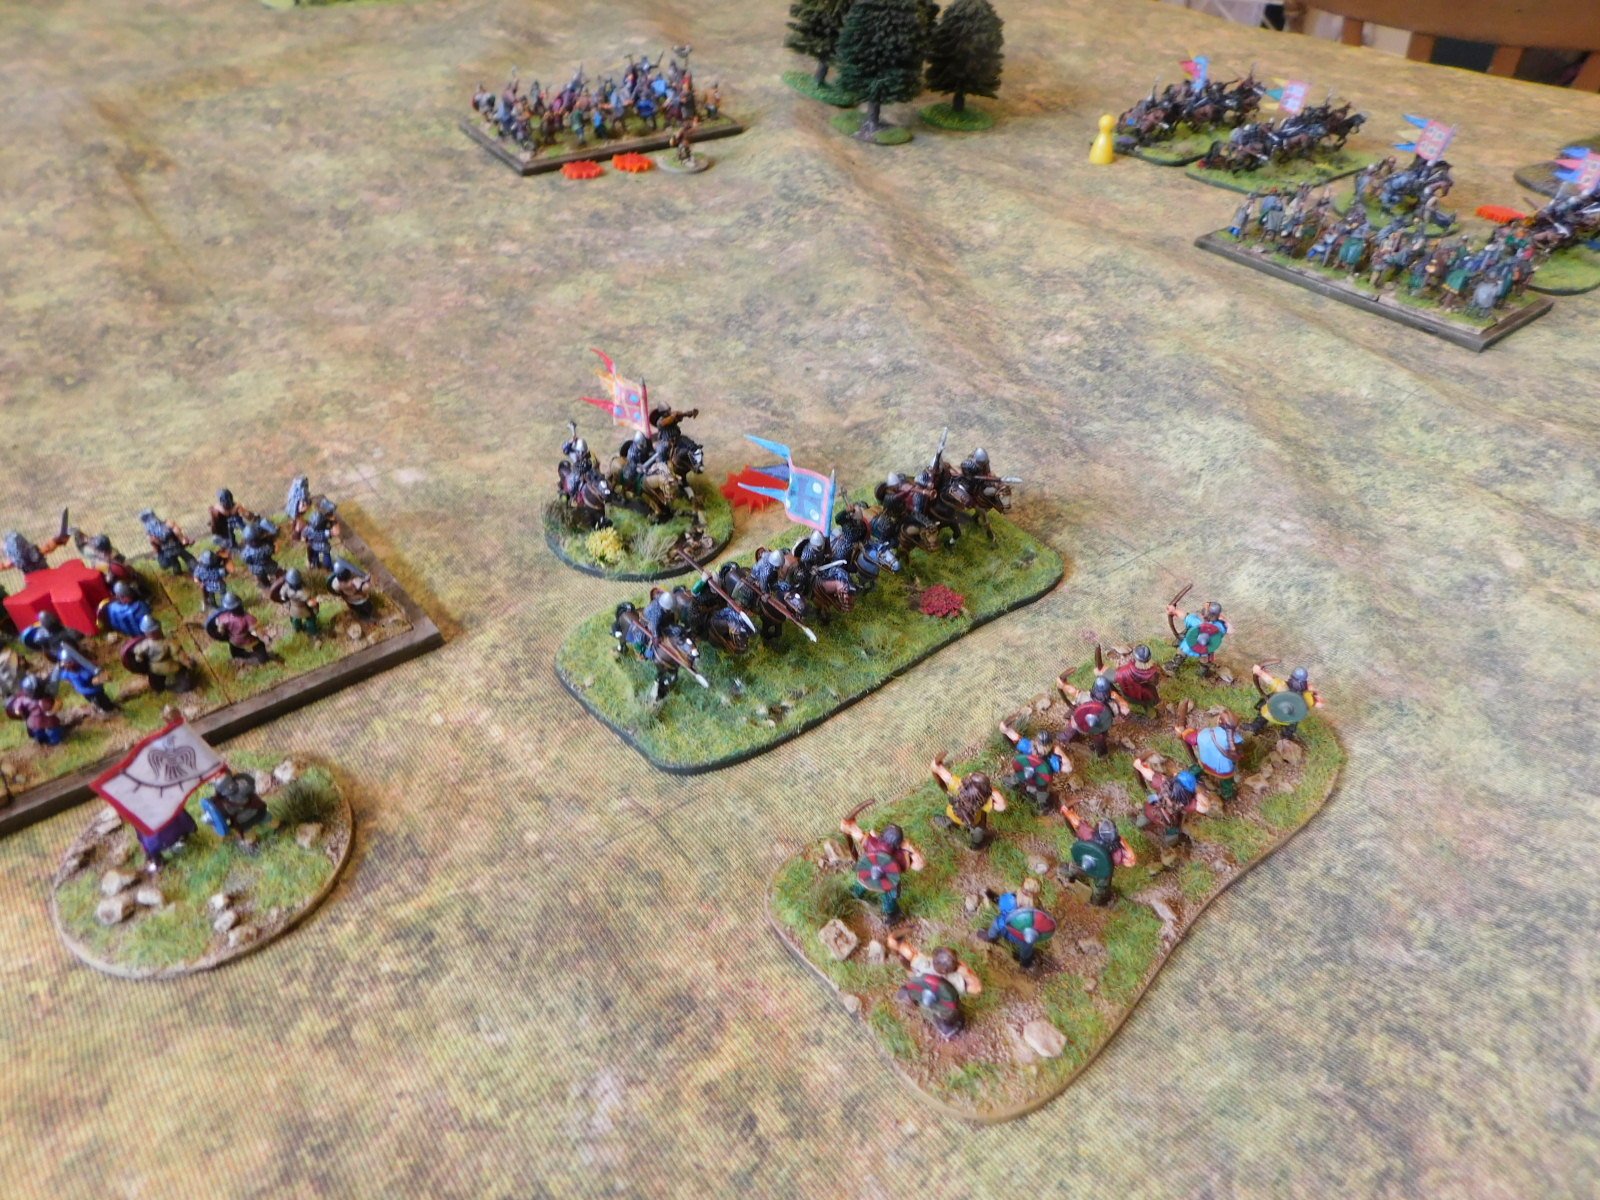
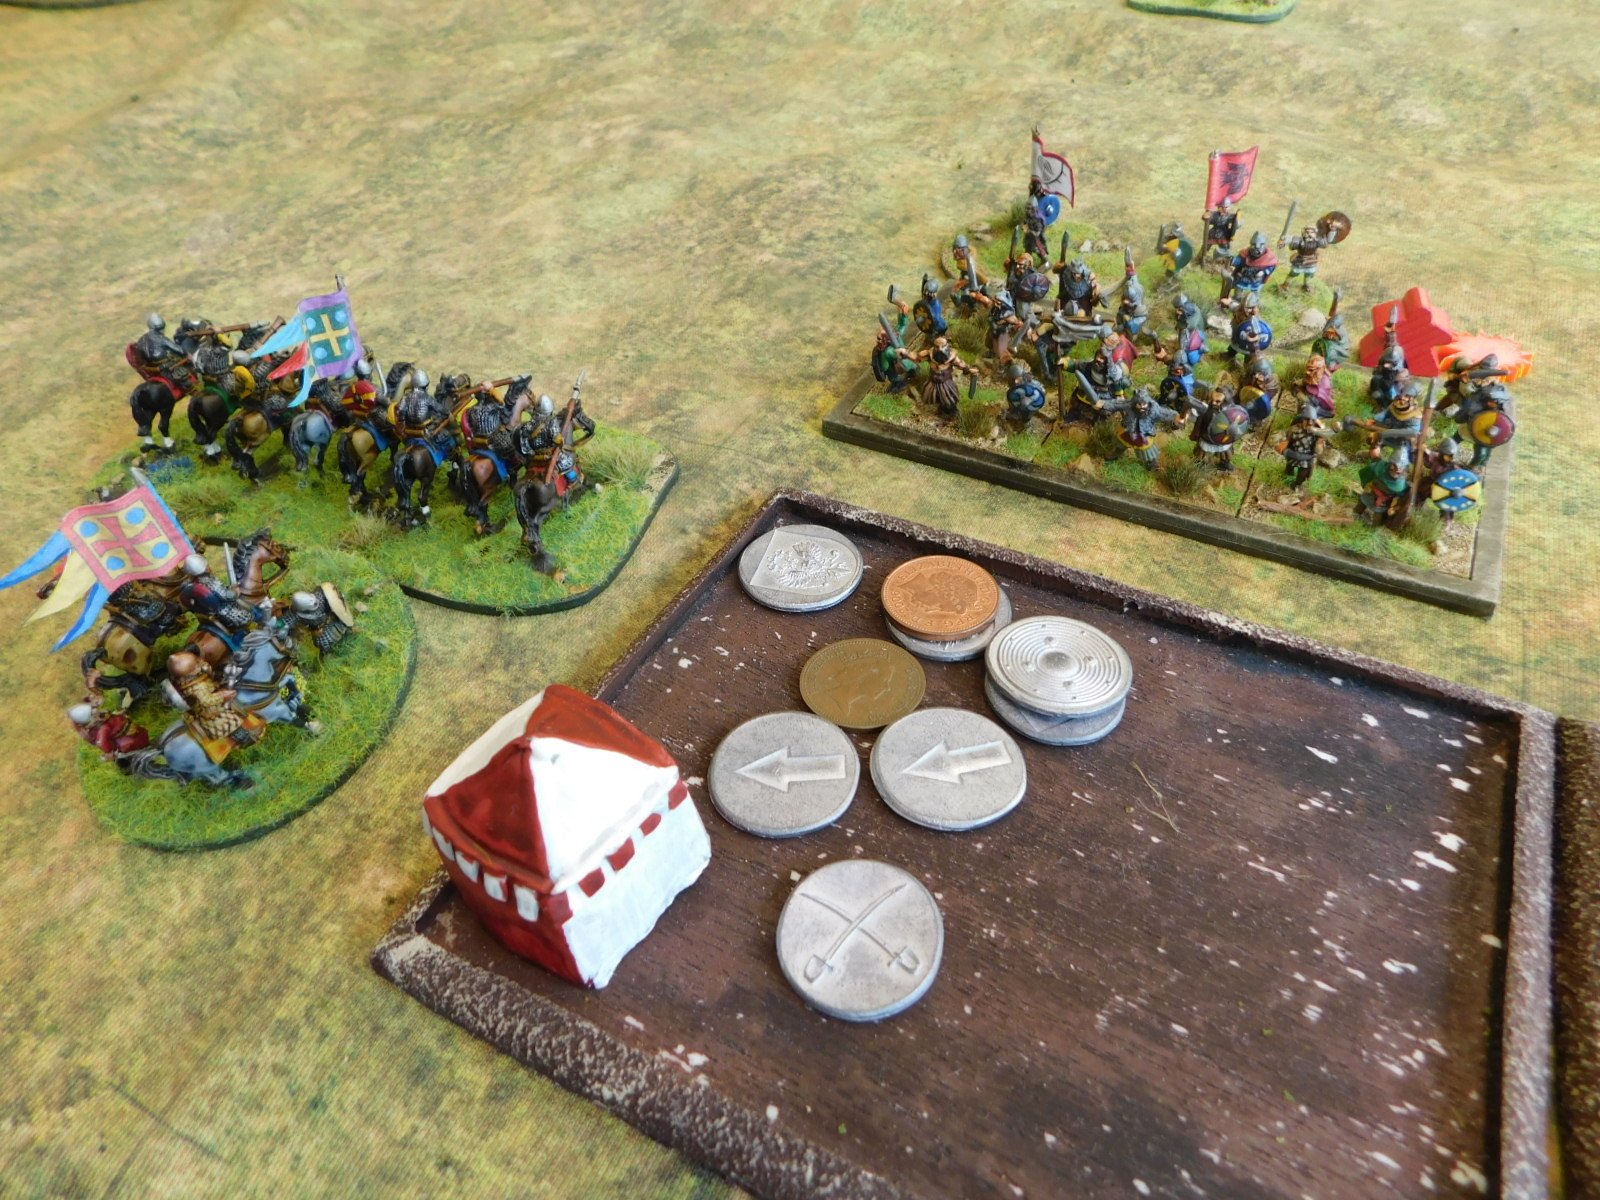
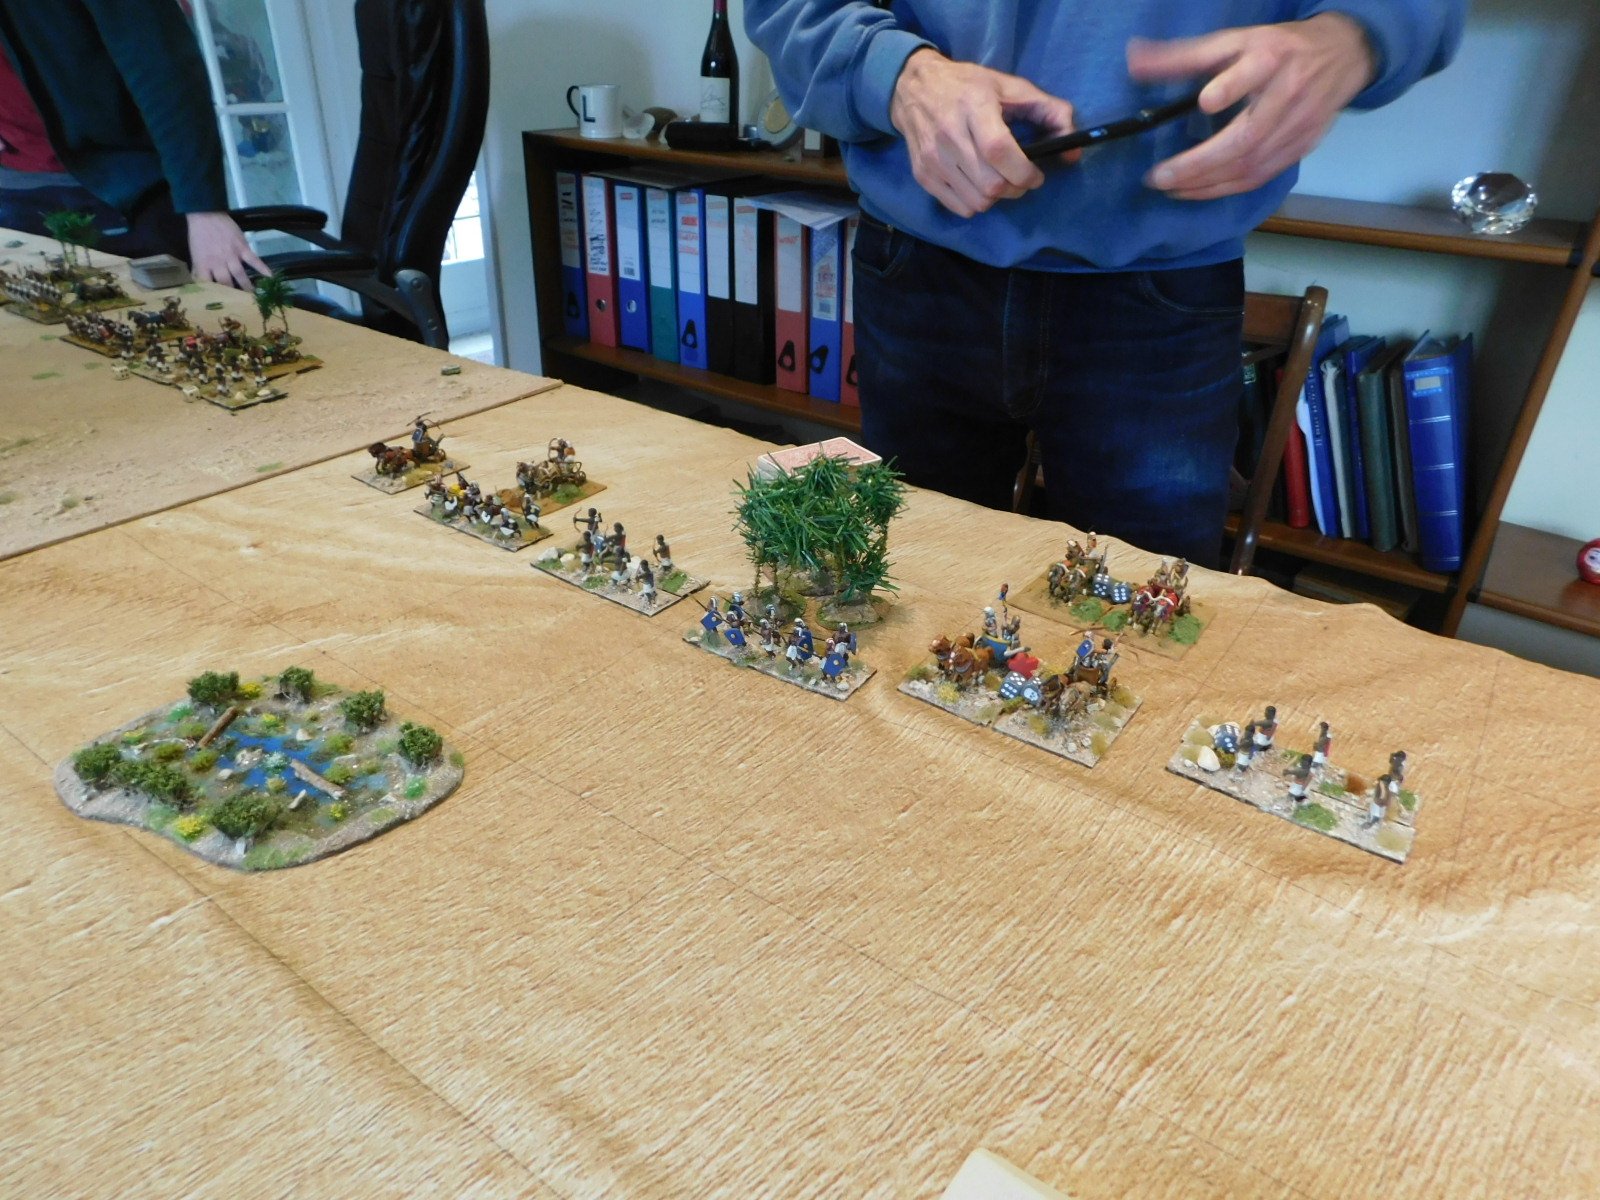
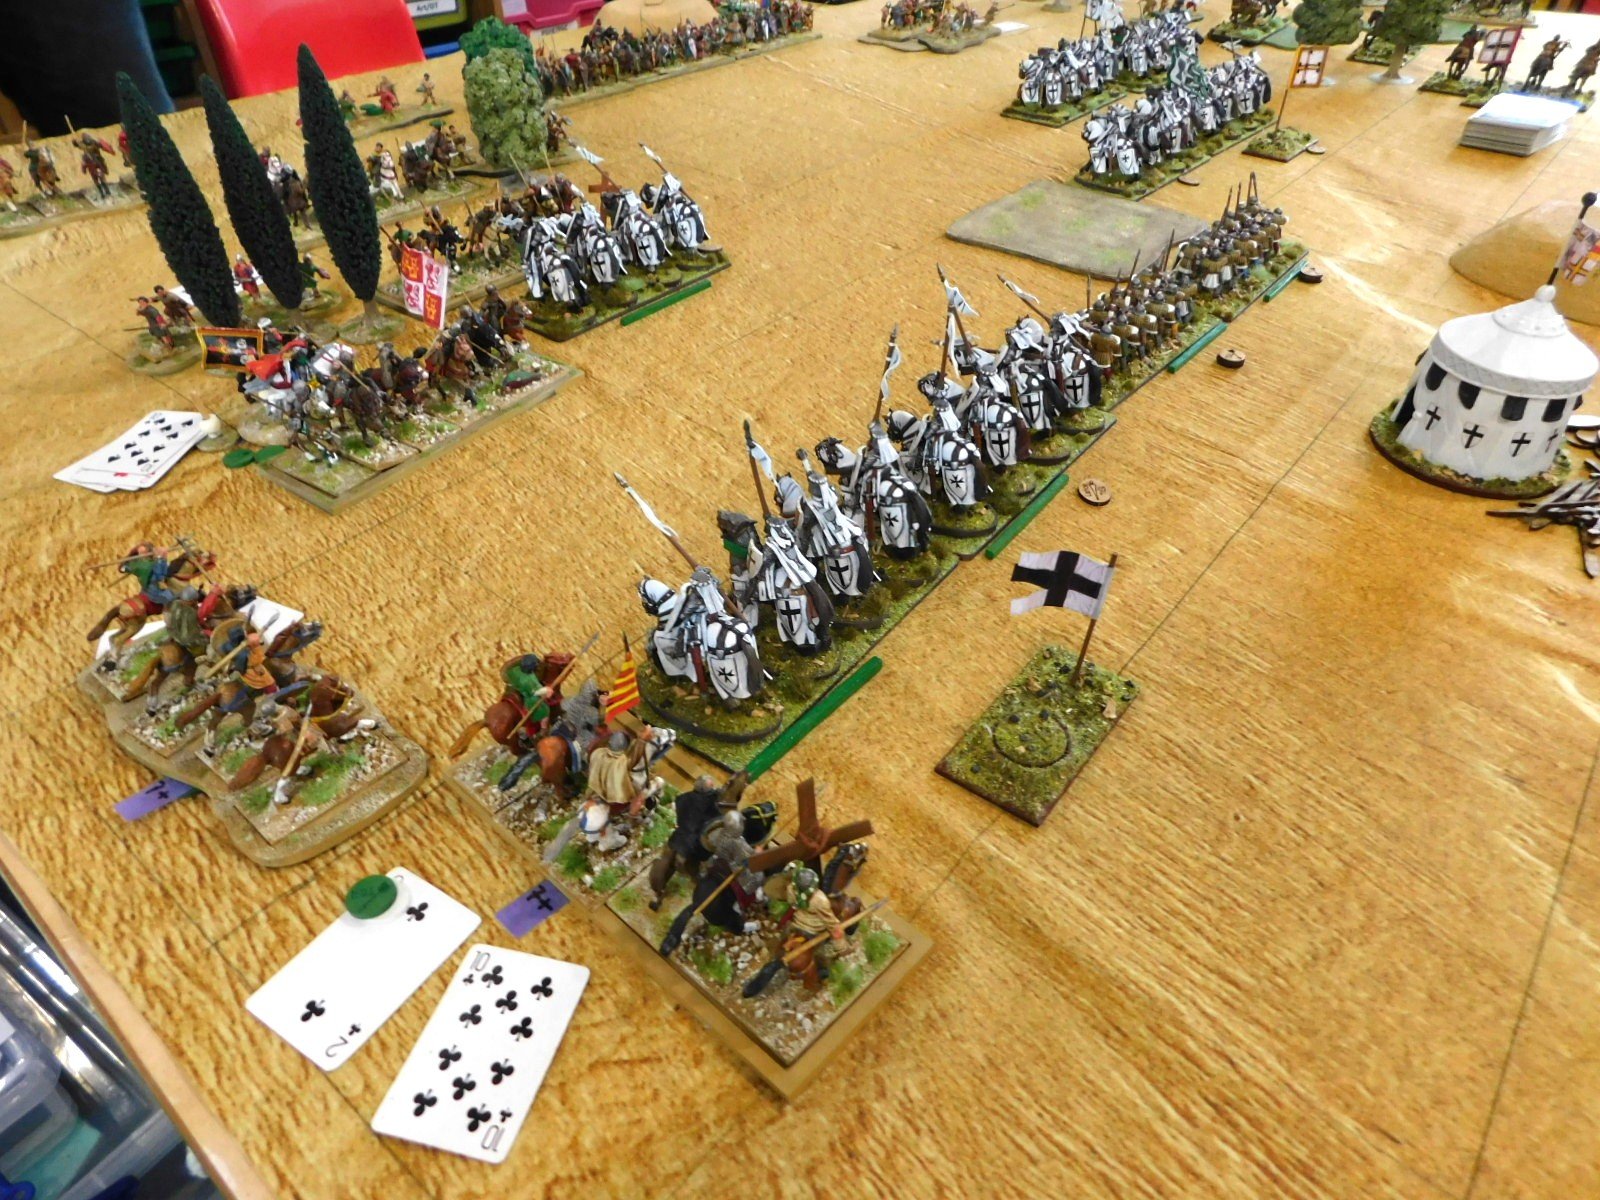
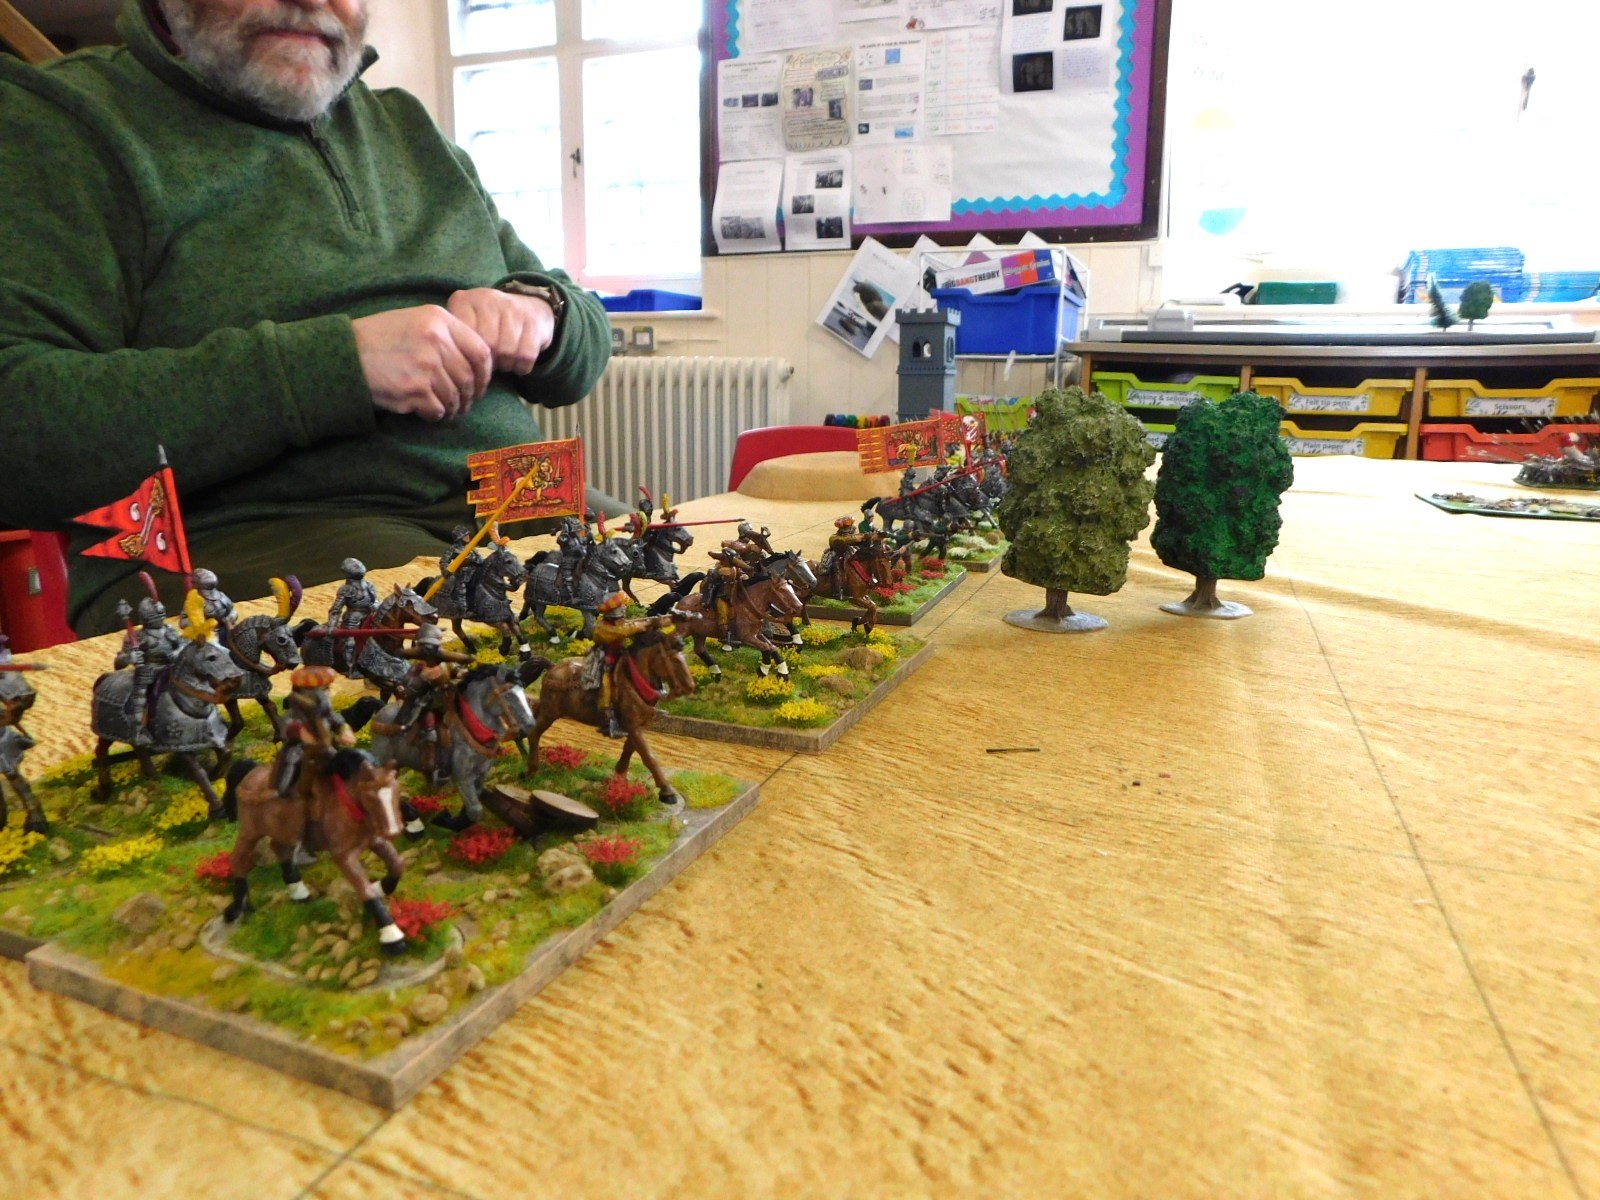
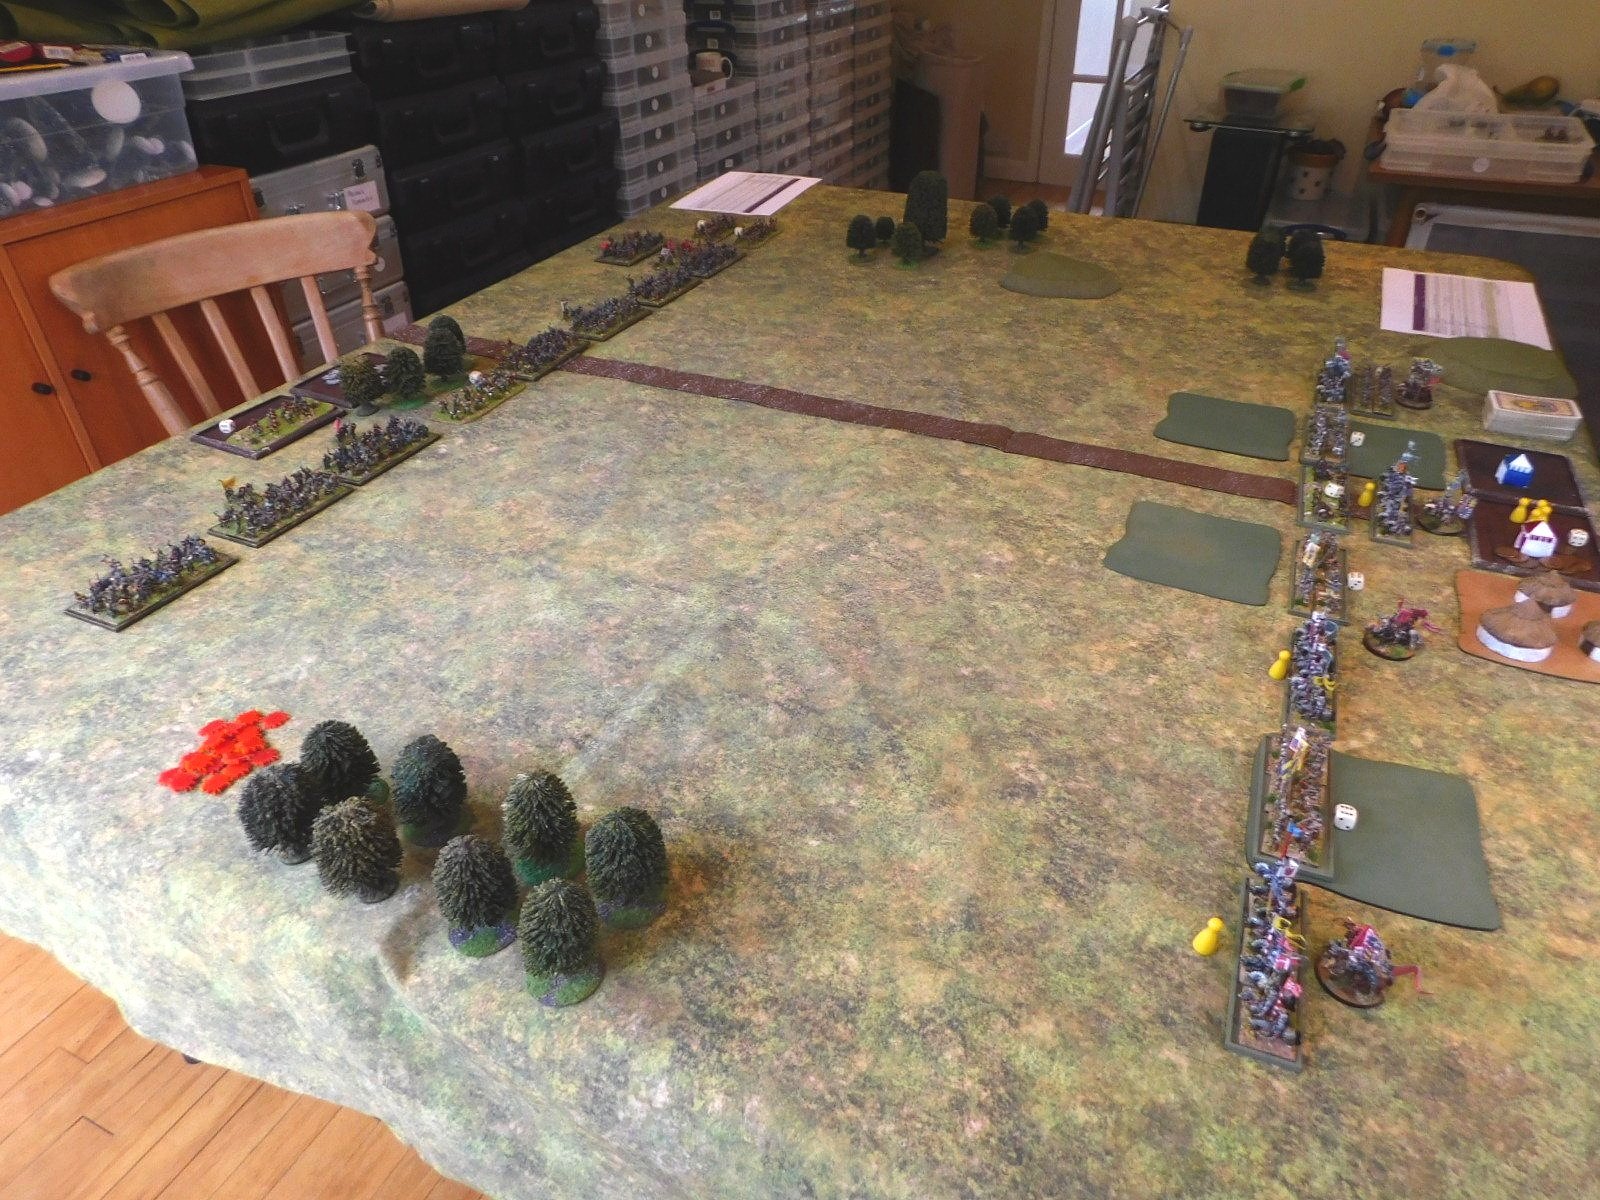
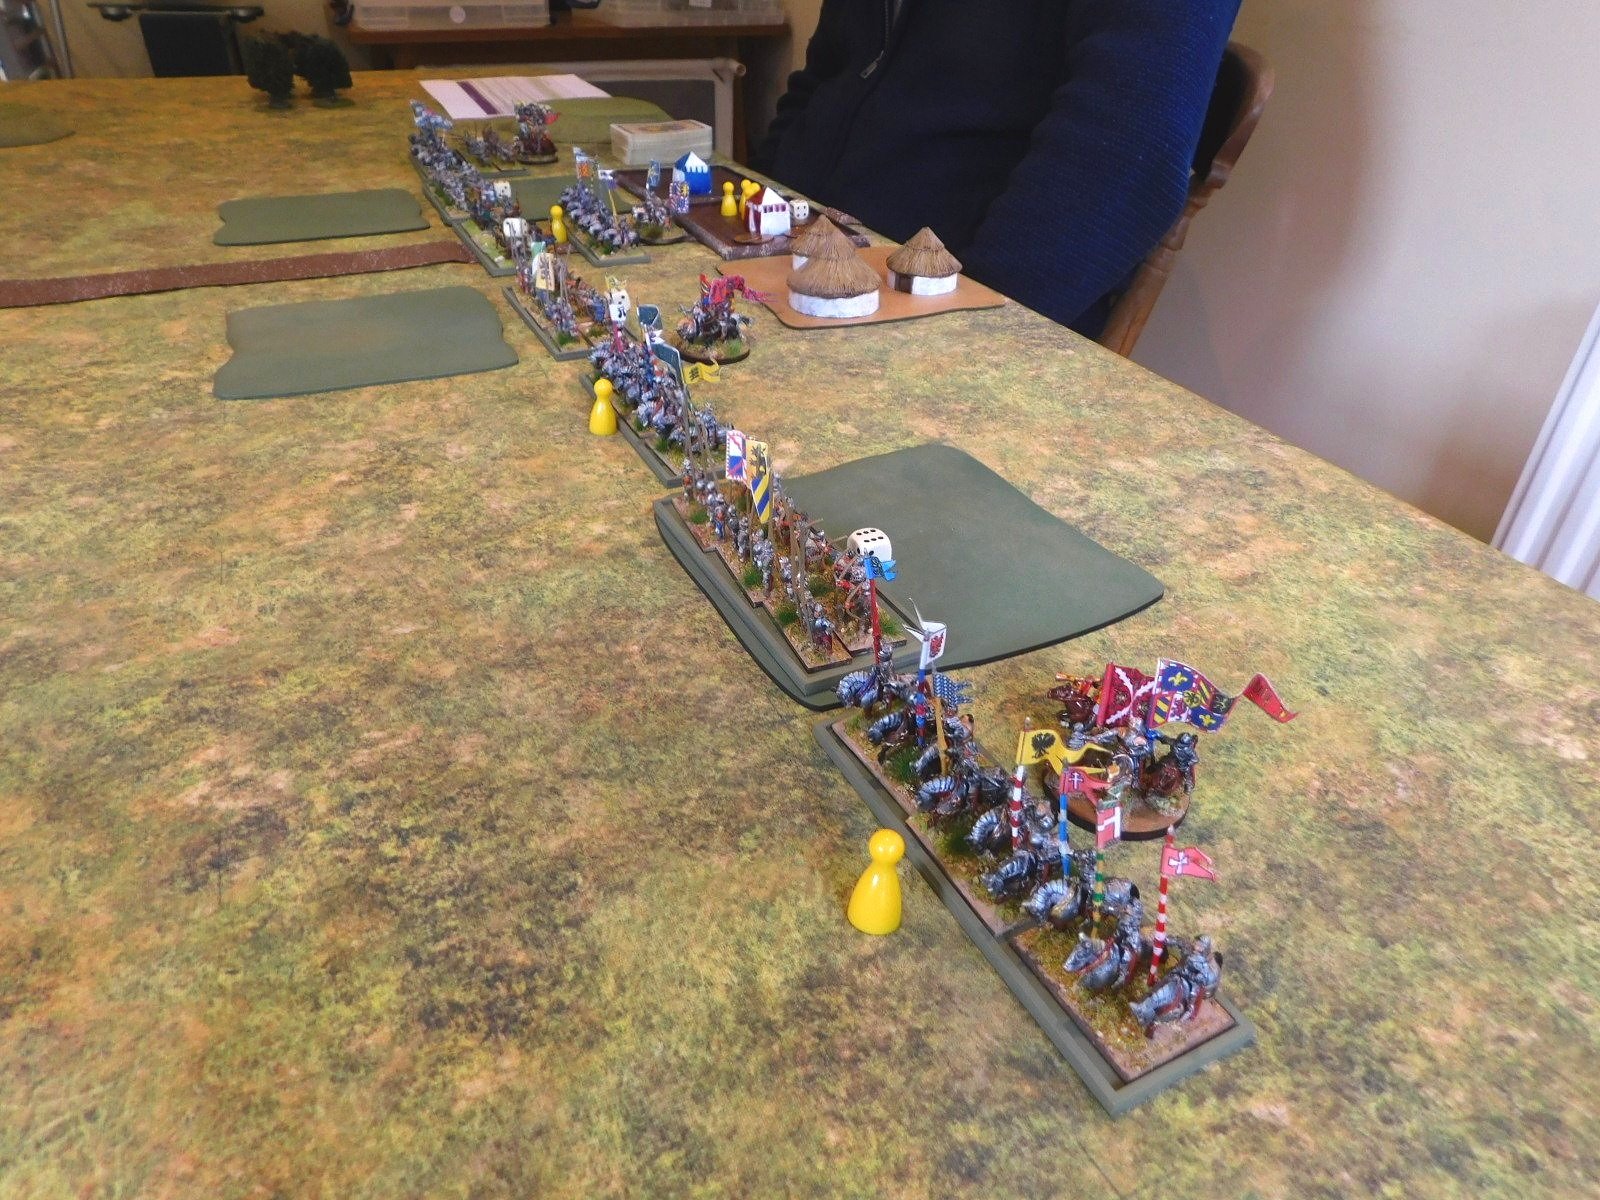
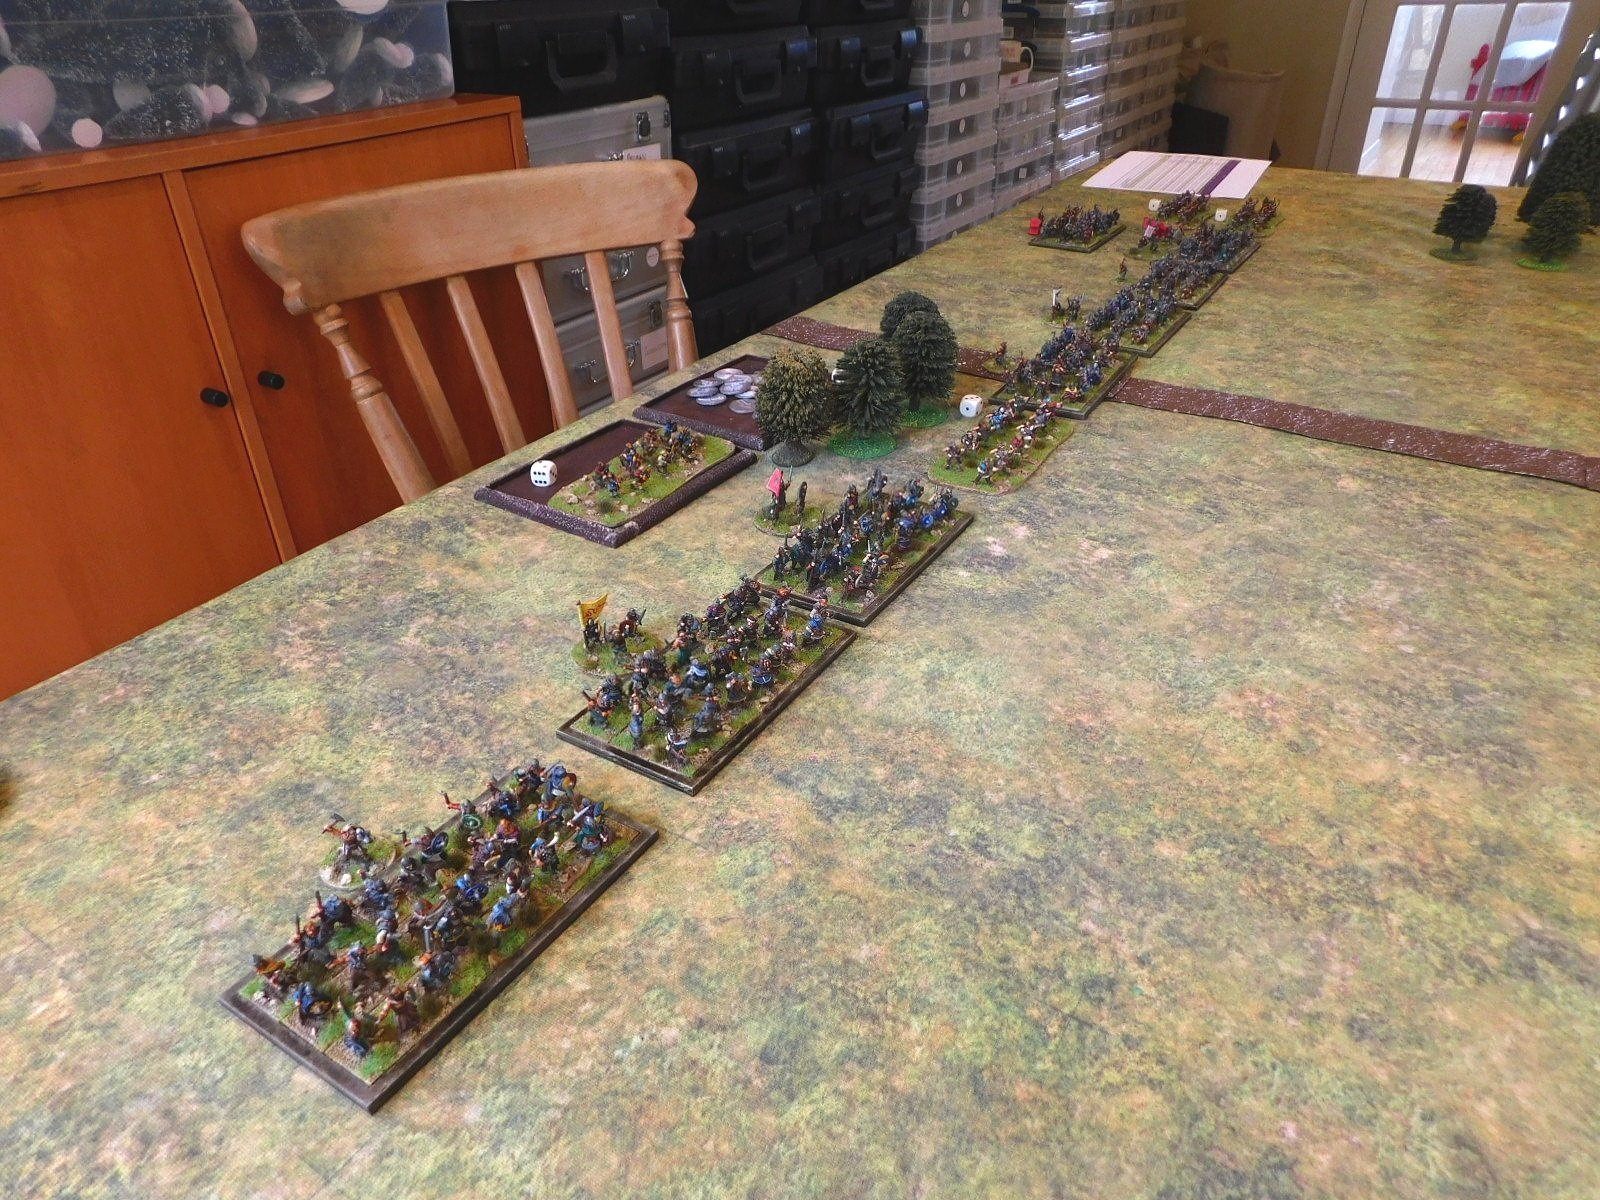
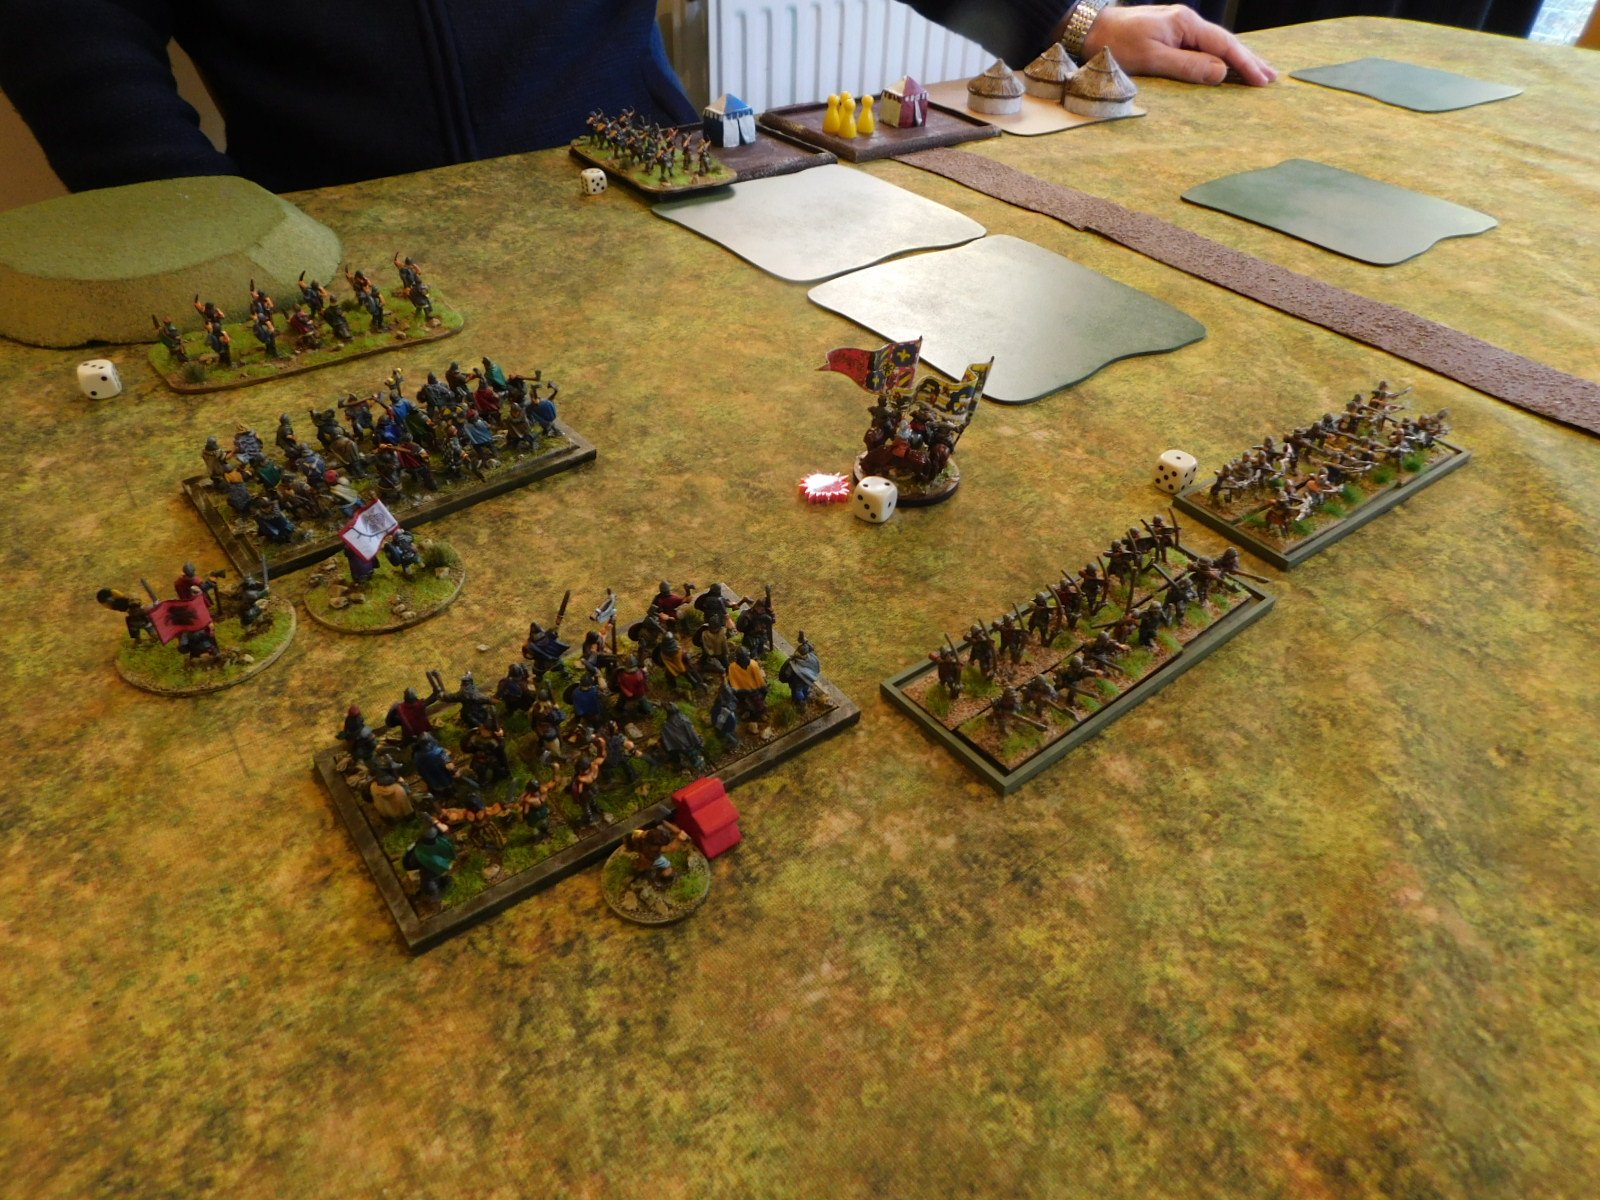
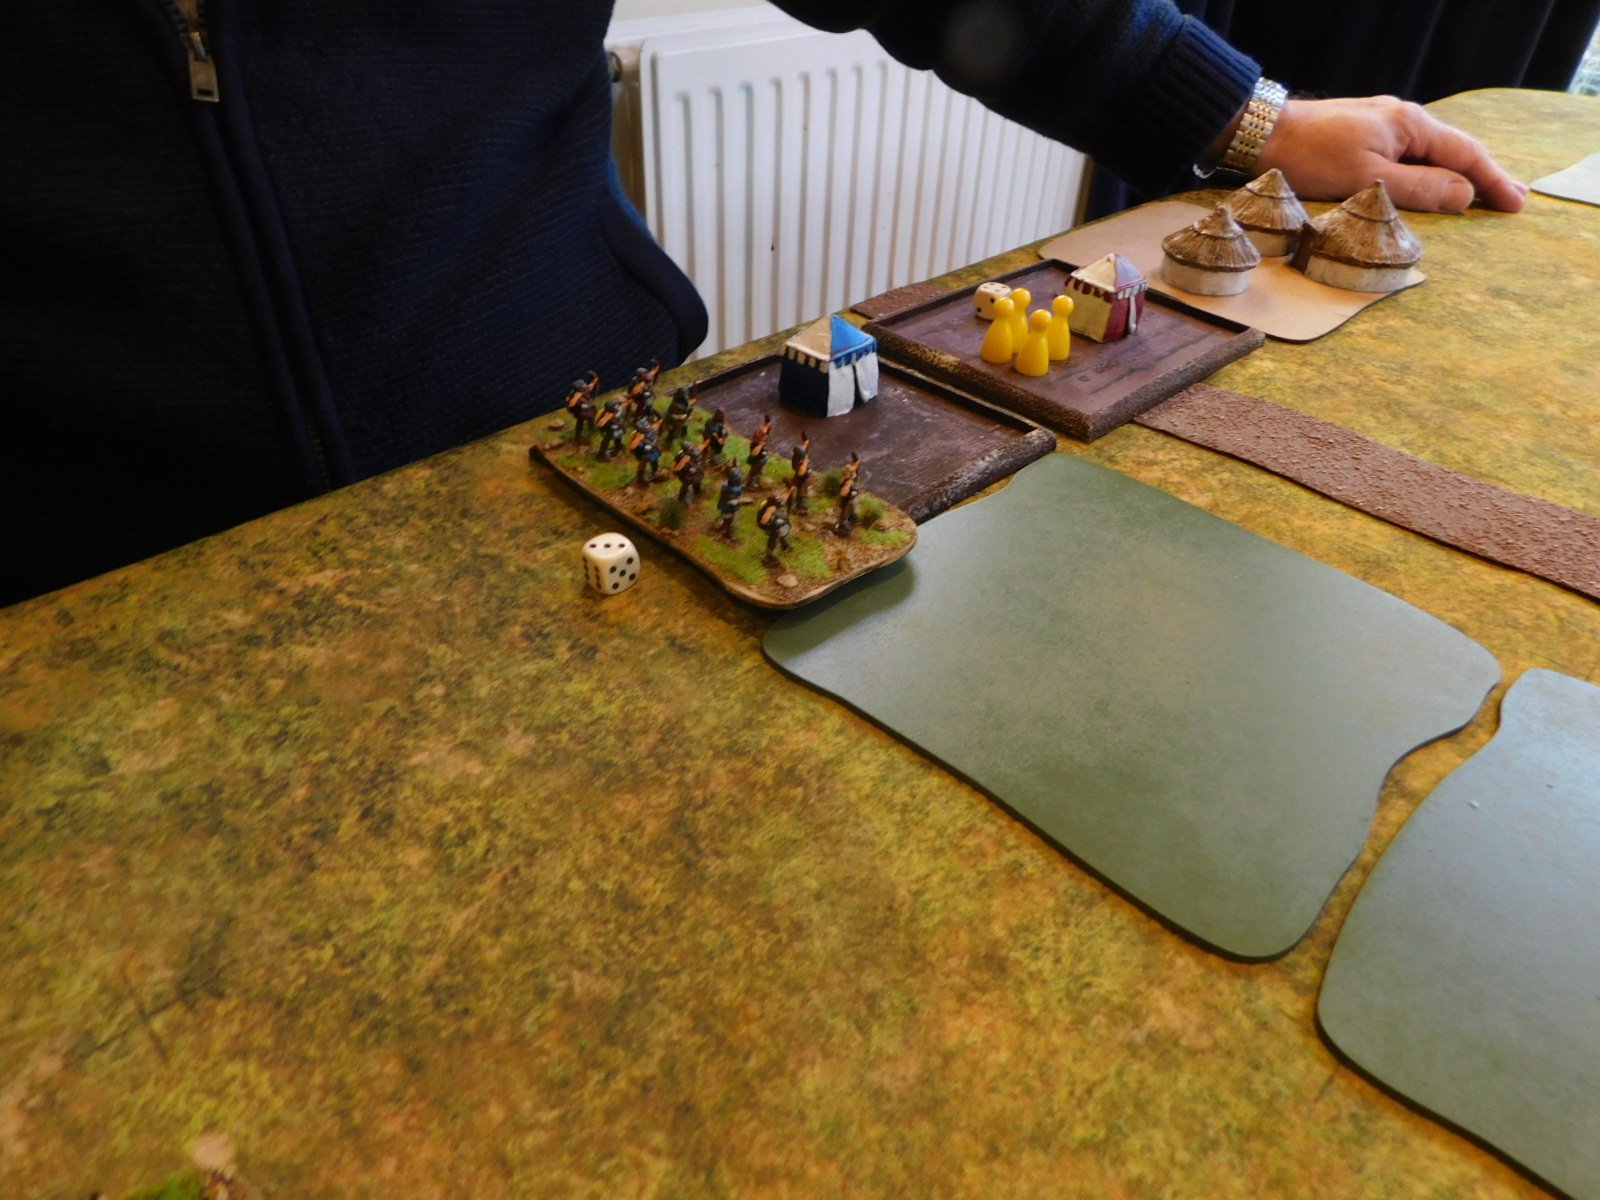
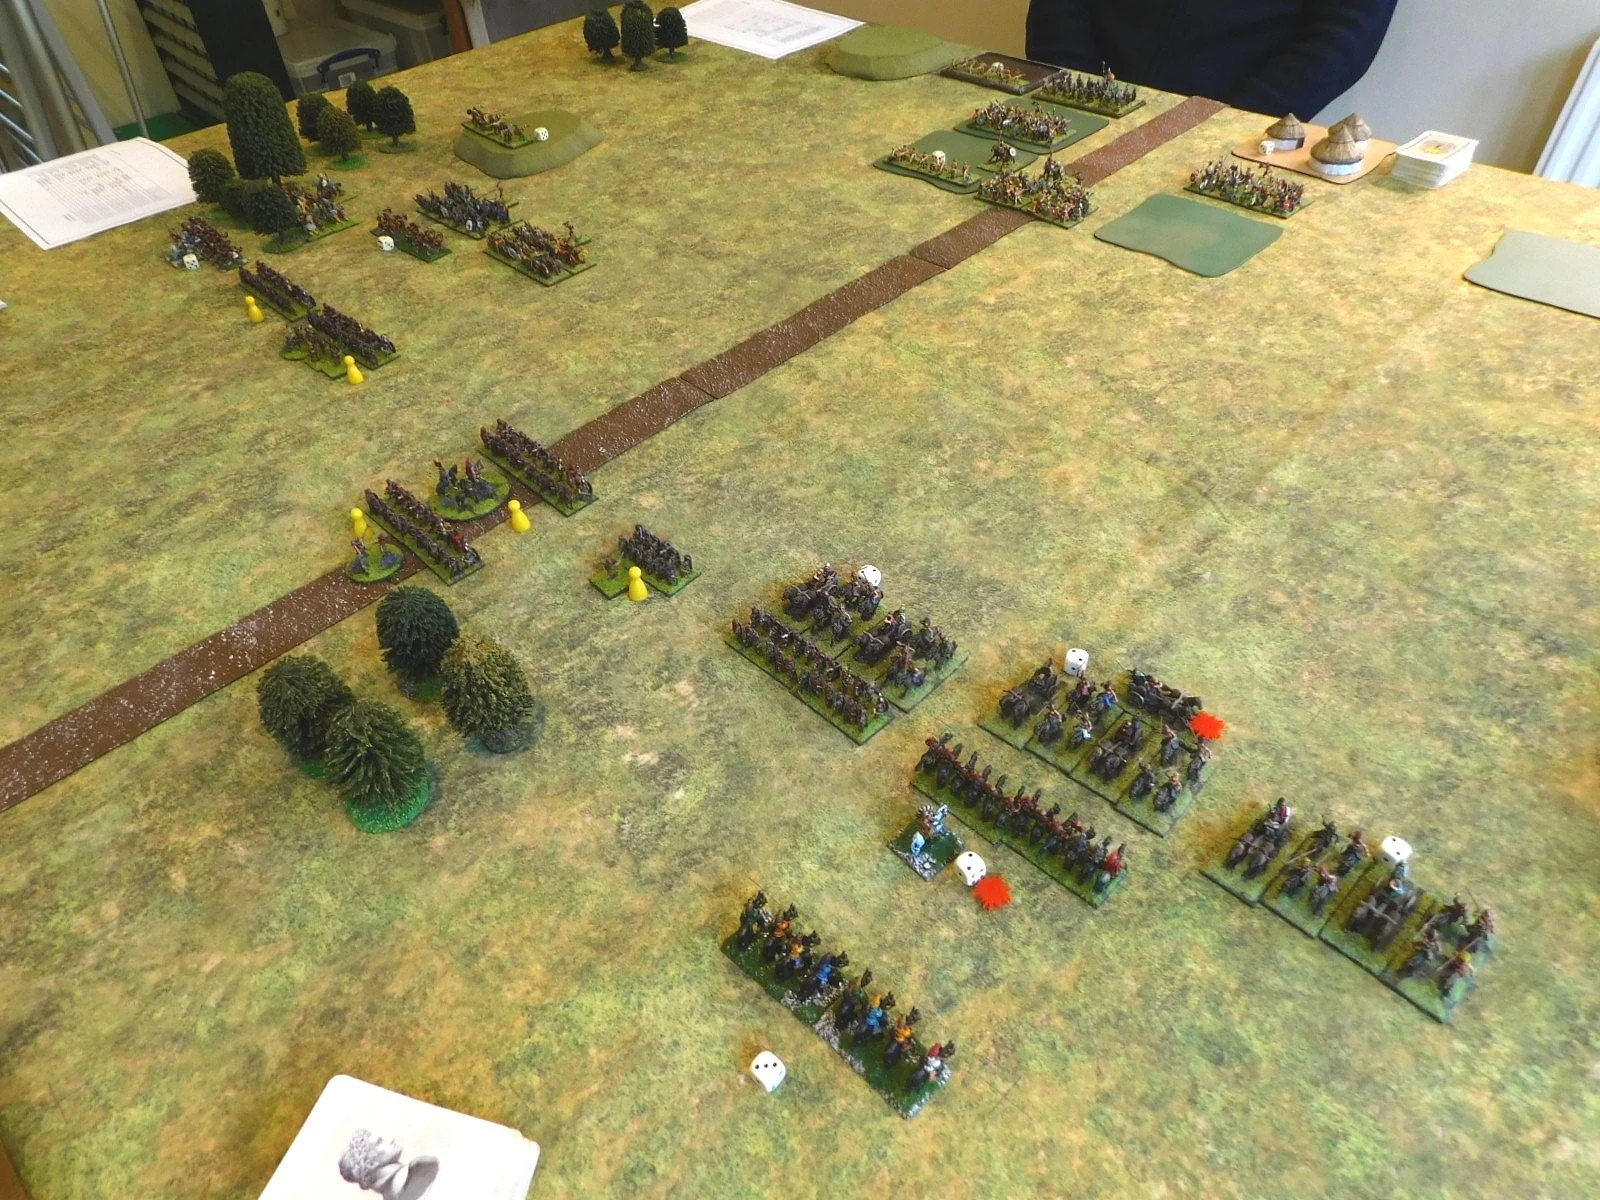
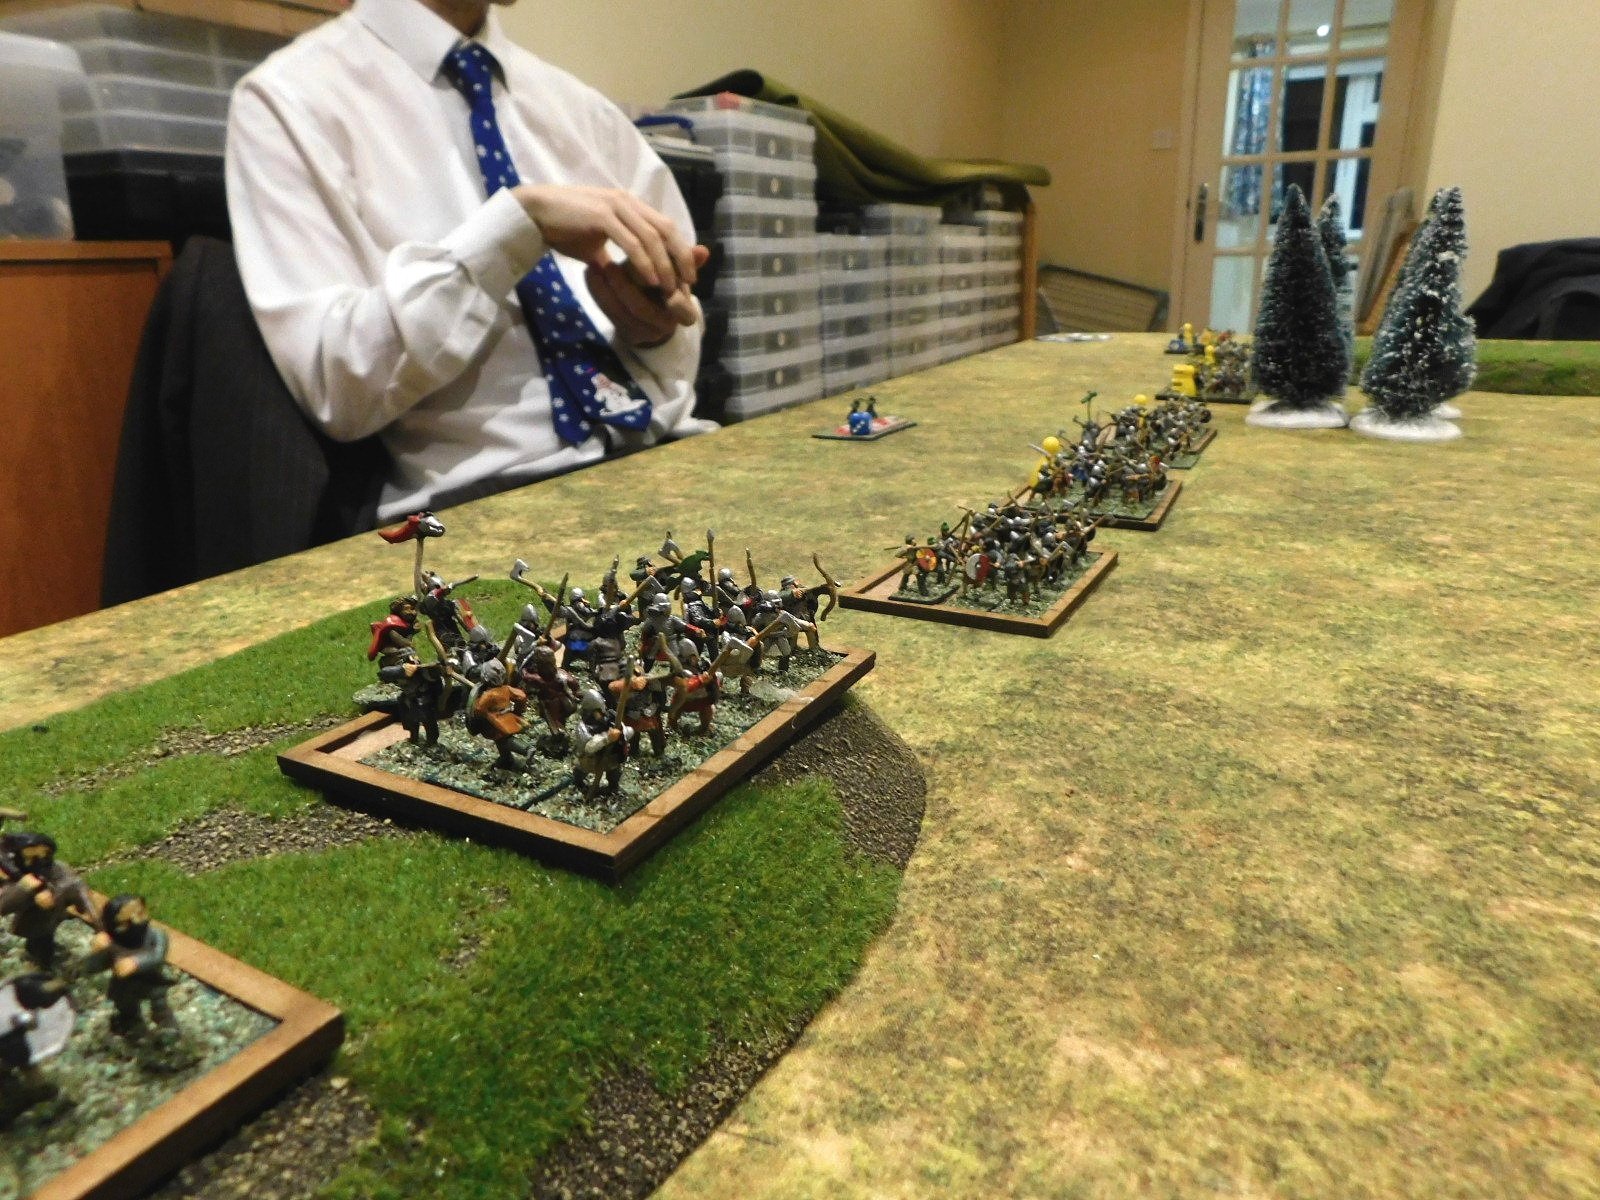
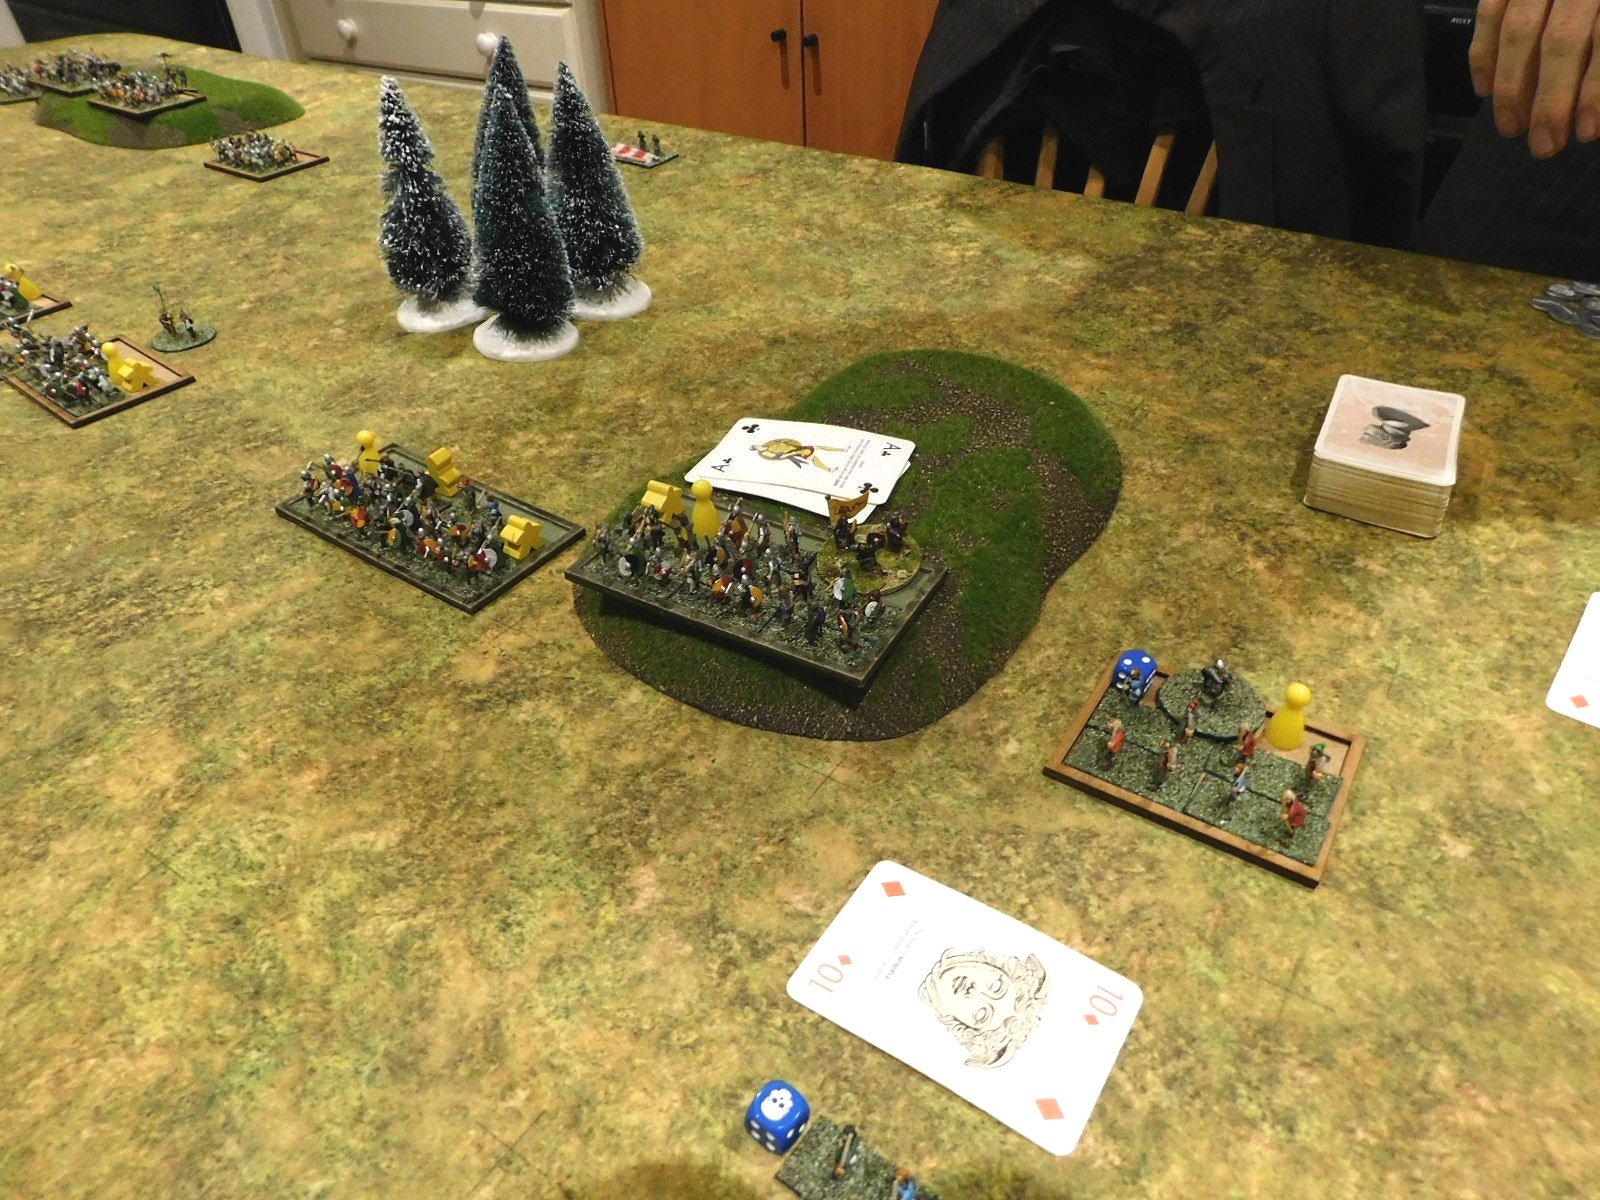
The rest of TTS lot arrived soon after, and we decided to have a warm up game to get into the swing of things. My opponent was Simon Miller, author of the rules and all-round good egg, with his Burgundian Hapsburg army of mostly raw pikemen.
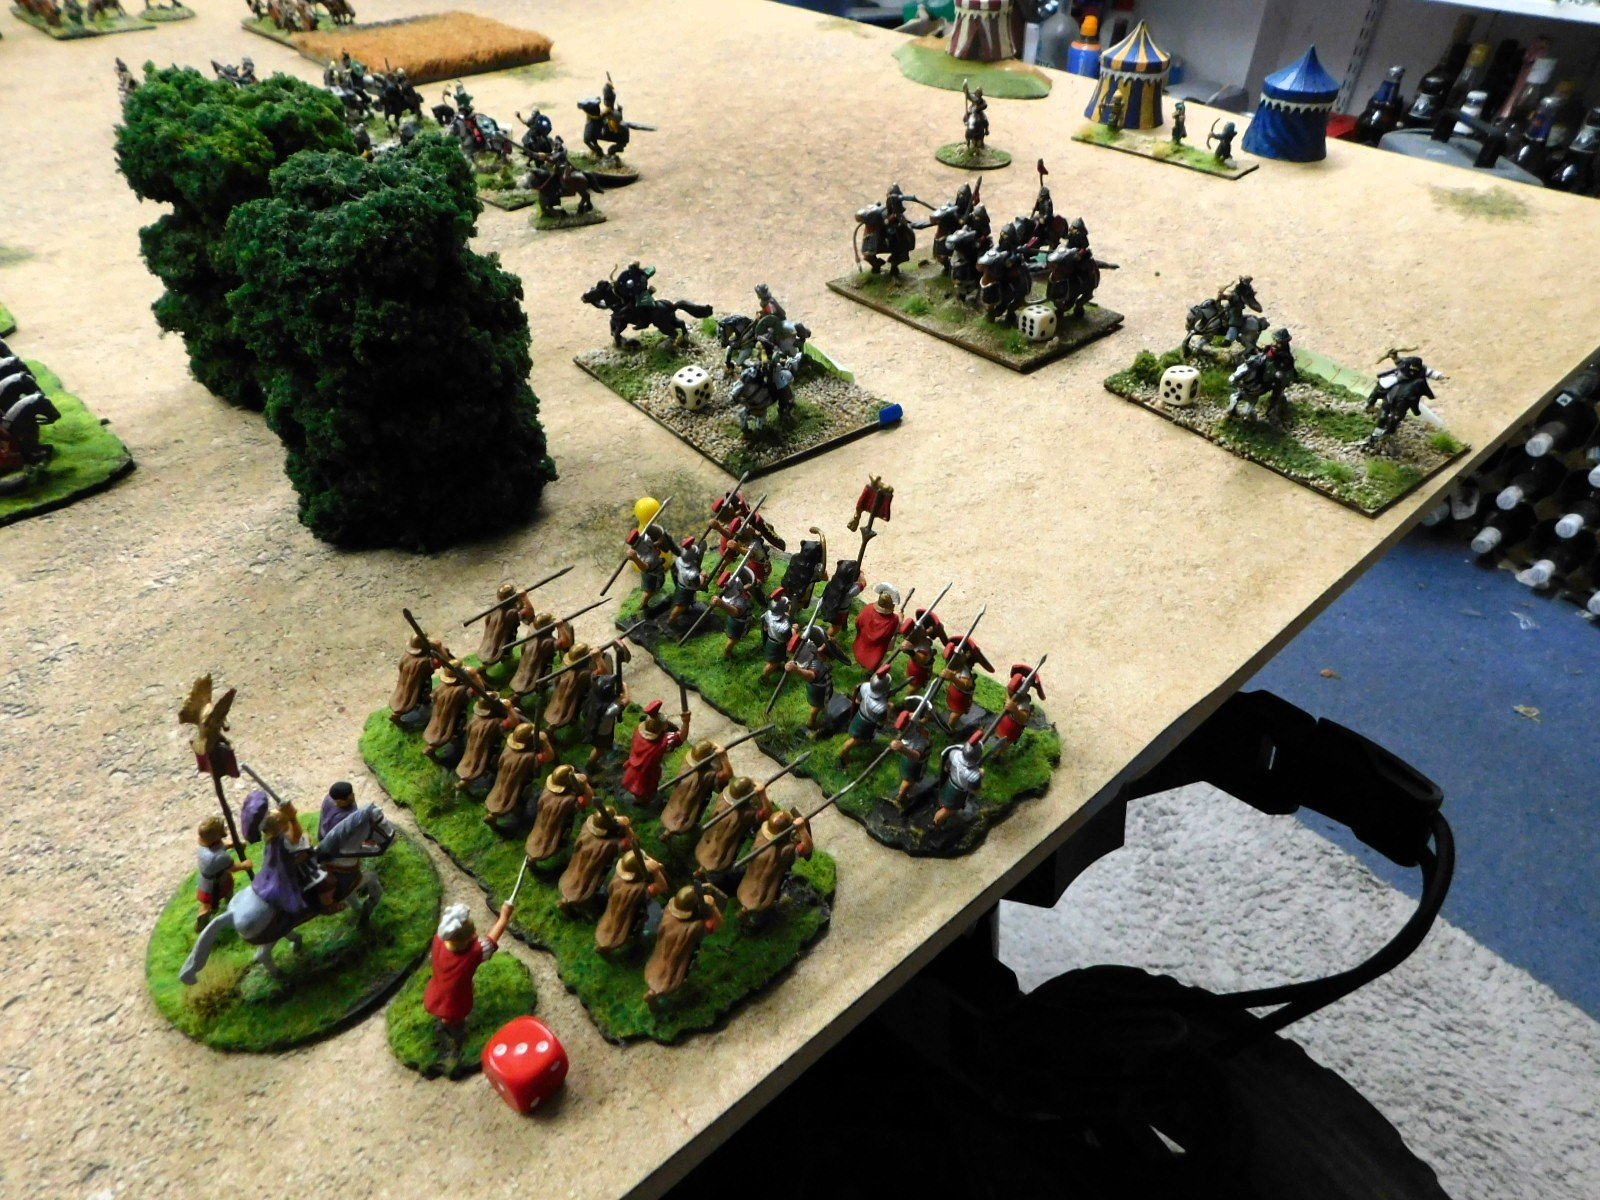
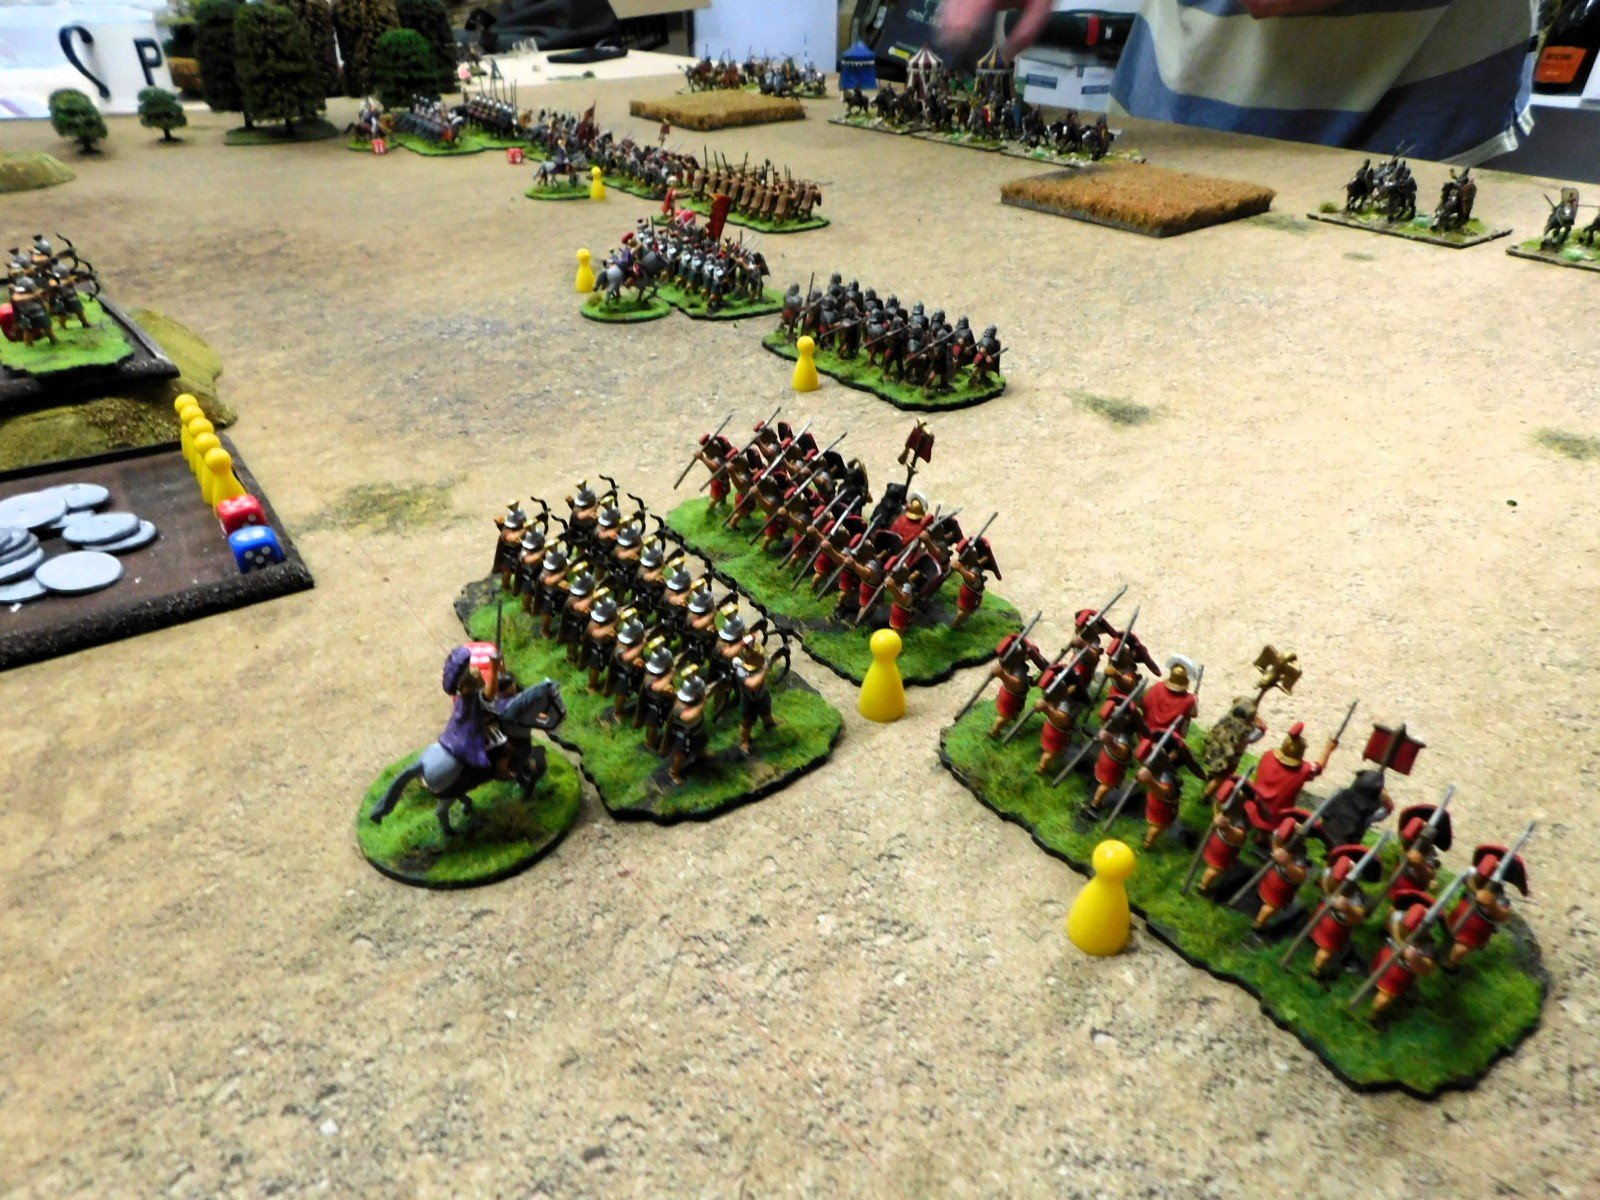
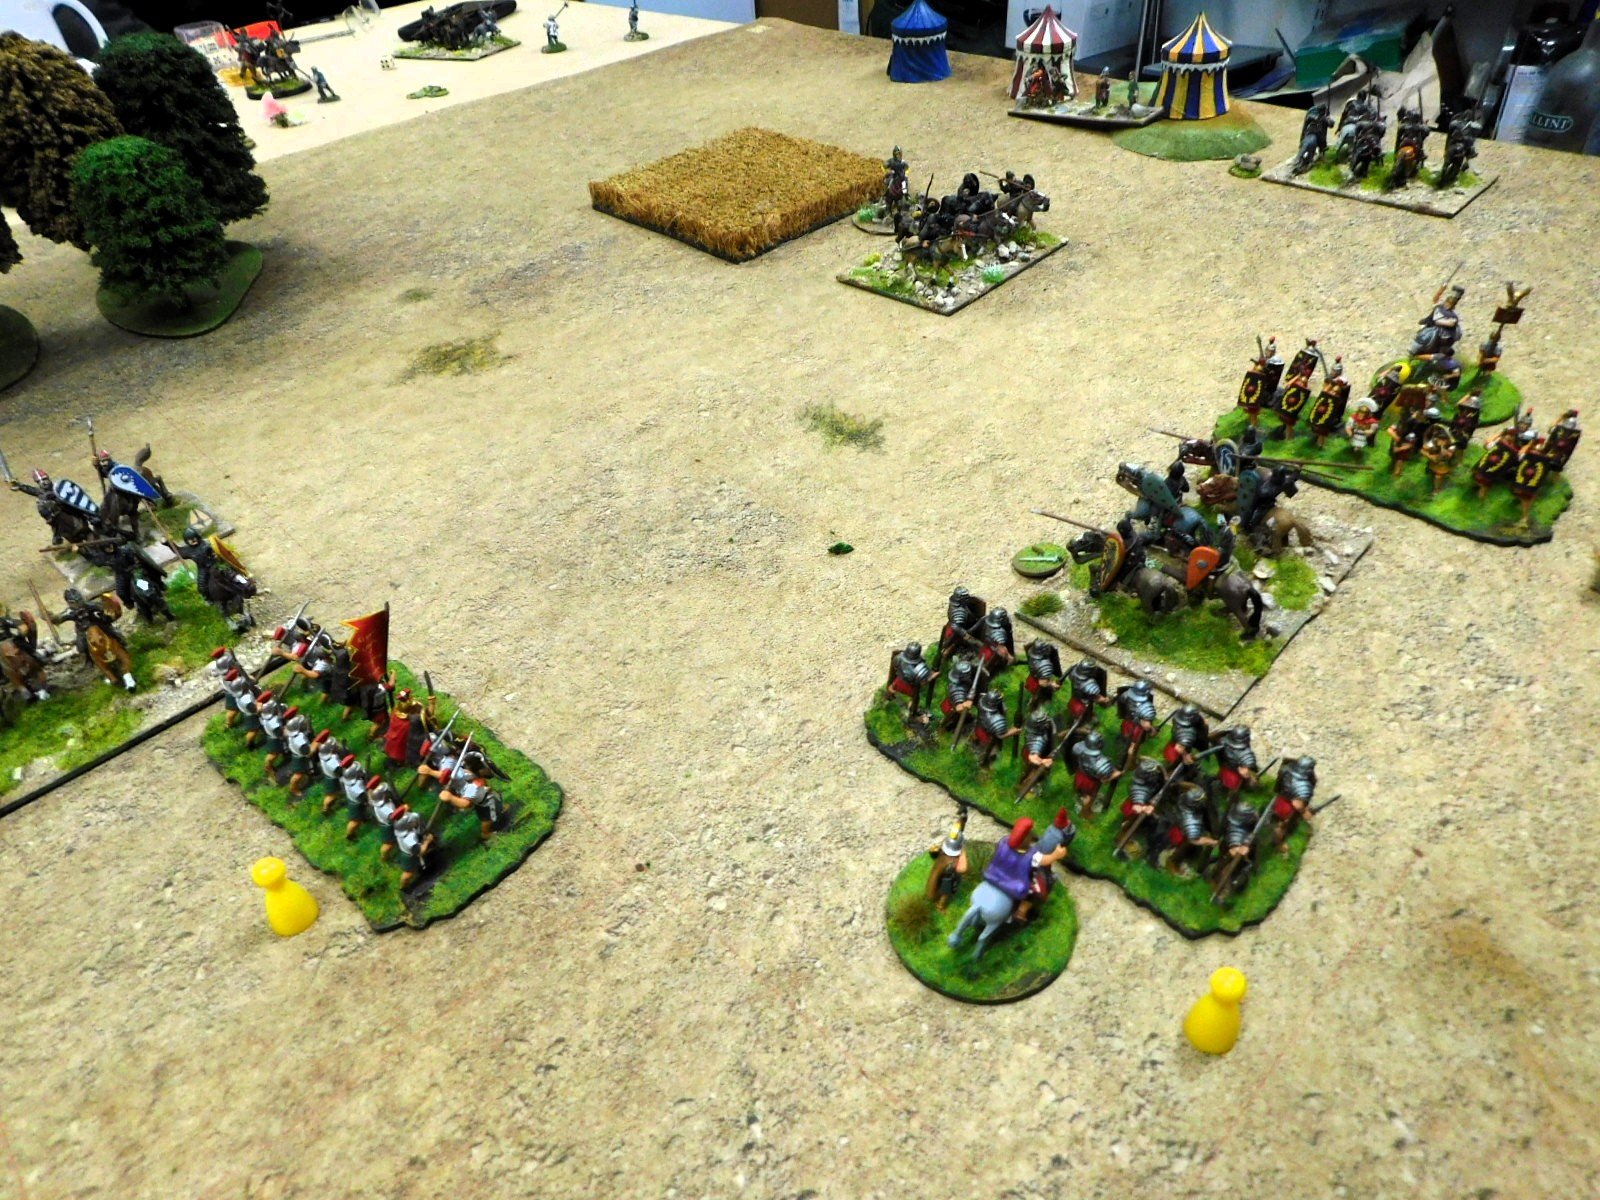
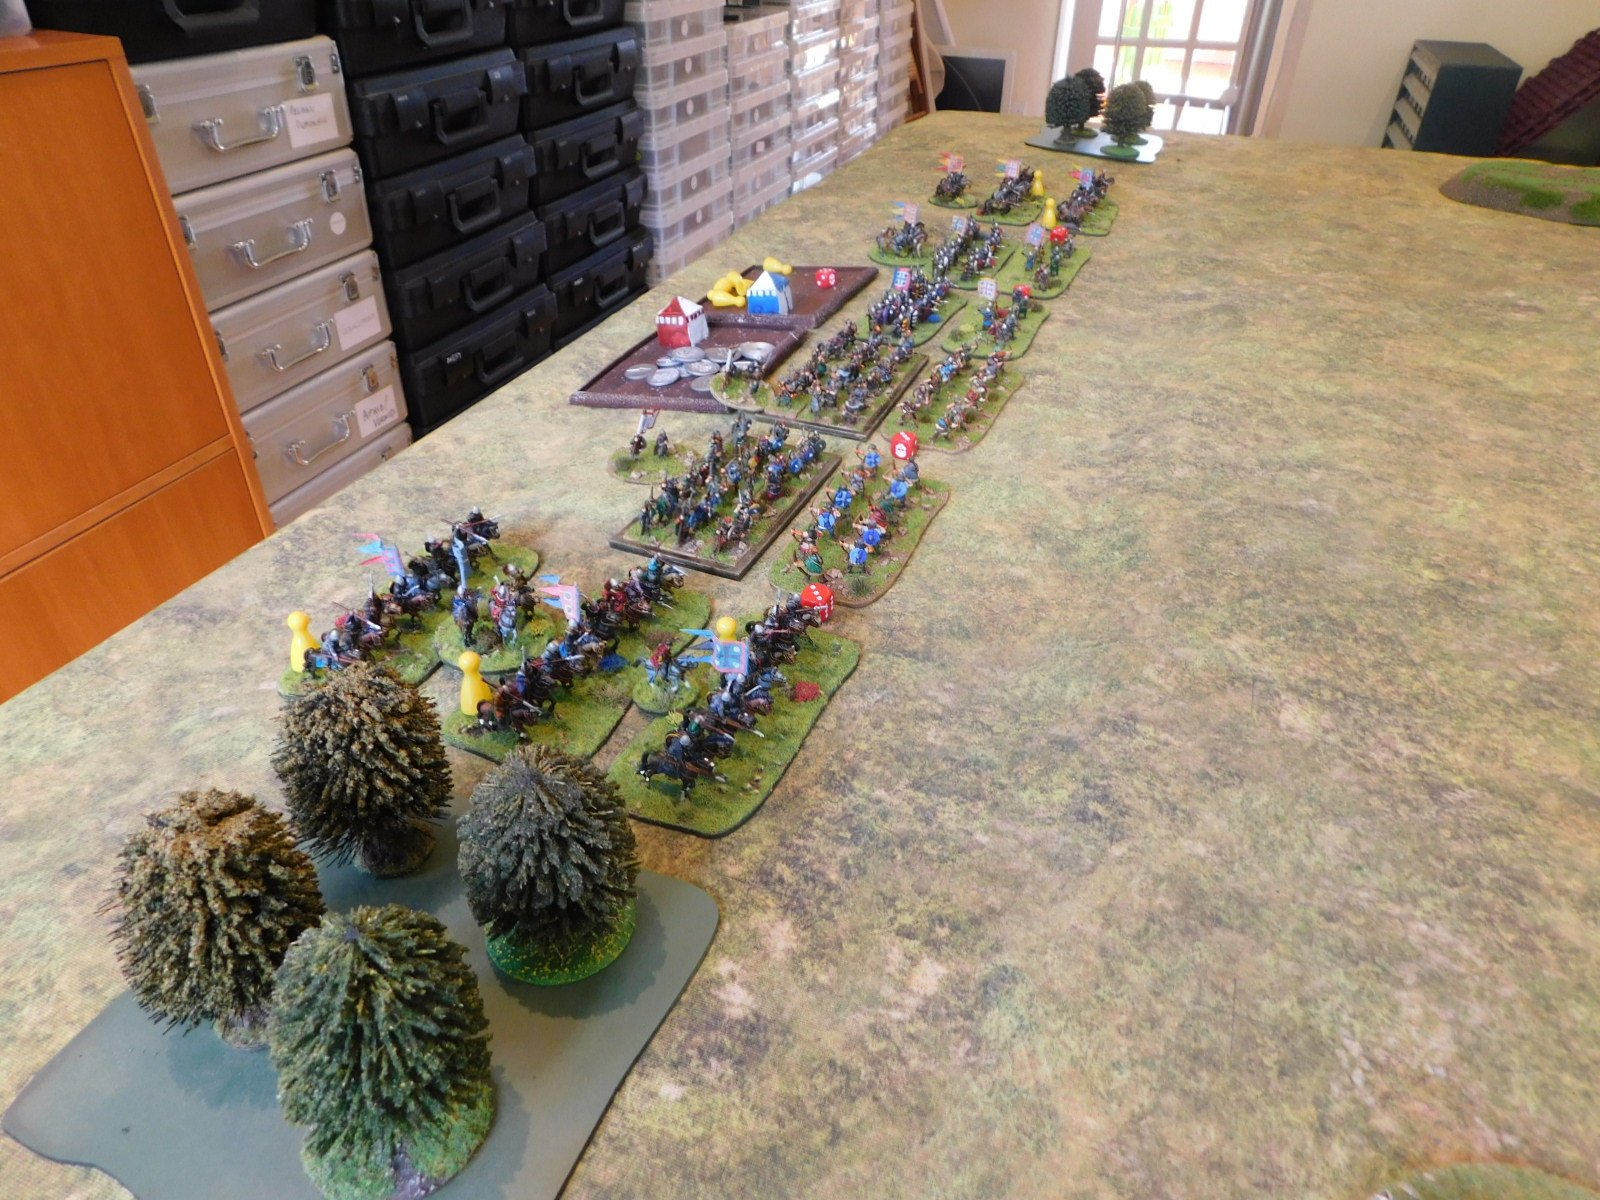
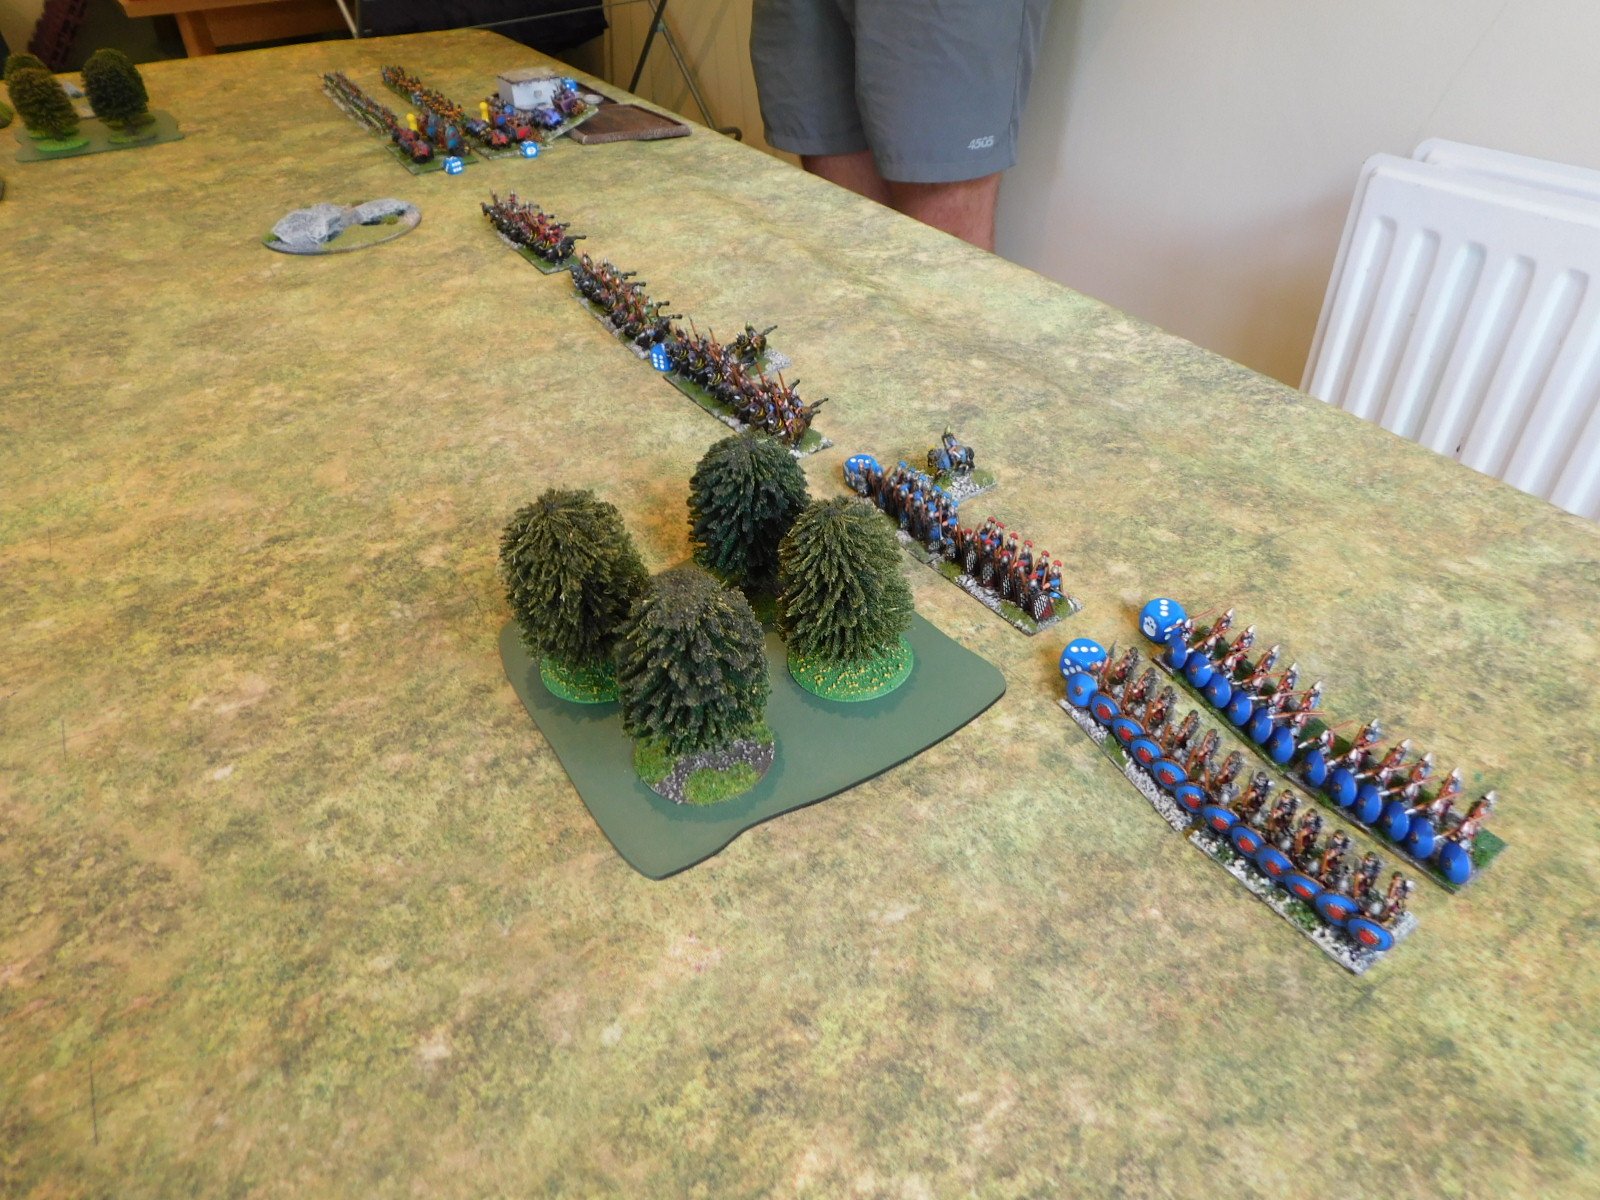
My Early Imperial Romans advanced in echelon, and got into the perfect position to flank charge his slowly advancing line…but then I suffered the most extraordinary bad luck for the rest of the game and got thrashed 0-13!
Now you may say “oh, the old "‘bad luck’ excuse, eh?” but even Mr Miller kept apologising not just for my card draws but also for his extraordinary good luck. Put it this way, during the game I had nine flank charges that resulted in no effect whatsoever: not even a single disorder!
All I could hope for was that this was not an omen for the competition itself, and that I had used up all my bad cards!
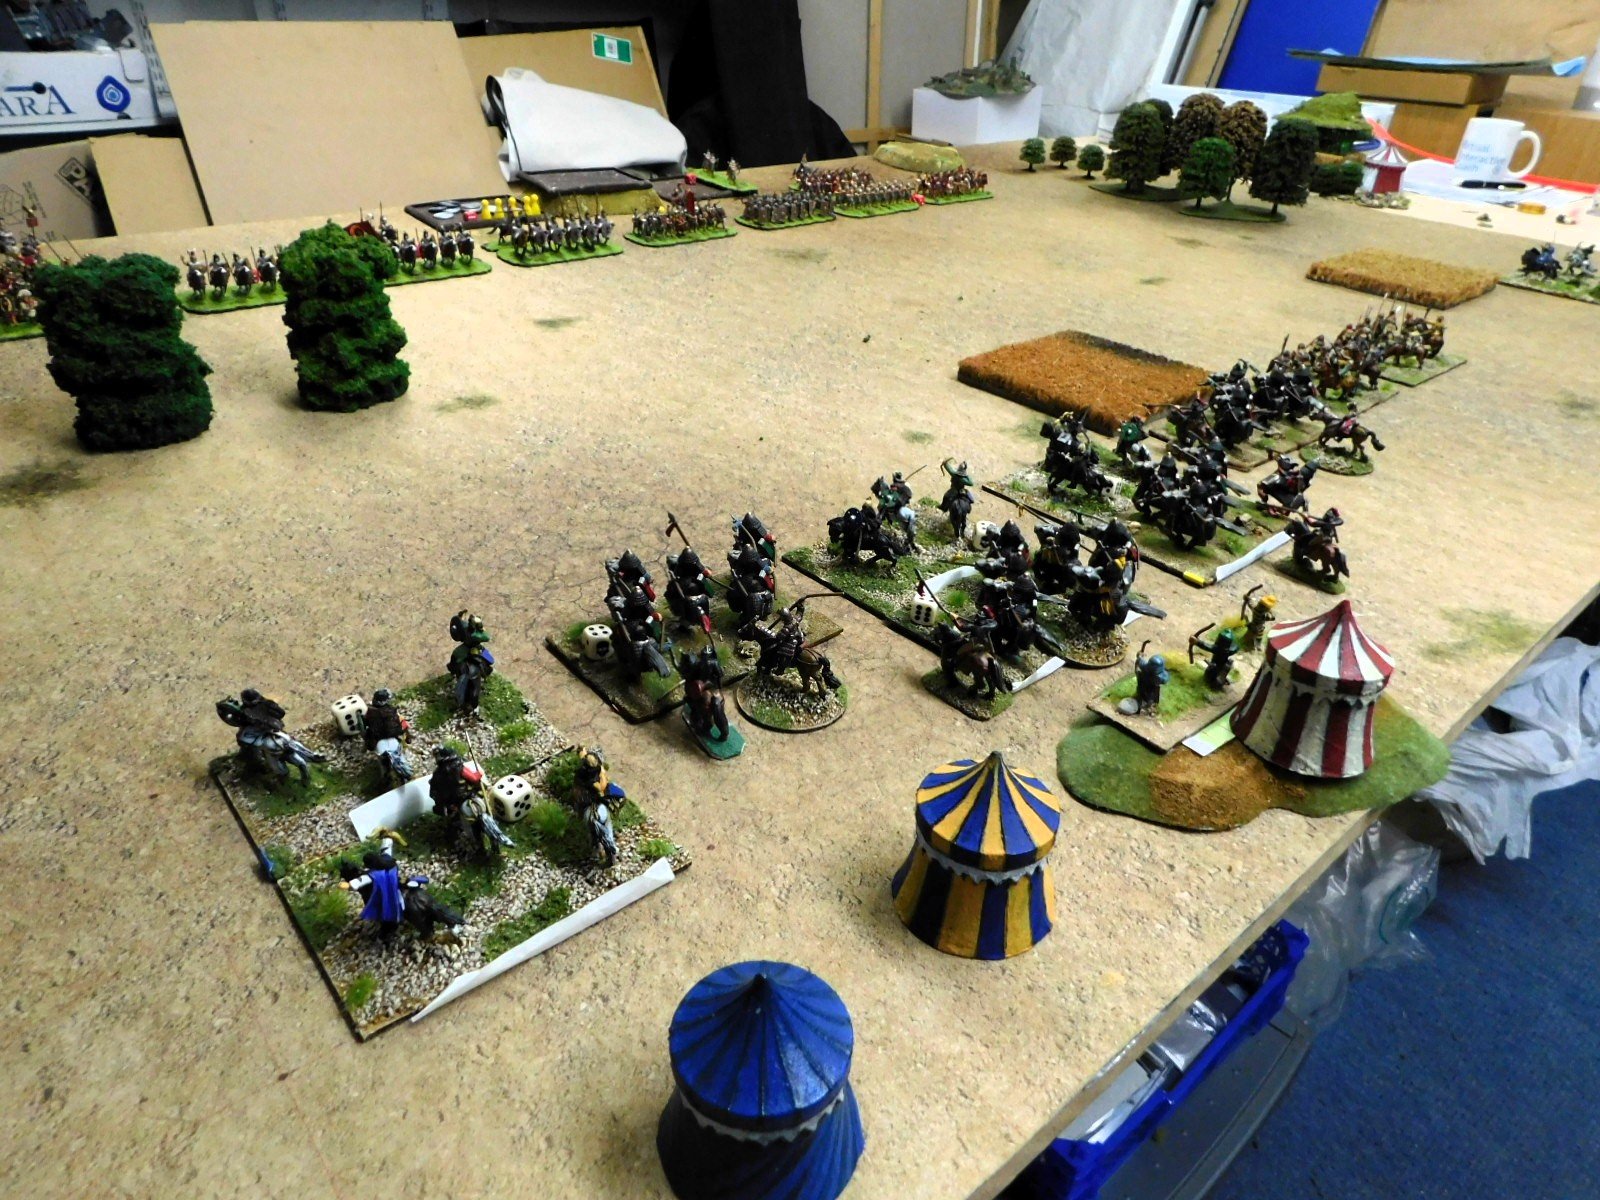
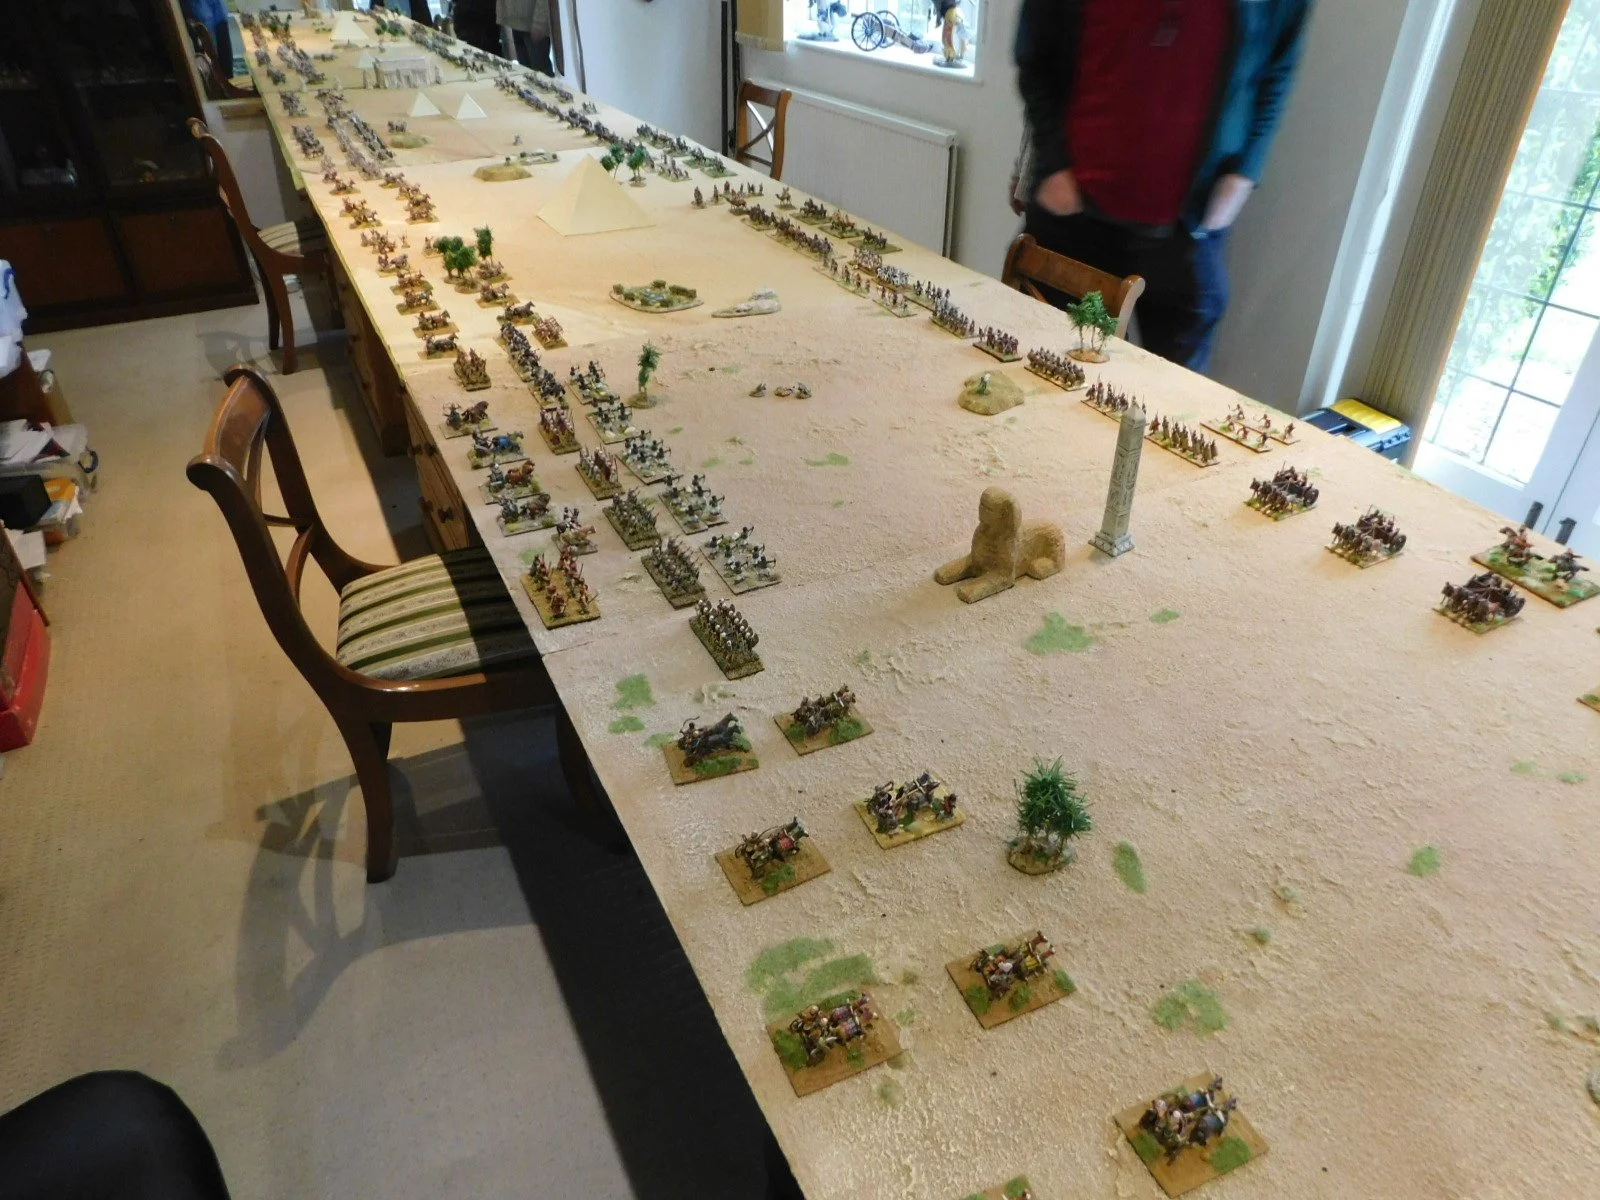
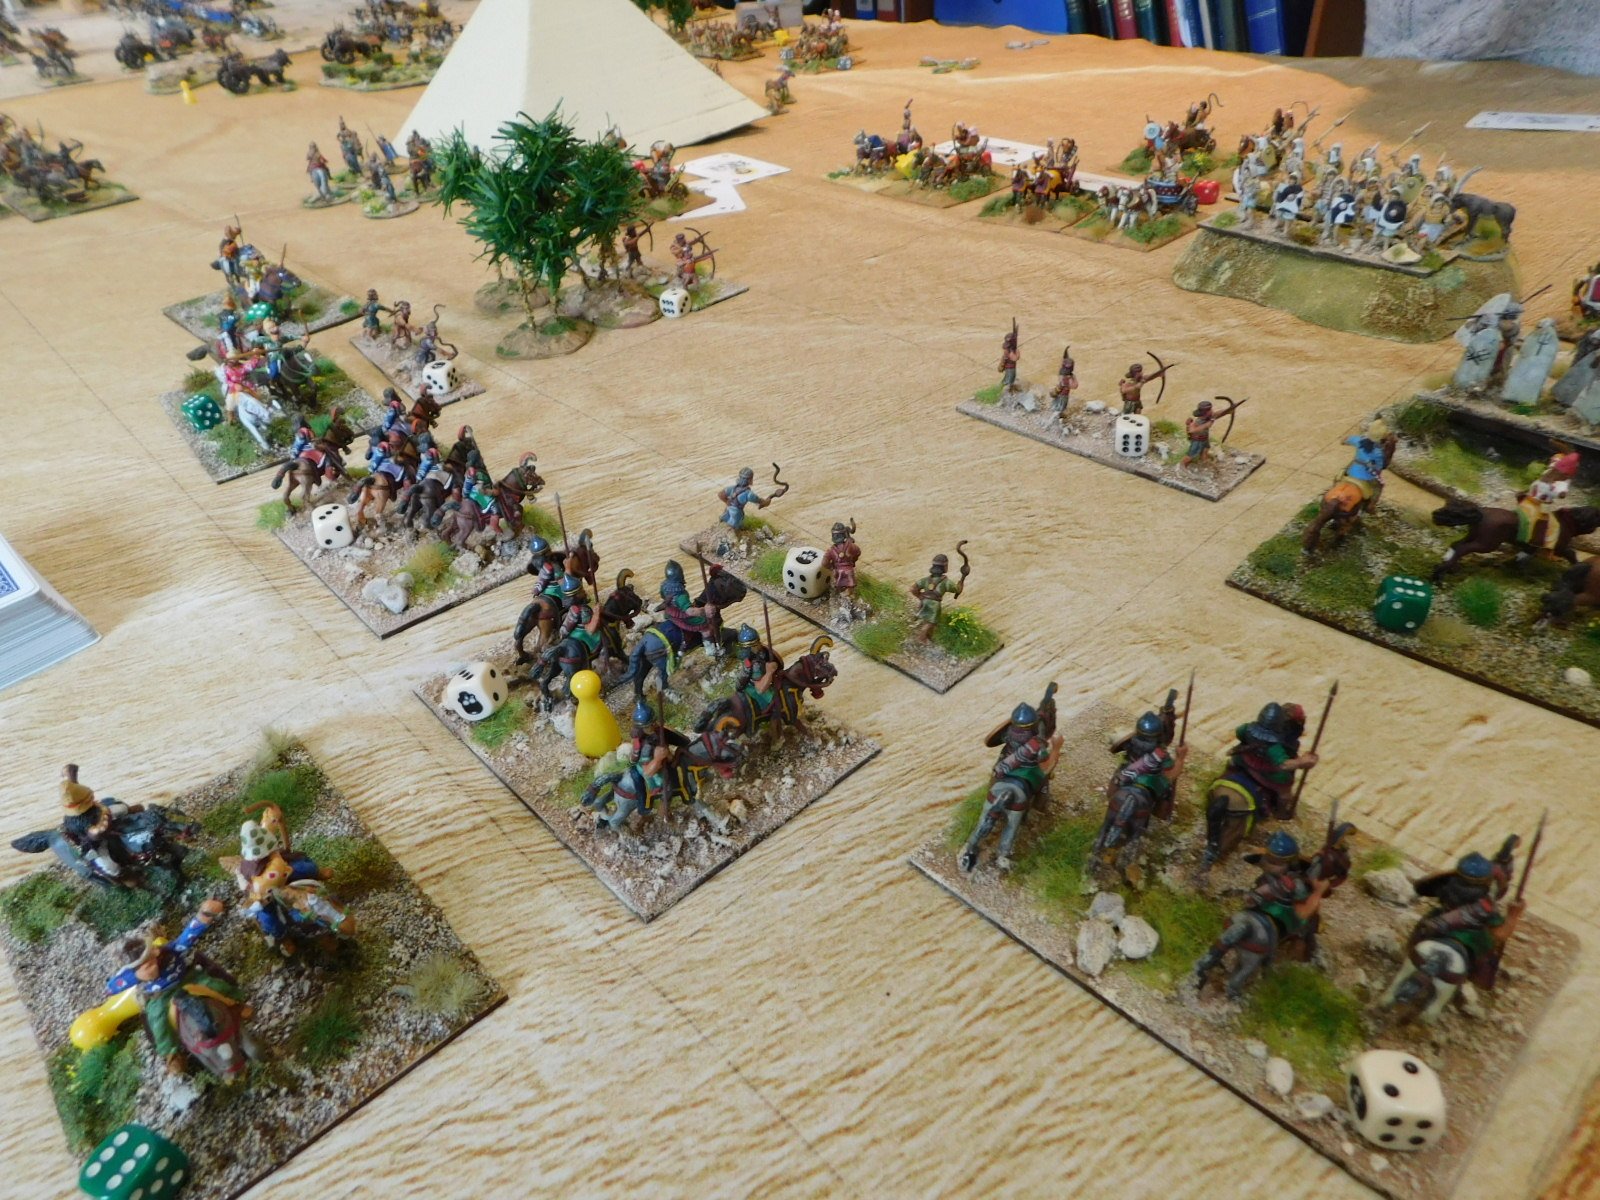
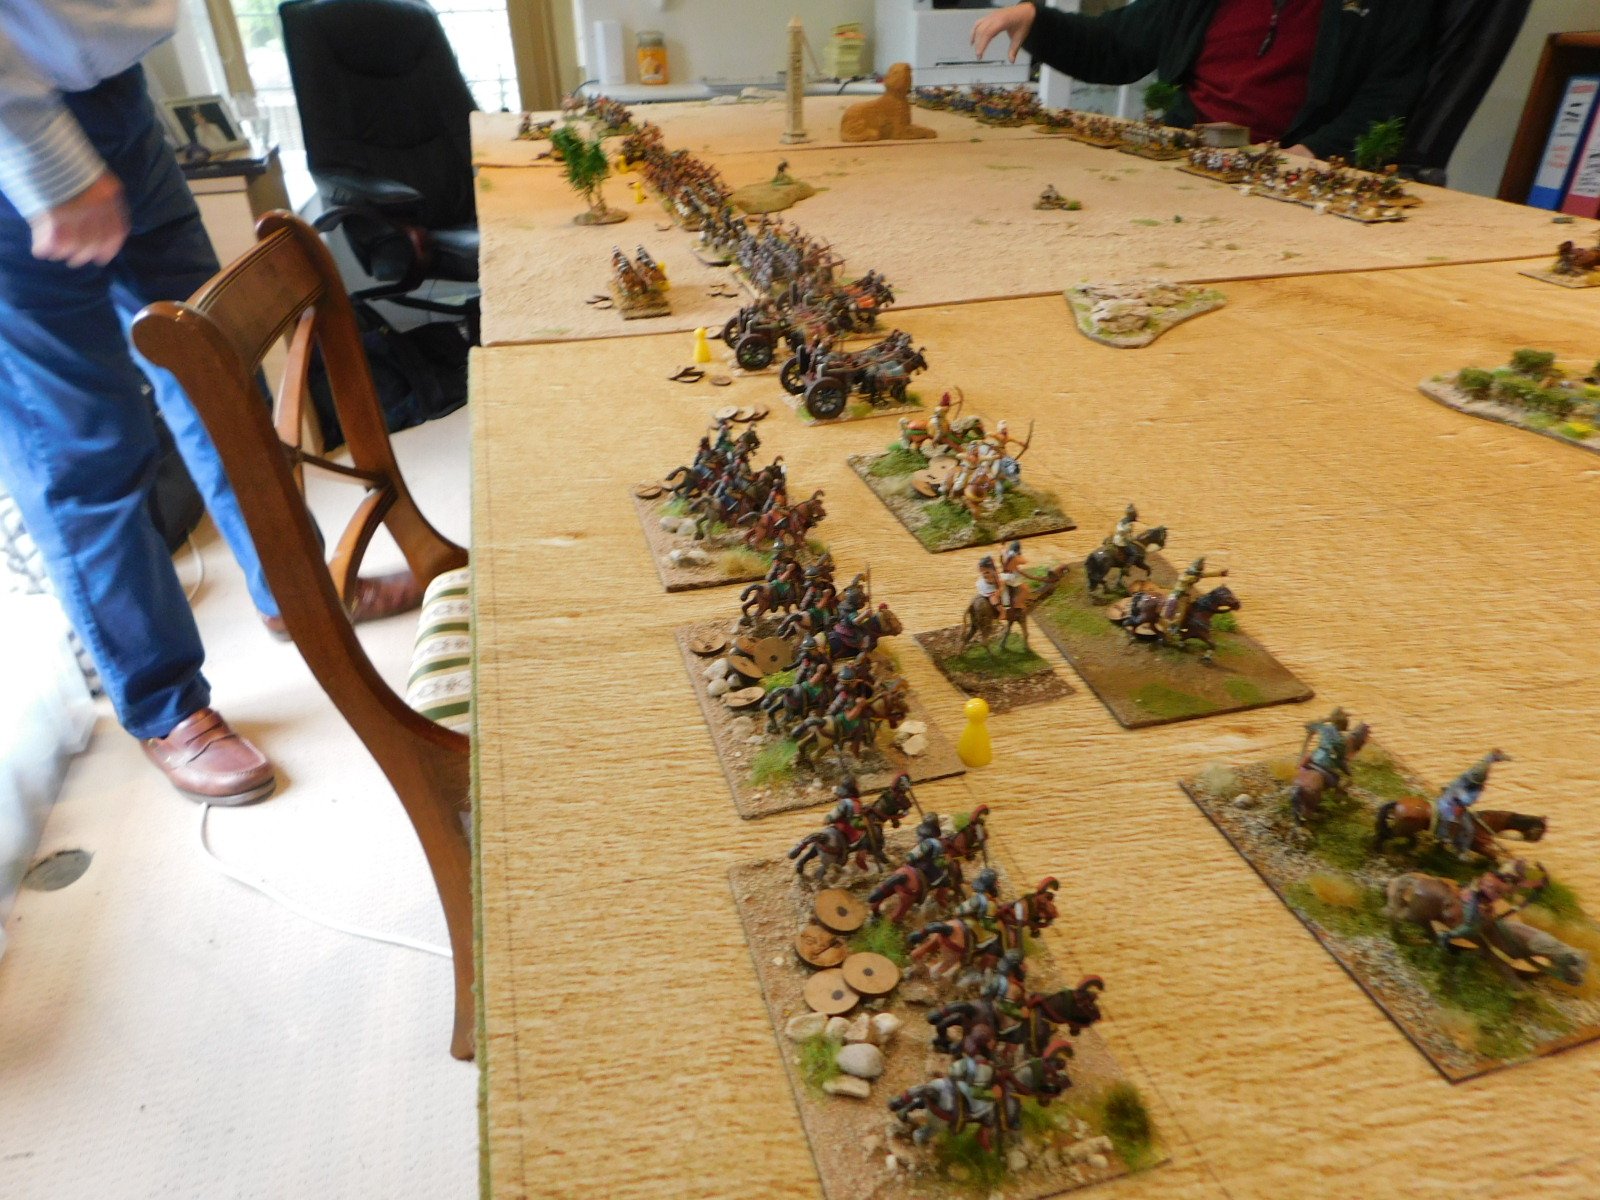
Here are some pics of the game: