Blinds for the September War Campaign

Following on from yesterday's launch of The September War, my new scenario pack for IABSM covering the German invasion of Poland 1939, I've now added a set of Blinds for the campaign, downloadable free from the Poland 1939 page of the IABSM section of this website. Or click on the image to the right to get there!

There are four Blinds available: the Polish ones shown to the right, Soviet Blinds, and two sets of German Blinds: one using the historically accurate plain white cross; the other, my preferred version, using a more late war version.

I just pop a few sheets of stiff paper into the printer, print them out, then cut them out, and away you go. You can laminate them if you like, but I usually don't bother these days.
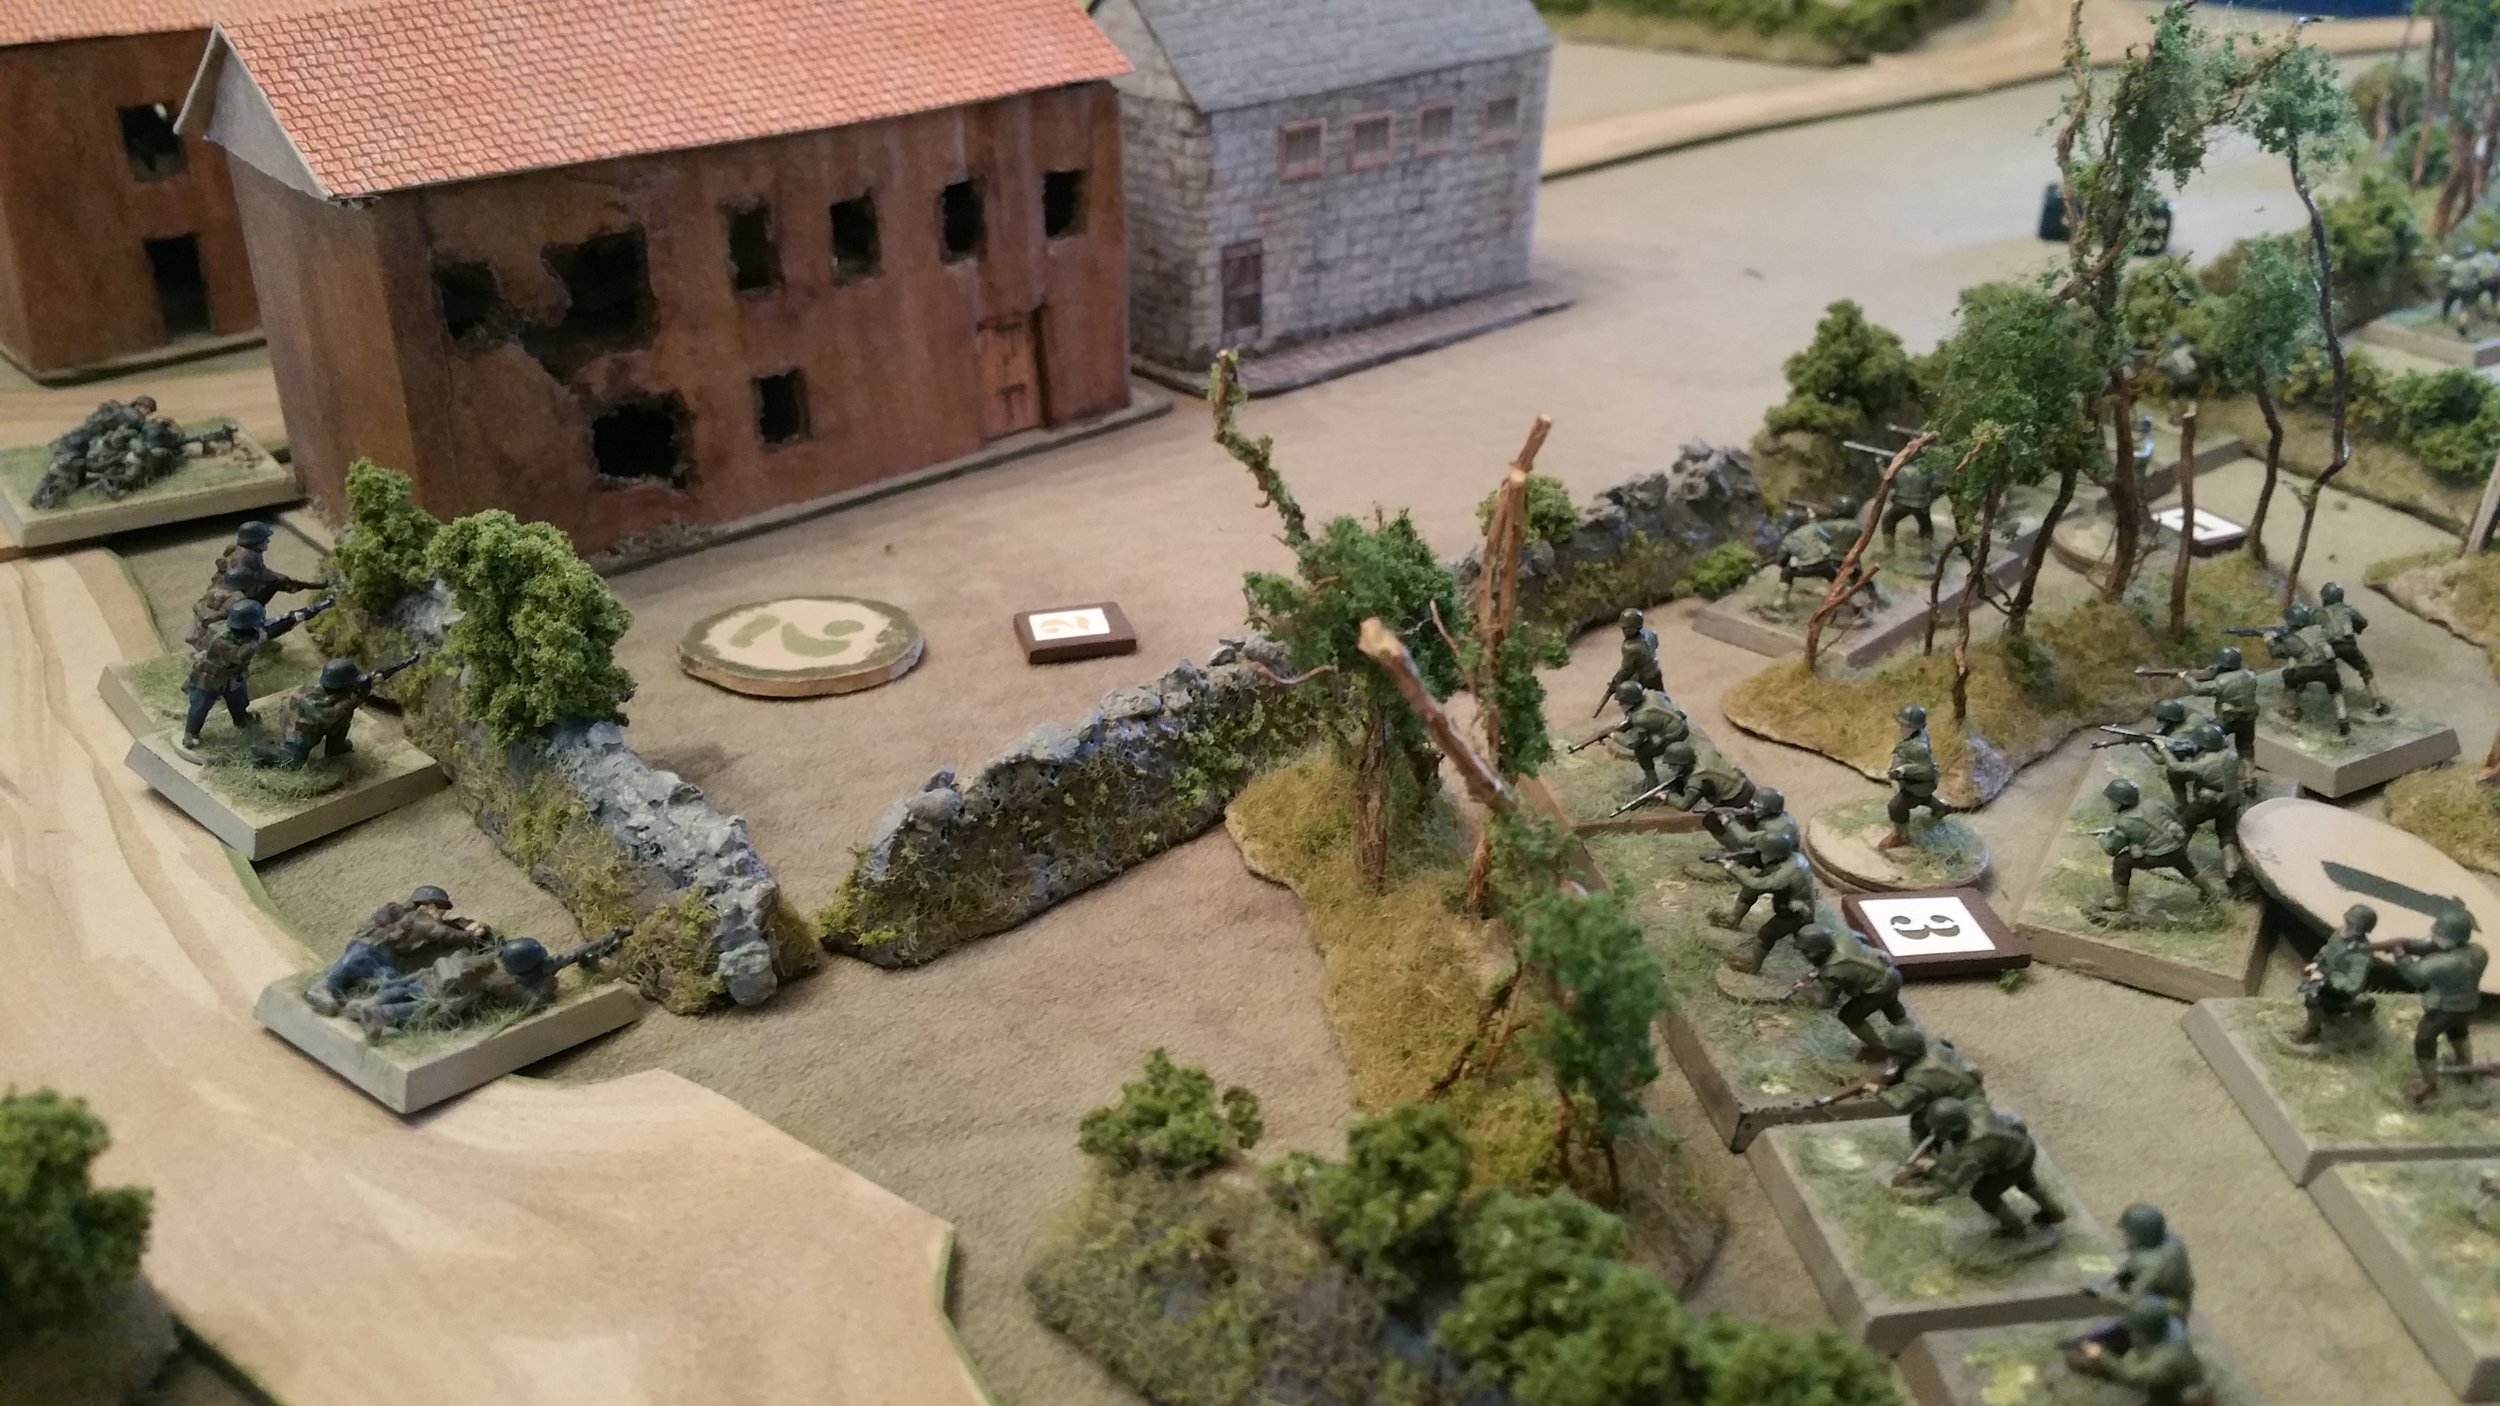
Objective Markers

And whilst we're on he topic of useful things, check out my new Polish objective markers:

These are resin disks 2-3 inches across that you can buy from Army Group North. They don't appear in the AGN webstore at the moment, but if you e-mail them on info@agnminiatures.com, Andrew will sort. They are $10 for three markers and paint up very easily.

A recommended buy, especially as many of the the September War scenario pack scenarios have two-four objectives in them.

The September War Publishes Today!

The German invasion of Poland on 1st September 1939 precipitated the greatest conflict the world has ever known, ending the lives of some 60 million people across the globe.

Written by Robert Avery and Alexander Kawczynski, The September War is a collection of thirty-three scenarios for I Ain’t Been Shot, Mum covering the German invasion of Poland 1939. It is priced at £9.50.

Divided into eight mini-campaigns, the pack begins with the battles at the border, then covers the fight for the Polish corridor, the Polish Thermopylae at Narew, the Siege of Warsaw, the climactic battles at Bzura and Tomaszow Lubelski, and the actions of the 10th Motorised Cavalry “Black” Brigade and the Independent Operational Group Polesie. There are attacks, counter-attacks, encounter battles, desperate defences…there’s even an armoured train or two.

No need for any preparation: each scenario contains a brief background history, maps, a full game briefing, and a full briefing for each player. Simply print out the pages you need, make up the deck from the list of cards required, unpack your figures and dice, set up the table and away you go!

Click here or on the picture of the front cover to buy The September War scenario pack for IABSM.

To see a list of scenarios, click here.

To see a sample scenario briefing, click here.

IABSM AAR: The Bridge at Urk

Nice to see someone playing a scenario from Vyazma or Bust! 

Here, fellow Lardy Vaggelis plays #2A: The Bridge at Urk in 6mm. Will the Germans manage to find a way through to outflank Sychevka? Will the Soviet commander survive the disgrace of his last battle? It all happens around the bustling metropolis that is Urk.  Click on the pic below to see the story unfold...

You can visit Vaggelis' excellent looking blog Wargames and History by clicking here.

IABSM AAR: The Defence of Arras

Many of you will have seen some of Egg's beautiful models in the pictures from the TFL Painting Challenge. Here's a chance to actually see them in action, with a quick AAR covering Scenario #01 from the Cymru Am Byth Welsh Guards scenario pack: the Defence of Arras.

Click on the pic below to see all:

New Scenario Pack for Chain of Command

Chris Stoesen, author of the Campaign for Greece, Call this a Ruddy Picnic (East Africa), and In the Name of Roma scenario packs for IABSM, has just published a new supplement for Chain of Command.

For those interested, here are the details:

"The Campaign for Kharkov contains two pint sized campaigns. One covers the advance of the German 57th Infantry Division and the other the German 101st Light Division. The attack came in October of 1941. This city would be the site of three major battles for the city. The interesting aspect of the October 1941 battle is in the nature of the troops involved. The Soviets had superiority in armor. The Germans advanced with only a single STUG battalion in support of the 57th ID. The Soviets fielded the T34 as well as several improvised armored vehicles such as the KhTZ-16. While not a success on the battlefield, it demonstrated the Soviet inventiveness under the extreme pressure of the blitzkrieg.

"There are twelve total scenarios in the campaign. Full force lists are available for both German Divisions and the Soviet troops present. Maps are based on aerial reconnaissance photographs taken by German troops in September 1941.

"The scenarios are availible from my blog at $6.00 US. PayPal the money to cstoesen@corecard.com and I will email you the PDF. Or you can order them from Wargames Vault for an instant download for $7.00 US.

Note that a Kindle and a hard copy will be available on Amazon within the next couple of days. Stay tuned."

Click to go to Wargames Vault

Click to go to Chris' blog
 

Some More Poles Painted

With the half-term hols upon us, I've taken the chance to finish a few figures that have been sitting on the painting table for far too long.

First up are a few additions to my early war Polish army:  the HQ mortars and a selection of Big Men.

I'm trying to concentrate on the Poles at the moment, as I need to have enough of them done to start playtesting the scenarios in my forthcoming September War scenario pack. That's a collusion between Anatoli and I, and should, when finished, contain 55 separate Poland 1939 scenarios for I Ain't Been Shot, Mum. Scenarios 1-19 are written already, so just need to playtest them and get some photography done at the same time (which is why I can't use proxies).

Finally, I also got around to painting the Warbases 15mm Pegasus Bridge bunker. Nice little model: it's my paint job that's uninspiring! And the pic is a bit blurred too!

IABSM AAR: Blenneville or Bust! Near Avaux

Great write-up of a game at the August meeting of the Devon Wargames Group taken from the Blenneville or Bust! scenario pack.

The action took place Near Avaux: as an embattled German force attempts to hold out against a strong attack by British armour.

You can read all about on the Devon Wargames Group page (click here), or on this site by clicking on the picture, below.

IABSM: Polish Army Lists for 1939 Finished

I am very pleased to announce that the Polish Army Lists for IABSM for the 1939 September War are now finished and available as a free download on this site.

The lists are gathered into a single, 54-page pdf booklet that follows the same format as the two late war theatre supplements Vpered na Berlin and Battle for Liberation.

The booklet contains lists for the following forces:

  • Line Infantry Company
  • Border Protection Force Infantry Company
  • Border Protection Force Mountain/Highland Infantry Company
  • Independent Reconnaissance Tank Squadron
  • Cavalry Squadron
  • Cavalry Armoured Reconnaissance Diwizjon
  • Troops from the 10th Motorised Cavalry Brigade
  • Troops from the Warsaw Armoured Motorised Brigade
  • 1st & 2nd Light Tank Battalions
  • 3rd Light Tank Battalion
  • 12th & 121st Light Tank Companies
  • 21st Light Tank Battalion
  • 2nd Armoured Battalion

In addition, there are rules for rating your Polish force, the Polish Armoury, and details of/rules for armoured trains.

Click on the picture of the front cover to download the list; or visit the Poland 1939 page on the IABSM drop-down, above.

Enjoy...and if you find any errors, or just want to let me know what you think, either comment on this post or drop me a line at the usual address.

IABSM AAR: Carroceto

Here's another great battle report from Joe Patchen, this time covering a game of I Ain't Been Shot, Mum using scenario #2 of the Anzio: Wildcat to Whale scenario pack.

It's 25th January 1944 and the Allies have surprised the Germans by landing troops behind their lines at Anzio. Now the British Guards thrust towards Carroceto and the Factory hoping to break out of their beachhead.

Click on the pic below to see all...

IABSM AAR: Operation Compass #05: Tummar West

Another quick battle report from our friends at the Stipsicz Hussars.

They are currently playing through the Operation Compass scenario pack, and have hit scenario #05: Tummar West.

The "three day raid" is now fully underway. Next on the British list is the Italian camp at Tummar West. Click on the pic below to see how they do.

IABSM AAR: Operation Compass #04: Nibeiwa

A quick battle report from the Stipsicz Hussars, whose excellent blog can be reached by clicking here.

The Hussars return to the sands of the Western Desert to play out the fourth scenario of the Operation Compass scenario pack: the British/Indian attack on the camp of Nibeiwa.

Click on the picture below to see all:

Those of you who read the report will note that the Hussars comment that all the scenarios in the Compass pack so far seem very biased towards the British.

Well, that's because they are designed that way for two reasons: firstly, they are historically accurate; and secondly, the idea is to give the British players the sense of superiority (and the Italian players the sense of inferiority) that were such characteristics of the campaign as a whole. It gets more difficult for the British as the pack goes on!

IABSM AAR: BoB #3D: Zhena

The first battle report from the games of IABSM that I ran at this year's Operation Market Larden games day in Evesham.

For those not familiar with the event, some thirty Lardies gather deep in the heart of tractor country for a day of superb gaming followed by a curry and the usual mild drinking session! My thanks, as always, to Ade for organising the event so well.

Back to the action.

My morning game featured scenario 3D from the Bashnya or Bust! scenario pack: a small German force holds the village of Zhena during Operation Bagration. The Soviets are attacking in large numbers, but reinforcements are on the way. Will the vital road junction be held?

Find out by clicking on the picture, below:

IABSM AAR: North of Sitaria by Mark Luther

Another great AAR from Mark Luther, this time using one of the scenarios from Chris Stoesen's Campaign for Greece scenario pack as the basis for the game.

As Royal Engineers rig a vital bridge for demolition, a German motorcycle recce force hoves into view. Will the charges be laid and the bridge blown in time? And even if they are, what about the next bridge?

Click on the pic below to see all:

CDS AAR: CDS at Call to Arms 2015

Last week, I mentioned Dan Wade's superb blog Wade's World of Wargaming. Well, last year, Dan put on a Vietnam demo game at Call to Arms using Charlie Don't Surf!  and a mash-up of a couple of scenarios from the CDS scenario pack, Surf's Up!

Dan reported on the demo game, and how he later played it through to a conclusion at home, over a series of blog posts which (and I hope he doesn't mind) that I have combined into one glorious battle report.

Click on the pic below to see his superb terrain and figures:

IABSM AAR: Slim River

Scenario #10, Slim River, is one of my favourite battles from the Fall of the Liongate scenario pack for I Ain’t Been Shot, Mum.

Taking place on 7th January 1942 (i.e. a month after Pearl Harbour), the Japanese have been hammering down the centre of Malaya, smashing most British Indian troops aside, and slowed only by the efforts of some Gurkha regiments and the Argyll and Sutherland Highlanders. To continue their advance, they launch a sudden thrust down the single road that leads to the village of Trolak, their objective being the bridge there over the otherwise impassable Slim River.

Click on the pic below to see if the Japanese manage to take the bridge:

IABSM AAR: The Road to Fort Capuzzo

The Stipsicz Hussars play another of the scenarios from the Operation Compass scenaripo pack for I Ain't Been Shot, Mum!

This time they play the first scenario in the pack: the Road to Fort Capuzzo, featuring a British attack on a position manned by Italian/Libyan colonial troops. Click on the pic to see all: