TTS AAR: Roll Call #2: Venice Abroad vs Vikings
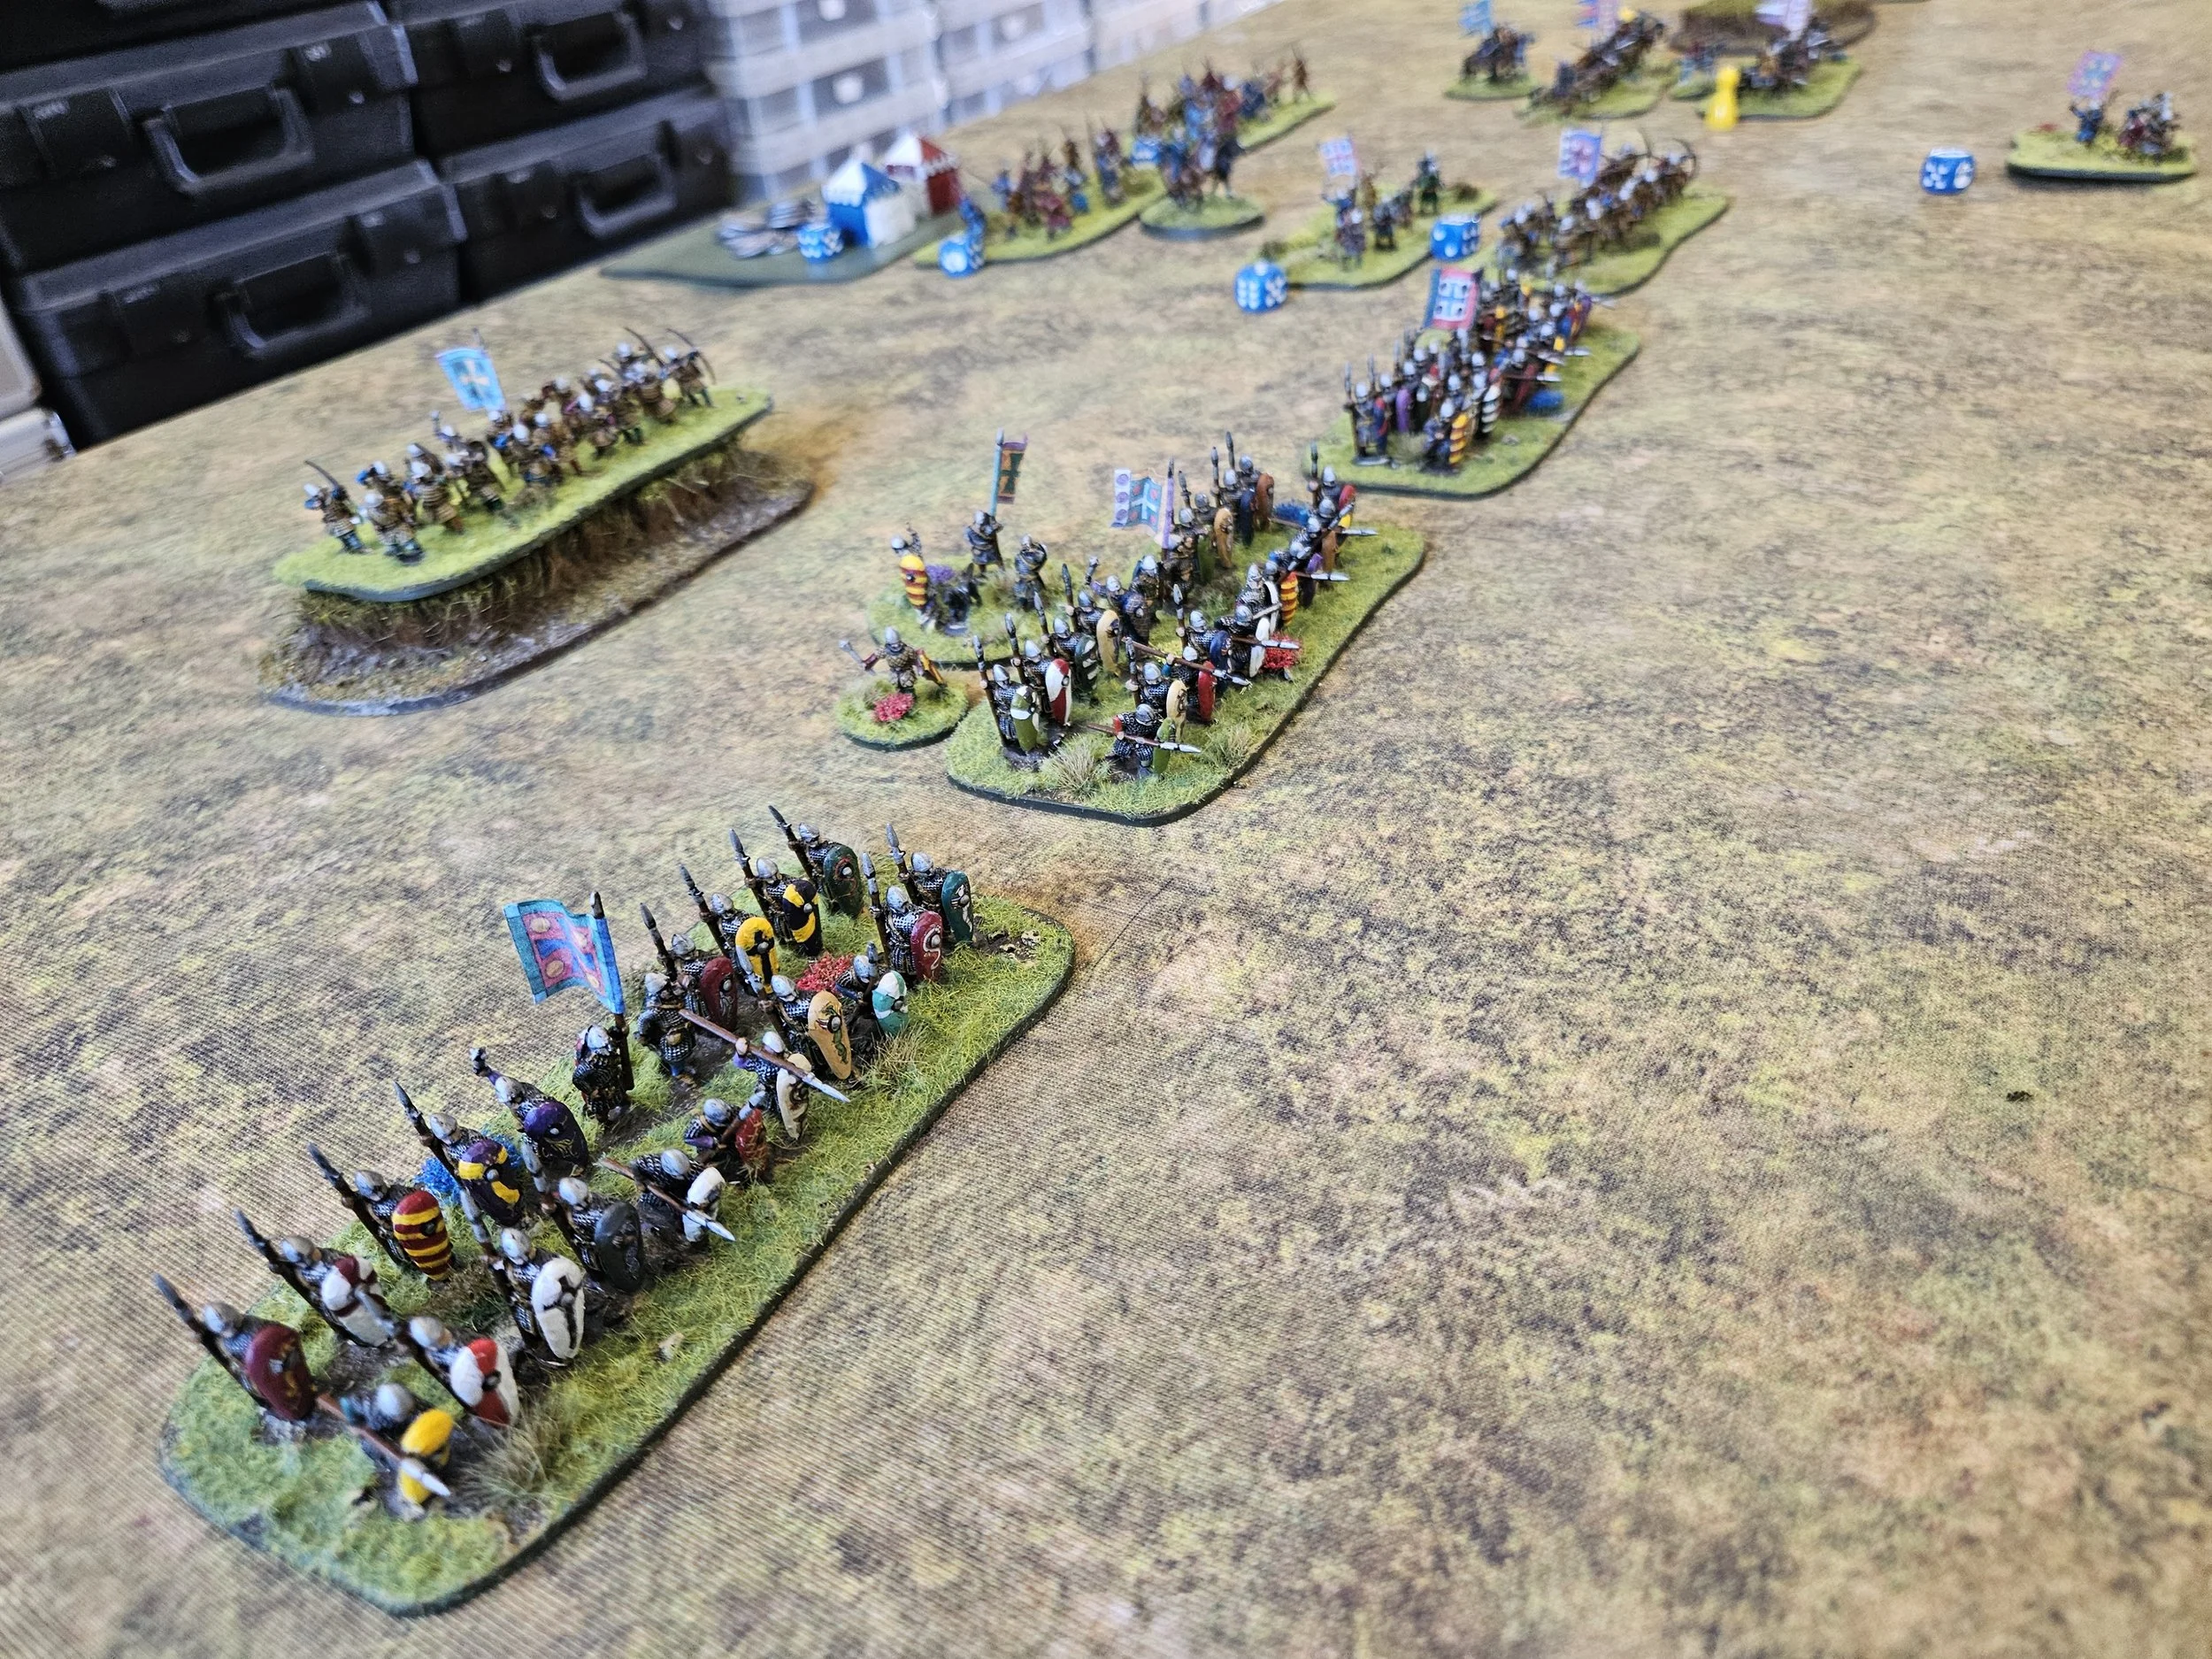
/My second game at this year’s Roll Call tournament was against Andy and his Vikings: an infantry army full of large, hairy types armed with big choppers!
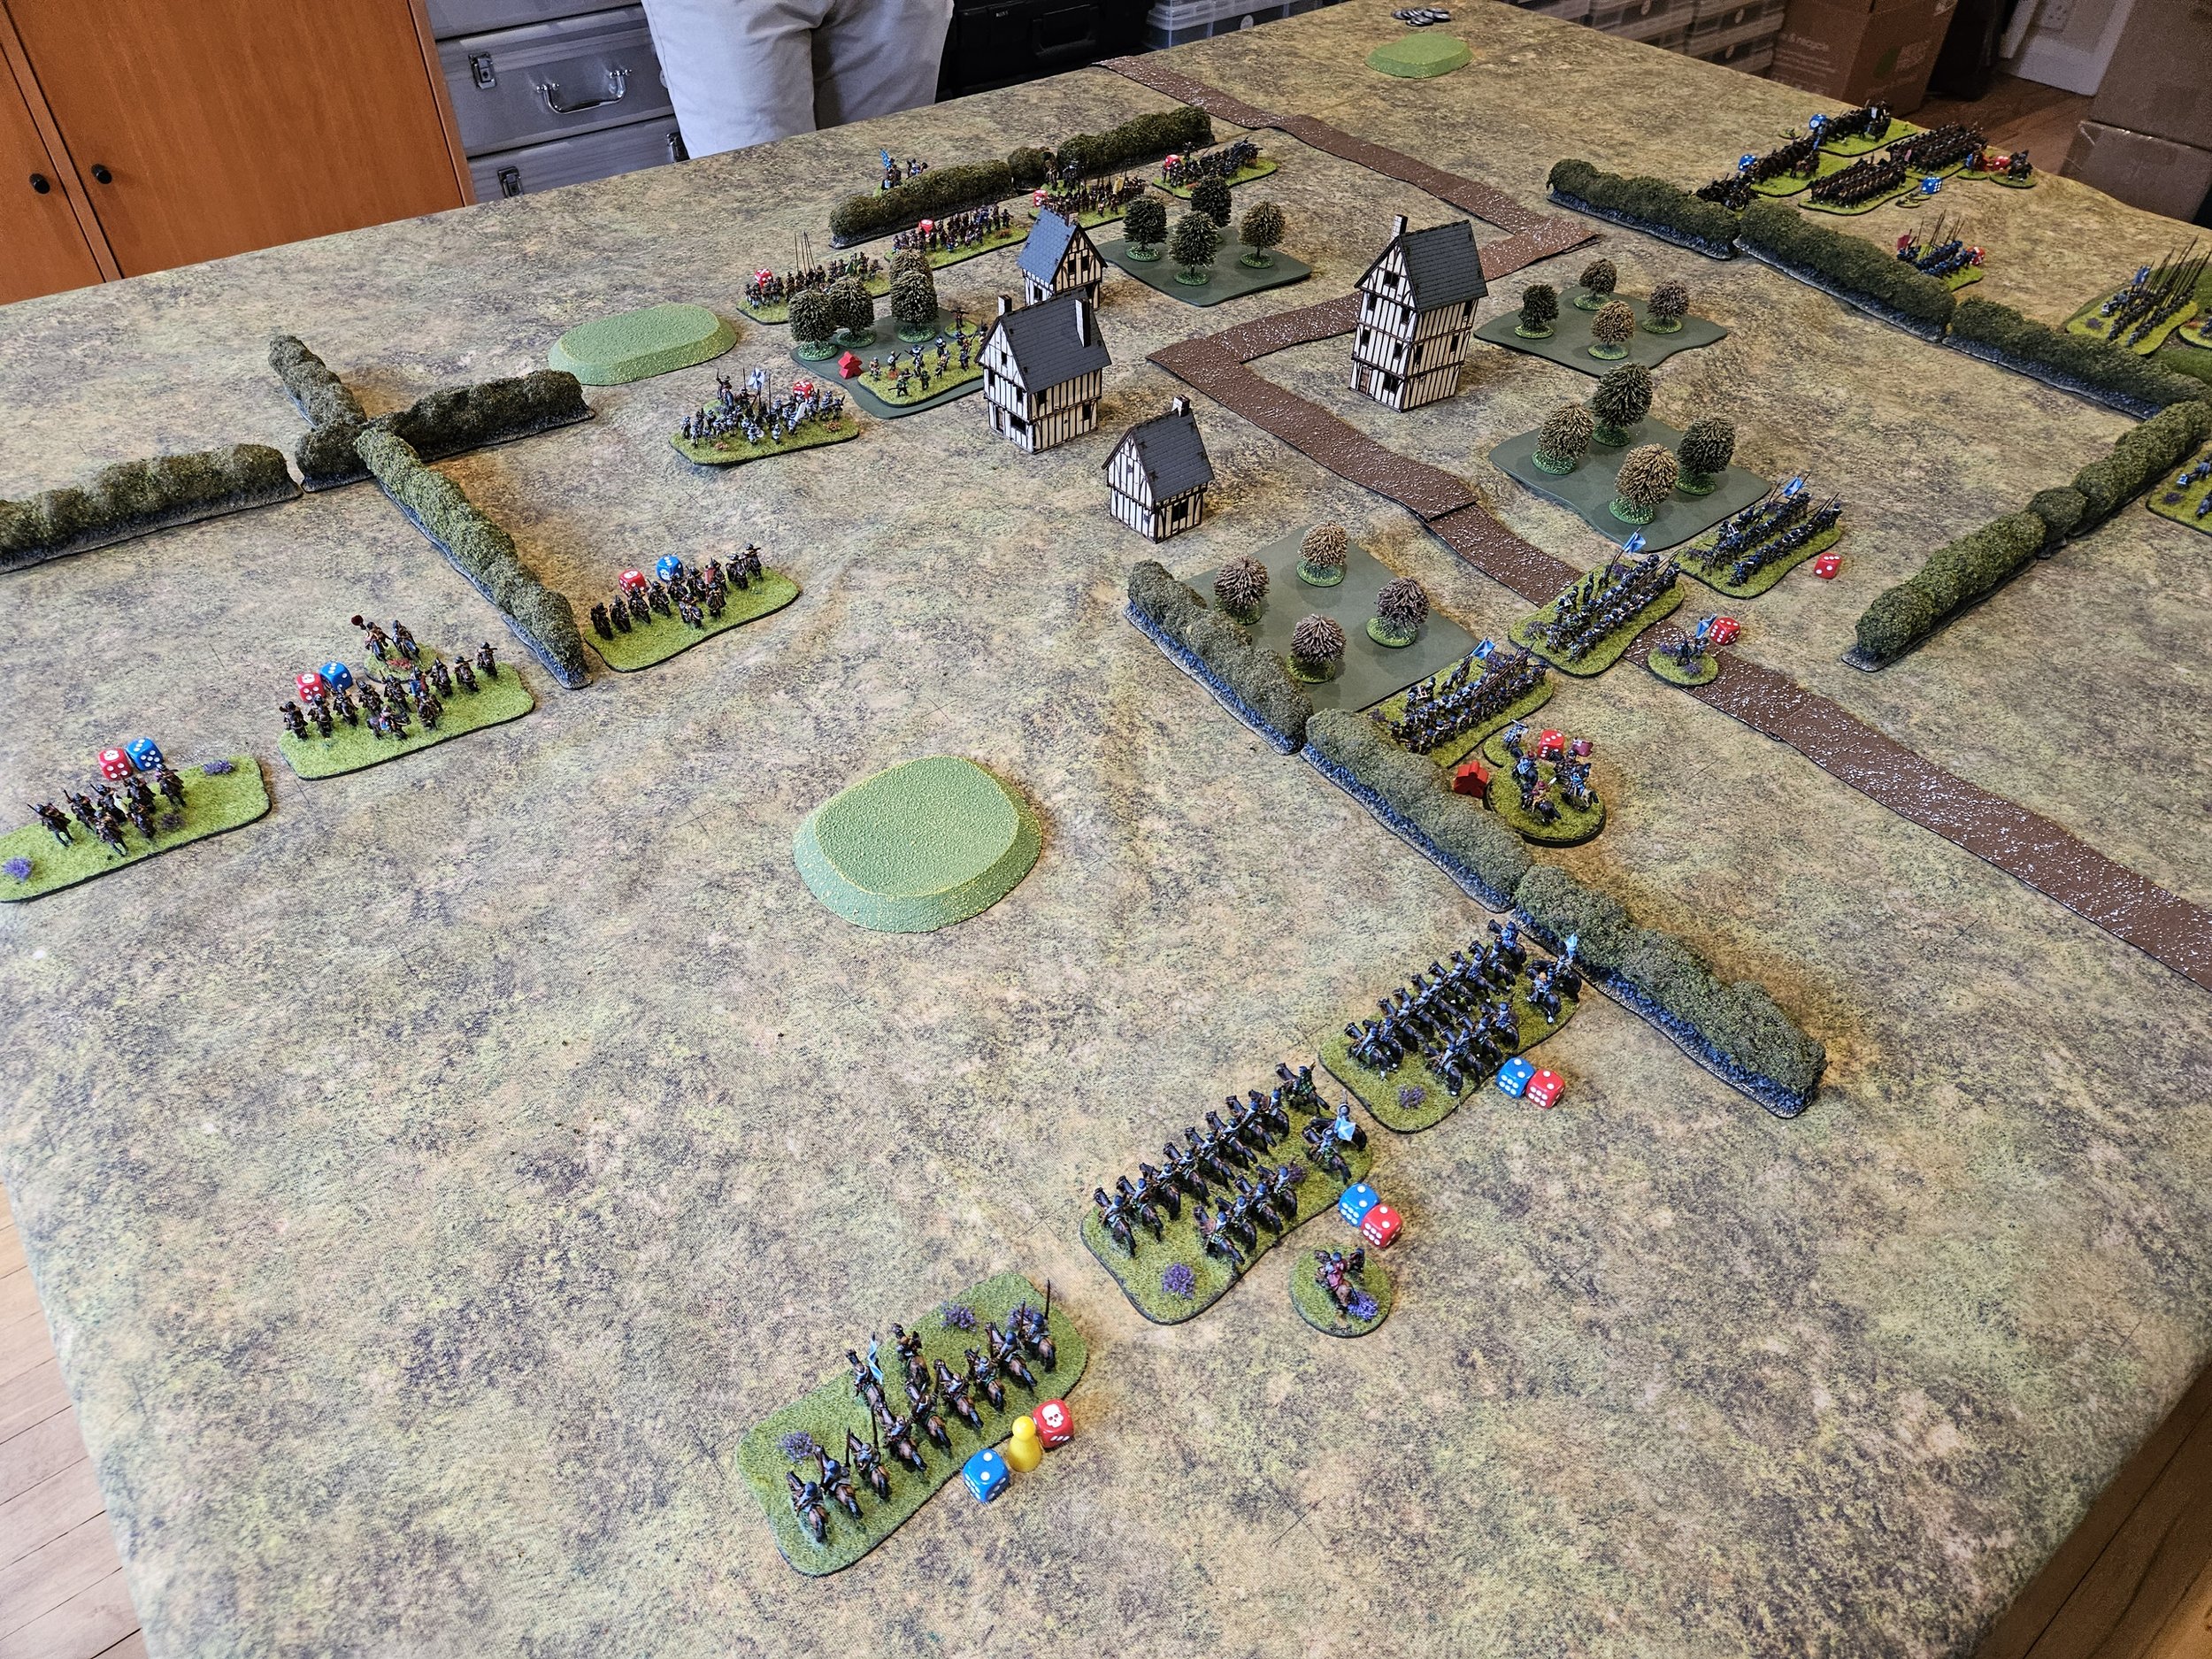
Somewhat unsurprisingly, I won the scouting and, having seen where the Vikings had positioned themselves decided to try and turn his left flank with my Knights whilst the rest of my army kept as far away from the enemy as possible, largely deploying on the edge of my side of the table.
This was all very well, but Andy then played the This Way Effendi stratagem on me, which meant that the infantry command that were supposed to be occupying my camp had been led astray by a guide who was in the pay of the enemy and would start the game one box to the rear which, as they were on the edge of the table, meant off-table…which meant that my lovely three fortified camps would start the game empty of any Venetians!
Obviously this wouldn’t be a problem, as all I needed to bring them on in the first turn was to draw a 4+ (camps are difficult terrain):


A good start to the game but, no matter, on with the plan as I sent my knights forwards as fast and as far as possible.
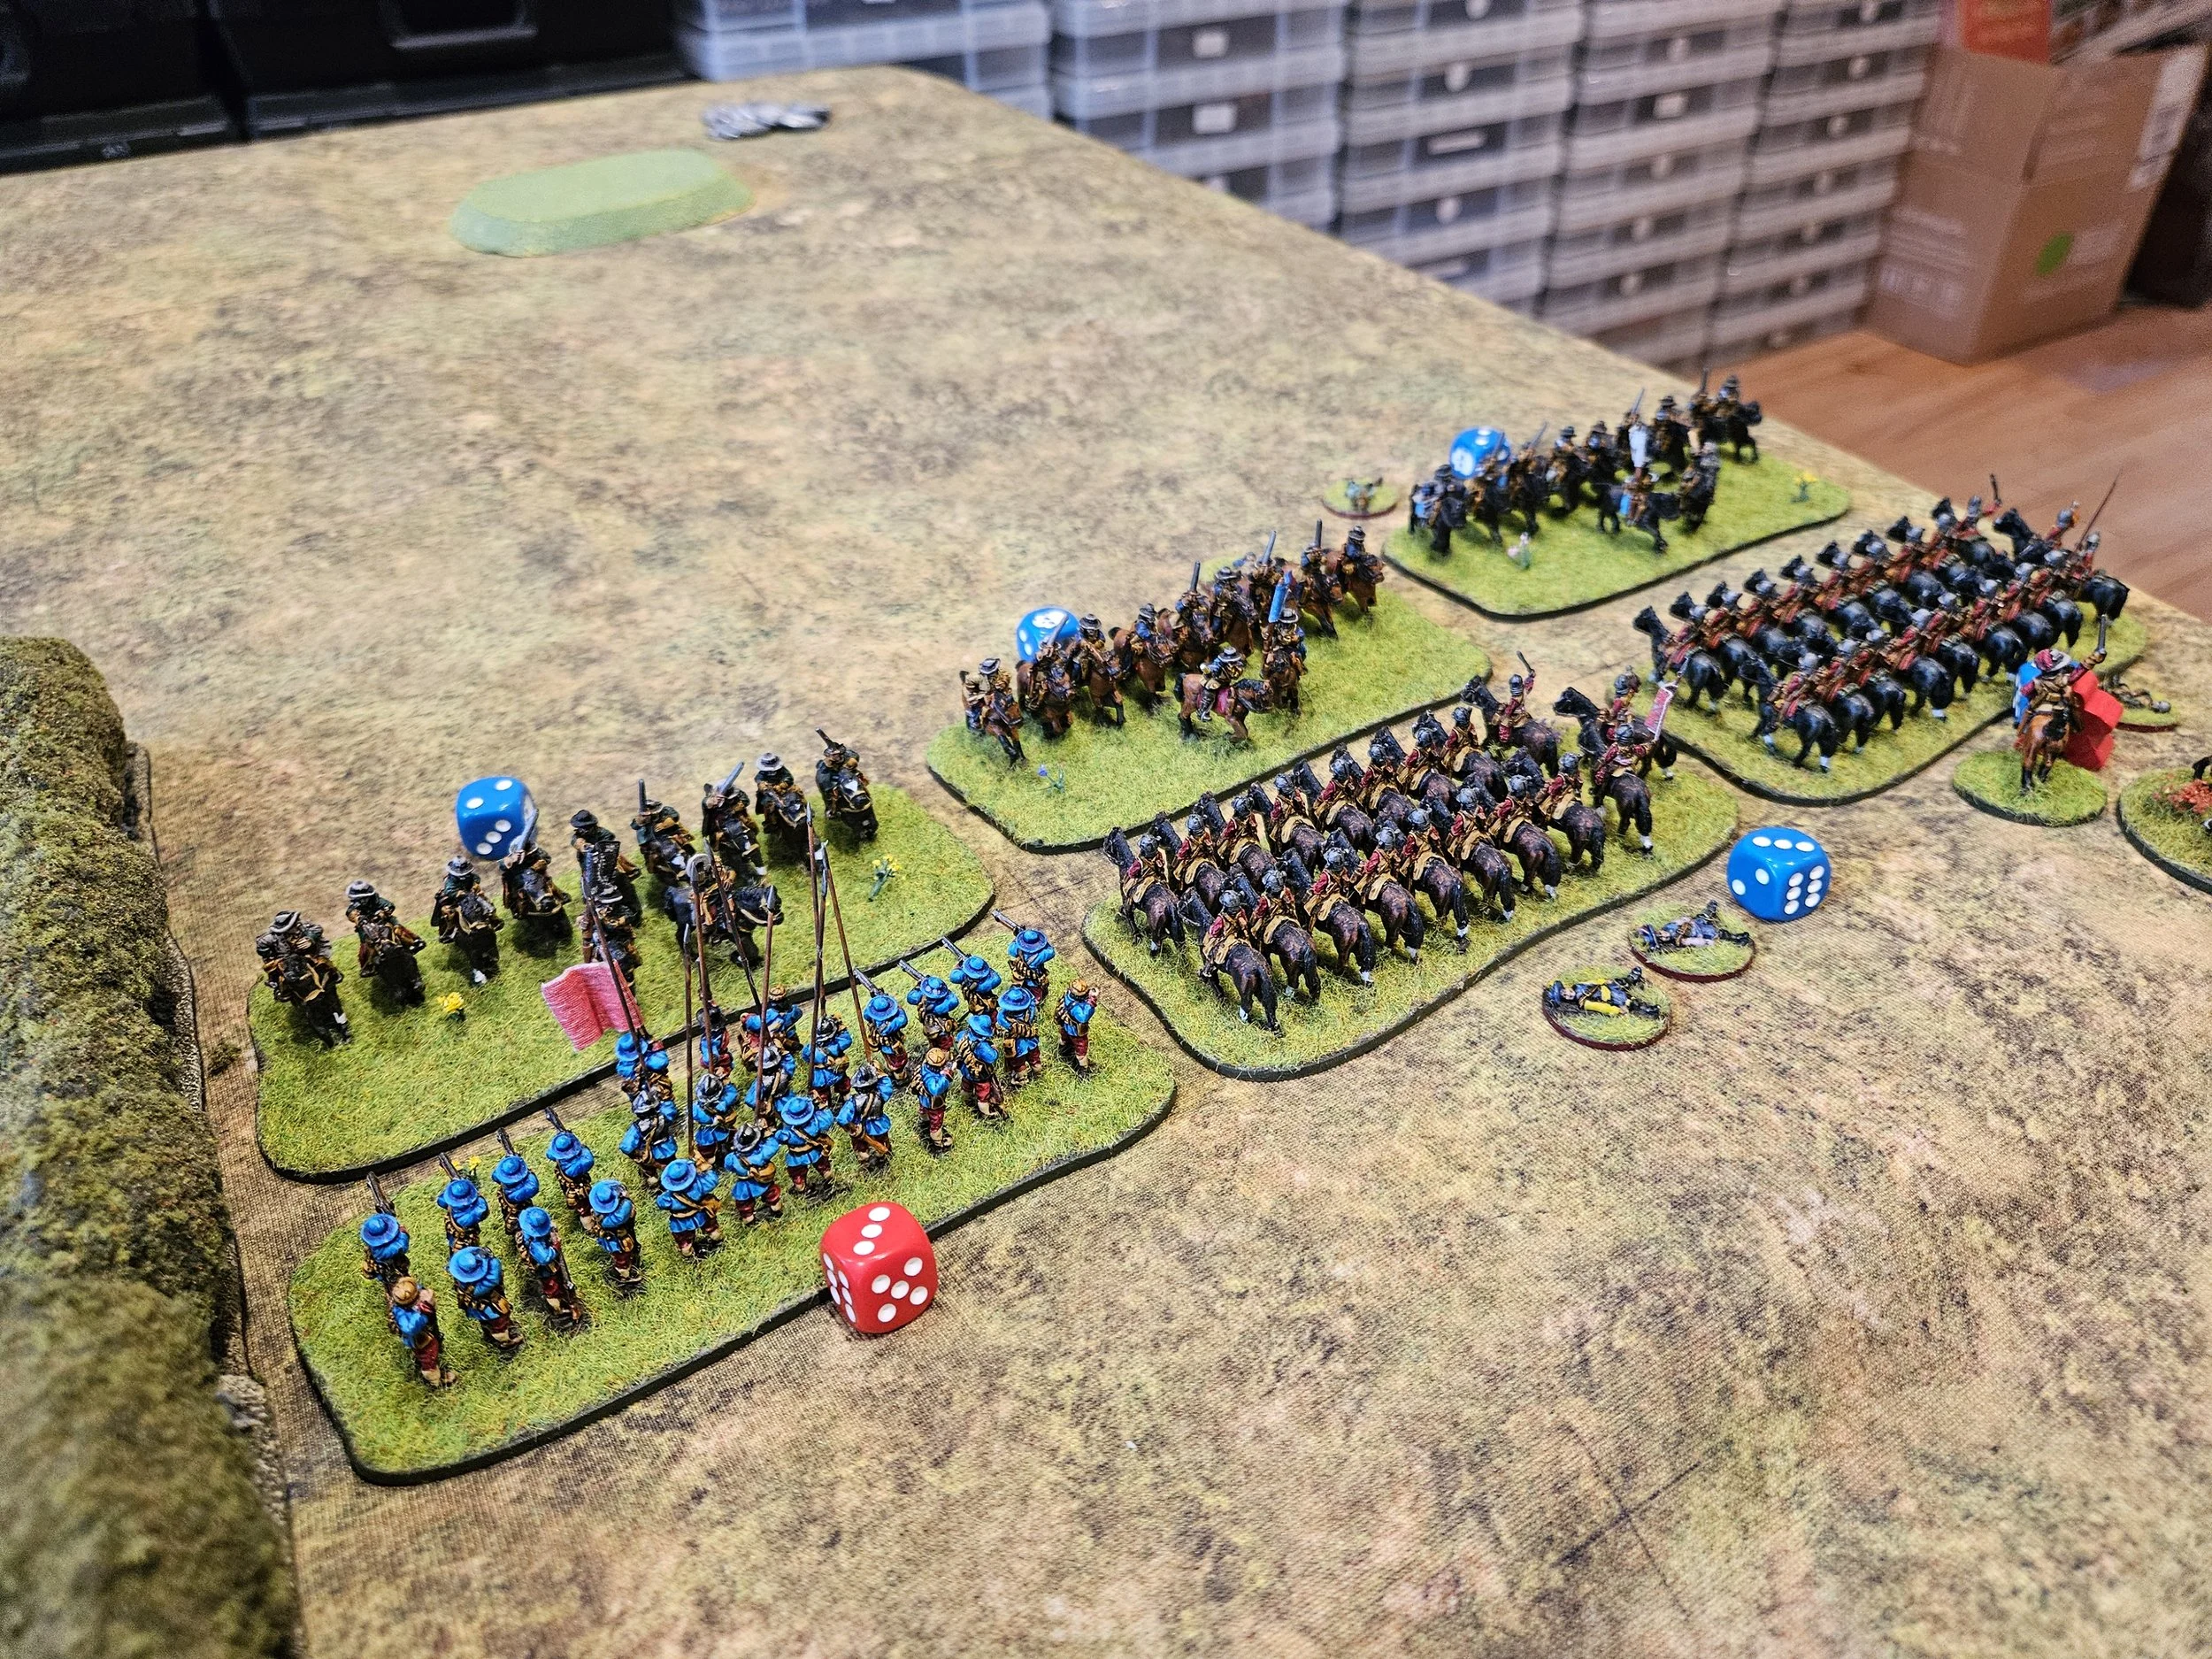
The cards were with me, and the Viking left flank was soon under huge pressure as a mass of heavily armoured horsemen his them in the front and flank and rapidly started to roll them up.


The rest of the Vikings, however. had rushed forward as fast as they could, intending to win the game by just running over the rest of my troops.
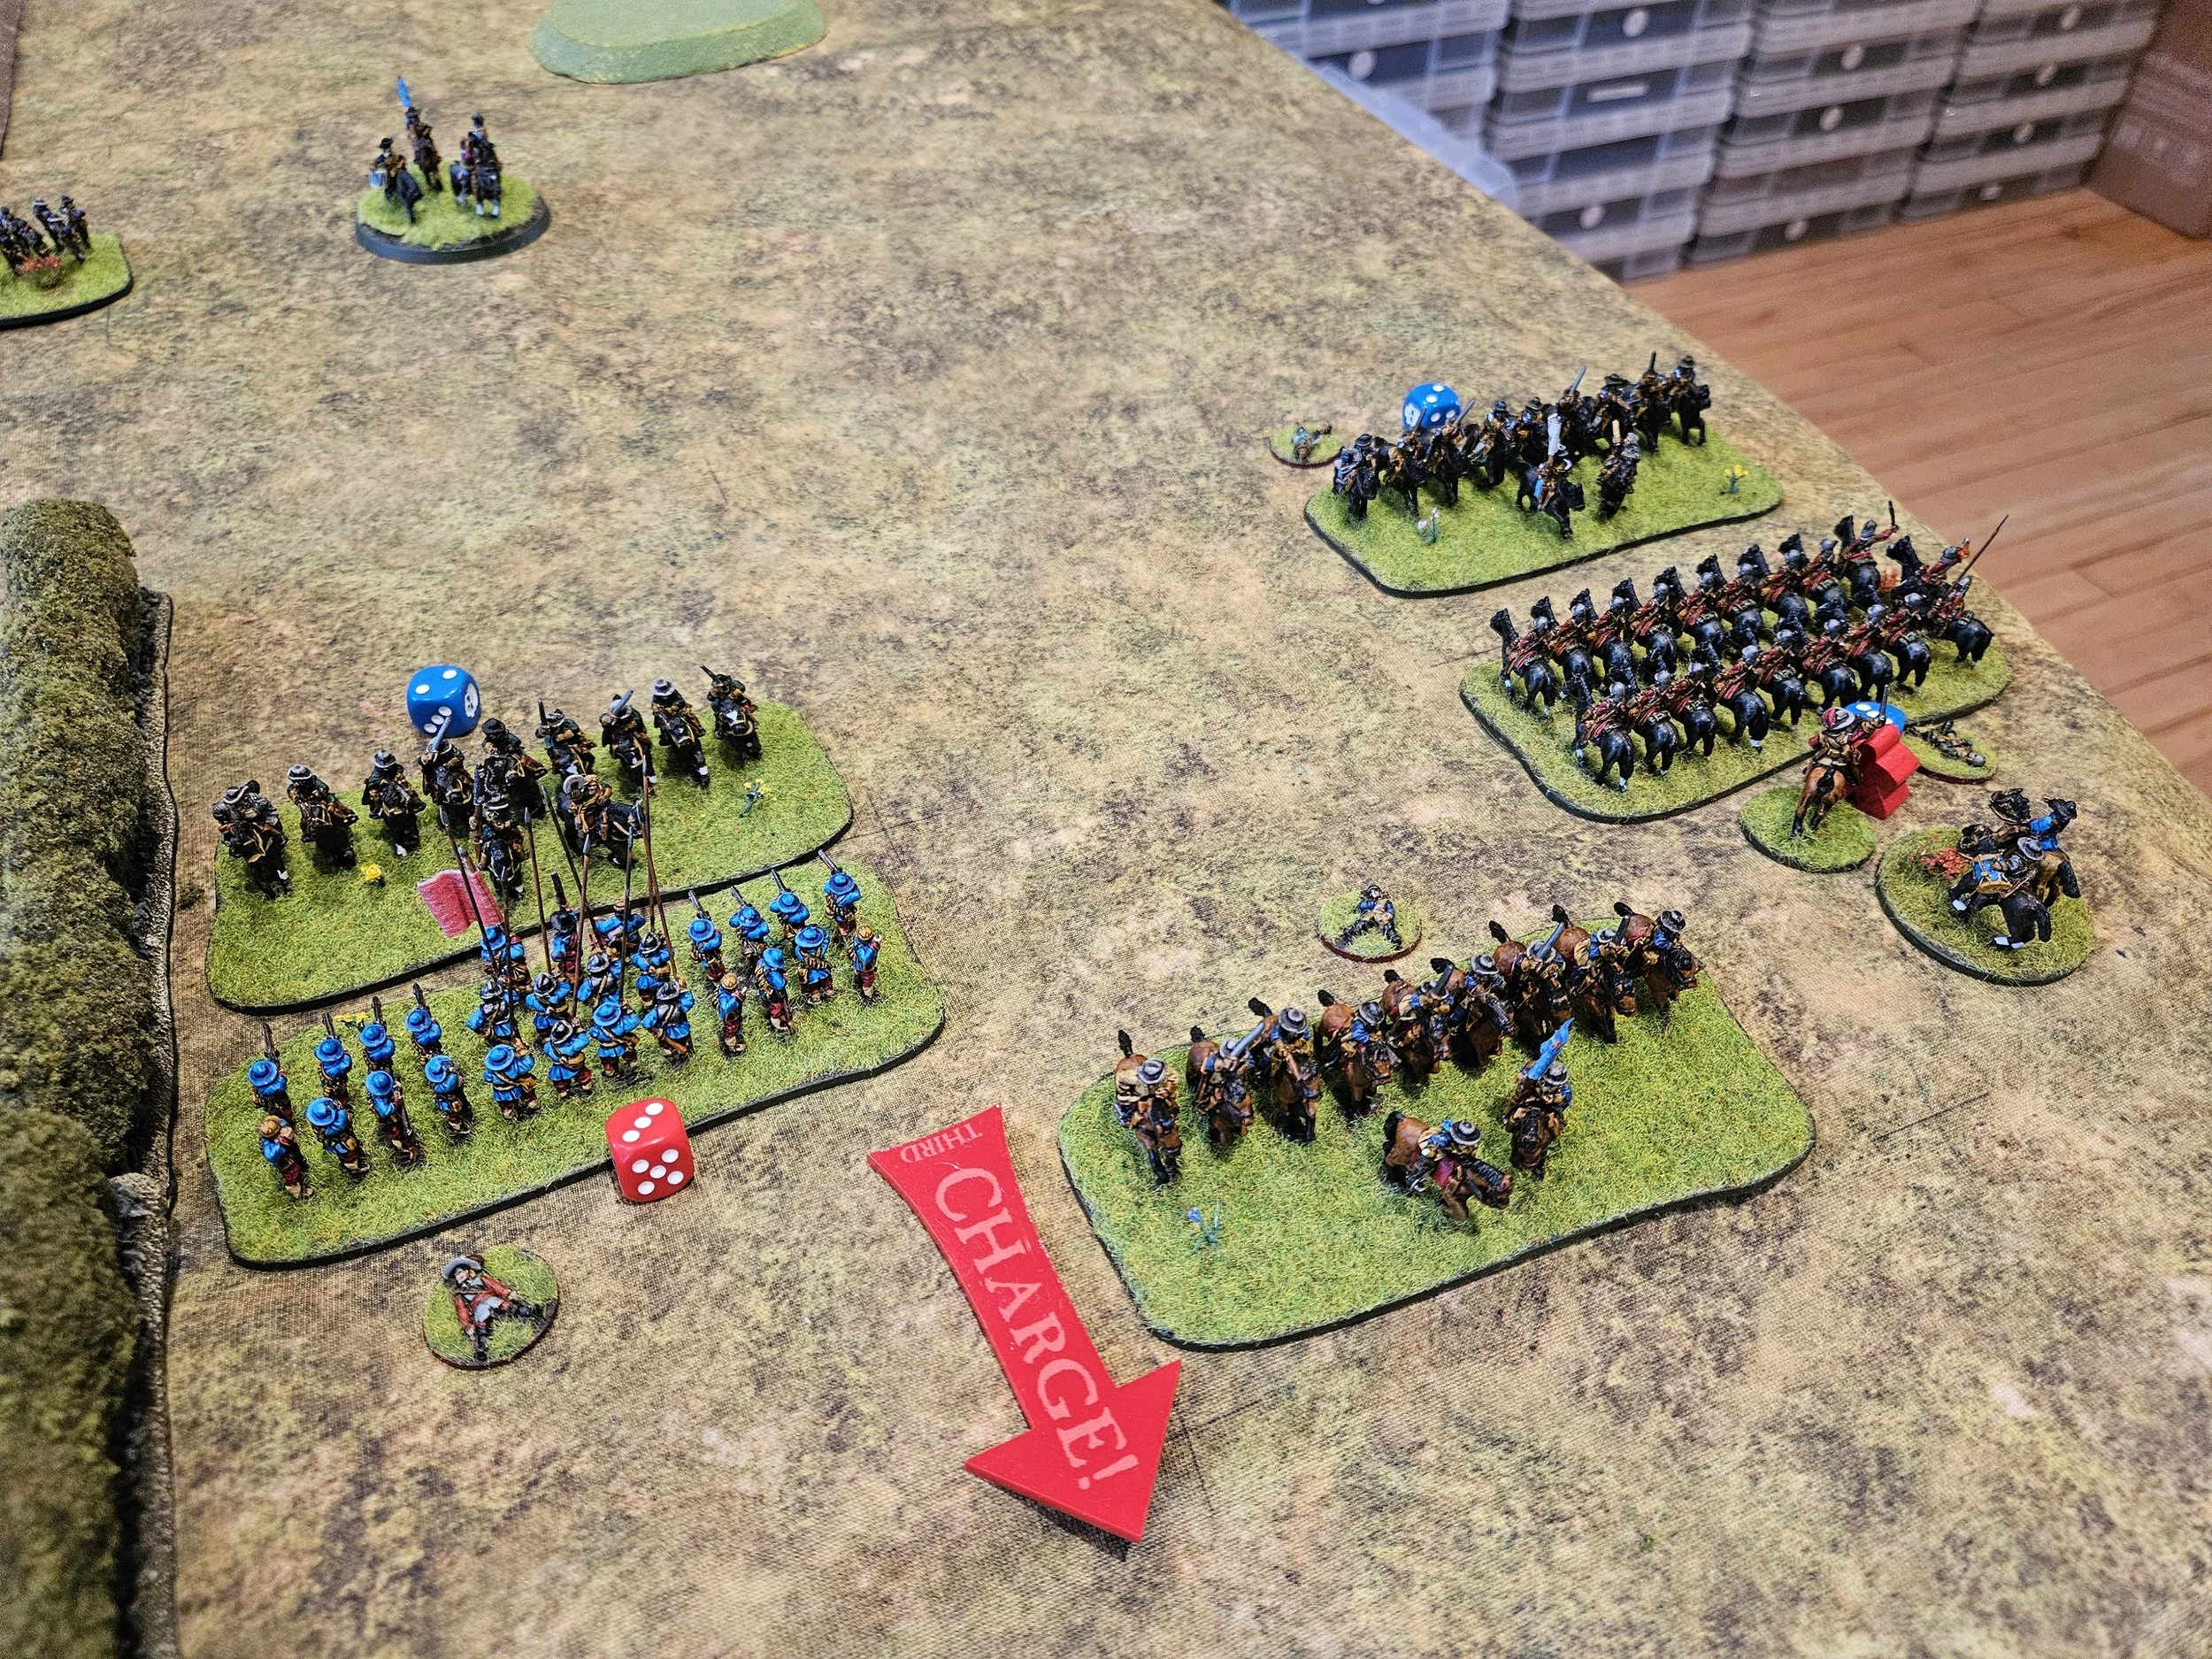
Although by now I had managed to get the force that was supposed to be guarding the camp back on the table, this didn’t stop one unit of Scandies punching through my line like a seax through butter and taking one of my camps. Ouch!


It was now a race to see who could exploit their situation fastest: could I polish off Andy’s left flank, taking his army standard and hopefully the game, before he could turn the hairies in my camp and take the other two sections to get the coins he needed to win.
My knights were. for once, on good form, and were able to totally clear the Vikings in front of them from the table.


Unfortunately, this still left me a two coins short of ultimate victory. The tension was now so great that one of my units suffered a casualty and had to be replaced from my reserves!
Things were also critical on my left flank. Although the Vikings in my camp had failed to make the turn that would have let them take the other two sections (presumably looting the fabulous luxuries that acompany my troops on their campaigns), my Alabardiers were being attacked by three Viking warbands, and surely couldn’t hold out for long.
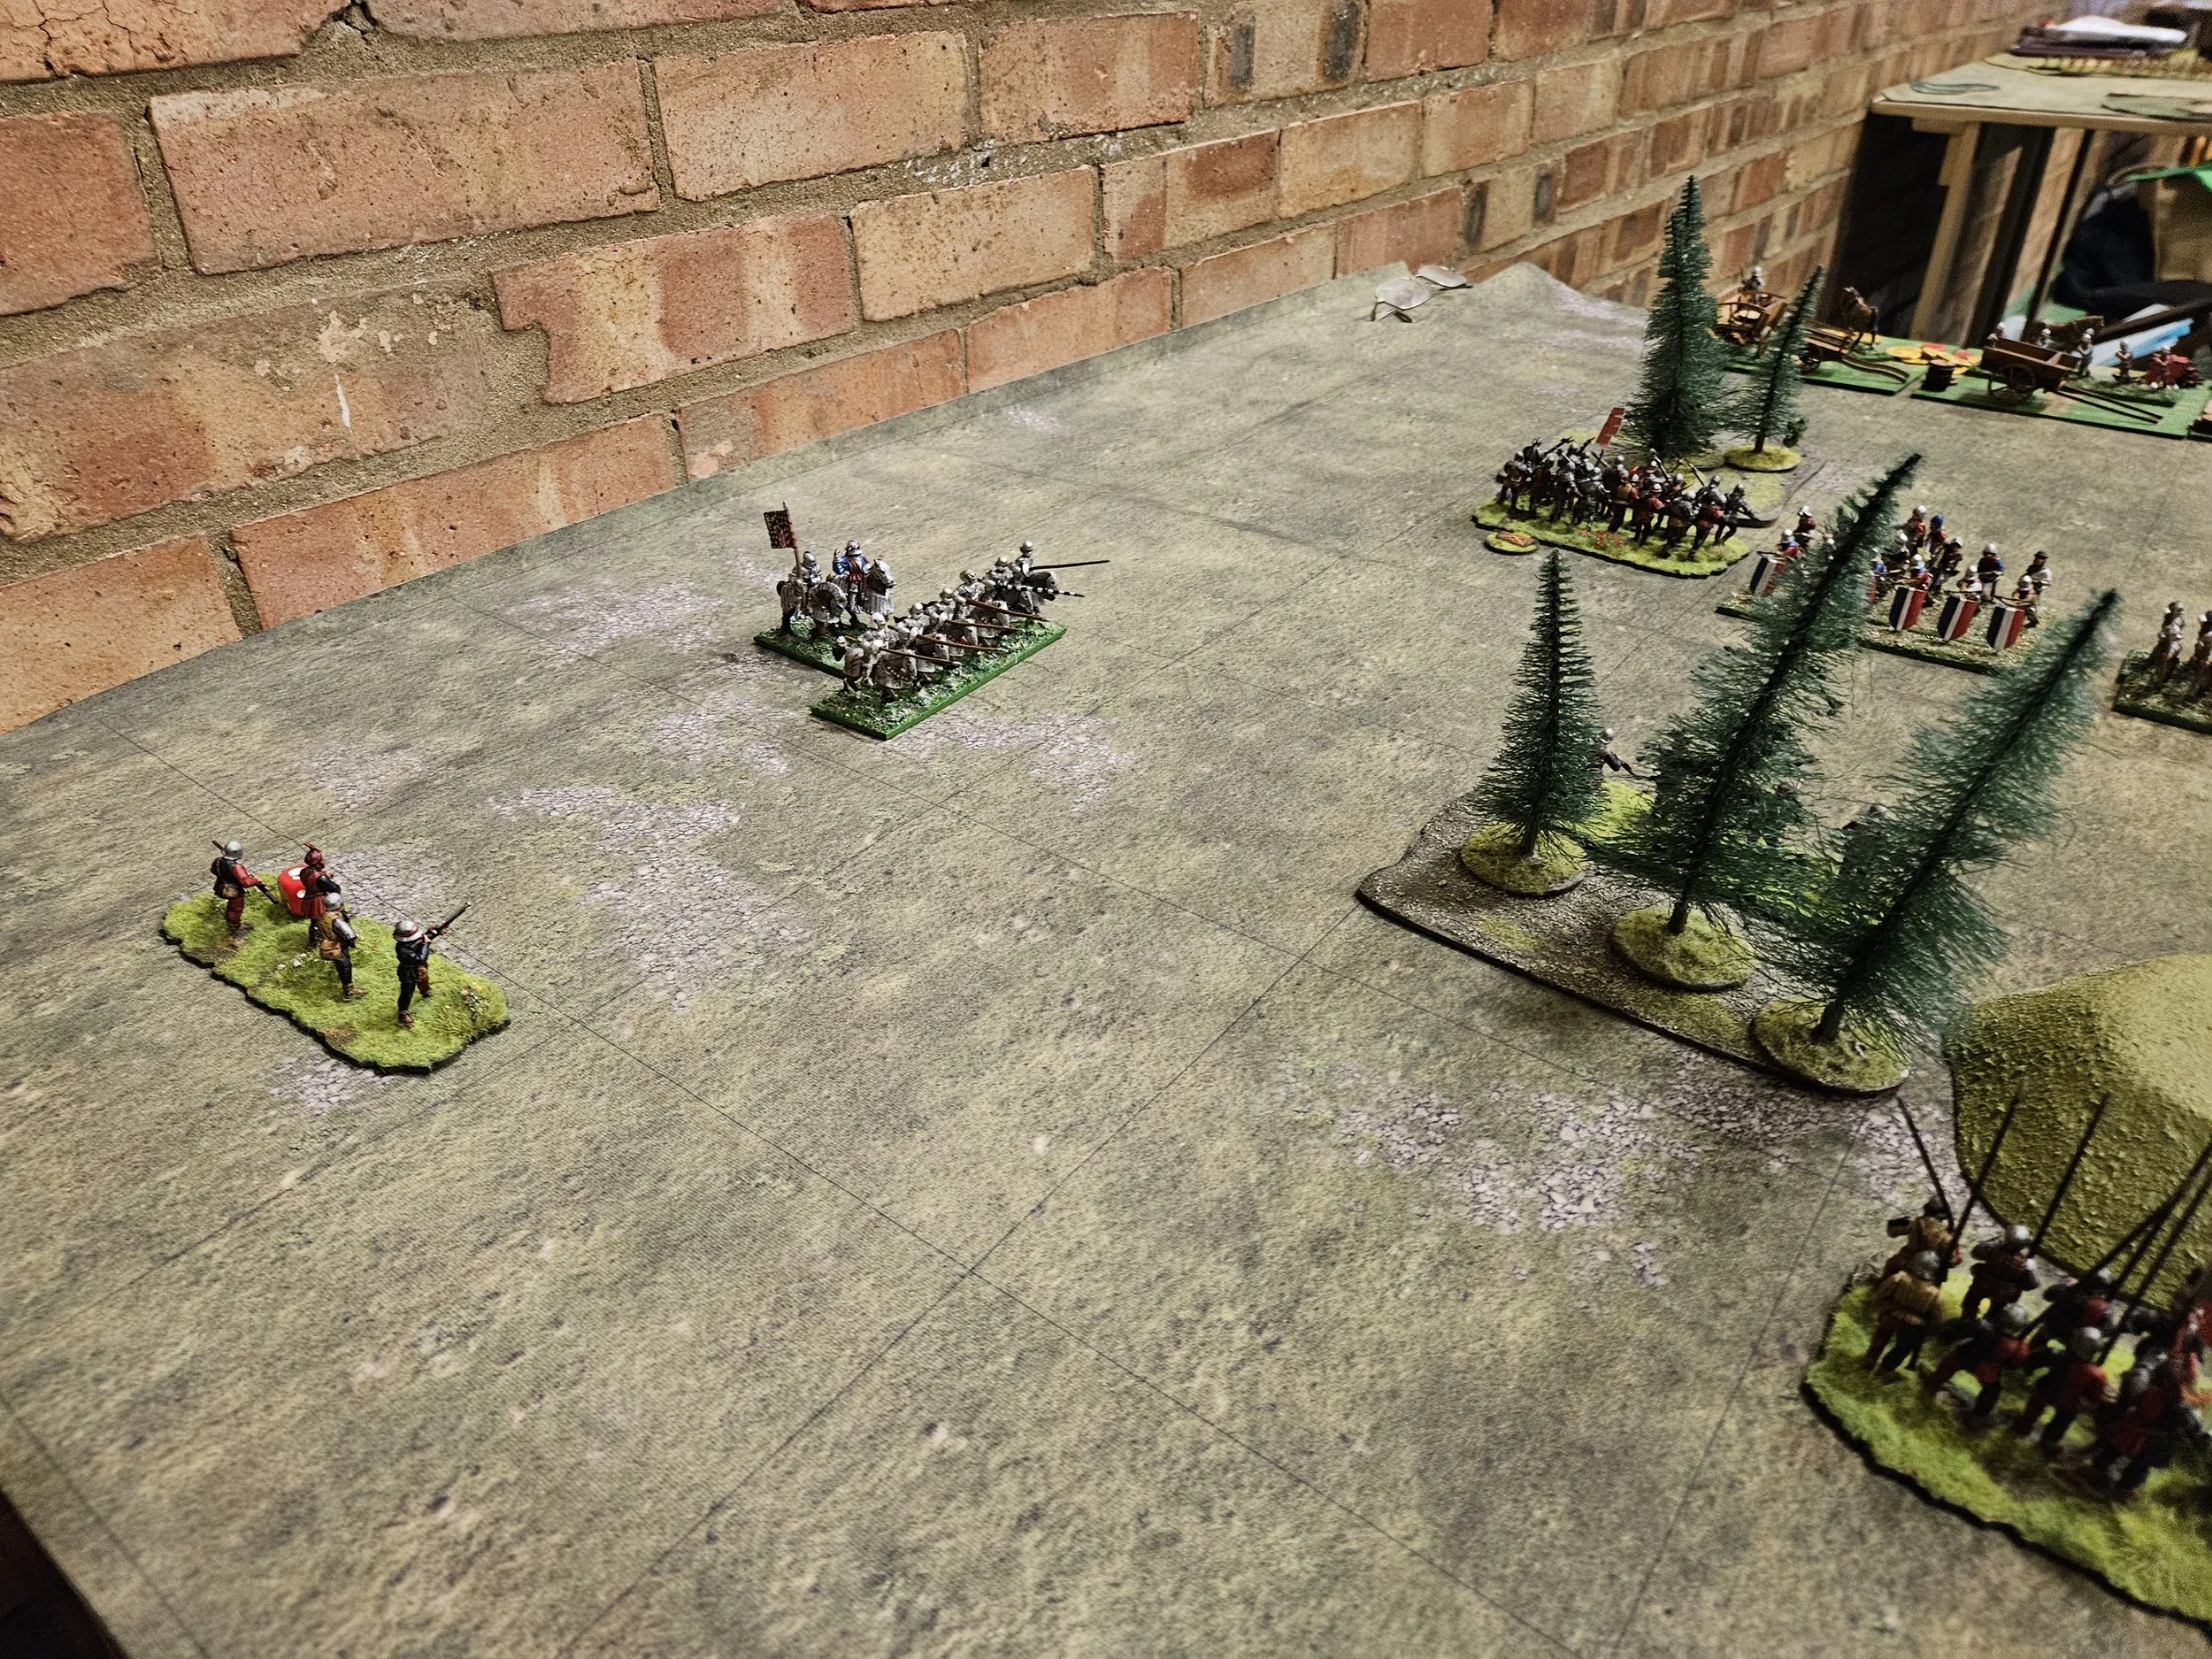
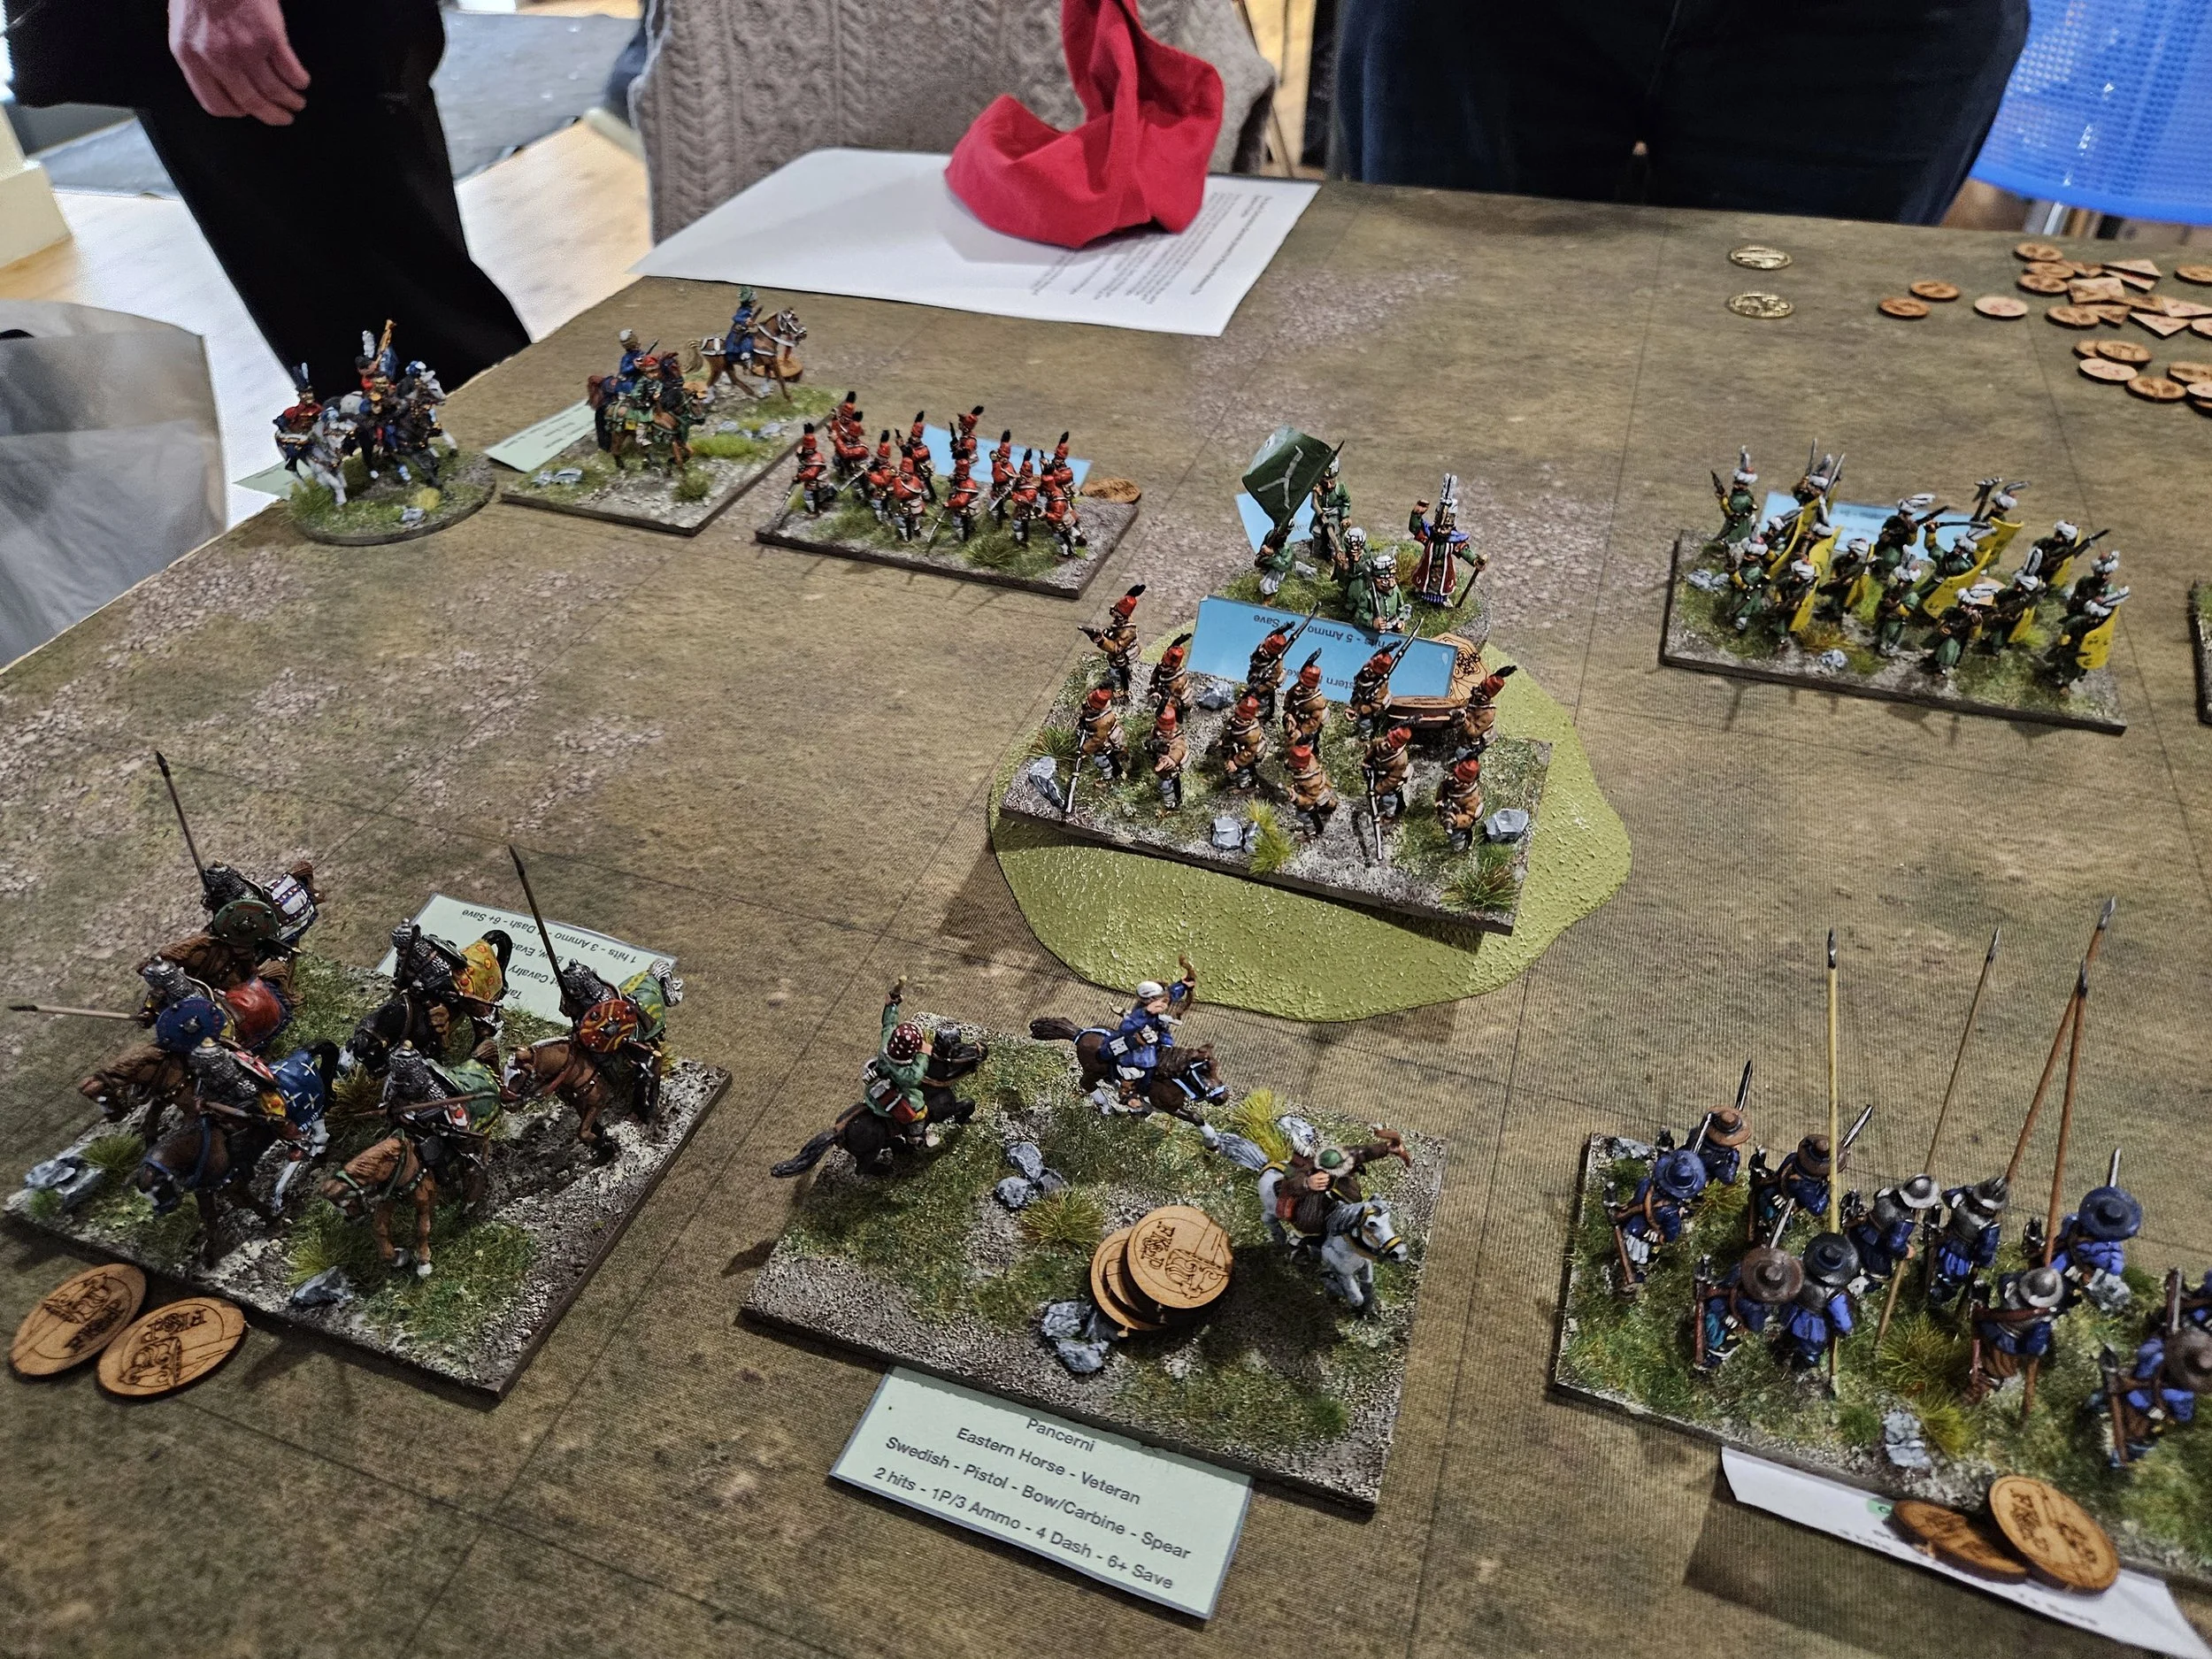
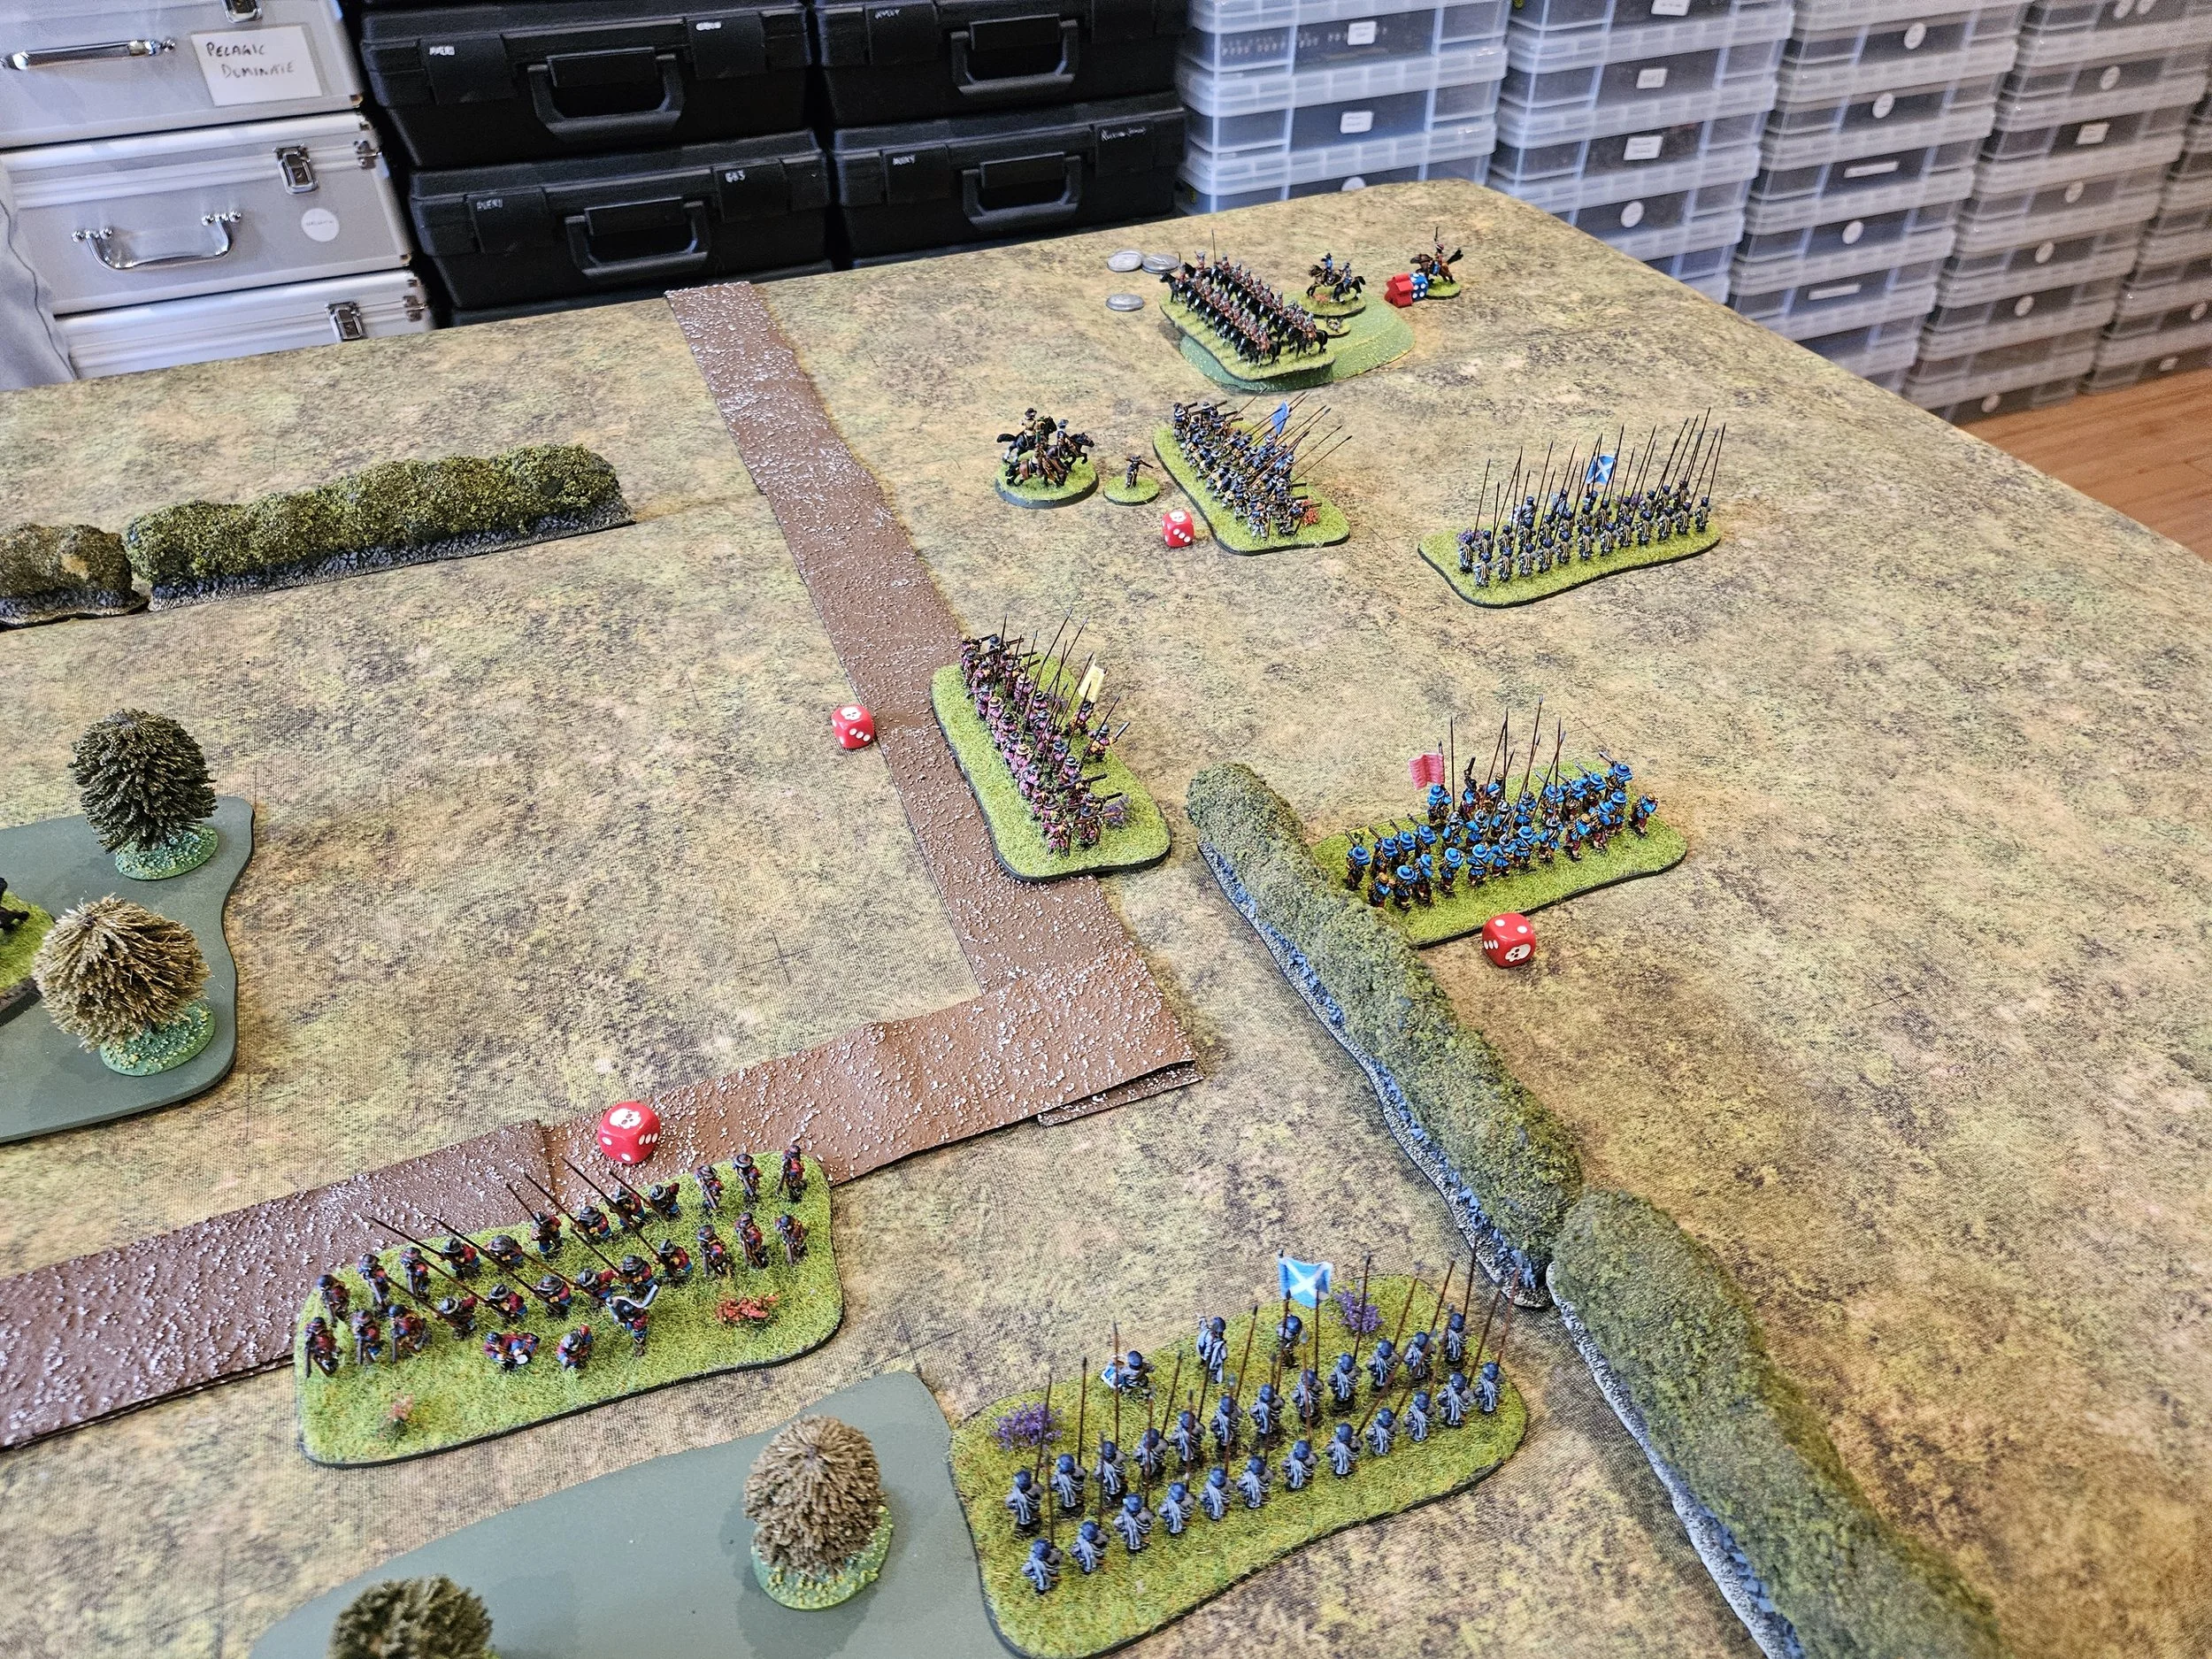
Fortunately, I had chosen them to receive the Tonight we dine in hell! stratagem, so they were able to shrug off their first disorder, add a hero, and hold their own for that turn. They are top left in the picture below.
The Vikings then surrounded the Alabardiers, and things looked even more critical: I could see myself losing them, the other two camps, and the two Spearman units shown in the picture above in the Vikings’ next turn…and the victorious knights were still a square or two short of being able to return to the action and take the Vikings in the rear.
That would give the Vikings victory despite the fact that they themselves only now had two coins left and I had loads. Talk about snatching defeat from the jaws of victory!
Salvation, however, came from an unlikely source.
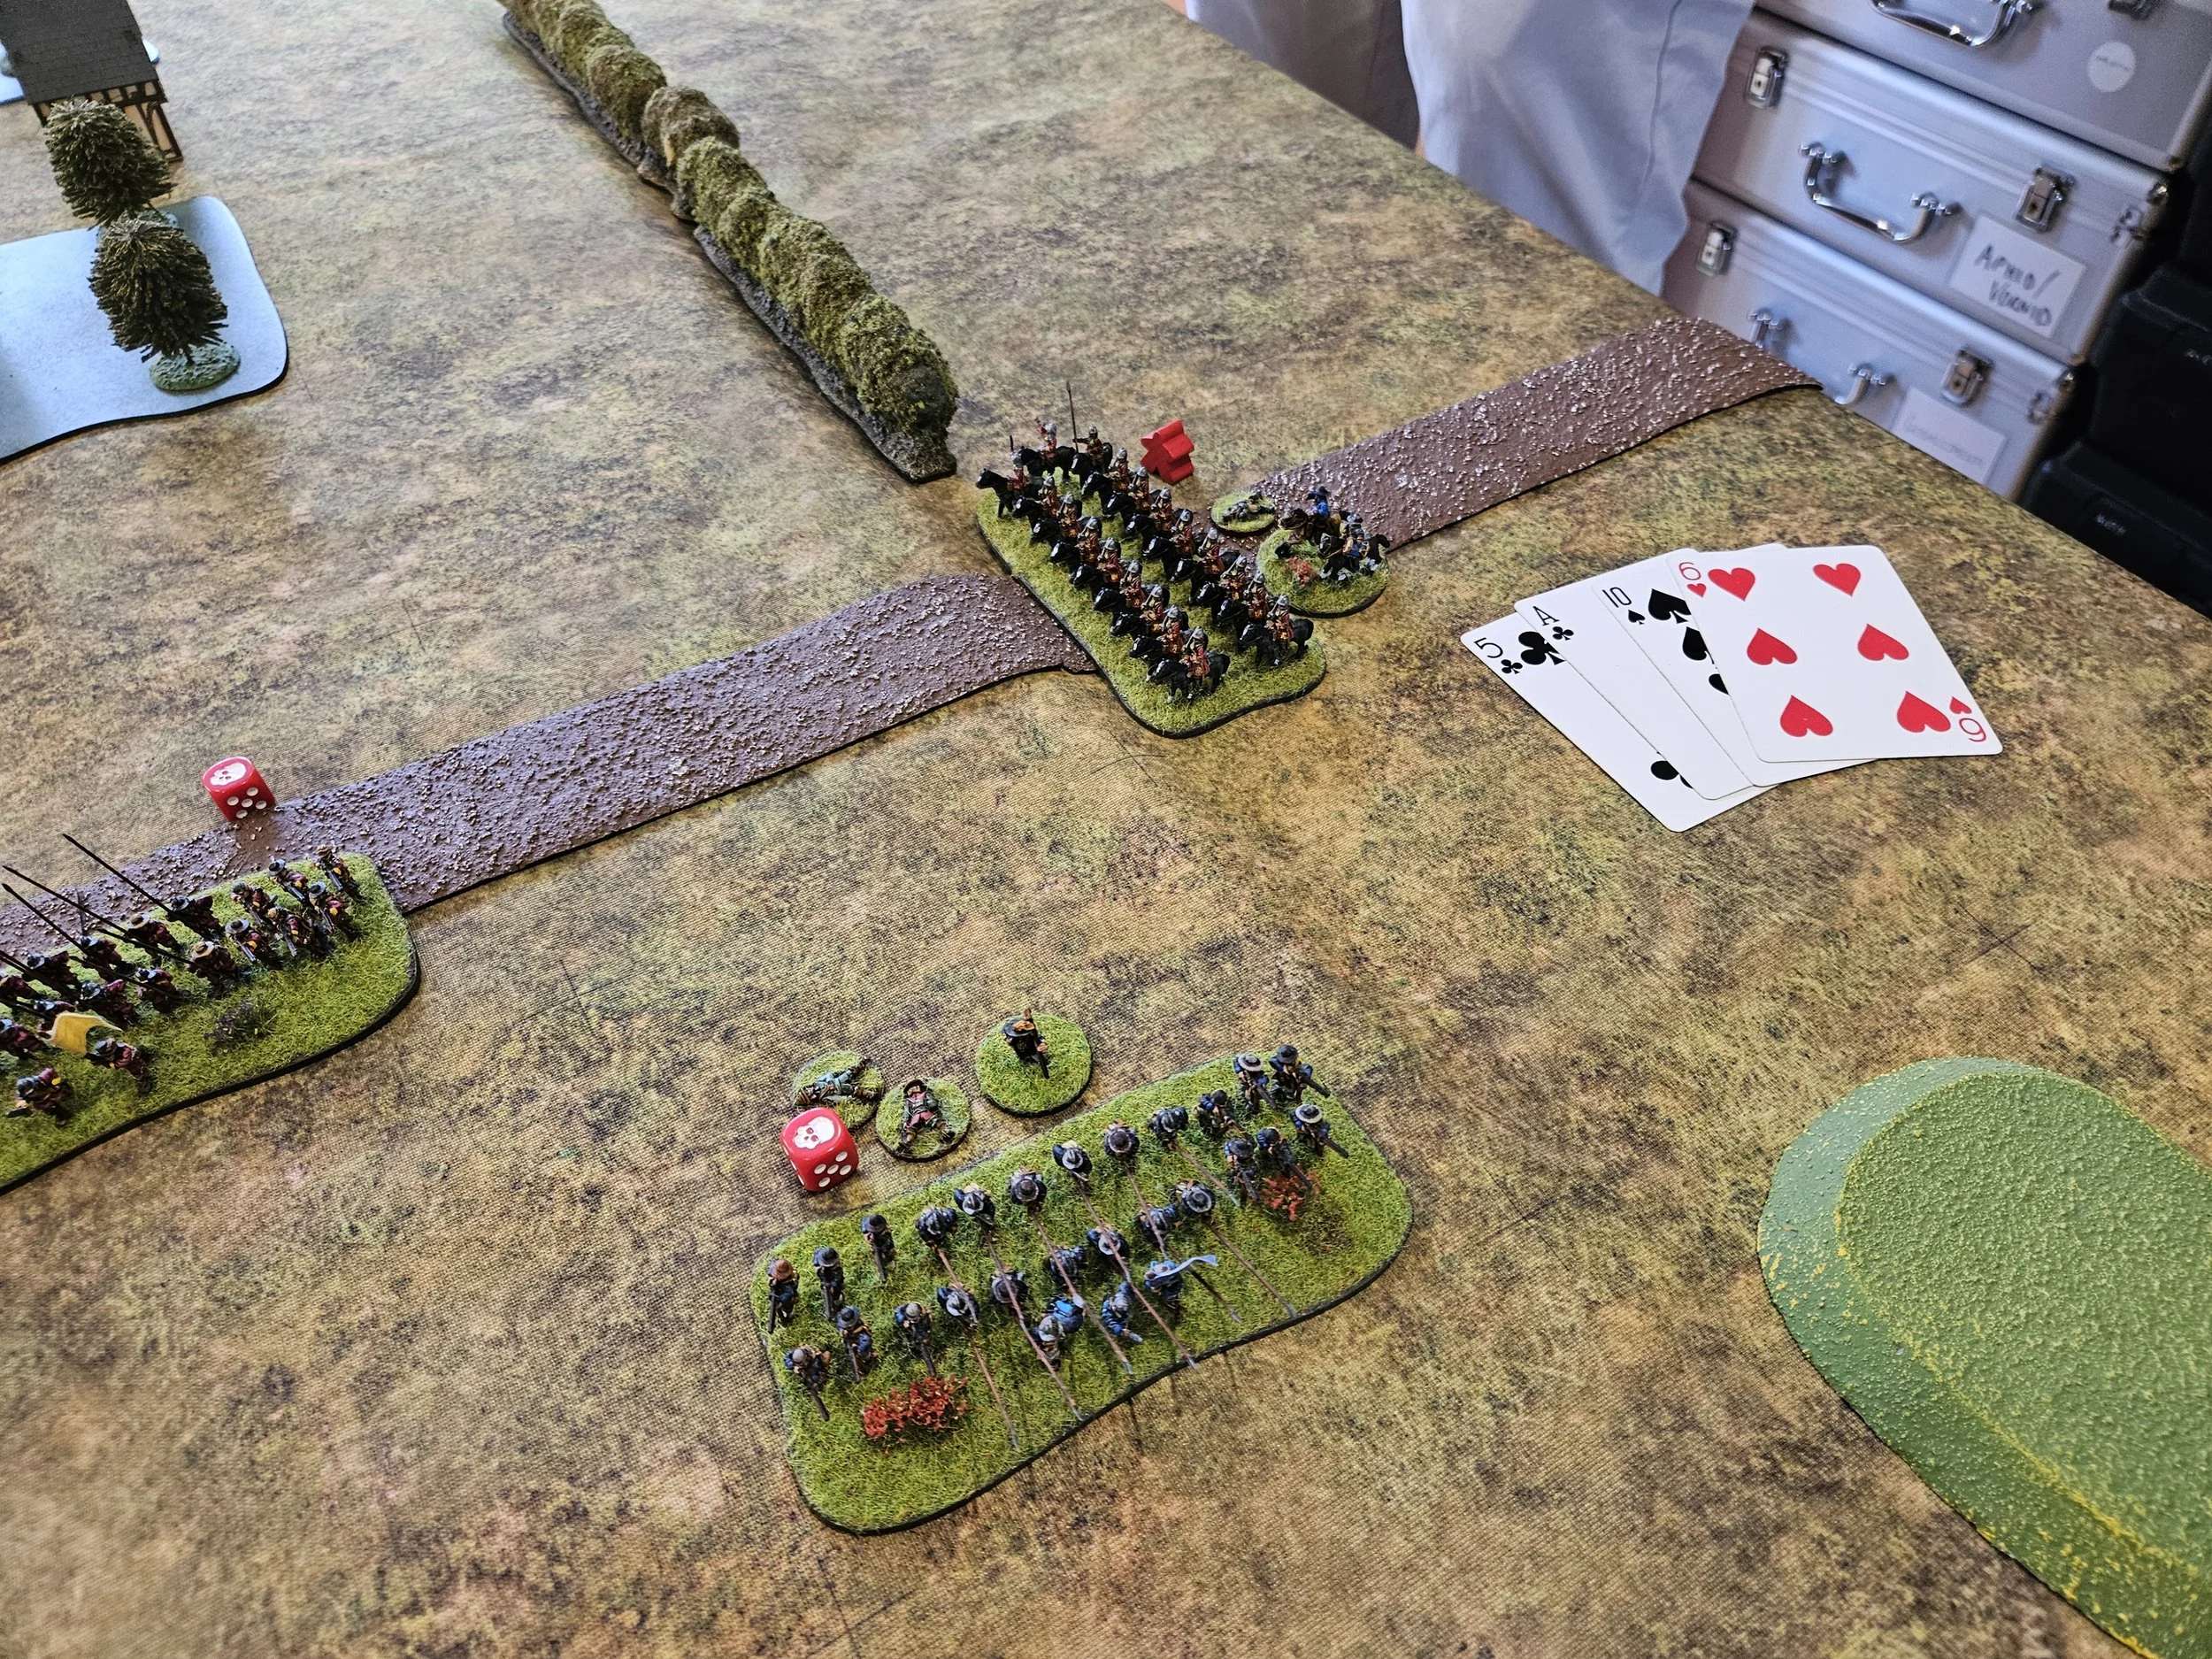
I had been covering my far left flank with a couple of units of Atmati di schioppe or handgunner light infantry, and one of these now crashed into the rear of the veteran Huscarls flanking the Alabardiers.
Incredibly, the handgunners managed to inflict two disorders on the veteran Huscarls, but that was still not enough to break them and win the game. I’d have to get a 7+ to go in again, and then hope that my two 8+ attacks would succeed against the ‘saving on a 6+’ Huscarls: not very good odds (just over 6% I think).
But wait…that’s a general with the Huscarls, and we haven’t checked to see if he is hit yet.
Andy pulled his chits…it was a hit and the general died: taken in the rear by a Venetian hand gunner!
Those two coins were Andy’s last, and the game was mine by 14 coins to 7…but it had been a close run thing and the tables would have been turned on Andy’s next turn if that general had survived.
What a great game!